
Yeah… I’ve been driving around like that.
This is one part of the bikini top that I’ve never taken pix of. And in… what, 5 years? I’ve never fixed it.
I am ashamed.
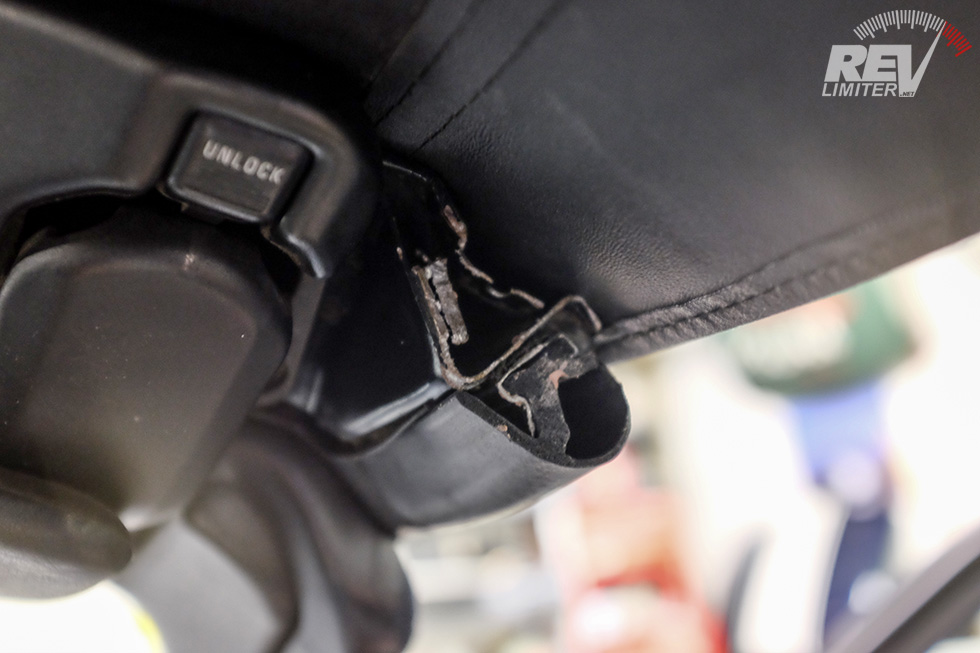
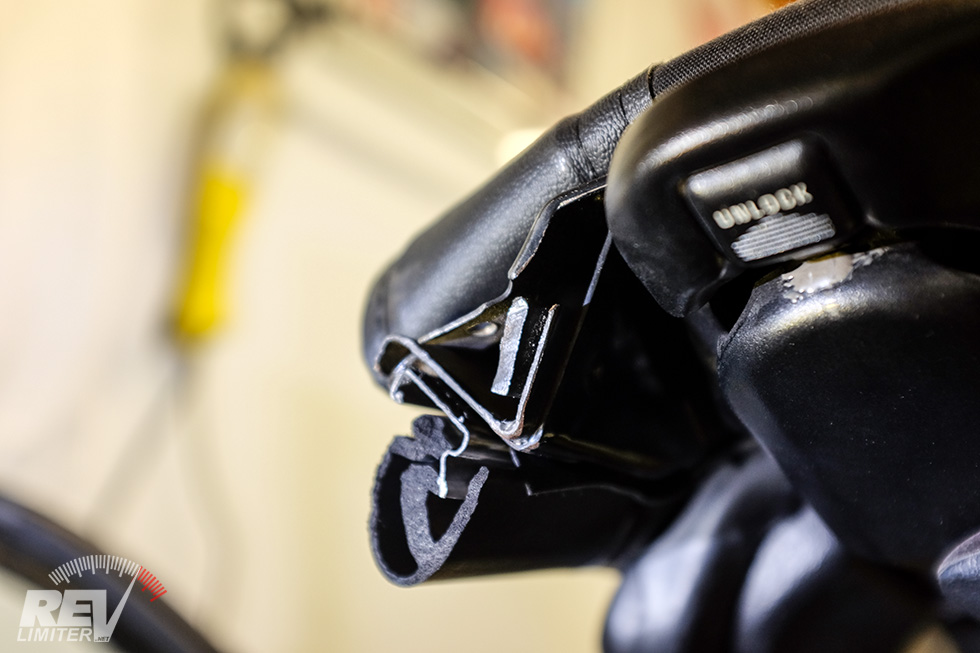
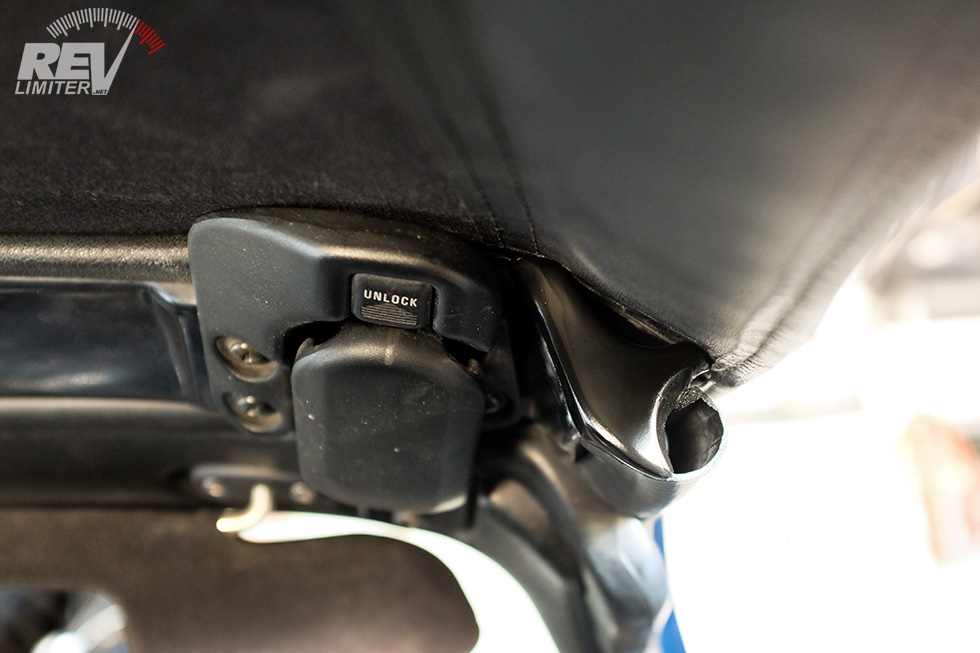
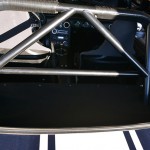
When you cut off the end off the soft top, you’re left with this jagged metal edge. There’s nothing to cover it. No caps or anything. Actually… I think I remember Project-G sending some cut pieces of ABS to glue over the ends. I didn’t use them for whatever reason. I believe they didn’t fit too well.
I did sand these edges down so that they weren’t jagged. But man, that rough end is the one sad spot on the whole Bikini Top. And they were starting to rust a little.
Time to fix it.

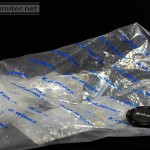
Por-15 Epoxy Putty.
This is POR-15 Epoxy Putty. It’s somewhat like a body filler, but more like a clay. It’s meant to be worked into an open area (a hole, if you will) and then formed and sanded. It cures hard as metal (so they claim) and is ready to be painted.
I found this surfing around on amazon looking for a decent clay or filler or putty. This jumped out and had excellent reviews so I thought I’d try it.
Spoiler: it works great!
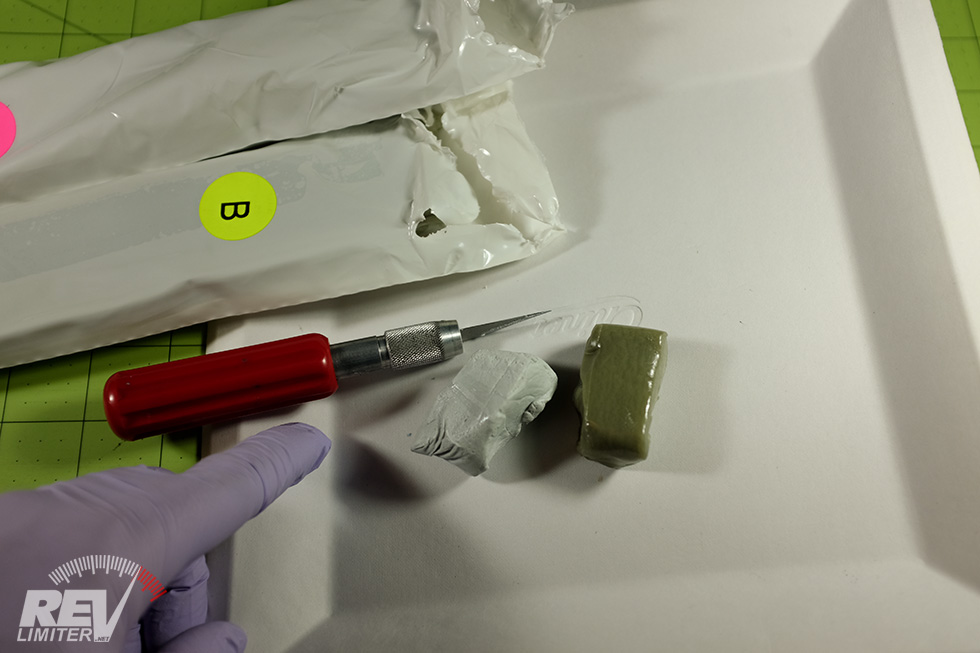
Slice a bit off each log…
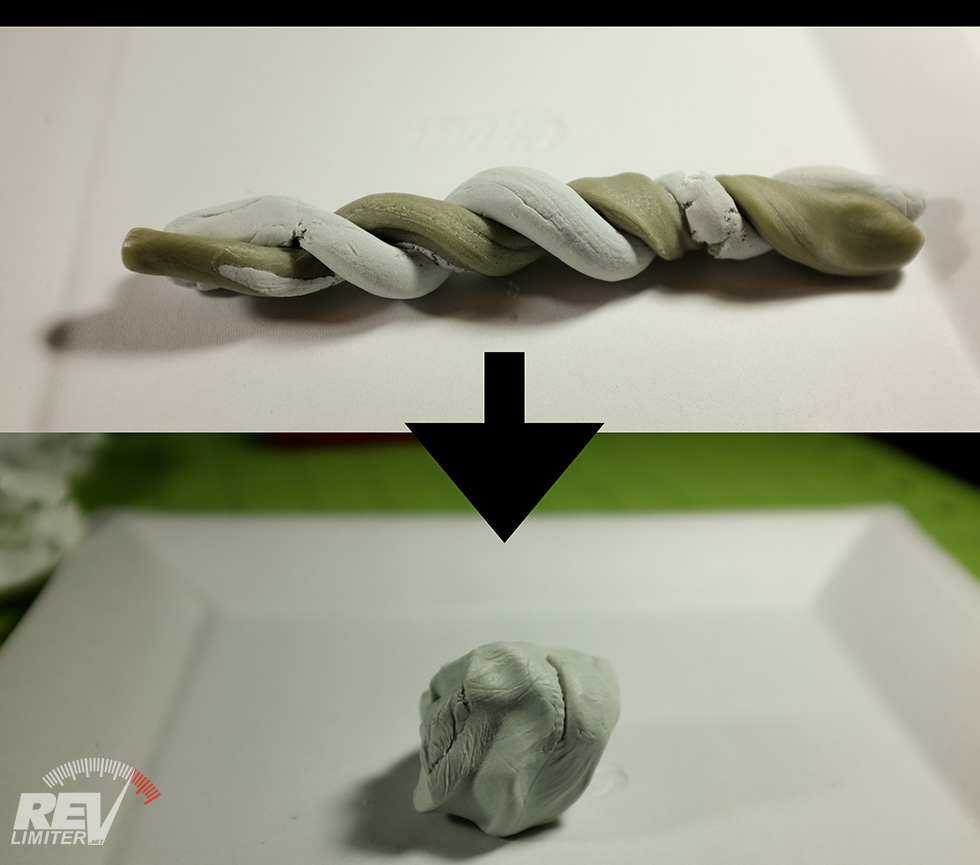
Twist, mash, repeat.
This Epoxy Putty is a solid two part epoxy. They describe how to mix it on the side of the package, but don’t include any photos.
You twist the two parts together and then ball it up. Then you stretch it out into a long noodle, twist together again, and ball up again. Keep going until the epoxy is a uniform color. I mixed up 3 batches total and found mixing to take about 5 minutes. The putty has about a 20 minute work time.
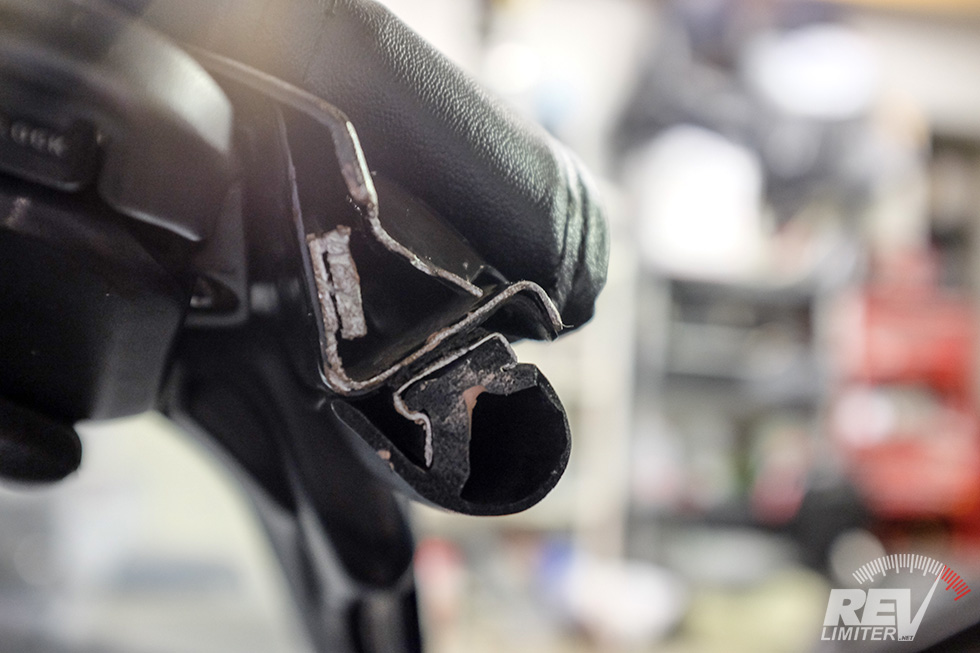
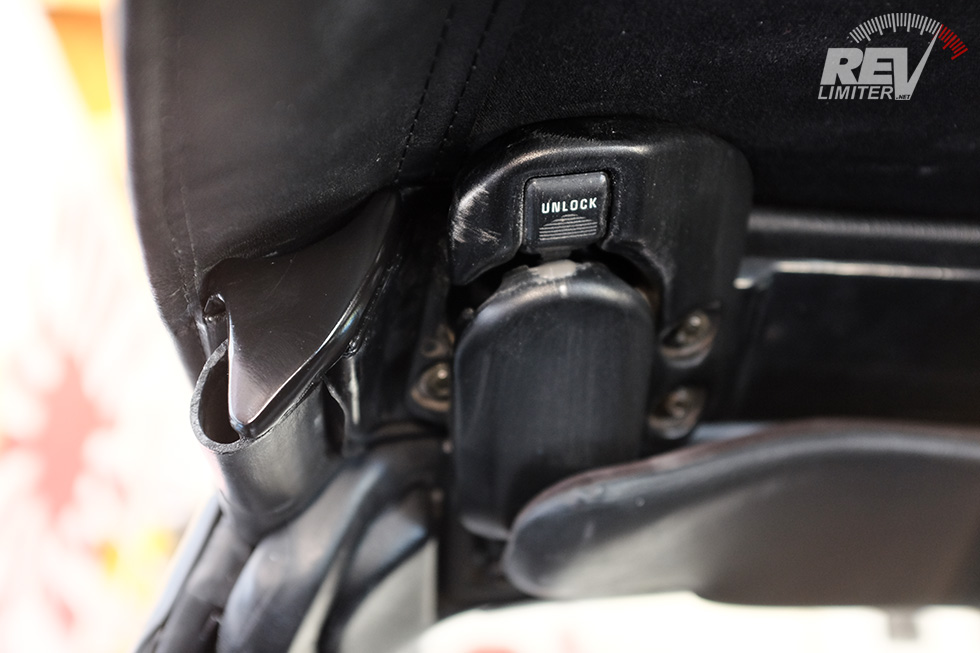
Before.
I left the bikini top in place to actually do this work. It seemed like having Sharka hold the top for me was the easiest way to do it.
I did fold the actual vinyl top back over the windshield to get it out of the way and give me room to work.
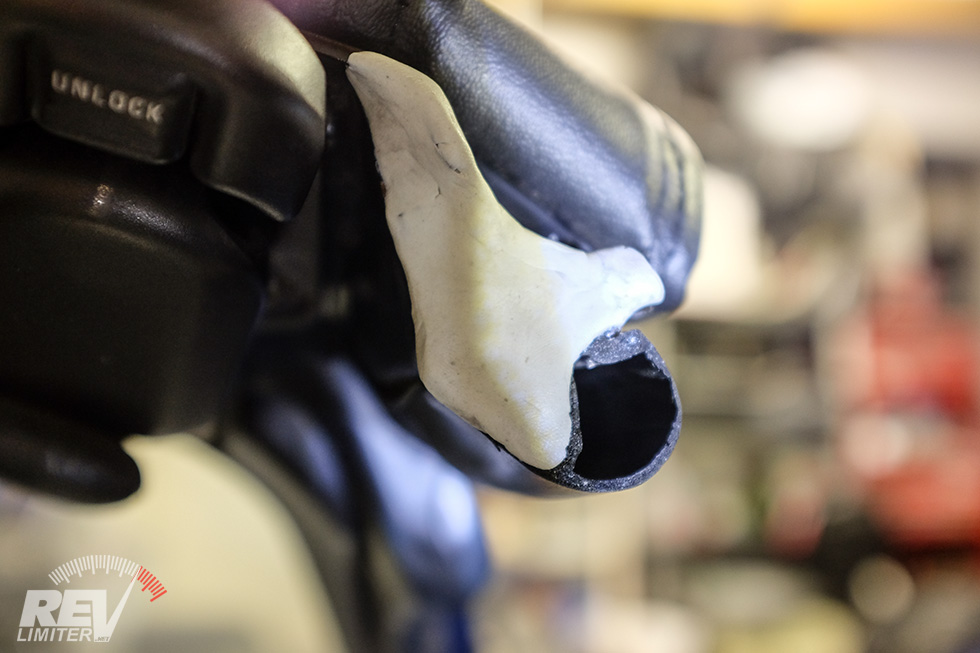
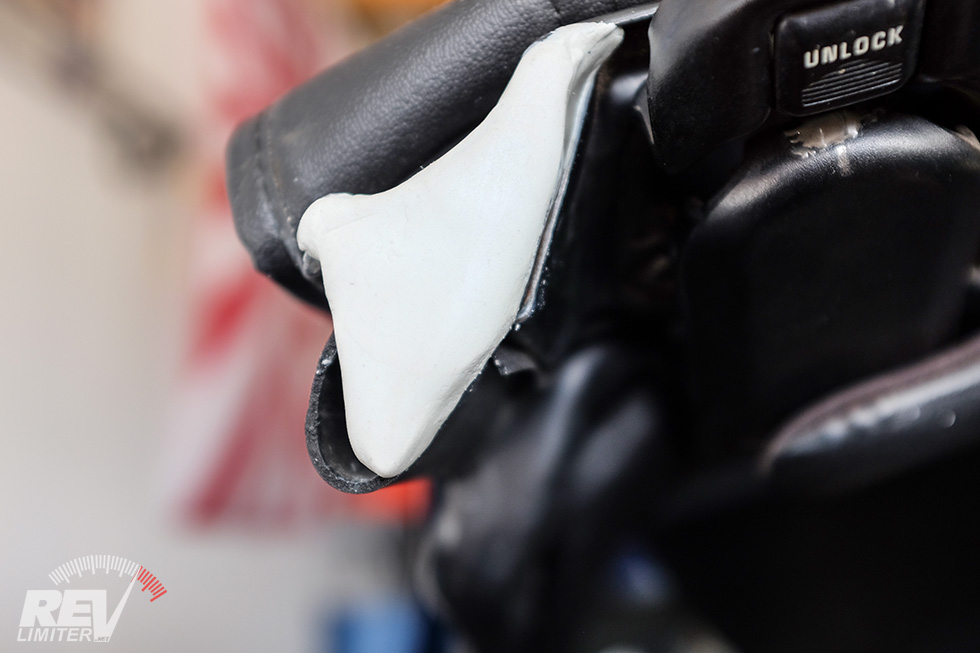
During.
After!
There’s not much to it. Working with the epoxy putty really is like working with clay. It is easy to mold into a space, easy to shape, and pretty easy to smooth out.
They tell you to use gloves when working with this stuff and I’m not about to tell you otherwise. Mixing it up is definitely easiest with gloves on. … buuttt…. gloves make working the putty into any kind of smooth surface a pain. I stripped mine off.
Driver’s side.
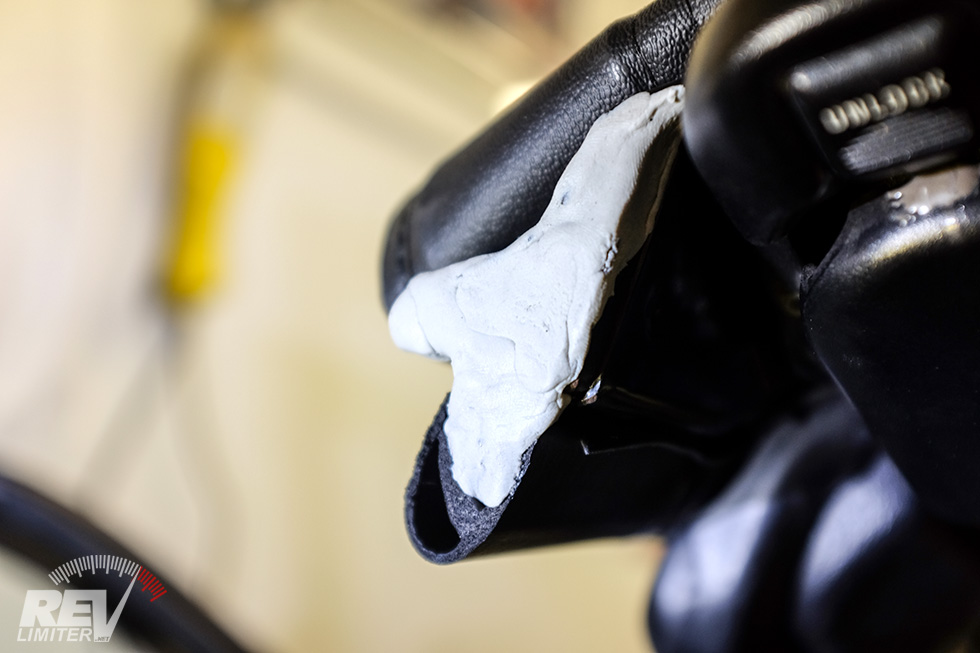
mmm. Chunky!
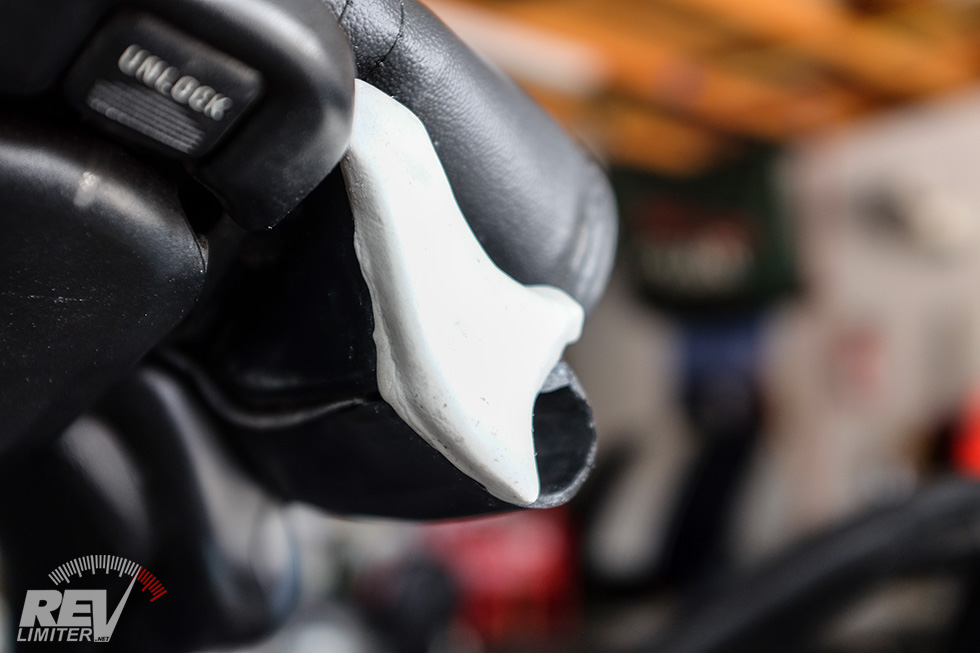
Smooth.
Once the epoxy is into place and sorta where you want it, adding a bit of water to the surface and smoothing it by hand works really well. I was able to get my shapes 90% of the way there just by smoothing with water. And the closer to the end of that 20 minute work time you are, the better it smooths out.
I left it to cure overnight and hit it with a sanding block the next morning. I also smoothed the edges with a dremel and sanding drum.
And then I painted.
SO MUCH BETTER!
Huge improvement.
I hit it with some satin black. It tends to be a good match for interior plastics and the primer/paint combo can makes life pretty easy. And holy crap does it look a ton better.
The new end caps make the rest of the latch area look a bit lacking. I might need to spend some quality time refreshing the latches and front bow to match now. I mean, the only person who would ever see it is me, but it would be worth it.
No idea how I let those unfinished edges alone for so long. At least they’re fixed now!


Amazing!!! Might pick up some of that putty for random projects around the house, car and custom hot wheels.
Great work as usual.
It’s really good stuff! I’m impressed by it.
Another good product is QuikSteel from the auto parts store. It doesn’t look like it comes with as much as the POR 15 but then again there’s no delivery/shipping time.
At the time I ordered my bikini top, they offered a metal plate that could be welded on. This is the route I went. I think your may look better and seems a bit easier.
Oh wow. Welded on plate eh? Not bad. Such a plate can always be JB welded you know.
Mine was definitely a plastic plate of some kind. I believe it looked like a guitar pick. And it didn’t fit the end of my center piece after my careful mangling with the angle cutter.