

Garage Star Fender Braces!
I’m apparently one of the last people in the world to install this. When I posted some fender brace pix on instagram, there were a lot of “How do you not have fender braces yet?!?!” comments.
I’ve got them now. And for the few remaining Miata guys on the planet without them, here’s a brief install and review.
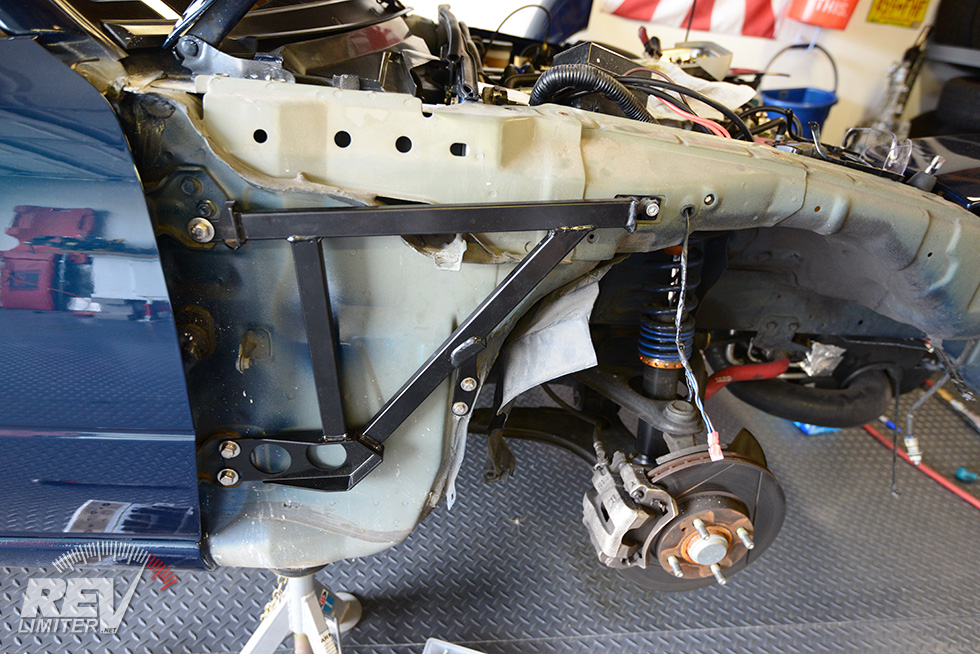
First a few words on the Garage Star braces themselves. It’s a very nice kit as you can see from the photo above. The brace is properly triangulated. Everything is powdercoated. The hardware is complete. There’s two remote tabs with captive nuts welded onto them. Garage Star supplies a great install PDF. The braces are very light (the big box they shipped in felt empty at first lift) at about 2.5 lbs each if I remember right. Really, this is a great kit.
I said “brief install.” This post isn’t meant to replace the excellent Garage Star instructions. Check them out here. For example, I didn’t take any photos of removing the fenders…
Fenders off.

Yuck….
I chose to jack the car up and take off the fenders and nose. Many folks choose to just remove the fenders and use some black magic to sneak those past the edges of the nose. It’s really not that much more work to also remove the bumper cover, and I had some other projects to do at the time anyway. Off came the front body panels!
When I removed the fenders, the amount of yuck and crap that poured out of the bottom edge was astounding. It was so surprising to me that I managed to not take a photo of the dirt pile by the jack stand. Just a ton of stuff. And it was slightly moist. No good. I’ll address that later.
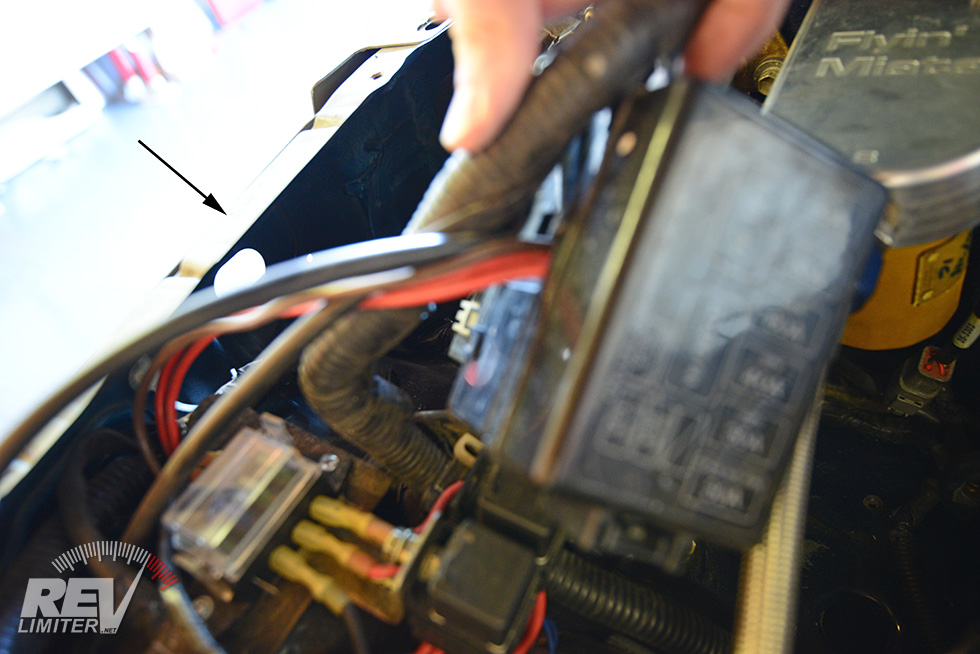
Clearing a path on the passenger side.
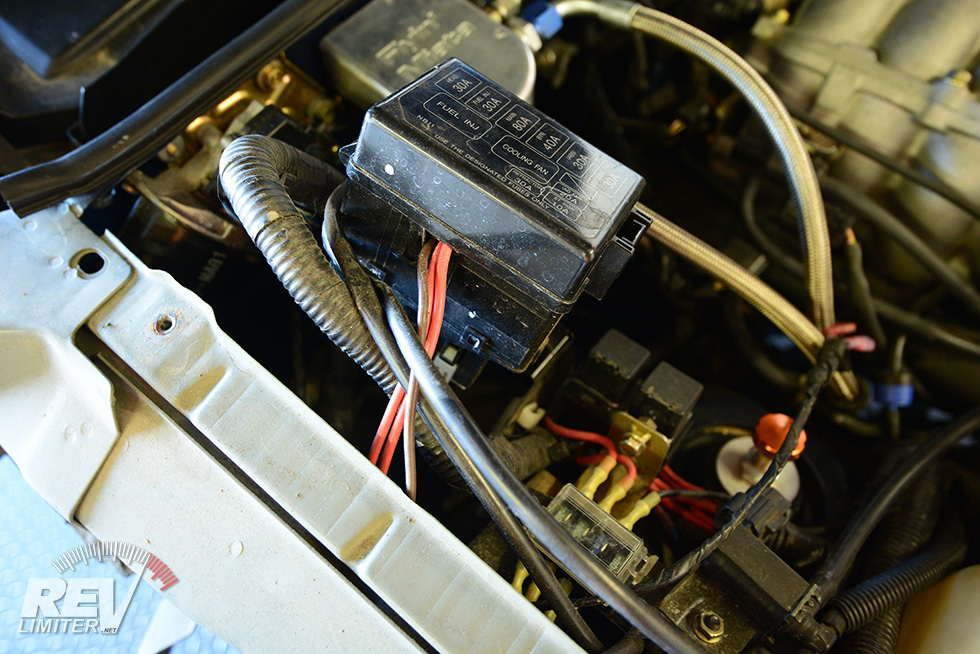
Fuse box moved.

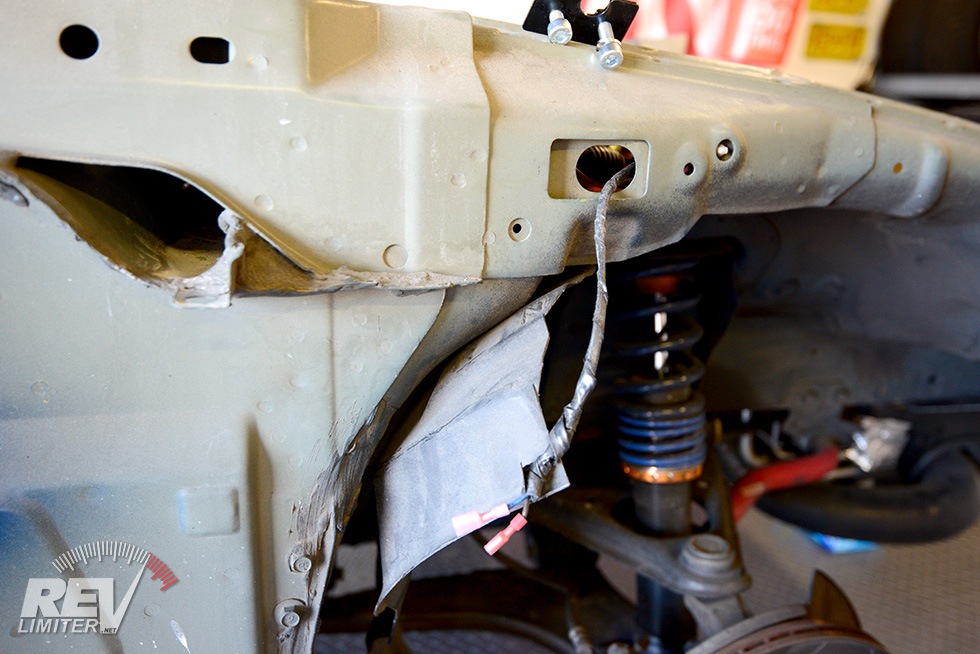
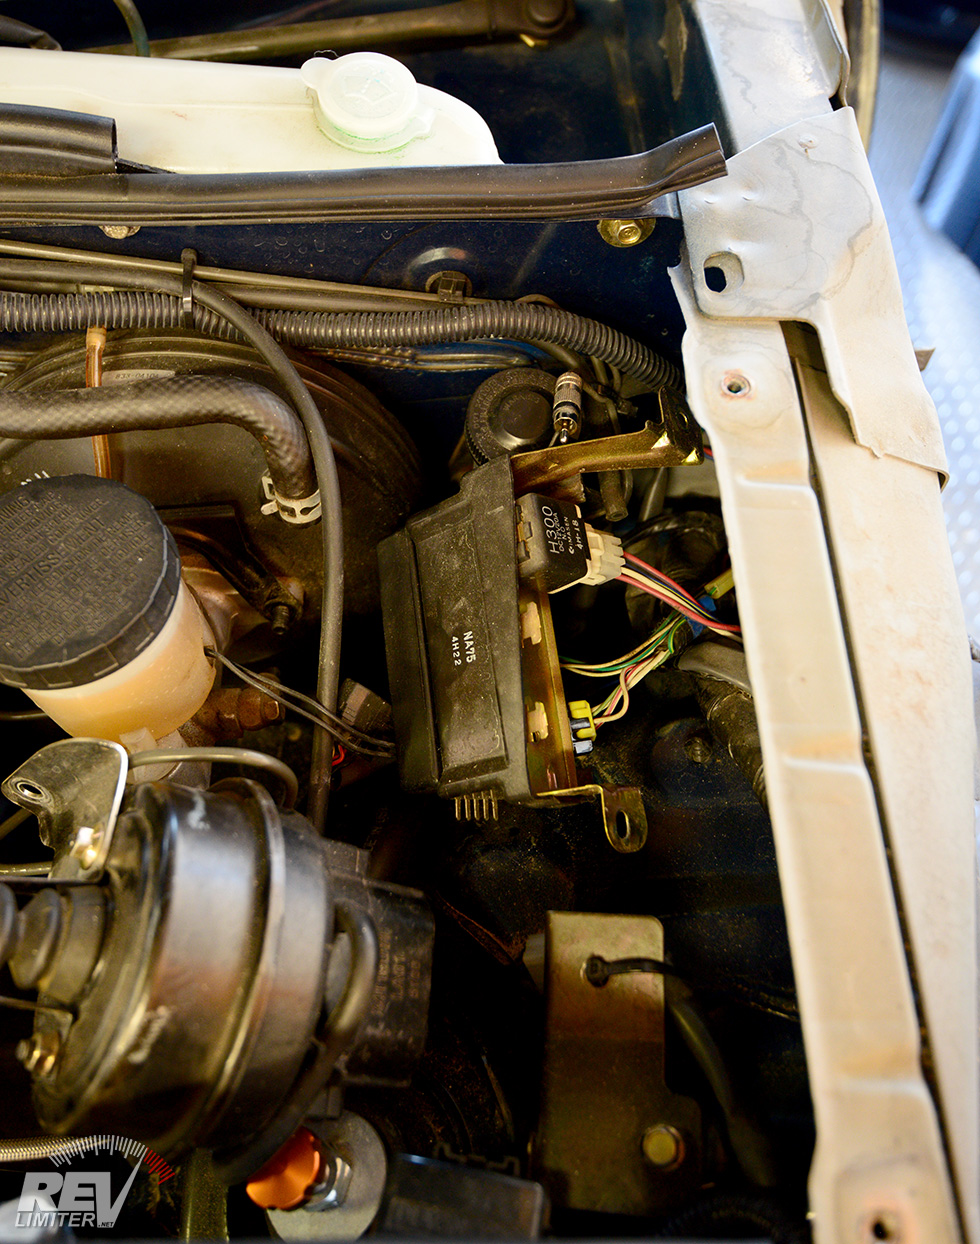
Driver’s side path cleared.
Ready for drilling.
There’s a couple of holes to drill in order to get the fender braces installed. As I recall, there’s literally two holes to drill. Not very difficult at all, but you’ve gotta move some stuff away from the work zones so as to not drill through it.
The passenger side is pretty much the same on most cars. You unbolt the fuse box and then move it out of the way a bit. Not much room needs to be made, but you don’t wanna accidentally hit the wires or fuse box with your drill.
On the driver’s side, there’s usually just the relay box to unbolt. But on Sharka, I have some Link ECU sensors and my cruise control to make things more cozy. Unbolting all of this stuff took longer than actually installing the brace itself.
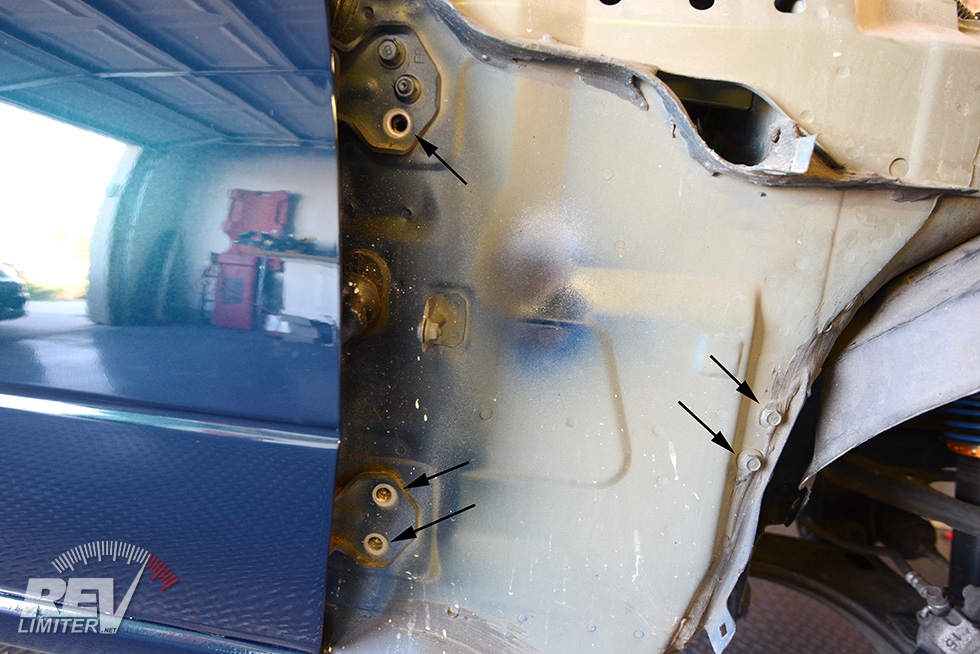
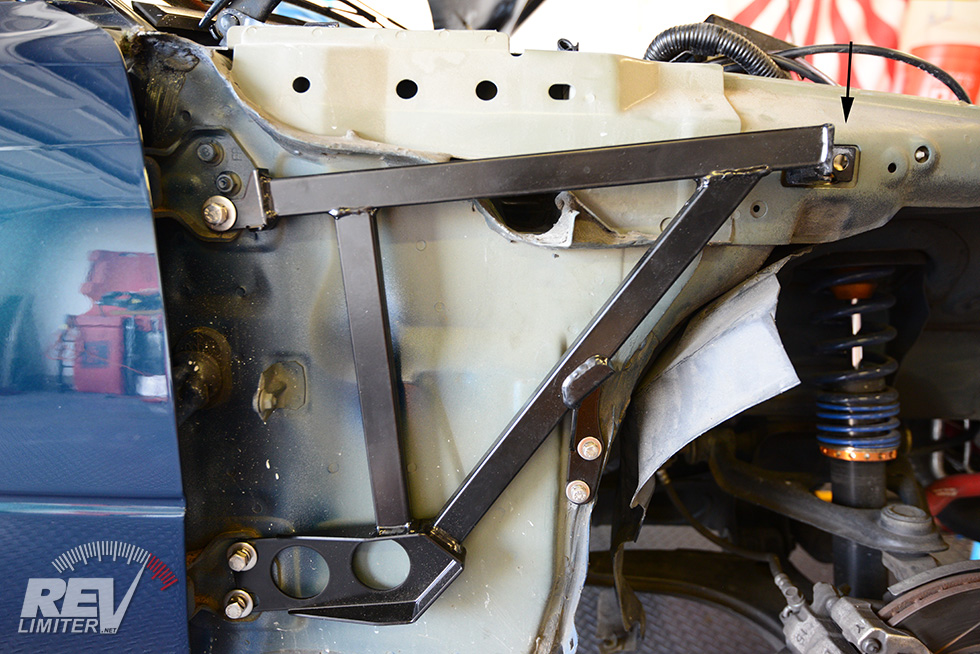
The 5 bolts to loosen.
The Garage Star brace bolts on in seven (7) places. Five of them are standard chassis bolts and you add two more to the front of the brace once some drilling happens. The arrows in the pic show the 5 bolts of interest.
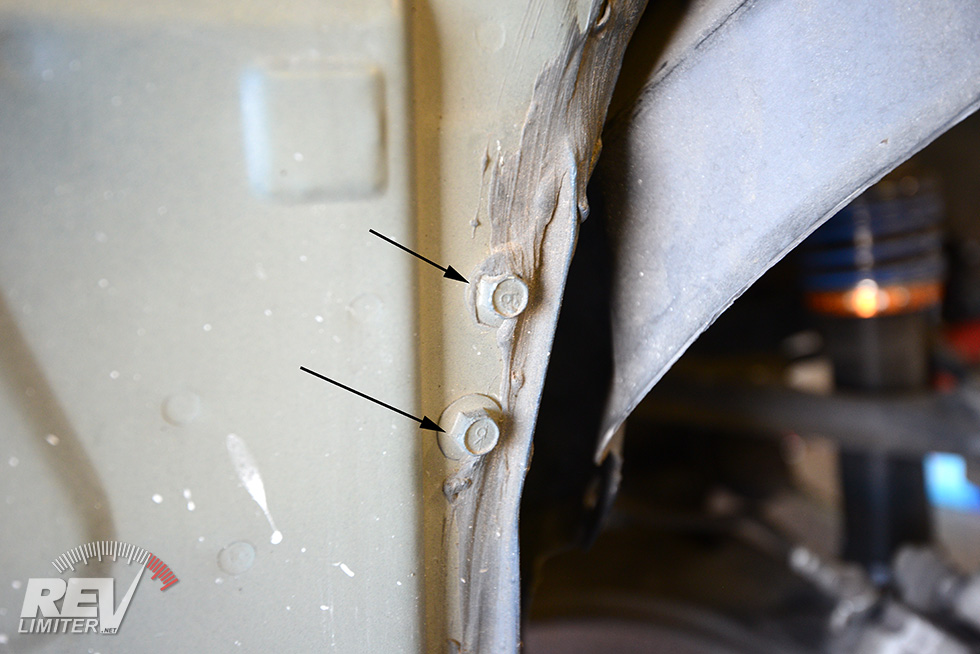
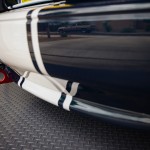
Partially obscured bolts.
Really. There’s bolts under that.
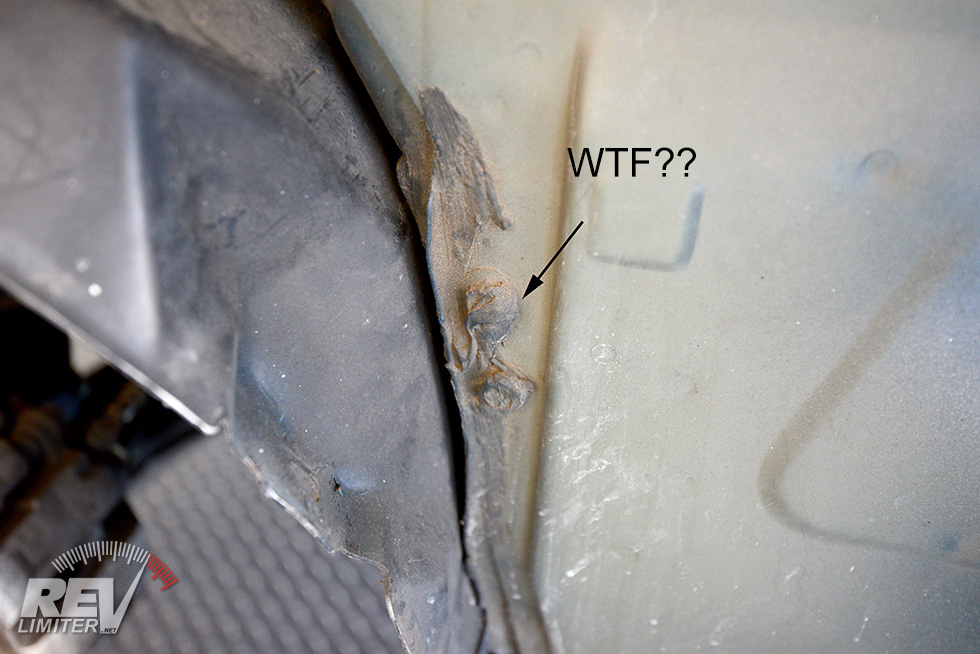
This is what was going on with the lower bolts on Sharka’s fenders. Some sort of… stuff? was sealing up the bolts. On the driver’s side there was very little bolt actually visible.
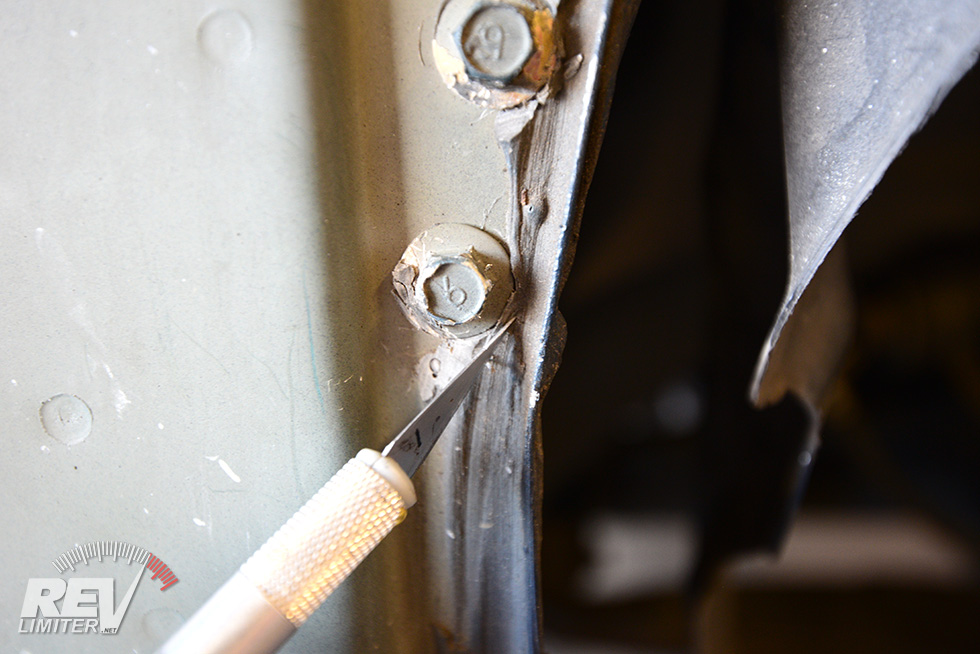
Slicing the body putty.
Fortunately, this “stuff” was pretty soft. I could cut it with a knife and chip it off the bolts pretty easily. Once the bolts were unsealed, the unscrewed very easily. But with the goo covering them? No way.
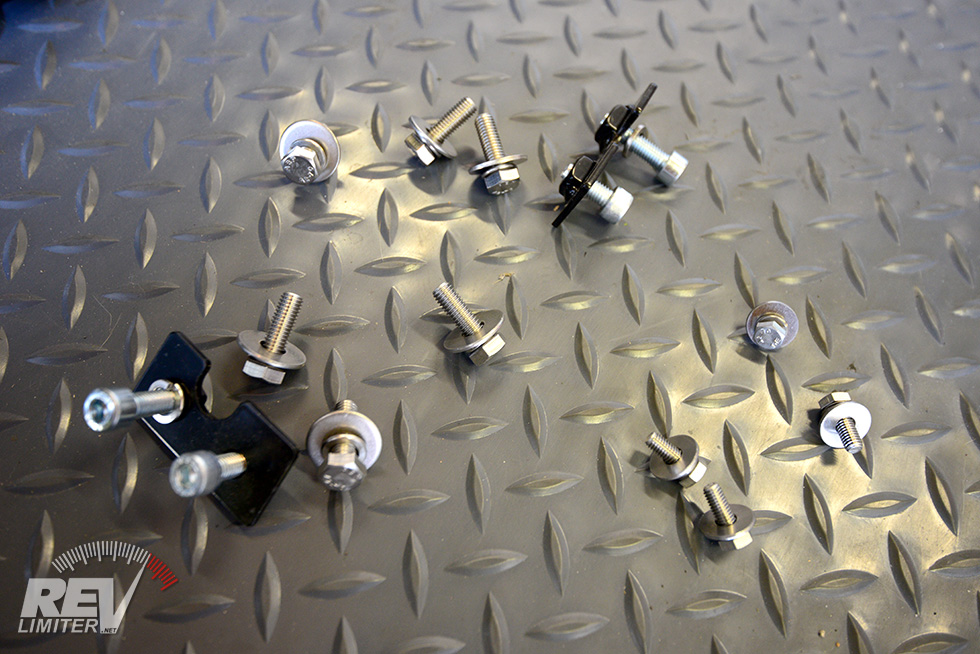
Hardware!
In place for drilling.
All hardware is included with the Garage Star kit. The little black plates that go on the other side of the fenders have captive nuts welded on. This really makes it easy to bolt the fender brace in place even though you can’t really see what you’re doing.
Once the fender brace is bolted up with the five bolts, you can drill the hole needed to mount the front corner.
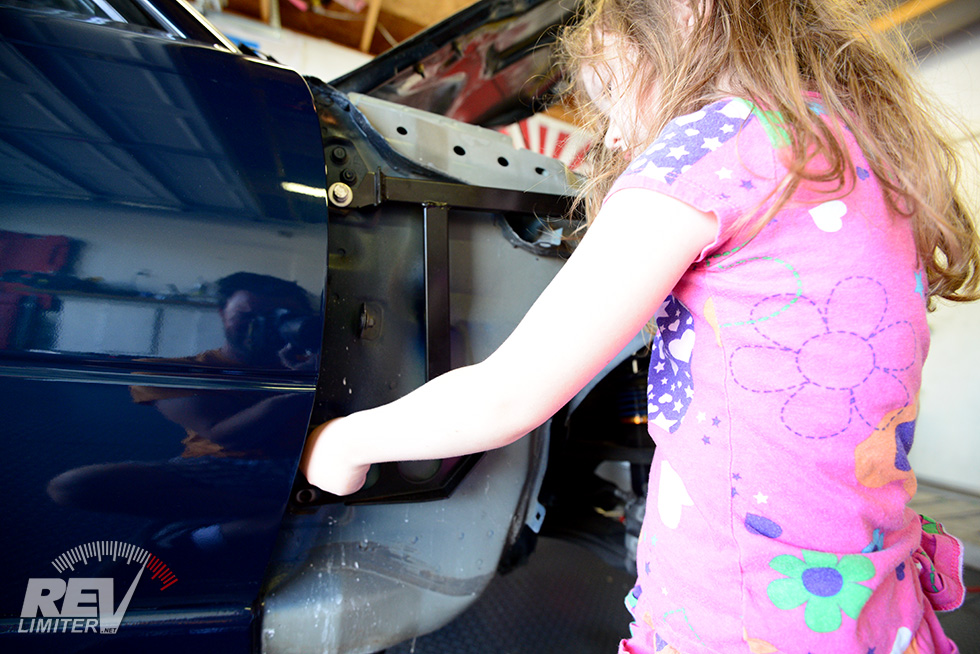
Helper.
Seriously, she did the whole thing. I just took photos.
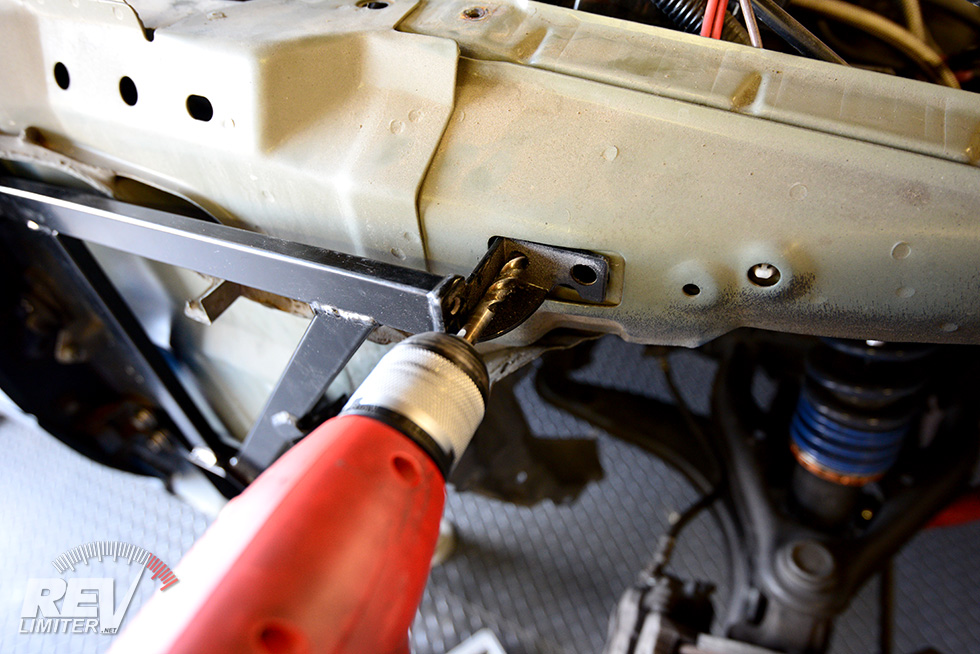
Drill time.

Inside view.
Done!!
There’s really nothing to it. This is a very straightforward part to install. If it wasn’t for the fender removal and installation, this would be a 15 minute mod.
Maybe 20 minutes.
The only thing to be very careful of is drilling that hole. The large drill bit required will want to walk into the engine bay and possibly dig into something it shouldn’t like wires. When you’re about to break through the metal, drill slow.
The Review
Positives: I’ve covered about 500 miles since installing these. The fender braces work and they work well. They’re most noticeable during mid-corner bumps. Before the braces, there was a bit of… something. A dis-settling feel? I’m really reaching for the right words because my XIDA suspension does such an amazing job with bumps and road imperfections mid-corner. But there used to be more of it there, whatever it was. A bit of an unsettled feeling.
With the fender braces installed, there’s much less of that unsettled feeling when encountering a mid-corner bump. The chassis is flexing less and allowing the suspension to do it’s job more efficiently.
Corner entry feels more controlled and precise as well. Like I can put the wheels exactly where I want more easily.
You can google and find more reviews on Miata fender braces. My thoughts echo all of those. It’s a great upgrade that helps brace the floppy Miata chassis in a nice way.
Negatives: You probably have to re-align your doors after installing these. It’s not hard. With the fenders off, you can do this in about 30 seconds with a floor jack and wrench. But if you forget, like I did, well… it’s a bit more difficult to slide the wrench between the door and fender to get the bolts loose and then tight again. Having fenders in place turns a 30 second job into a 5 minute job.
This a very small negative. I feel silly posting it.
Overall: The fender braces are a great modification and I’m extremely happy with the Garage Star ones. How did I wait this long to install fender braces on Sharka? I have no idea. But I’m very happy that I didn’t miss out. I’d give these an A+. I can’t think of a type of Miata that would not benefit from a set of these. Even a fully caged Miata would likely still benefit from stiffening up the fenders.
Get your fender brace kit at Garagestar.com.
and now… the fenders.
Bonus Fender Repair
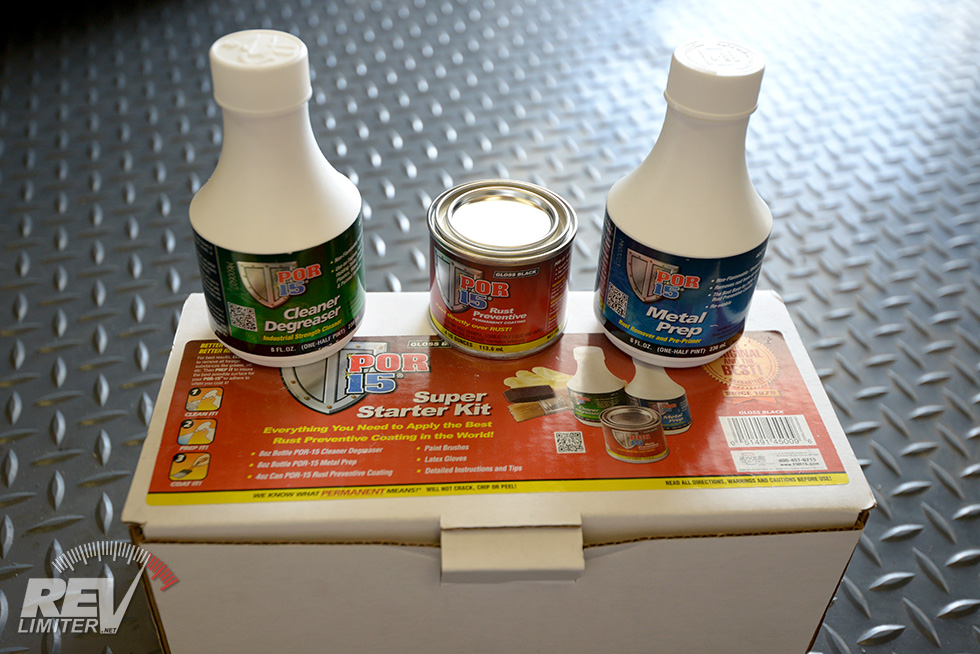
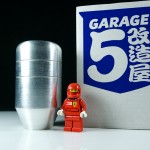
The small Por15 starter kit.

Always protect yourself.
When the pile of crap fell out of Sharka’s fender, I immediately ran to the computer and ordered the small POR-15 starter kit from amazon. 2 days later, it was waiting on my doorstep to be applied to the fenders.
Living in New Mexico, we don’t have much rust. But I’m not about to ignore a problem area when 30 minutes of work can fix it permanently.
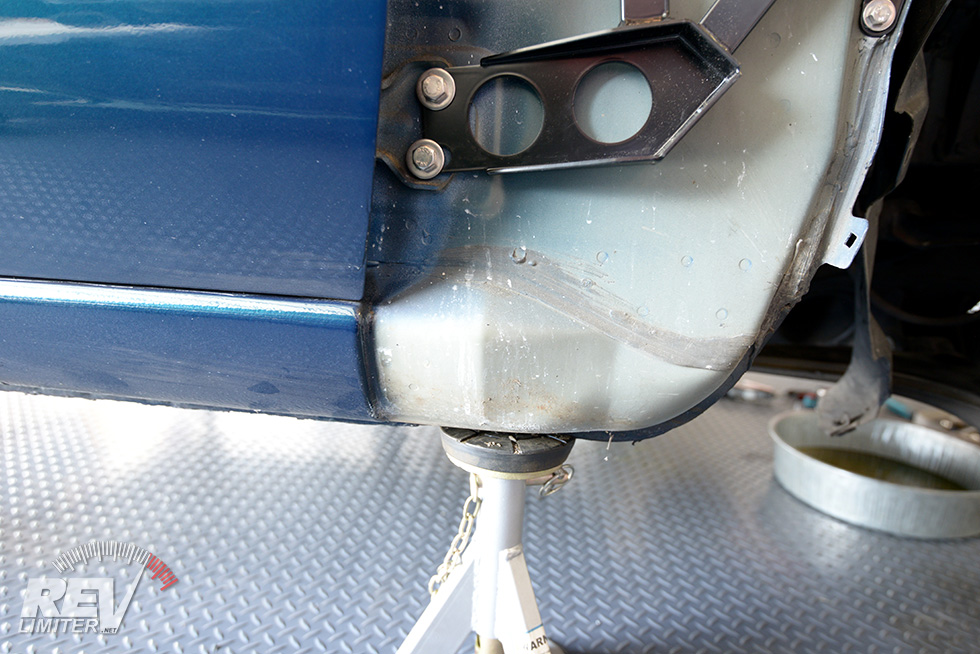
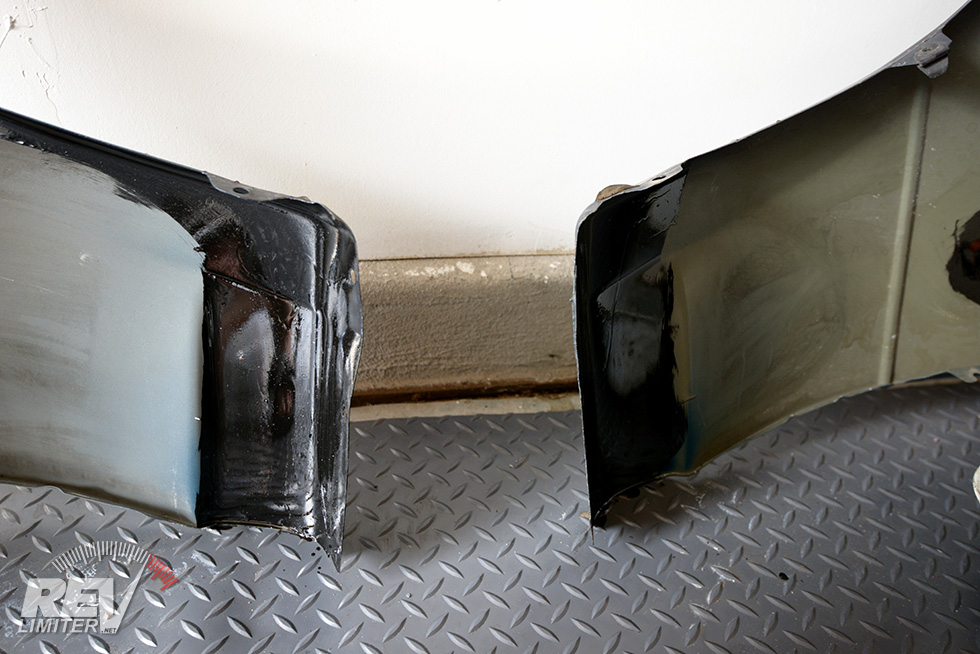
No damage down there really…
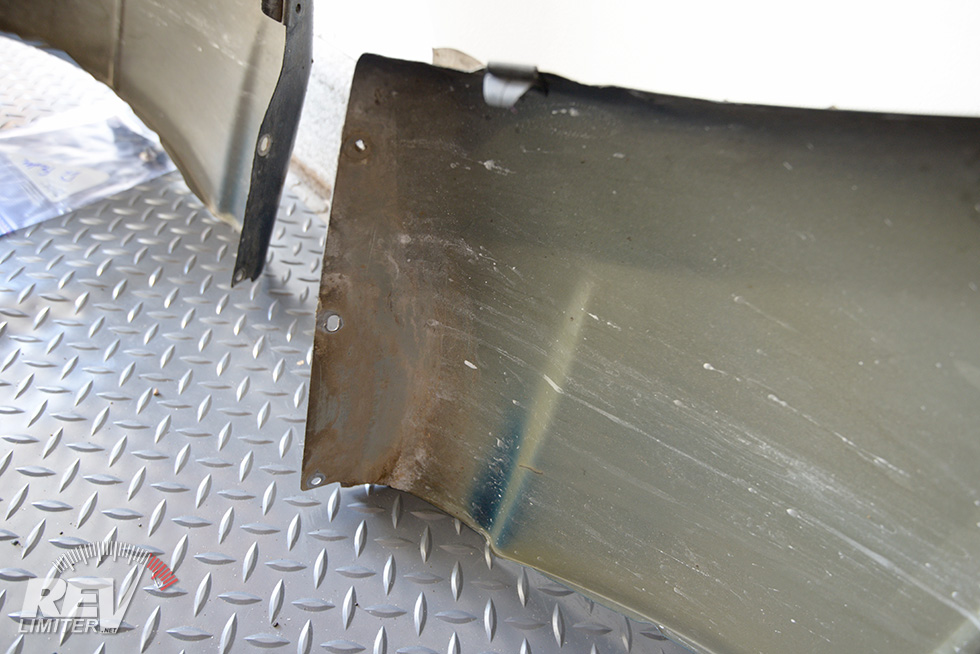
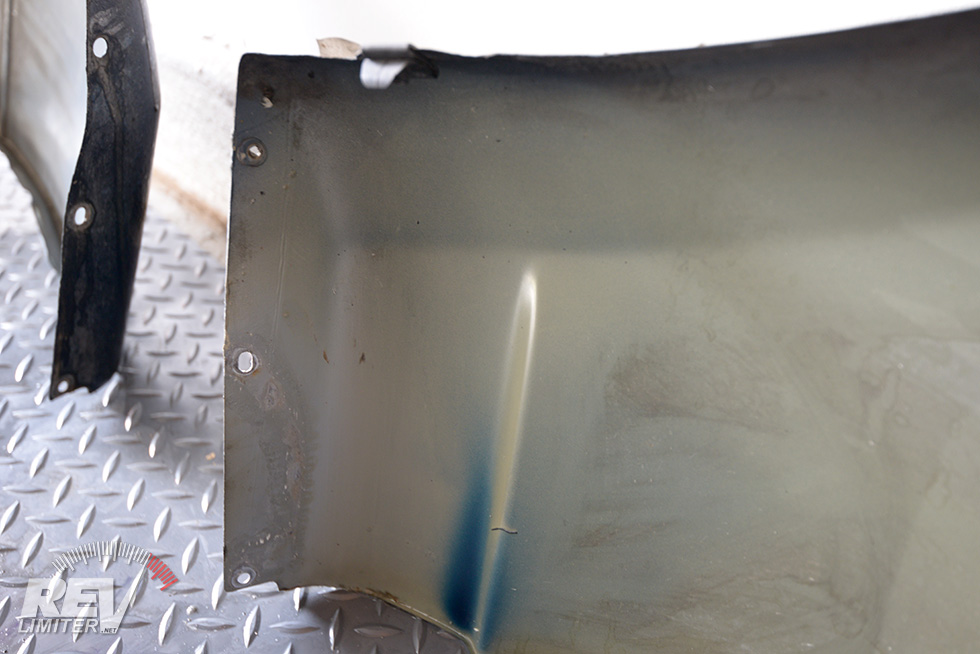
Yuck. Yes, there’s rust.
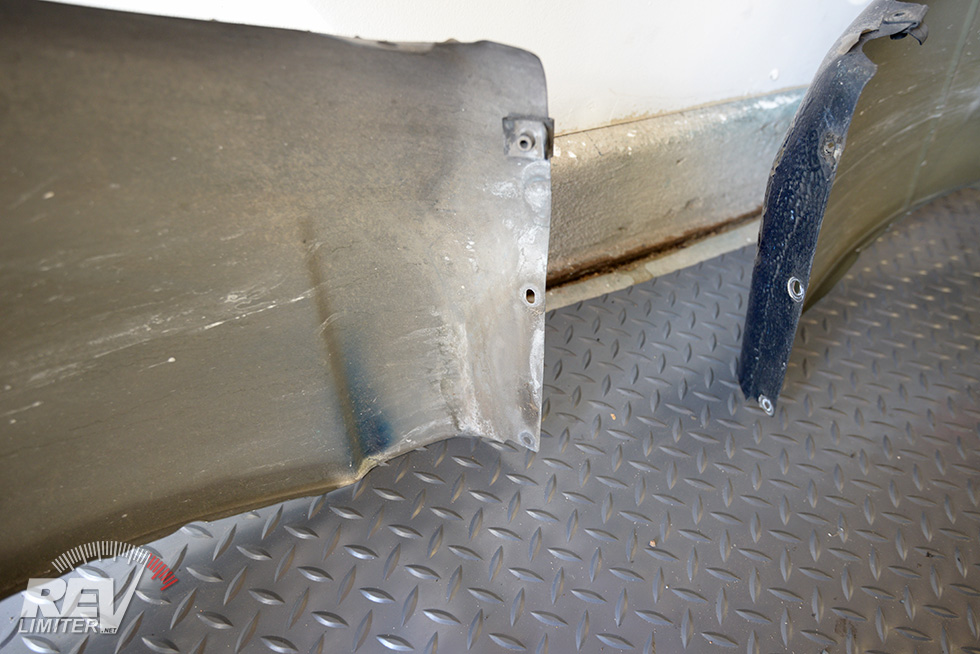
About to be fixed up.
The lower edge on the body itself didn’t show any signs of damage from years of moist yucky stuff being stuck next to it. Still, I wasn’t taking any chances. That got coated in POR-15 too.
The driver’s fender was yucky, but the passenger fender? Dang. Surprising.
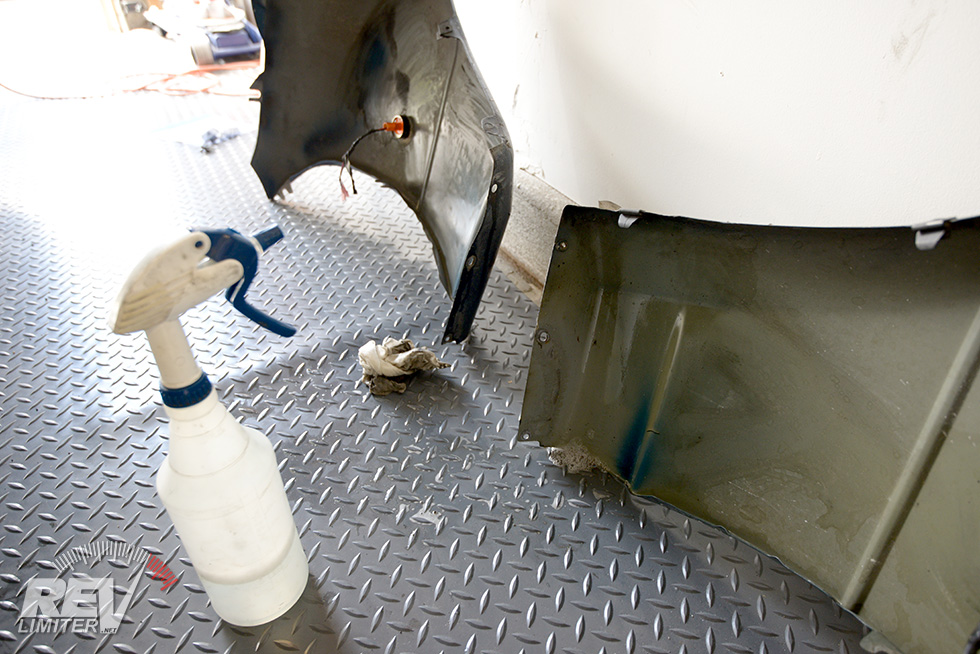
Degreaser
Much better!!!
The first step of POR-15, the Degreaser, takes about 10 minutes. You repeatedly soak the panel in the degreaser with a bit of wiping in between. The end product is a much cleaner panel that’s ready to get a nice zinc coating.
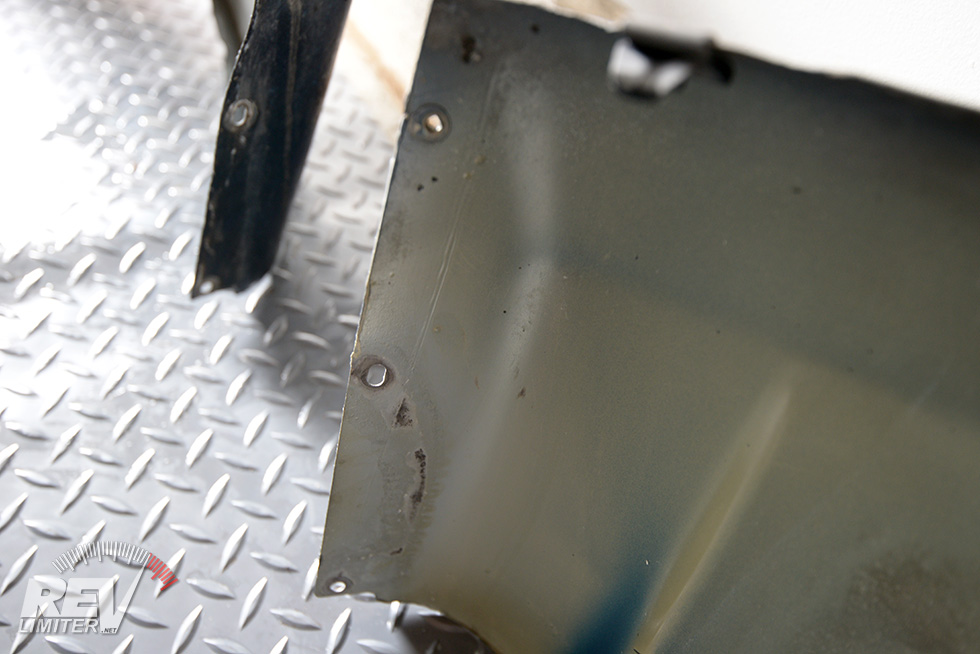
Dark spots are the Metal Prep sticking to the rust.
As the caption says. The dark spots show where there was rust on the panel. The zinc sticks to it like glue. This step takes about another 10 minutes. You paint the Metal Prep on with a brush and try to keep the panel wet for the full time.
POR-15 applied.
I painted on two coats of POR-15 to the base of the panels. That left me with about 80% of the tiny starter kit left over. I’m not upset in the least. For $20ish, I’ll not have to worry about these parts rusting in another 20+ years. I’ll probably have other worries in life at that point anyway.


Wowza, that’s kind of wild. If I remember right (it’s been awhile) you got sharka.2 from Ohio.. Where I’m currently typing from. The urge to check my fenders for the same moist goop is unreal. Nice catch.
Adam, you mention having to move some Link ECU stuff to drill the holes for the braces. Is that what you’re using to control the turbo setup?
Adam, that gunk that was preventing you from accessing the bolts under the fenders is seam sealant. Basically, our cars (most cars, I would imagine) are spot welded at the joints that connect the various pieces. Well, you wouldn’t want dirt, grime, dust, etc, to end up in the gaps left behind, so seam sealant is applied.
In the end, it’s a pain to remove, but it keeps a car from rusting apart in a few years as opposed to a few decades, so… net positive. =)