
New Old Stock.
A few months ago, I found myself driving around with my daughter in Bucky. That’s not uncommon. We have a couple Miata drives a week and Bucky is her favorite car. Anyway, we were behind a titanium NB2 with most of the factory tupperware installed. We followed for quite a few miles, not on purpose, just going the same direction. No creeping.
I was, well, smitten.
The trunk spoiler was lovely from behind. The car also had the small NB1 mudguards and large NB2 side skirts. It had no front spoiler (I love Bucky’s NB2 front lip) but I only noticed that toward the end when I passed.
The body cladding made the whole car seems SMALLER. I’d never noticed that effect before. It was otherwise pretty stock and at stock ride height. But it just seemed small. The extra bodywork added new angles and lines that gave an overall effect of shrinking the car.
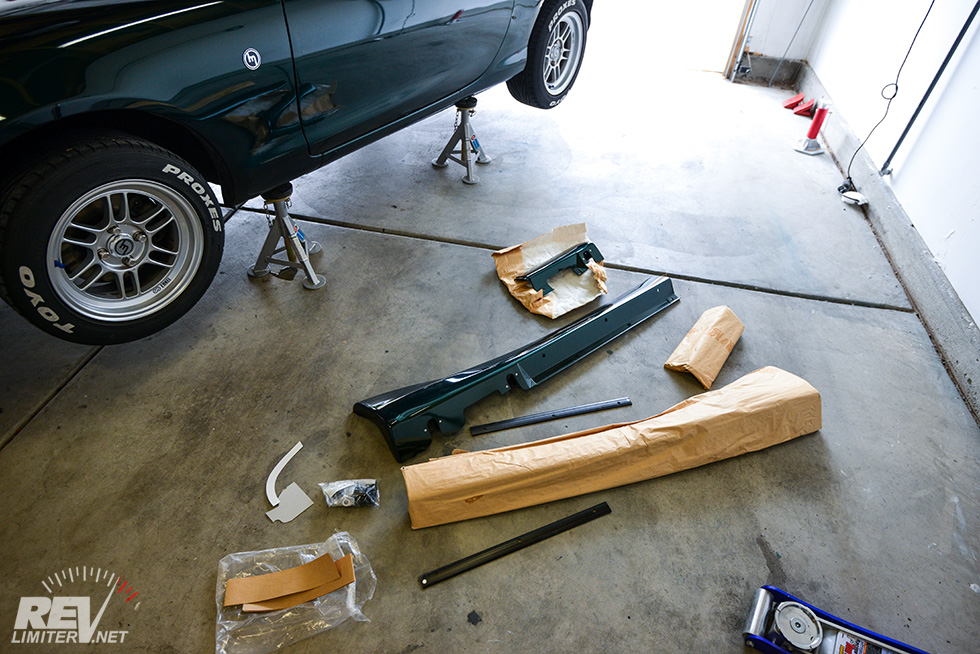
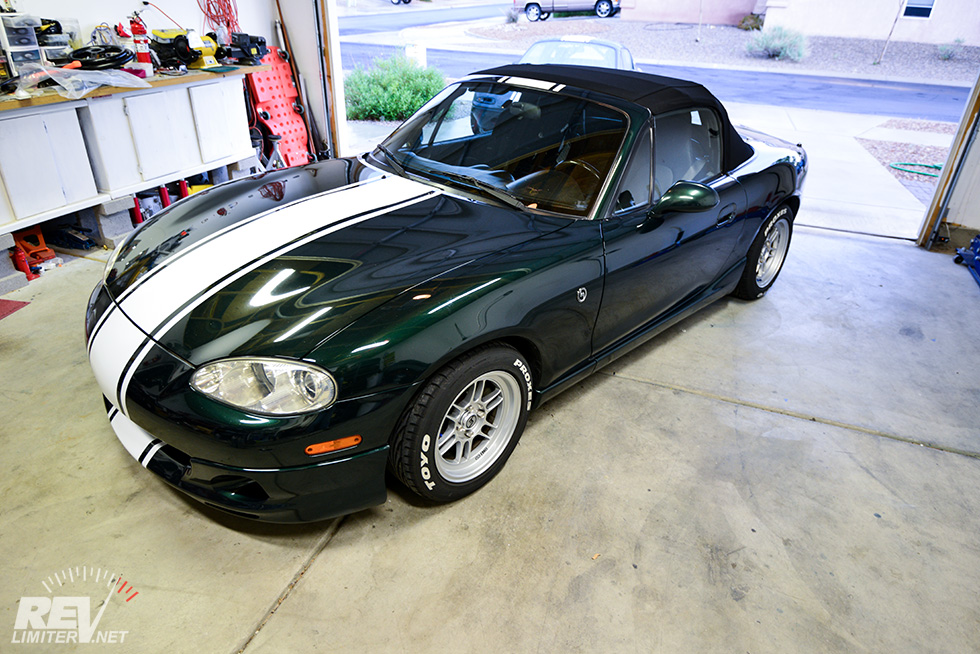
I went shopping for some parts that night. Ebay found me this lovely set of NB1 skirts pre-painted in Emerald Green from the factory. New Old Stock. I hit buy it now.
Ready for some work.
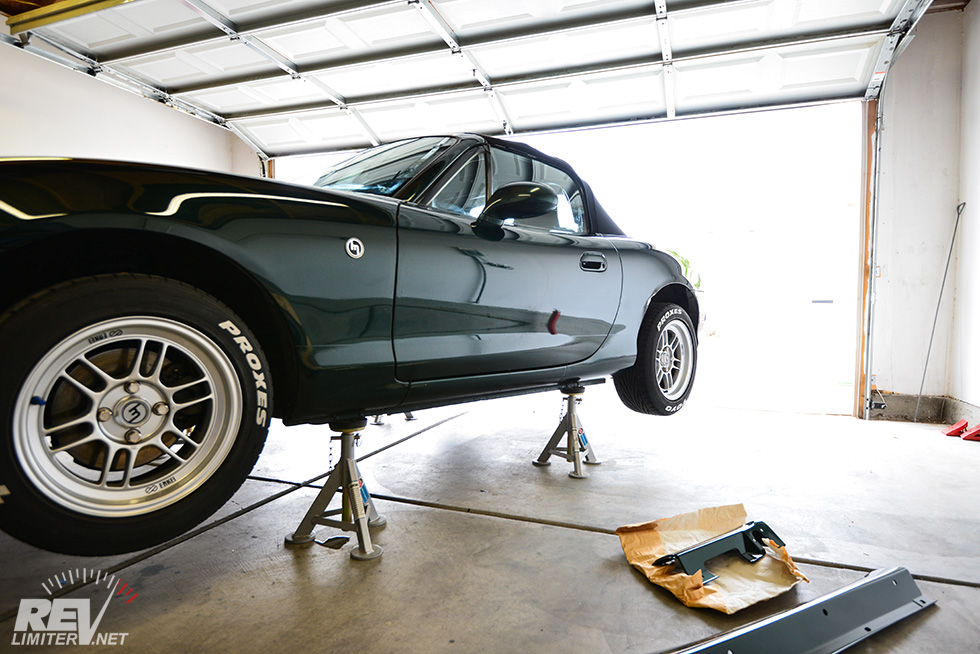
Having the car up high really helps with this sort of thing. Sure, with the car on the ground you can pile up some books and mock up the skirt install, but… it’s a pain. You have to drill holes in the bottom of the sills, top of the sills, and fiddle with the fender liner. Much easier to jack the car up.
Also, I love my Esco jack stands.
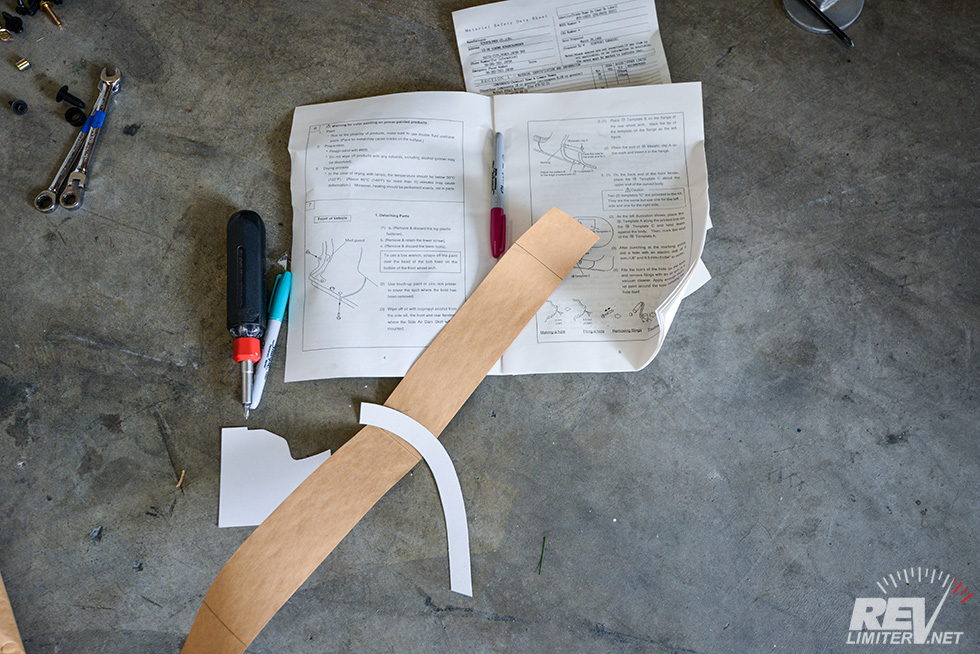
Important cardboard tools.
This is actually important. This cardboard jazz? If you don’t have the three pieces of cardboard, you can’t follow the… horribly written instructions. They help you measure and mark where holes need to go.
And holy God, those instructions are horrible. 14 pages of cryptic illustrations and poorly written directions. I literally puzzled over them for a month before attempting the install.

Step 1: drill.
Drilling my non-wavy factory bodywork was not my favorite thing ever. Especially when completely confused by the highly calibrated factory cardboard measuring devices and instructions. Yikes.
3 hole. Measure with the cardboard and mark. Then drill pilot holes. Then the big holes. Then add paint on the edges. Then fit the plastic slider frame thing. How hard is that? Not very.
The instructions should have included TEST FIT THE PLASTIC FRAME somewhere between drilling pilot holes and drilling the final holes. It didn’t, so I didn’t. I ended up dremeling the frame to make it fit correctly after the calibrated cardboard wasn’t quite calibrated correctly…
Frame installed.
That’s about 50% of the work right there, figuring out where exactly the frame needs to be and drilling the holes for it.
Note the claw hammer? The most fun automotive jobs involve a claw hammer. I highly recommend using one at every opportunity.
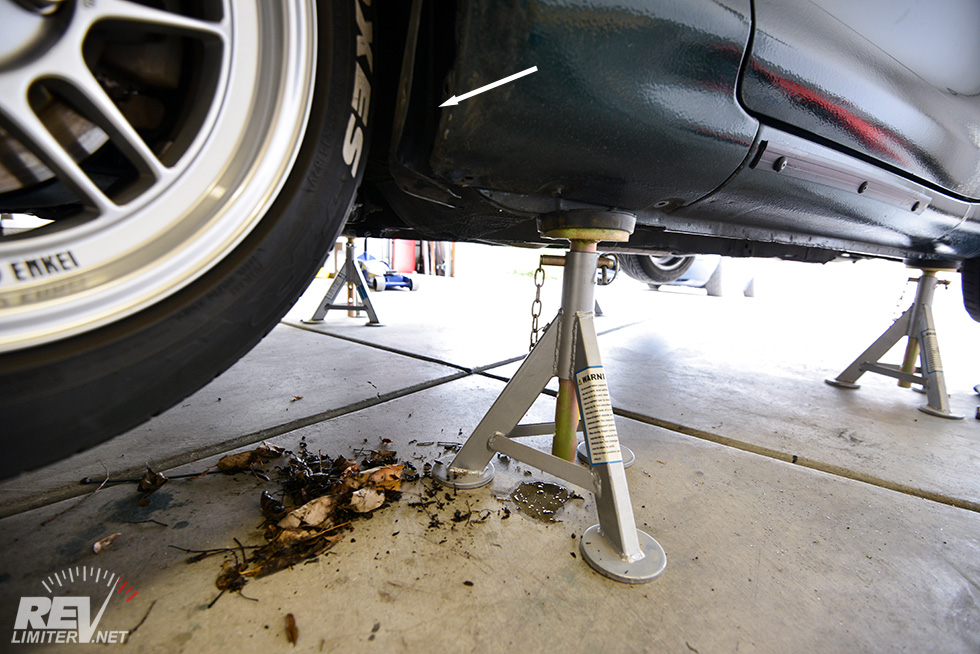
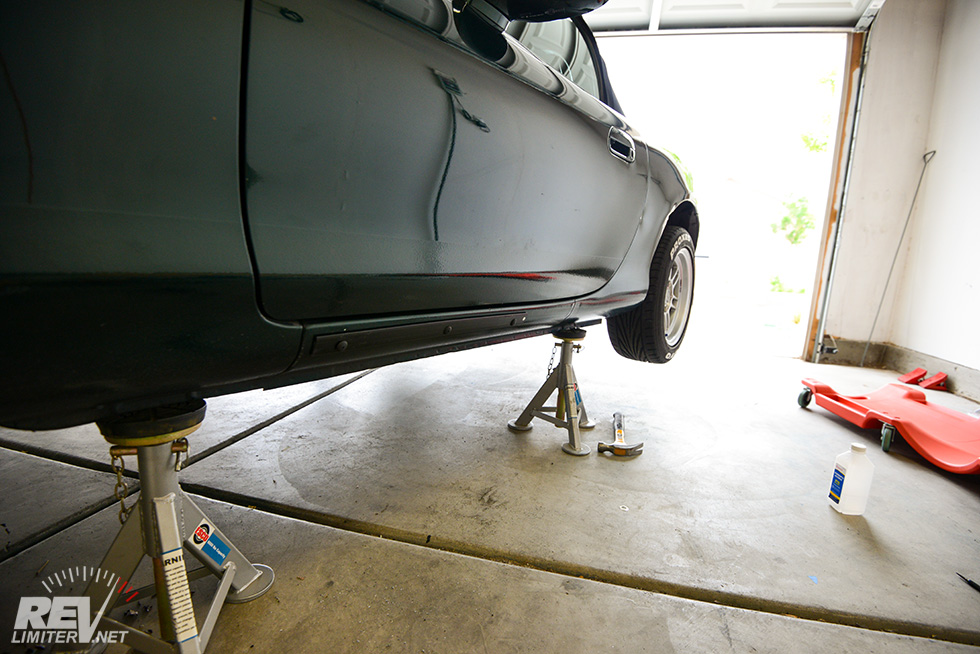
Yuck.
This was yucky. I opened up the fender liner in order to mount the front piece of the side skirt and this stuff fell out. Mostly mountain stuff. Bucky lived in the mountains for the first 2 years of his life, so… this shit could have been in there for 12 years. I’m not pleased.
More was in the other side. It smelled lovely.
Actually, the twigs didn’t smell bad. It was the inside of the fender liner that smelled bad. Strange how that works. I just left the pile of yuck and swept up after I was done.
SO! Clean out your fender liners once in a while, fellow NB owners.
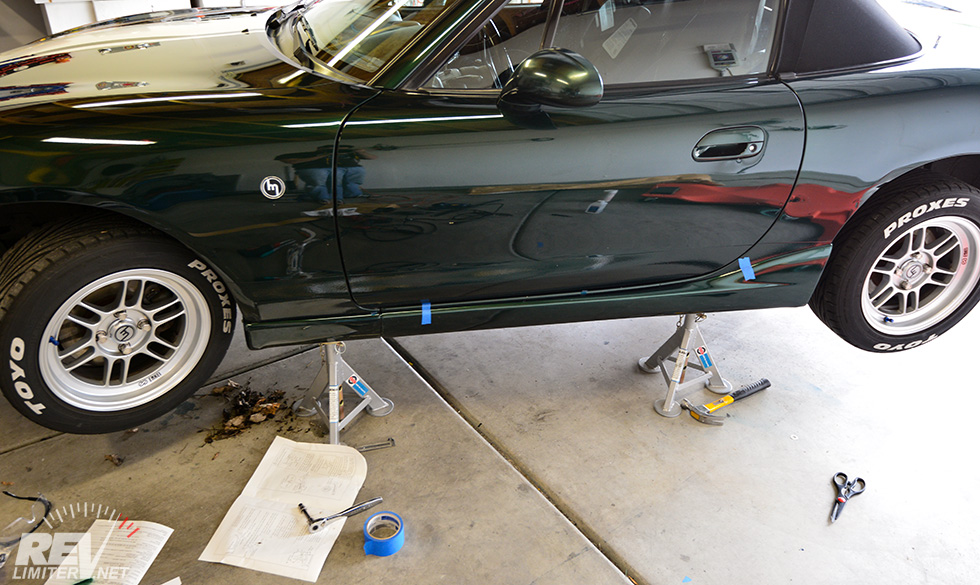
Mocked up.
There’s another 6 or 8 holes to drill. You hang the skirt on the frame, tape it in place, SLICE the tape in half on the seam, and mark the hole locations on the bodywork. Not very difficult.
No factory-calibrated cardboard tools were required.
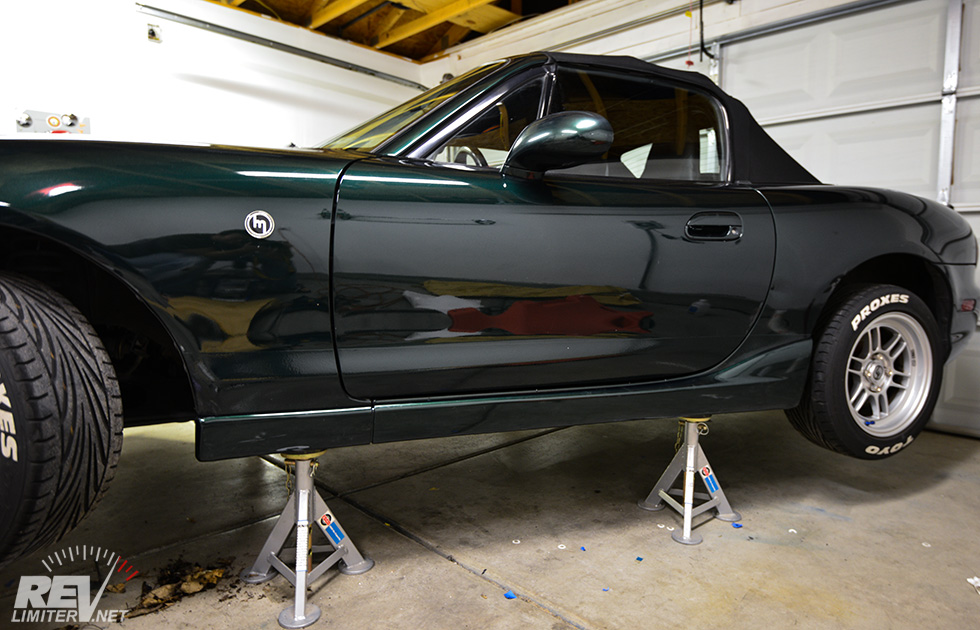
Installed!!!
Once holes are drilled and painted, there’s not much left to the job. You press in the little plastic pins (claw hammer) and make sure the tape marks lined up. Then you remove the backing from the factory double sided tape and stick it down.
DONE! Onto the other side.
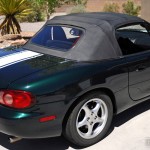
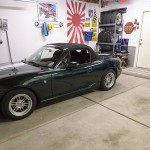
You might notice the garage is now closed. It started to rain pretty hard while I was doing this. Sharka was parked outside. The little guy didn’t let me hear the end of it for weeks. Constant “remember when you parked me in THE RAIN while you worked on Bucky?” and “oh, no. I can just sit IN THE RAIN while you kick back inside. Don’t worry about me.” and so forth. For weeks.
Before.

After!
The first side took me about an hour and a half what with the poor directions and cardboard measuring devices. The second half took barely a half hour.
Claw hammer. Drill bit sharpener. These tools really help.
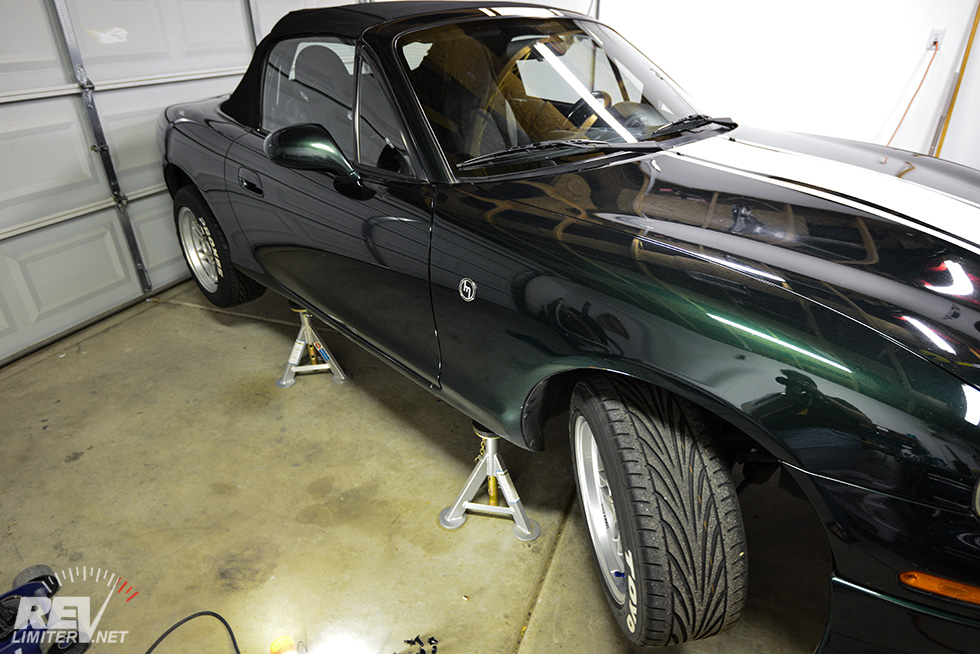
DONE!
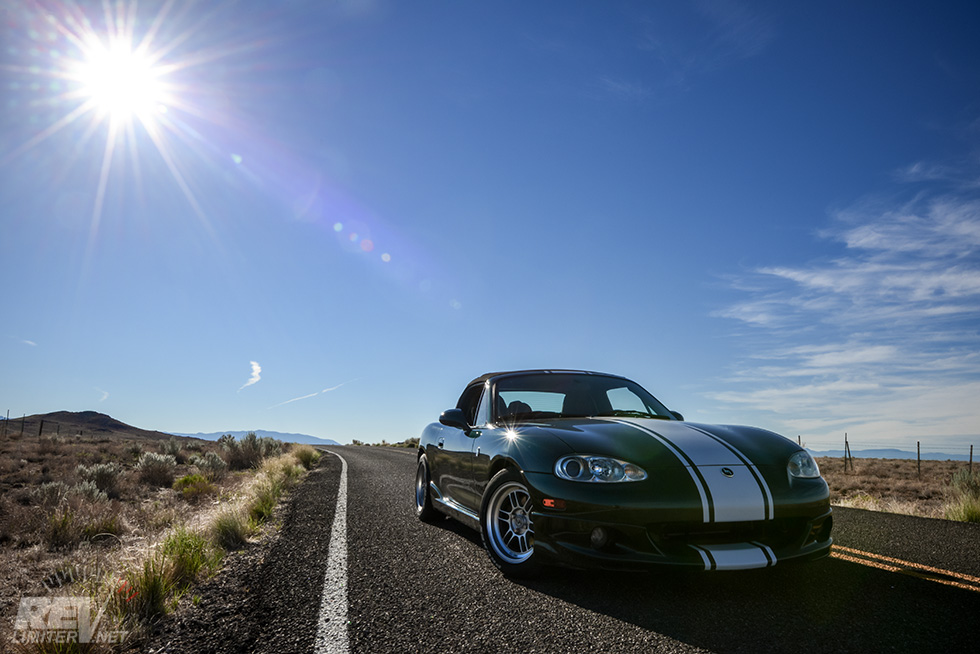
From the front.
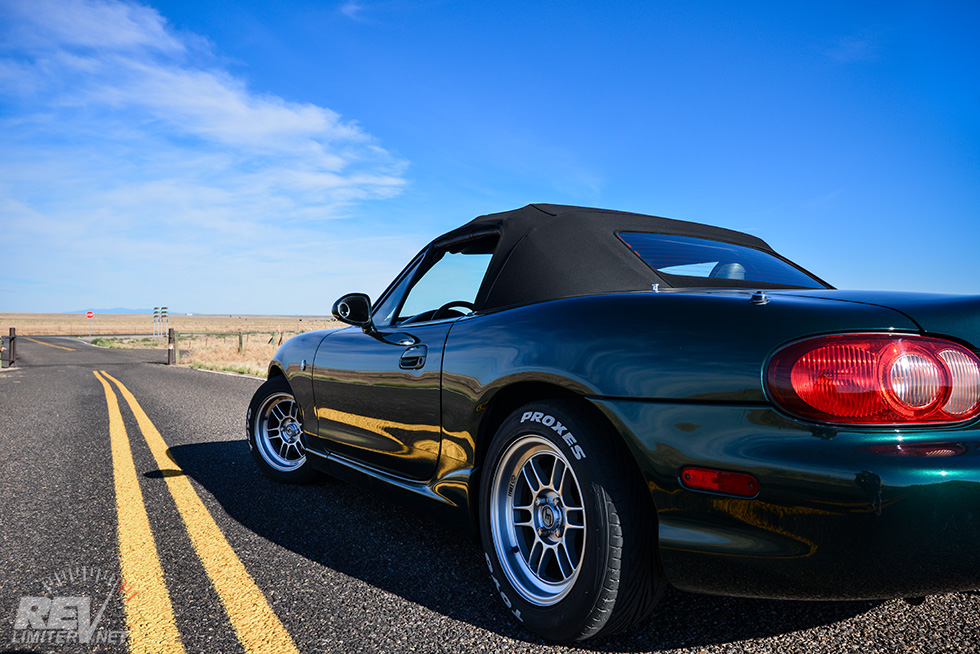
From behind.
SUPER pretty! I really like this look. The small 99-00 side skirts are subtle, but they add some nice curve to the bottom of the door. The car looks a bit less soap-shaped and more… something. More Miata? I’m not sure.
The paint, of course, matches perfectly. Nice thing about buying factory painted items – the paint usually matches. To think that the skirts spent 15+ years in a box just waiting for me to come along and pop them on Bucky.
Now to find a factory trunk spoiler…


NB1s had factory option skirts? I’ve been looking forever for some skirts that don’t look like they came out of Need For Speed Underground. Thank you for opening my eyes!
HA! No problem. They stick out juuuust a little, but the small ones really are lovely. Definitely not a NFS mod.
Greetings. You didn’t by chance test fit the side skirts on your NA?
Regards,
David
Looking at buying these same sills for my own 2001 emerald green mica miata. What front nose lip do you have on yours ?
It’s the factory NB2 chin spoiler. It’s meant to work with the more aggressive side skirts, but I really like it with the NB1 skirts.
You wouldn’t happen to have the part# on those side skirts would you? I really want them on my 01. The dealership says nothing available from factory based on VIN
I’m sorry but I don’t. They came from ebay a few years ago for me.
Hello, do you still have the install instructions to share? Thanks Anthony
All I’ve got is in this post…