I had a lot of fun with my recent head gasket job, despite the scope creep (hmm… maybe I’ll do all the gaskets… ooh, maybe I’ll do a coolant reroute! What do you mean I have to order yet more parts? Again?) And I’ve enjoyed getting to write about some slightly more technical stuff than my many interior bling posts (more are coming soon). And though Sharka is running again, I have one more technical post from my head gasket swap.
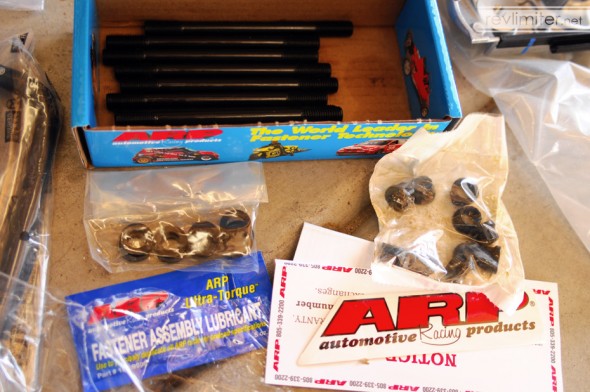
ARP head studs!
(Yes, I do hear cheering in my head.)
This post might be painfully basic to most guys. The gearheads that have been tearing apart engines since the diaper times? They might want to click away. But for those folks who don’t often see naked pistons, this might be helpful. And for those who are just interested in torque specs, I present the following cliff notes.
Warning! Do not torque your ARP bolts to 80 ft/lbs!
Yes. 80 ft/lbs is the ARP spec. That’s enough to cause some damage, especially considering the ARP studs grip harder than the stock ones. The stock torque spec is 54-60 ft/lbs. Use that. And there will be more on this later.
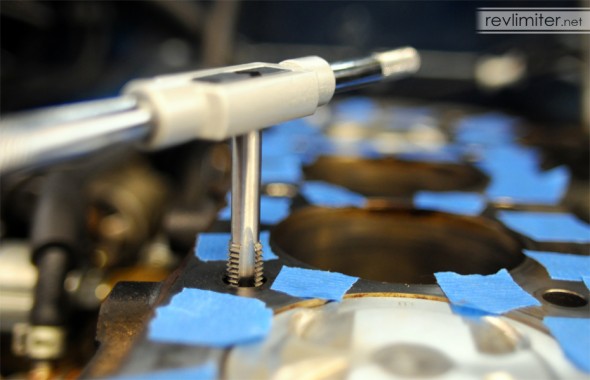
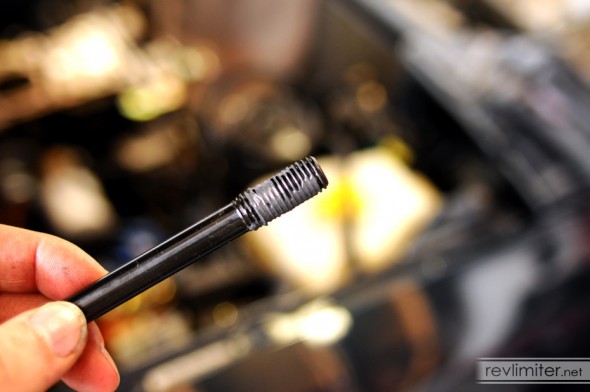
Step 1: Chase the threads in your block. Since you’re installing ARP studs, you’ll never have to do this again (the studs stay in the block). The studs are M11x1.5 thread pitch. That’s a standard one in most metric tap and die kits.
And don’t make fun of my blue tape! My roll was almost out, so I just did tiny pieces. Just enough to keep the thread crap out of my oil and coolant passages. After all, compressed air is involved next.
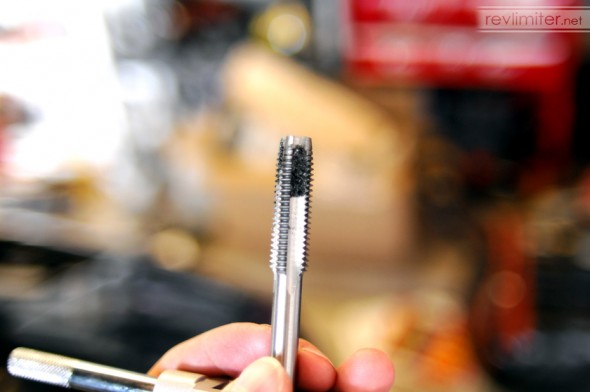
Yuck.
I used a little cutting oil on the tap threads. It helps keep the tap sharp and trap filth from the block. I’d suggest anyone keep some of this around.
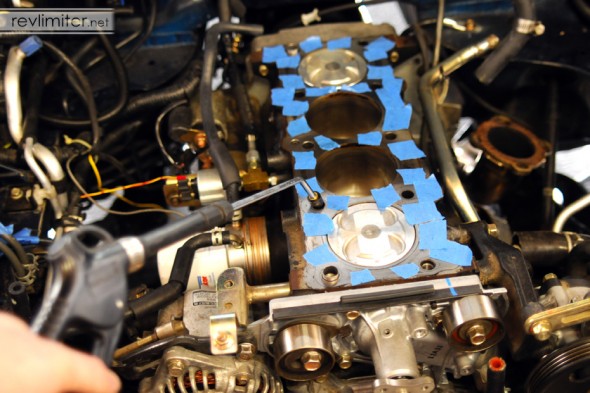
Step 2: After chasing the threads, you’ll want to use some compressed air to blow any loose crap out of the block. And you should also wear some eye protection. Little pieces of filth fly out of those holes at very high speed.
The instructions didn’t mention using the ARP assembly lube on both sides of the studs, but they definitely include enough of it. I figured it couldn’t hurt, so I gooped up each stud before inserting into the block.
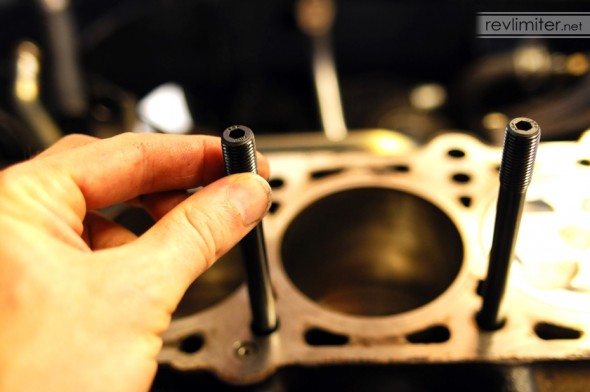
Step 3: Install studs into the block. Finger tight only! At least, according to the ARP instructions. If you’re having a hard time with one of them, you could always grab an allen wrench to help.
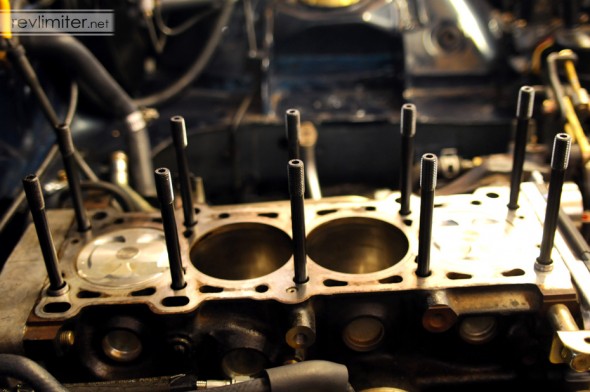
To be honest, I went ahead and bottomed all of the studs in the block. I got the studs as far as I could with my fingers and then used the allen wrench. No stud required more than a quarter turn to get it to hit the bottom of the block, and I used no strength to do this.
This is how they should look when properly installed in your block. Notice how the front studs stick out a little farther? This is perfectly normal. The head is cast in such a way that the studs all come out even once the nuts and washers are in place.
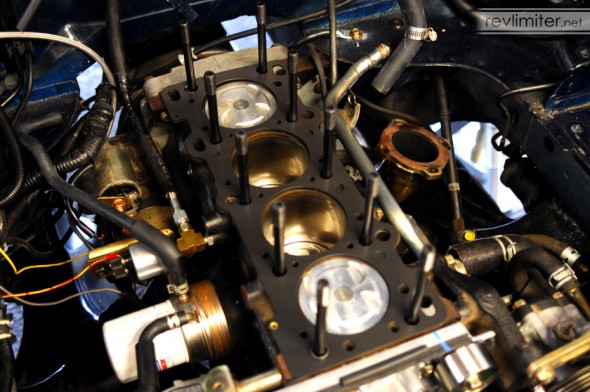
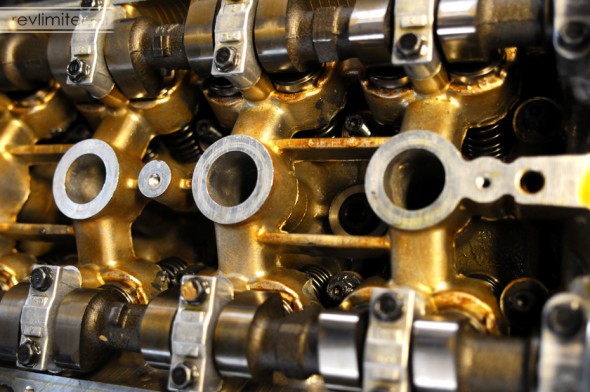
This is also the time to make sure your engine block is as clean and gasket-free as you want it. Because the head gasket goes on next.
There’s only one correct way to put the head gasket on. The middle left stud is the key (passenger side, between pistons 2 and 3). There’s an oil passage there that gets covered if you put the gasket on backwards.
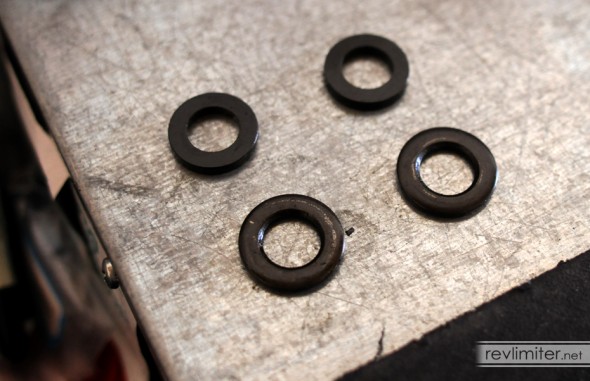
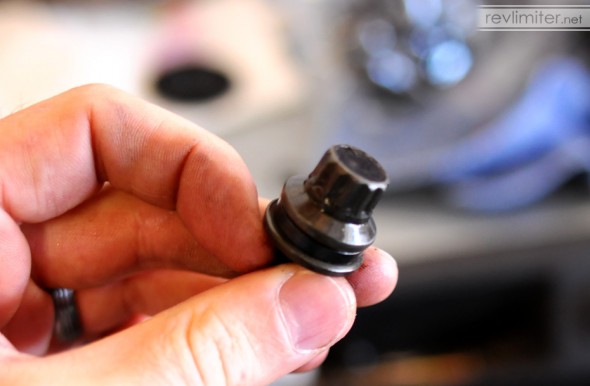
Here’s a nice tip provided by MiataTurbo: Use the stock washers instead of the ARP provided ones. They are of a larger diameter, so they distribute the force better. Using a washer with a smaller outer diameter on a stud that’s producing a larger clamping force is not going to help matters.
I used the stock washers.
Step 4: Lower the head over the studs. No photo, because I had my hands full.
Step 5: Grease the tops of the studs with the provided ARP assembly lube. This proved impossible to photograph.
Step 6: Drop the washer over top. Then torque the studs in three equal steps up to the final tightness. If you choose 54 ft/lbs, you’ll torque to 18 then to 36 then to 54. I even bought a new torque wrench for this. My old one was only about 20 years young…
Reports of the head stud torque value vary. Bill of Flyin Miata states that the ARP engineer responsible for these bolts suggested a 48 ft/lb torque. That certainly sounds safe. My workshop manual gives a range of 54-60 ft/lbs. I chose the lower value of 54 ft/lbs for my engine. And then there’s the little slip of paper in the box with the studs that suggests 80 ft/lbs. Yikes.
For a complete discussion on how tightly you should torque your ARP studs, hit this thread on MiataTurbo. There’s a ton of great information there. It should help you make an informed decision on which torque spec to follow.
Happy head stud installing!




Wish you would’ve done yours before I did mine… I’m at 80 per ARP specs.
64 ft/lbs is probably just fine. Lots of guys on MT are in the 65 range. Hell, some are in the 80 range and report no damage.
As long as this doesn’t happen…
http://www.flyinmiata.com/projects/current_projects.php?UID=789
Useful post. Thanks a bunch.
M11 or m10?
Er… sorry, I have no idea. I’d guess M10, but I might be wrong. I did this 3 years ago.
Hi Adam is chasing optional or is it required so the ARP bolts can be installed? How difficult is it? Thanks.
Ed
It really depends on your head. If you’ve got crap in the stud holes you’ll need to chase them and clean it out. If they’re clean, you probably don’t need to. But it’s such minor work. I can’t imagine not doing it.
What Tap and Die kit would you recommend? Would one from HF suffice? The other thing I don’t have is an air compressor. Will canned air have enough power to blow thru the thread hole? How about vacuum?
My advice at this point is to have a shop do the install for you. Sorry.