
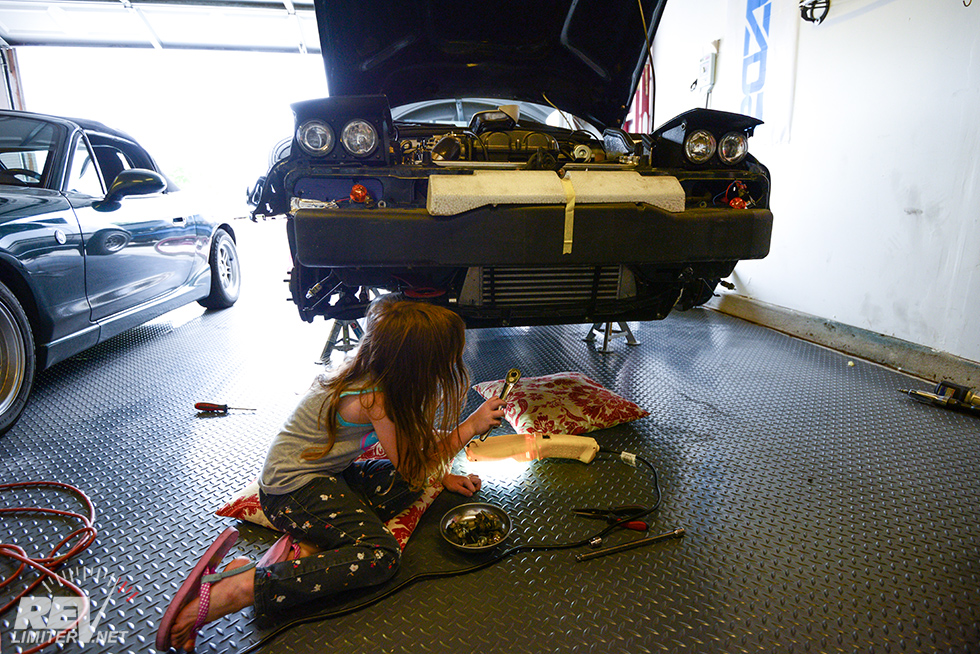
Time to get some hands dirty.
Sharka’s had cooling problems for… ohh… the past year? I’ve been hunting cooling demons for far too long now. I put in an awesome FM crossflow radiator about a year ago. It’s worked well, but the overheating returned this summer. I resumed my search for the problem.
I found it.
I’m a little hesitant to post the next pic, but here it goes.

JB weld…
That’s the BEGi reroute neck on the back of my engine. It has JB weld on it.
yeah…
See, I added some dye to the cooling system to try to find the leak that was depressurizing the system. It held pressure just fine when things were cool (I’ve got a pressurizing tool) but not when the system was hot. A little UV dye made quick work of finding the weep. It was right at the top of the re-route neck. There was a huge weep trail coming out the top port.
There used to be an unused VDO sensor in the top of the neck. It self-destructed when I applied 3 in/lbs of force to unscrew it and try “fixing” it. The JB Weld you see above is my stop gap solution to see that was indeed the problem.
It was! I had a pressurized cooling system for about 2 weeks!!! It was great. And then the problem returned.

Bye bye.
I gotta be honest – I’m tired of the reroute. It’s a great idea. The engine definitely needs it and benefits. But holy crap… so many leaks in the back of the head by the firewall. Getting that hose to seal up was a pain. Worrying about changing the thermostat has been annoying. The whole thing… just… ugh. I’m tired of it.
I will very likely re-re-route it again one day. But for right now I just wanna drive Sharka again. I want no more coolant leaks. It’s a small thing to want, but it’s what I want.
Out comes the re-route shit. In goes a factory rear engine plug.

Hello!
And holy F*** was it insane removing that goddamn reroute spacer. I could type a page of rant about it, but will attempt to resist. I had to hammer out the little tab used by the factory to hold the speedometer cable in place. Why? The metal of the flattened tab was too thick to allow the reroute spacer and the insanely long bolt BEGi supplied come out. But with the tab removed, I could yank the spacer.
I spent over an hour with my hands back in that tiny area trying to get the reroute spacer out. Less time than it would have taken to pull the engine, but not by a whole lot. ugh.
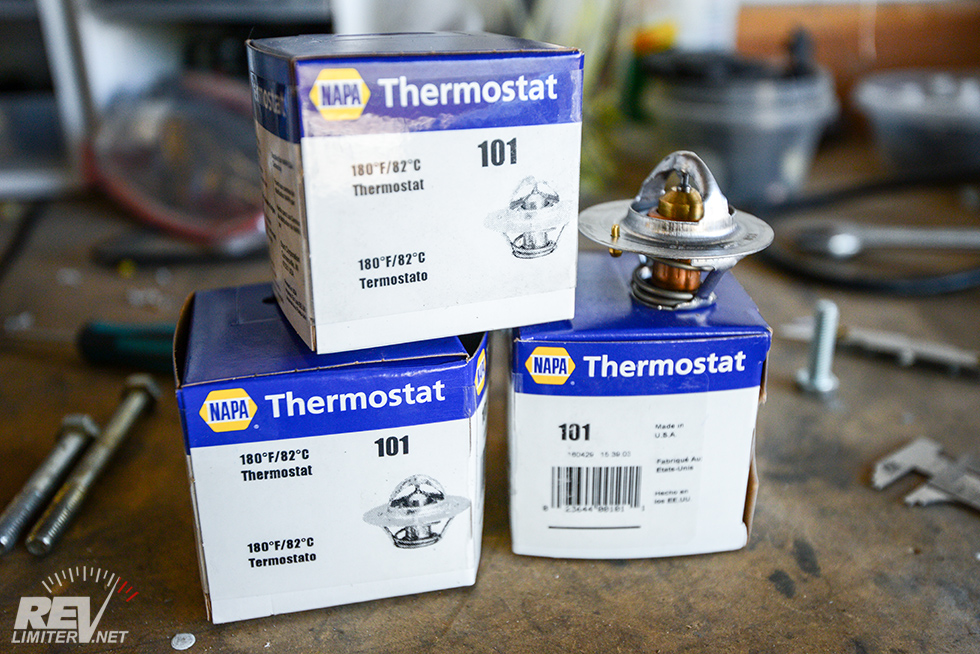
Pile of thermostats.
Since I’m fiddling with this stuff, it’s time to change out the thermostat that’s been in Sharka since installing the NB engine and re-route. I bought a trio of NAPA thermostats. They’re like $5 each and I’ve had one fail in the past. To me, it’s logical to buy a few and test them.
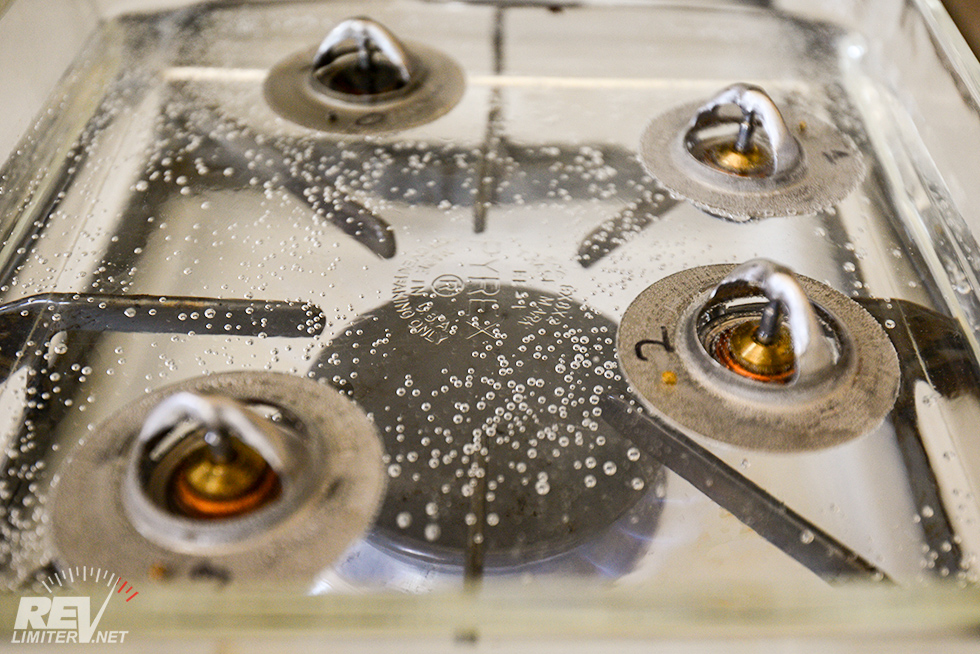
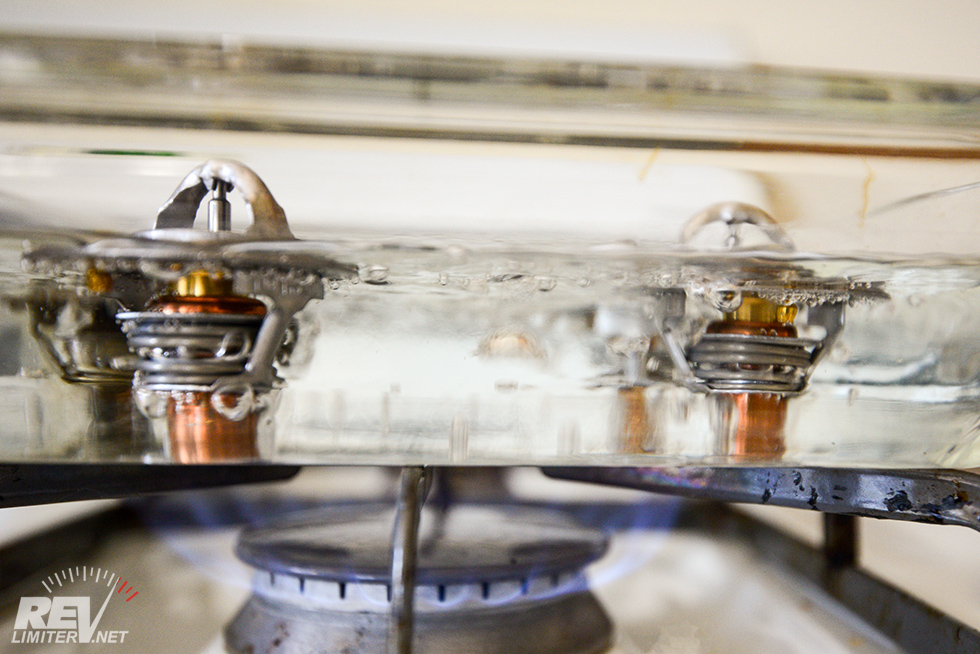
Thermostat soup.
2 opened very well. 1 didn’t open fully.
Yum yum, radiator soup!
All of the thermostats opened. Two started moving right at 80*C according to the laser probe. One started moving at 84*C and was “fully” opened at 94*C. It opened about half the distance as the two good ones. The bad one was thrown out and the good ones were saved. One was installed in Sharka’s new front coolant neck.
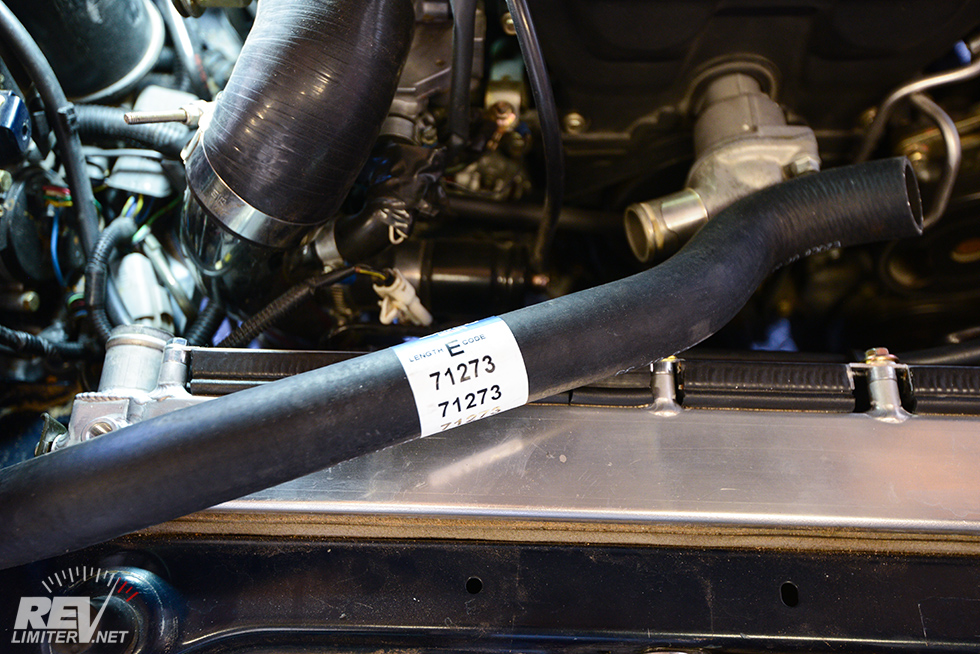
De-route hose.
This hose came from FM to fit on their crossflow radiator. It has a nice bend just where it’s needed. Some trimming required.
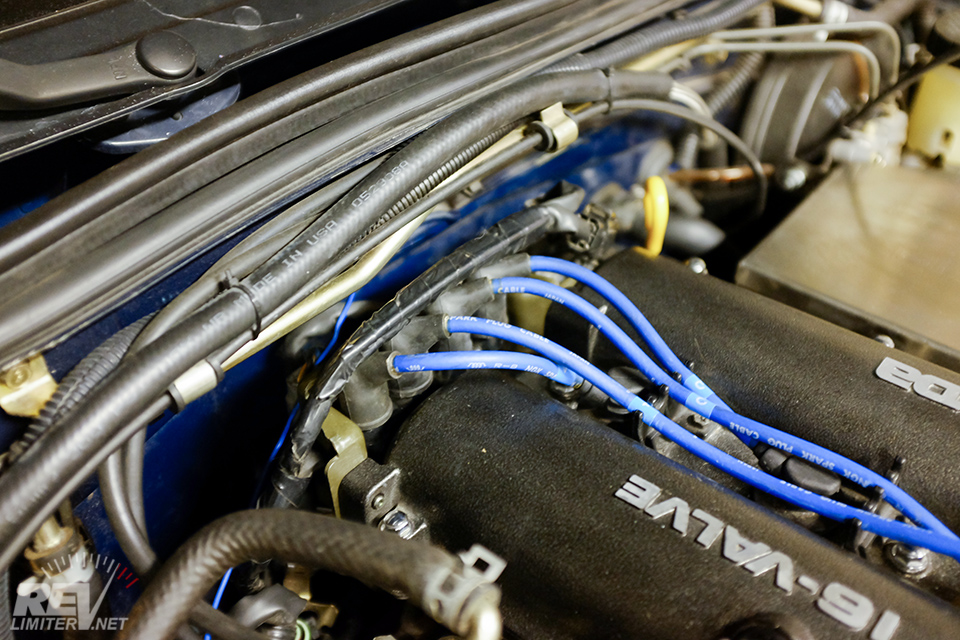
Full of parts.
Getting the coil packs back there and not having to have my hands cut up behind the engine anymore… holy crap. It was a small victory in itself.

Burp!
Everything buttoned up and getting burped. If you’ve not read my spill-free funnel post, you should. Everyone needs this funnel.
… And now, a little more on the problem.
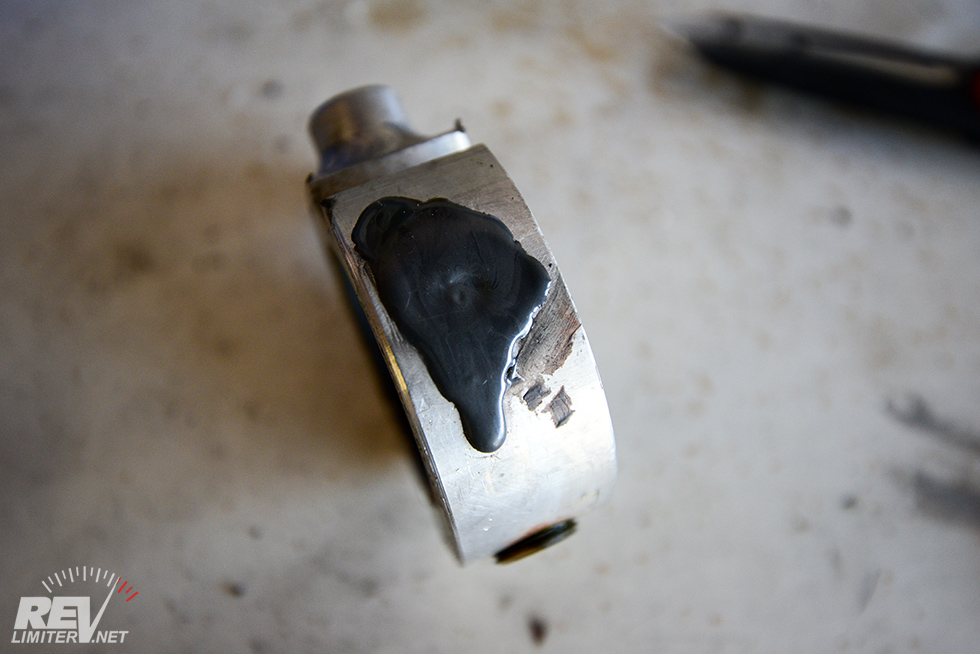
Weepy port #1.
I’ve uncovered my shame and told you about this one. My little JB Weld fix. But that was not the only leaky spot.

Weepy port #2.
This port weeped also. It wasn’t a lot, but those little colored areas (thanks to the UV dye I used) don’t appear by themselves. That’s evidence of poor sealing and coolant escaping.

Weepy port #3.
And another. This is the port used to send coolant to the heater core. Weep traces around it too.
The only port not weeping was the one for the factory coolant temp sensor. It’s the welded bung visible above.
This reroute spacer leaked like a sieve. And I used PTFE thread sealant (Loctite brand) as recommended. 5 years of hot/cold cycling was enough to make things leak, I guess. Dissimilar metals and all that? I donno.
Needless to say, I’m not too happy with the final result of my “Easy” Coolant Reroute.
I’ve looked into other reroute solutions and like what I see on the M-Tuned one. They have a nice looking single piece rear engine reroute spacer and a remote thermostat. I might spring for that one in the near future.
I’m also considering the NB2 head gasket. It has some stuff done to block off this port and that port and effectively do a coolant reroute with the head gasket. #4 gets more flow and #1 gets less. But… I don’t know when I’ll have the head off again.
Really, I just want to drive the stupid car. I’m hoping that I’ll be able to do that for the rest of the summer.
And now to go update my old Coolant Reroute blog posts with the bad news from this one.


Too bad the BEGi spacer didn’t hold up. I had an M tuned reroute on my car for a couple of years and it was fine. Pulled the motor to get it built, but the M tuned kit will definitely be going back in with my built motor.
The 01-05 head gasket seems more like a bandaid to me. Better than nothing, but a proper reroute is ideal.
The M-Tuned looks interesting. I’ve been reading a bunch of MT threads and have found a couple very nice coolant reroute solutions. One is in the mail to me now. It appears to have the benefit of supporting the KIA water neck fully and not having that piece warp upon installation.
I miss the cool running engine… The reroute really is worth it. But at least the car runs now!
Never too much to ask for a cooling system that keeps the glycol inside the system instead of all over your engine bay…
I used to use Toyota red (well, pink, if you buy the distilled stuff) in my 1jz, and I swear, the stuff would congeal if exposed to the air when hot. It’s almost like it plugged its own holes… by design, I can’t say, but it seemed to keep it from leaking further. This was on an after-the-fact temperature sensor install, for what its worth.
Red coolant that congeals? HMMMMMMMMMM!!!!!!! That’s very interesting. I’ll look into that. Thank you Brad!
Sure thing Adam. I to this day don’t understand what made it do that, but that’s how it worked for me. Basically plugged a really small hole, likely an incorrect tap used for the sensor threads. It leaked a little, but after a bit, it just got a bit messy around the area, and seemed to stop leaking.
Hate chasing leaks myself, dealing with a bit of that on a brand new engine, argh… not fun.
Adam,
When you are ready, contact me to order the M-Tuned coolant reroute. Its a solid kit and we have had zero issues with it. If you do it when you’re doing a timing belt we can also eliminate the front water neck and we at TDR include a freeze plug to block off the opening in the head. It REALLY cleans up the engine bay.
Thanks for the offer William! I’m actually using the front water neck for my turbo. The ports in it are needed in my setup.
I need to contact you about a boom-wiki-boom box for my passenger footwell.
I also have the afore mentioned m- tuned – but I’m really thinking about getting this one by IL Motorsport nonetheless:
http://ilmotorsport.de/shop/article_detail.php5?aid=6088&oid=1&depth=0&page=0&count=2&PHPSESSID=d05f053c1330c956f837837735573352&lang=EN
It’s not as shiny as the m-tuned, but it will be easier to seal the thermostat-housing – I had to use the silikone that I use for the edges of the cam cover gasket (where the sensor is, for example). Which means I will have to get out the thermostat-housing if I ever want to check or change the thermostat. Which I consider right now, seeing your tests.
WOW! That kit looks outstanding. A nice hose, cast housings and a thermostat that doesn’t sit in an impossible to reach place. Dang… I might need that.
Thanks Klaus!
you’re welcome – i think i’ll grab a kit to have it ready when i next dive into the engine bay … to me it looks like a solution mazda should have come up with right in ’89 …
I’ve seen the pictures of the details at the back of the engine. What about the hose and tube pieces needed to get the coolant from the back around to the top connection of the radiator? Pictures on that?
I have the FastForward supercharger setup, so the intake side is super congested. Are there routing kits to move it around the exhaust side of the head?
Well, with a spacer like the BEGI part Adam used you can mount the thermostat housing just the other way round, pointing to the exhaust side (like the heater hose). There are others that have gone that way, you should be able to find examples via google. I don’t know about a kind of plug and play solution for the exhaust side, though.