
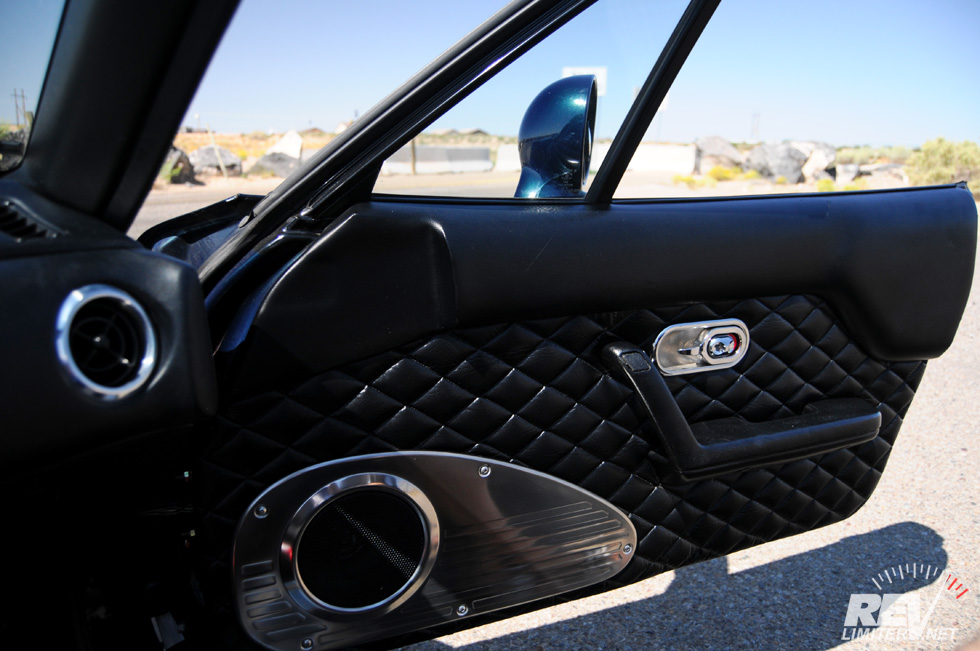
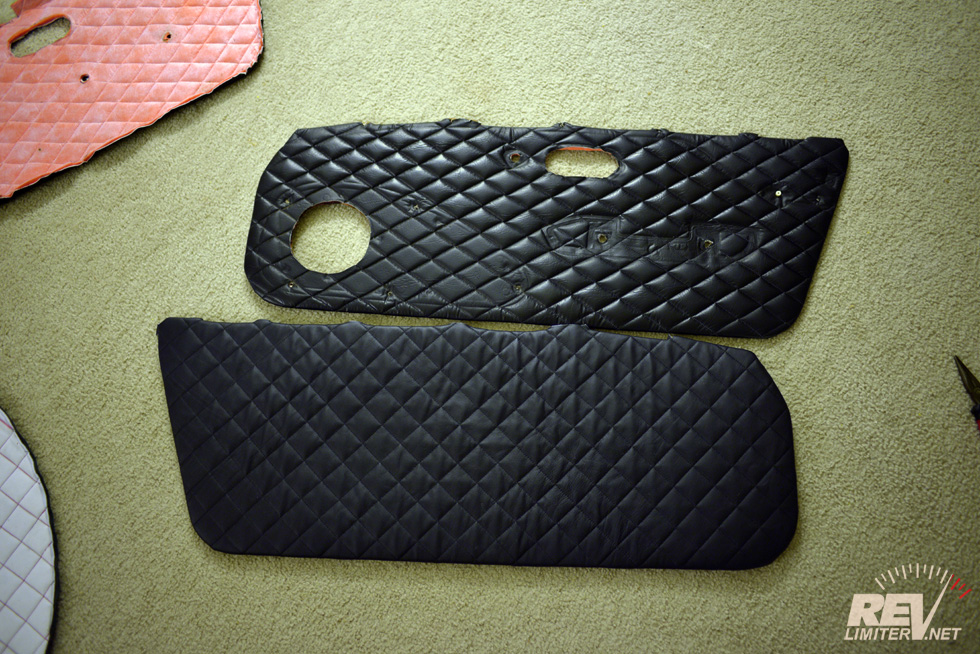
The old door panels.
The OLD door panels. I was really pleased of them when I made them, but they’ve lately been looking kinda… cheap to my eyes. I just looked up the link to the original blog post URL to paste it in. I made the last door panels four years ago, in 2009. I guess my tastes have changed a bit in since then.
A bit. Not much. Because I’m replacing my old quilted door panels with slightly different quilted door panels.
Leather dash vs vinyl doors. Not a perfect match.
It’s not something that you can see in many shots and not even something that’s easy to see in all lighting, but the factory vinyl door tops and my pretty leather dash were not a perfect match. The leather is a very dark grey, while the factory vinyl is black black. Leather is rich and rather non-reflective while the vinyl is cheap and very glossy.
I lived with the difference for a year and it finally drove me crazy enough to do something about it. Fortunately, I bought a whole hide of leather originally to do my dash. I thought it was a bit overkill at the time, but now I’m extremely happy with that decision.
Yeah, I used the whole hide.
Door Tops
Er… I guess step 1 is to remove the door tops from the cards. They’re held on by screws from the factory. Something like 6 of them.
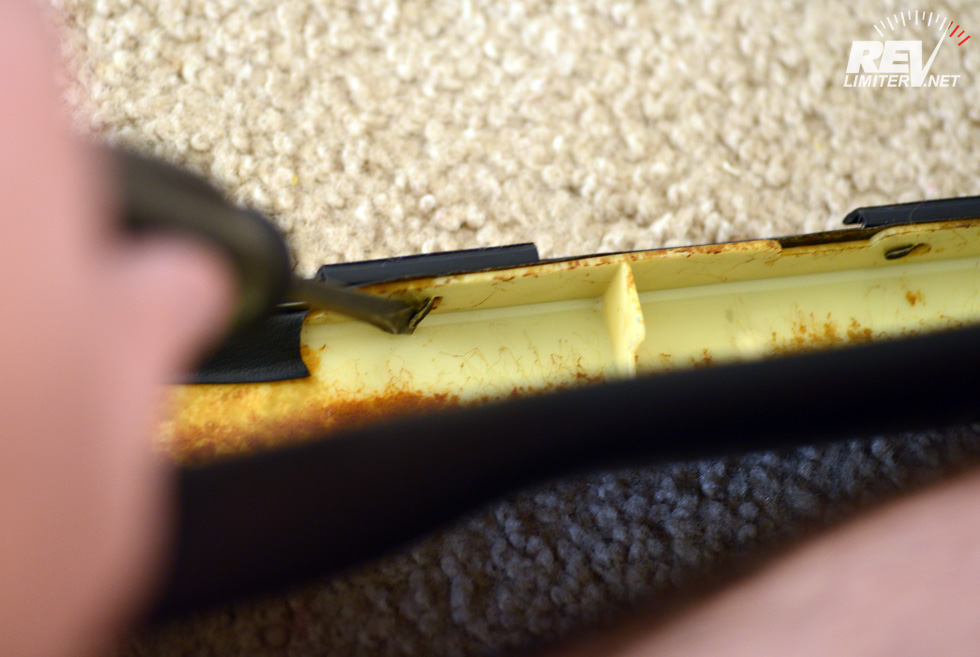
Pry the window rail out.
I’d never retrimmed a door top, so I wasn’t sure what I was getting myself into. There’s this metal thing on the top to give a nice edge and seal against the window. I’m calling it a window rail. Got a real name for it?
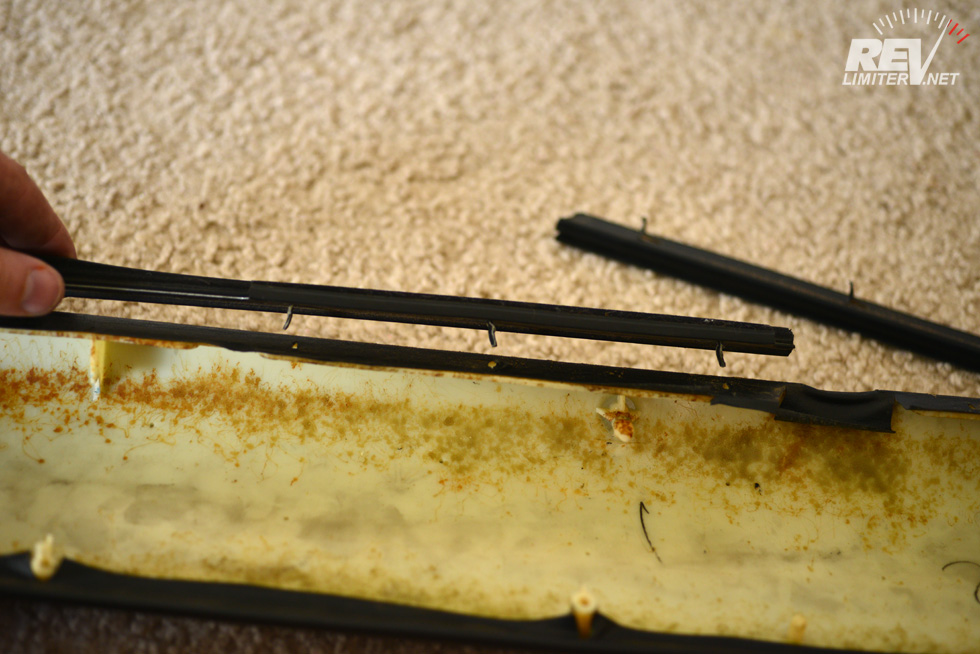
Remove. Then mark which side is which.
The two window rails are unique to each side of the car. After removal, I wrapped each pair in tape and labeled which was which. Easier to do that than fuss with them and install them backwards after the fact.
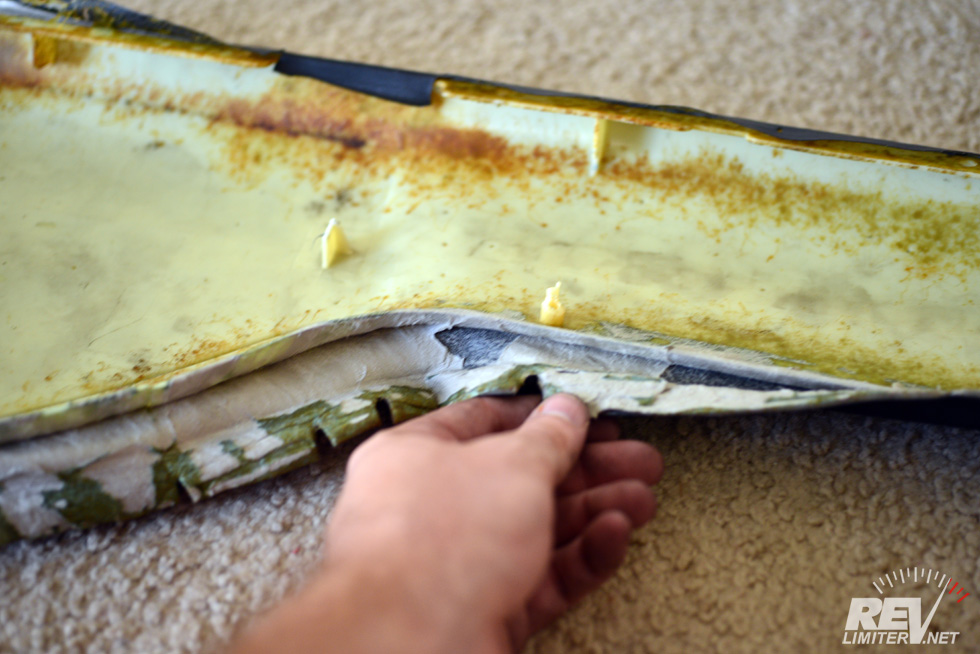
Peel away the factory vinyl.
(This kills your fingers. Doesn’t take long to peel off the edges, but damn did it hurt.)
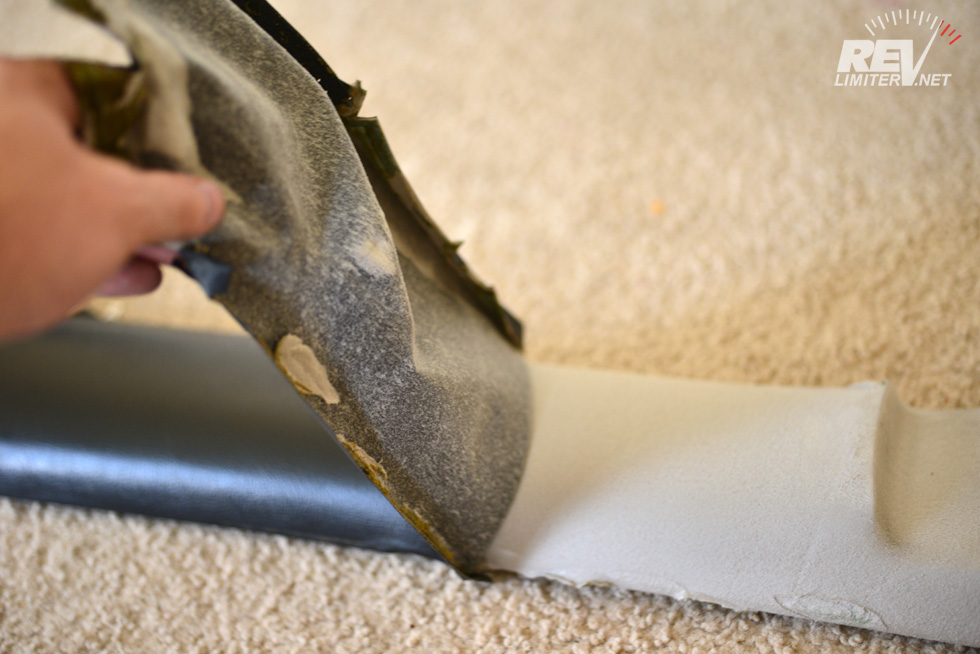
Peel peel peel.
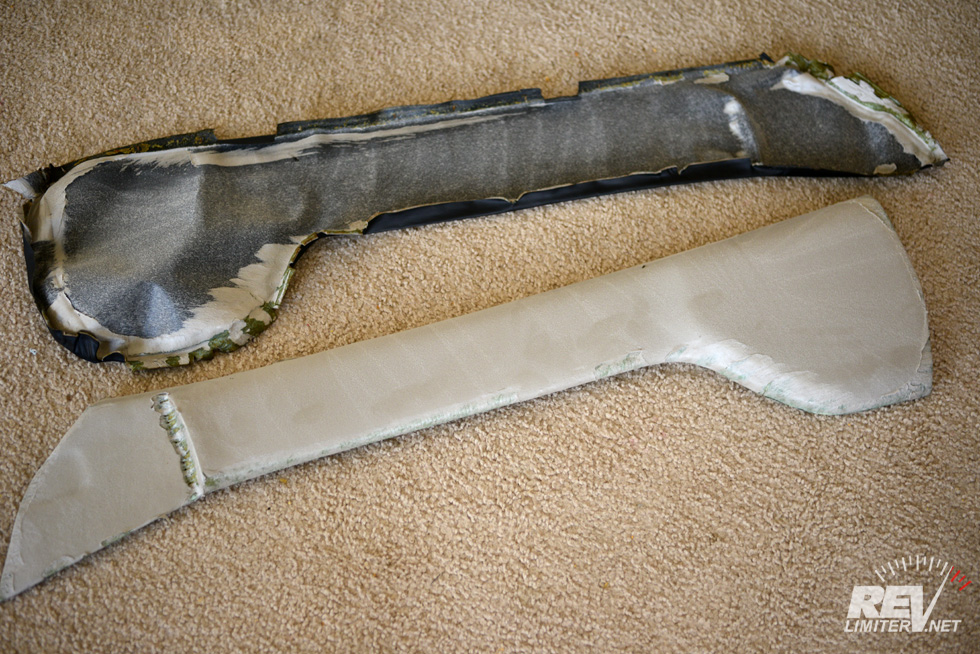
Skinned!

Trace the pattern onto the new material.
As you can see, I chose to leave the vinyl padding in place. It was a choice of the moment. Not sure if it was a good one. If it proves to have been a bad choice in the future, I can just pull the leather back up and re-glue after removing the padding.
I did remove the padding in the front depression where the door top meets the dash pad. That spot is very tight on Sharka. I wanted to create as much space there as possible to prevent leather-on-leather squeaks.
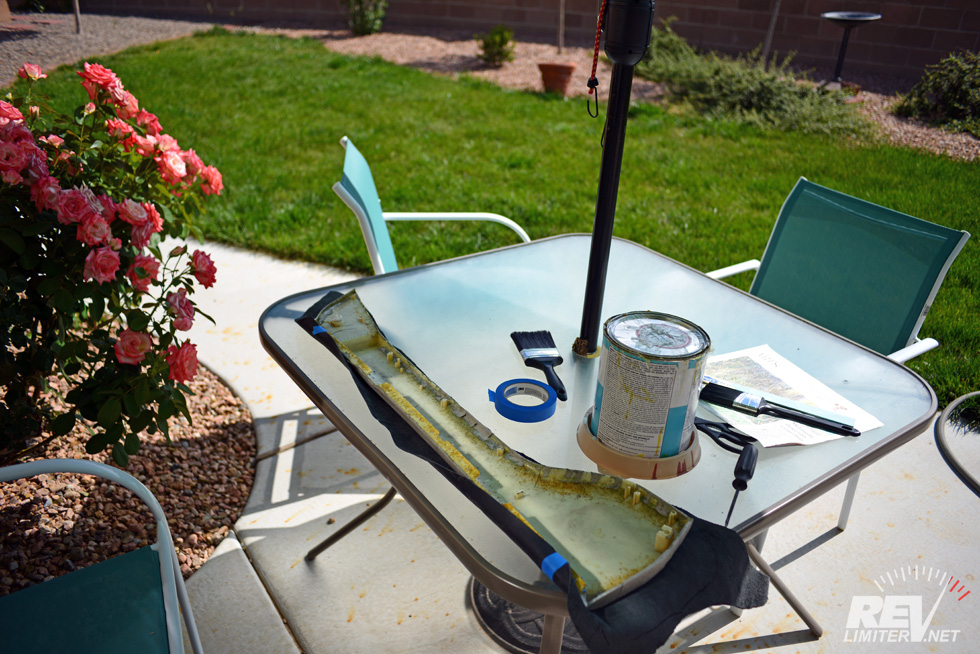
My work area.
Contact cement is easy to remove from just about any surface after it dries. Something like my glass table? SUPER easy. No need to put down newspaper. Much better to wipe up spills as they happen and then rub off the remainder from the table days later.
I’m using the same contact cement as when I did my leather dash. I sealed up the can very well and the glue was still liquid and usable. Quite happy about that. I’d hate to buy another gallon just to use a tenth of it.

This seemed like a logical place to start.
Not bad!

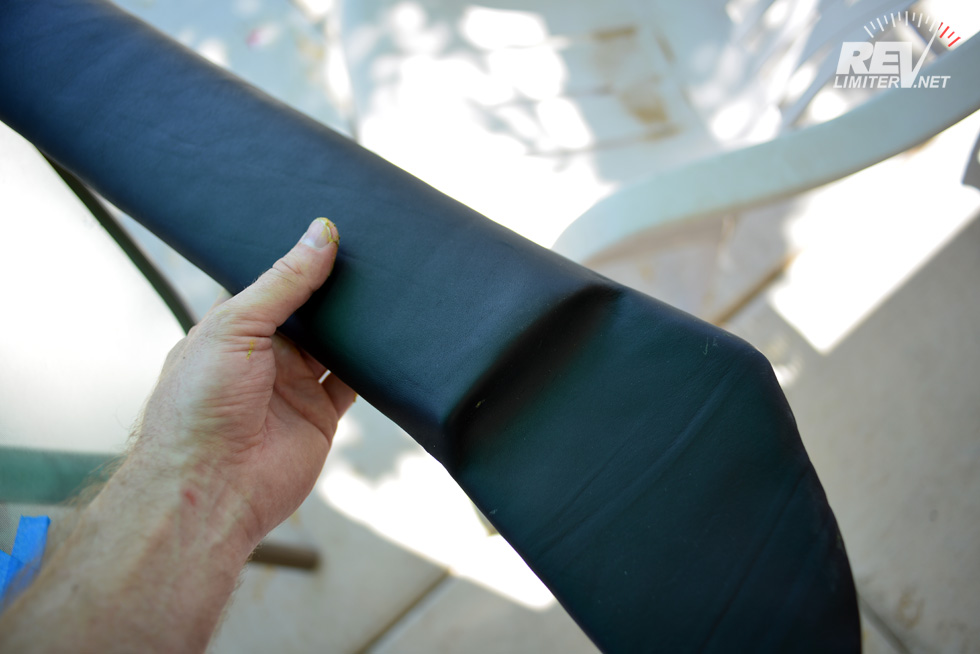
Making the curve.
There’s not really much trick to covering just about anything in leather. It stretches very slightly. It needs a lot of care and patience. AND! If you screw up, you can remove it and try again almost an unlimited amount of times. Contact cement sticks to itself and is very forgiving. I just worked slowly and did small sections at a time.
I realize I might be the only person in the world who loves the curved 97 door tops. They just look right to me. The curve of the bolster complements the curve of the metal speaker panel. To me, these door tops just seem much more finished looking than the straight ones on the 89-96 cars. Maybe someday my taste will change and I’ll like the early door tops, but not today.
Quilting the Leather
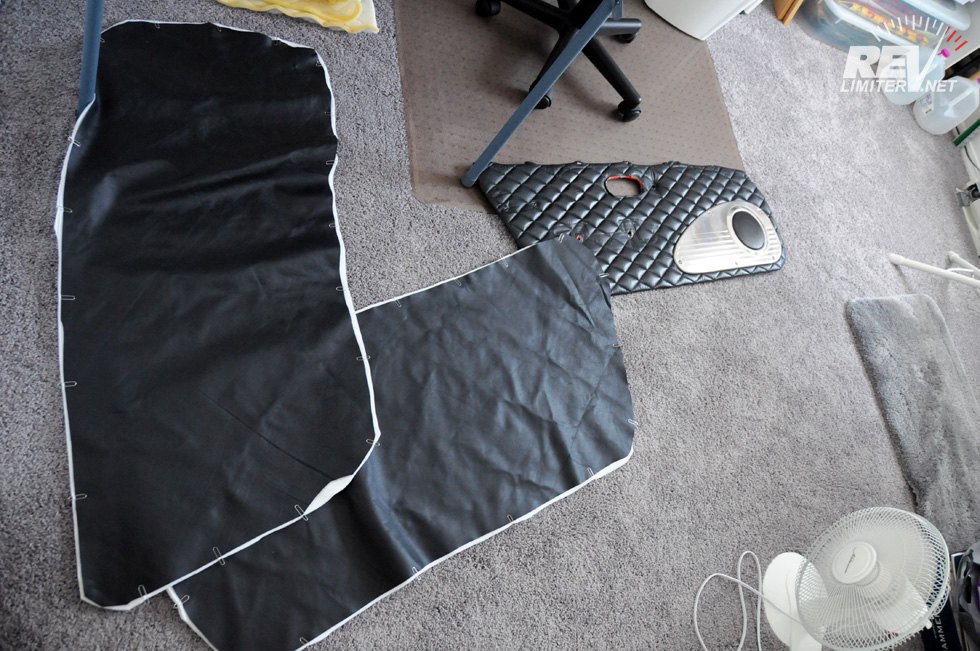
Leather about to be quilted.
I really liked the look of my quilted door cards. I’ve received endless complements. But… well… the vinyl wasn’t at all a good match for the leather. After I finished the door tops, I held them up to the vinyl door cards. 2 seconds of comparison had me committed to the idea of quilting some leather.
As for the material used, it’s just some thick batting. I think I got that right. Fuzzy fabric meant to be the middle section of a traditional quilt. On top of that, there’s a very thin material to allow the pattern to be drawn upon and to help the sewing machine guide everything through.
Can you tell I know nothing about sewing? I don’t. Up to this point I’d never touched a sewing machine in my life.
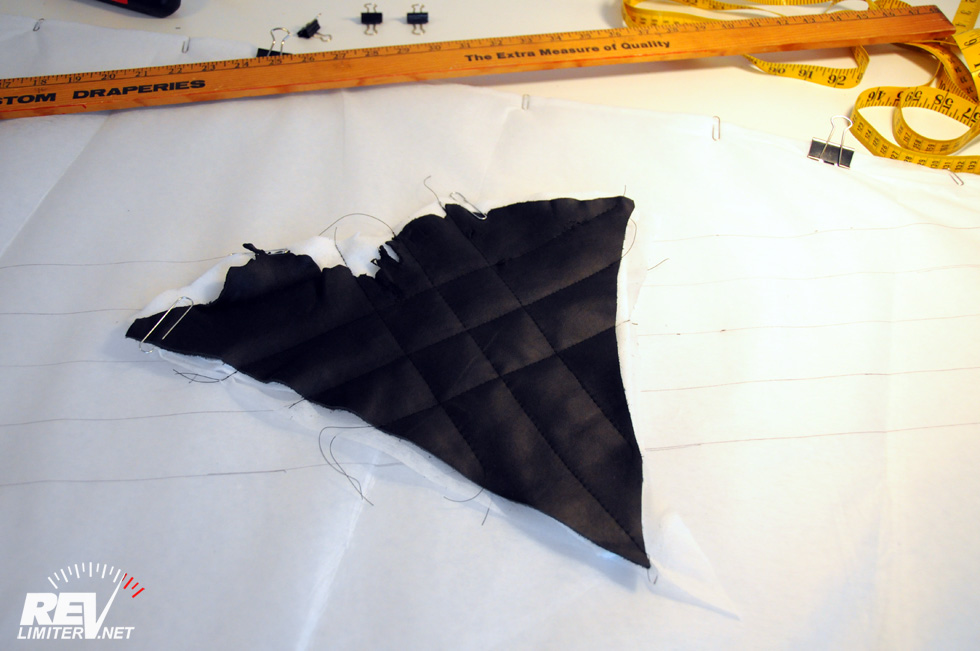
The test object.
This was a test to make sure everything worked. As you can see, it did. I can’t tell you how relieved I was after seeing that it would be possible to actually do this door card project.
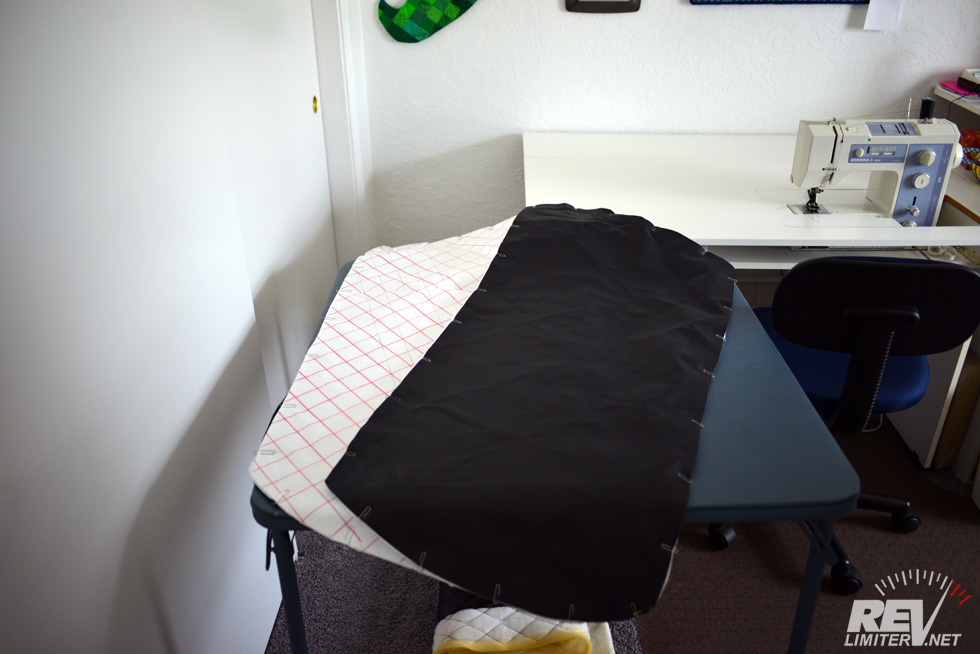
Pattern laid down – ready to quilt!
Quilting the first rows.
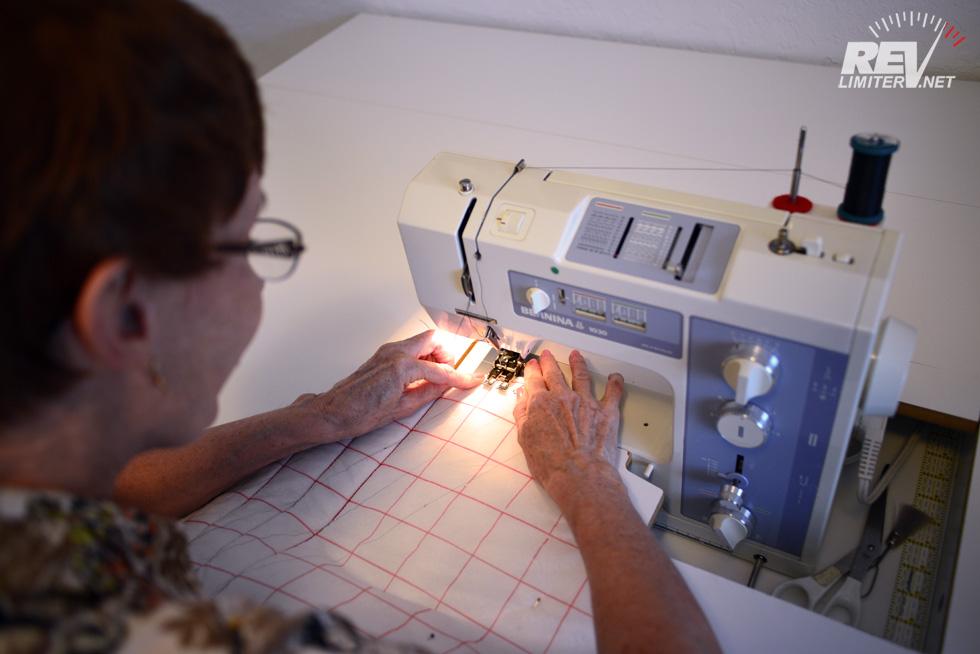
My mom helped me out immensely on this project. Helped? Hmm… not sure that’s the right word. She’s a master quilter who has her own business selling patterns. As good as I am designing and making gauges, she’s arguably much better at the art of quilting. I could not have had a better source of help and information for this project than my mother. And she even let me use her vintage sewing machine to quilt the leather. My mother is amazing.
Before I continue, I’d like to say thank you. Thank you SO MUCH for everything, mom!
As you can see above, my mom got things started. She did the first couple rows on each panel to get them started and hold the layers together. (She also did all the lines on the back of the panels.) Then the controls were turned over to me.
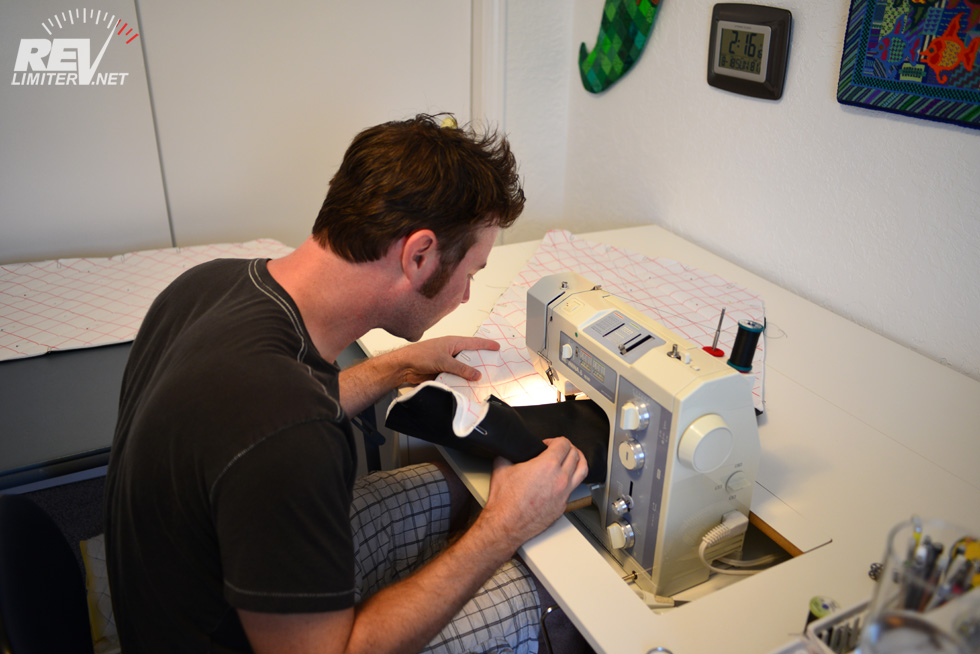
Me. Sewing.
I was terrified. HA! It was an extremely intimidating project, especially for someone who had only sewn a few stitches in the batting and a couple lines on the test square. But it got easier and easier.
Also, my mom’s machine is just wonderful to use. It’s a mechanical Bernina from the 70s that she’s had rebuilt and repaired multiple times. It feels incredibly precise. Very much like my old Nikon F3 film camera. Just a joy to use. And it had not one bit of trouble sewing through the leather.

BOOM!
In the end, I quilted more than half of the material myself. Maybe as much as 75%. I got a bit tired while doing the first panel and my mom finished it off for me. After a break, I did the 2nd panel by myself. I’m… I didn’t know I had it in me. I’m quite pleased with how they turned out.
I mean seriously. This quilted leather has more accurate and straight lines than the machine quilted vinyl it’s replacing.
Again, thank you SO MUCH Mom!!!!
Door Cards
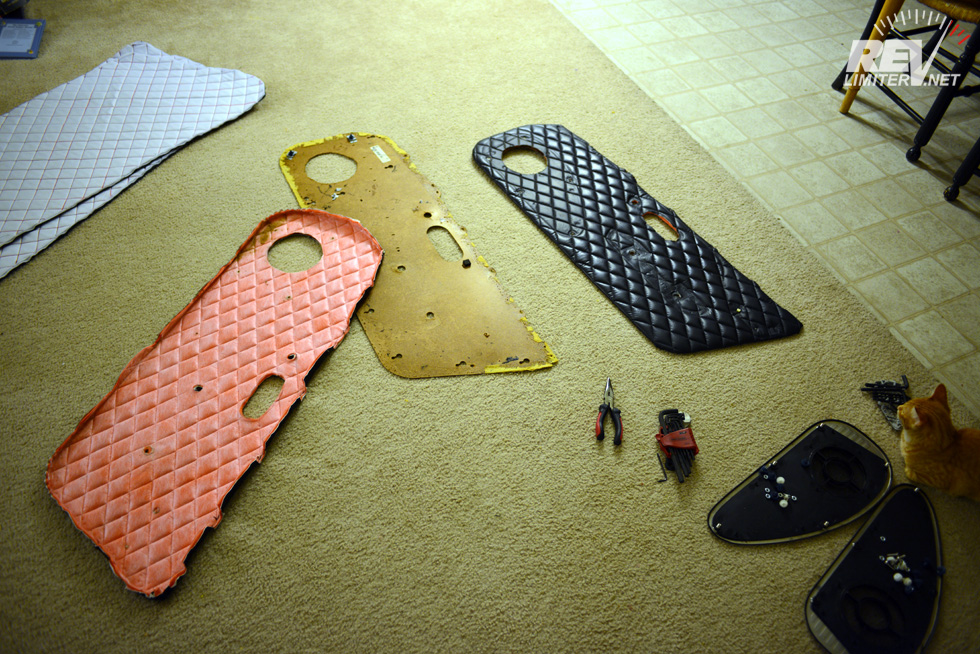
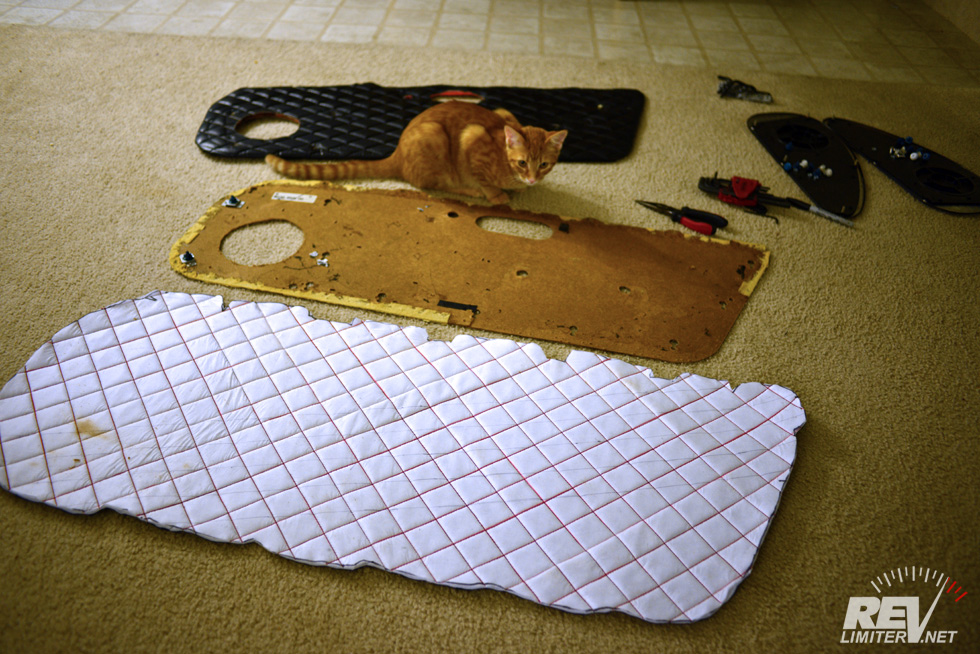
Tearing into the door cards.
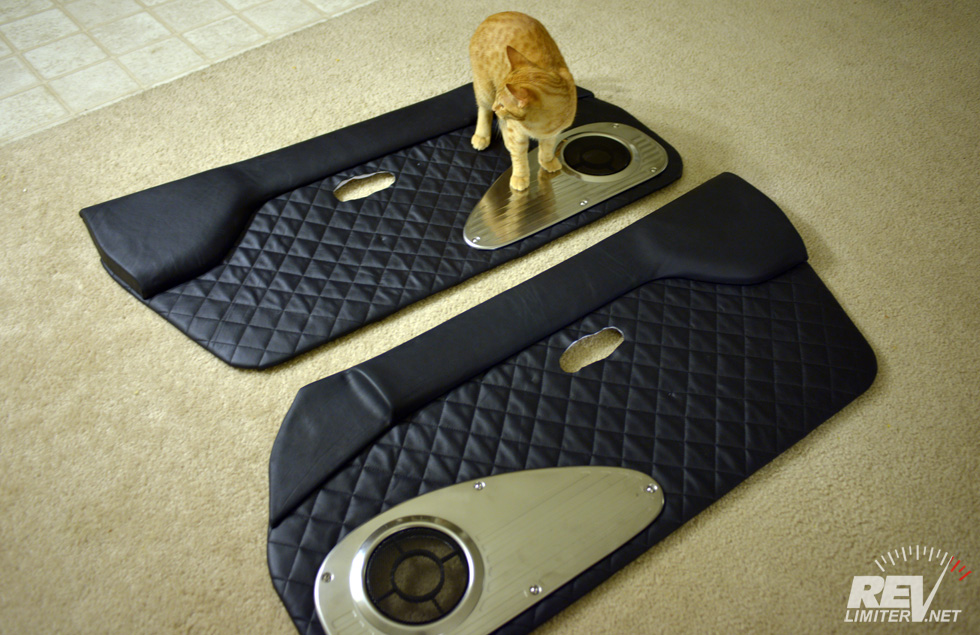
Nothing like a little feline supervision to help out any project. Willow is my fabrication buddy. Whenever I’m sitting, making more window switch harnesses, she’s right there to help.
Pattern transferred to the leather.
Stapled in place.
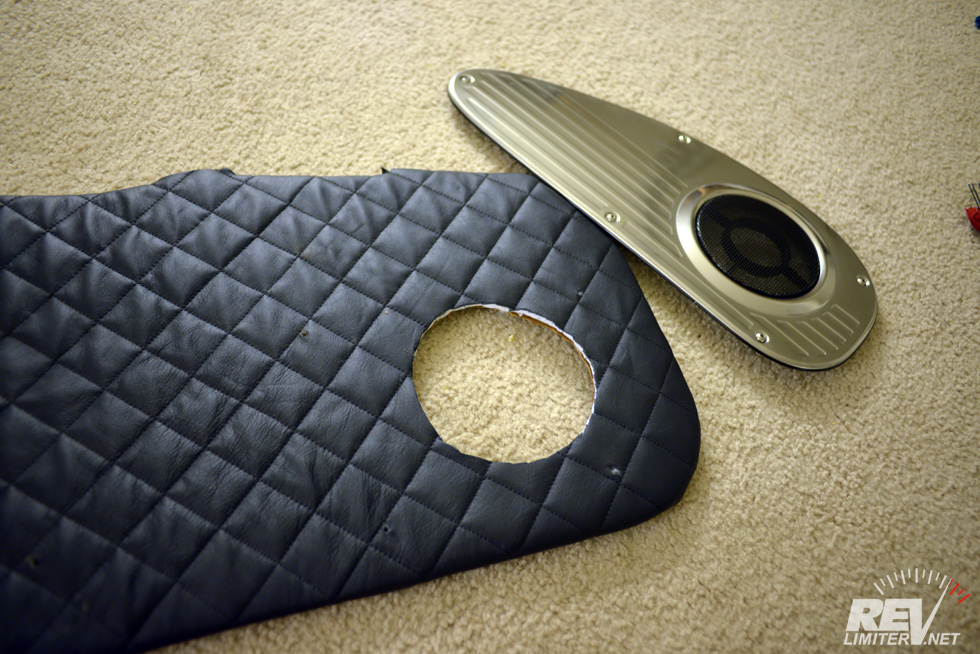
Holes cut…
Ready to go on the car!
For more pix of what it takes to change door card material, check out my first door panel project post. There’s some additional photos in there that clear it up. Basically, you need a staple gun and some 8mm staples.
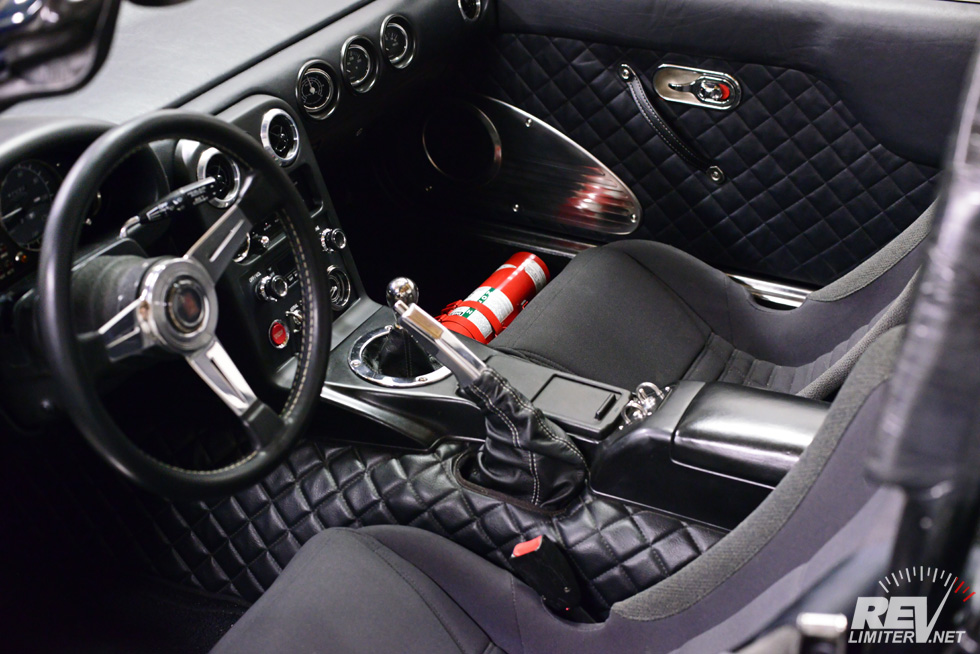
Installed!
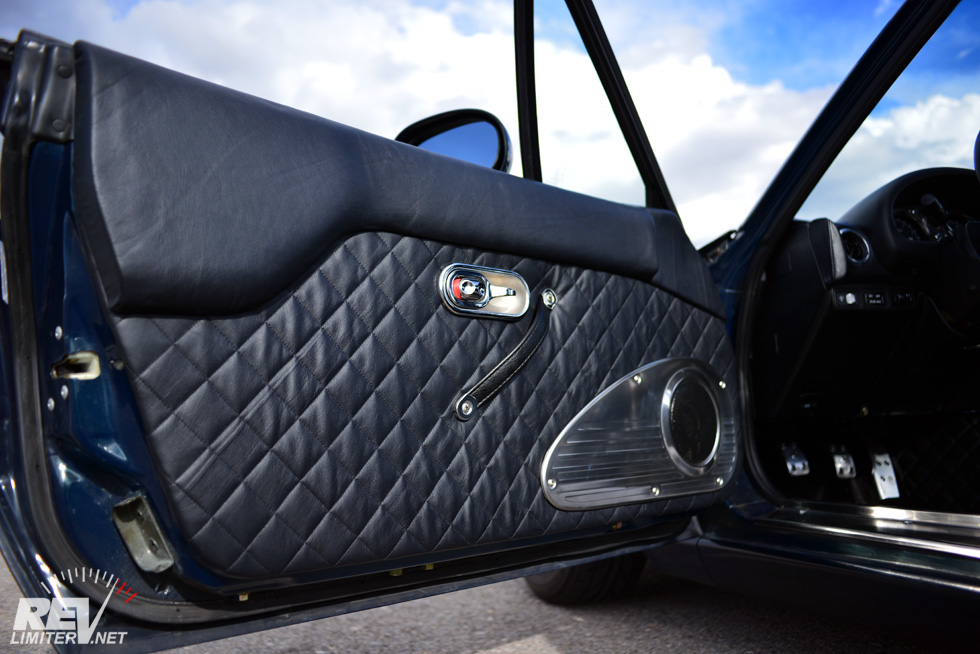
Leather door panels – installed.

Everything I was hoping for.
This project turned out so well. The richness of the leather is such an upgrade from mass-market vinyl material. And all of the quilting matches now. My door panels and Nakamae transmission tunnel cover are exactly the same size diamond.
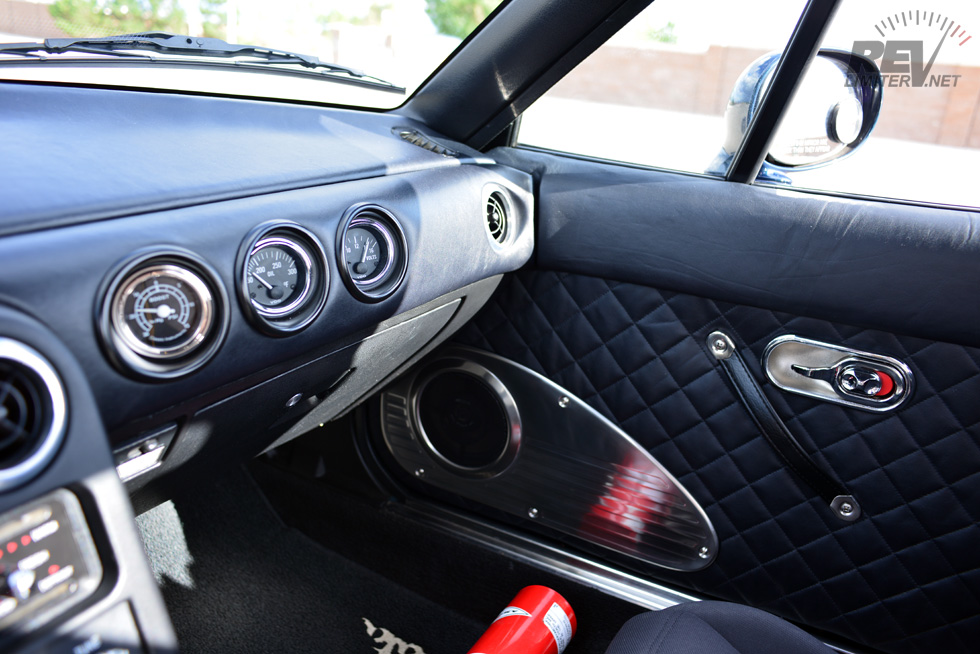
Door tops and dash pad are a perfect match.
No more awkward transition from dark grey leather to black vinyl. This extremely minor detail makes so much difference in person.
And the smell. OMG. The old NA6 dash plastic combined with the leather… it’s very unique. Like a library full of old books, but without that book smell. Hard to describe. We clearly need a flash smell-o-vison browser plugin.
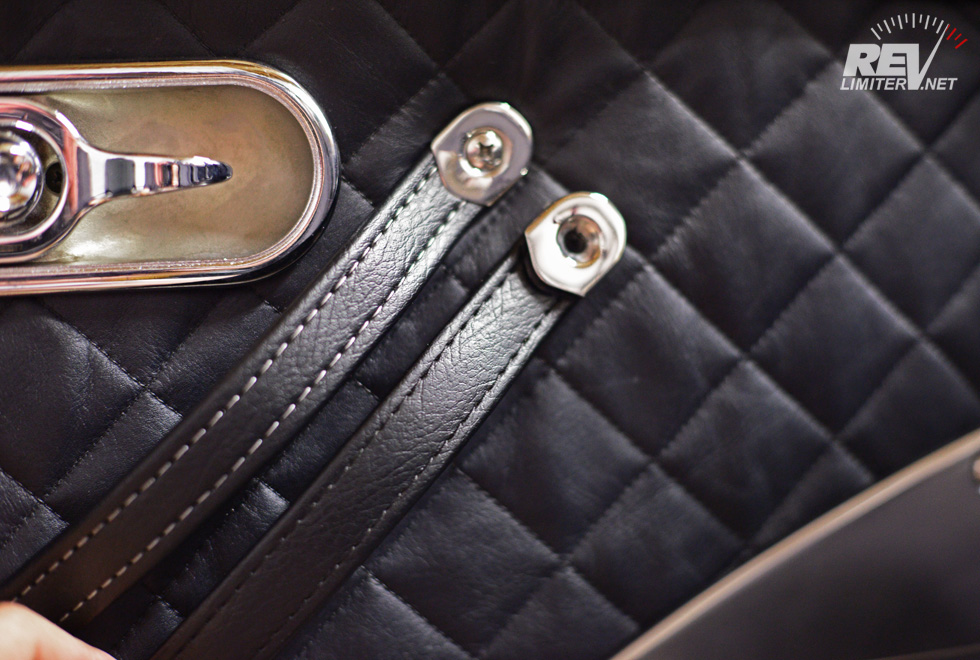
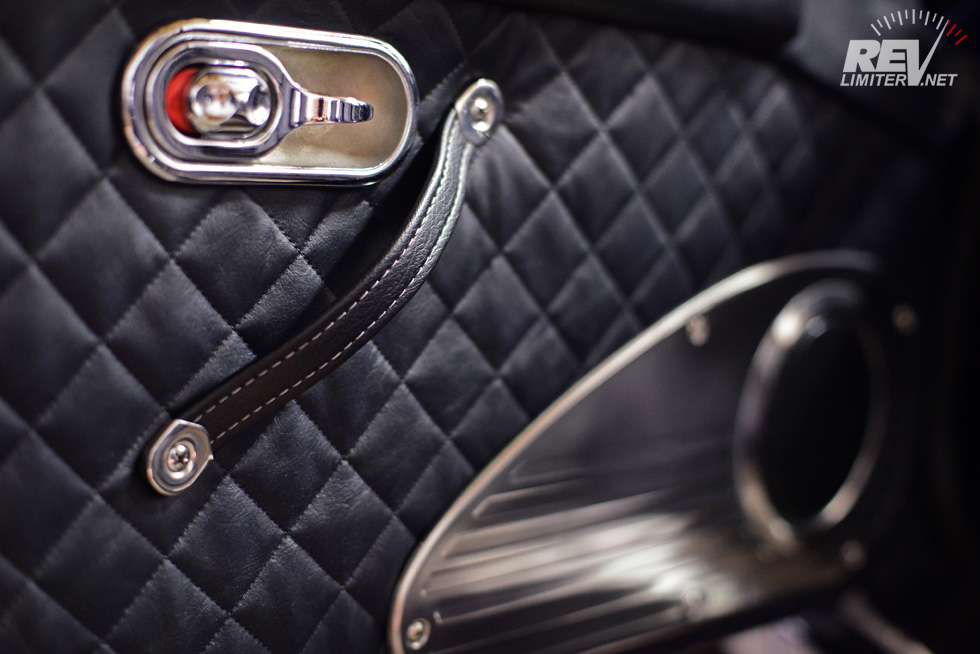
Perhaps you noticed the door handles?

Retro Door Pulls.
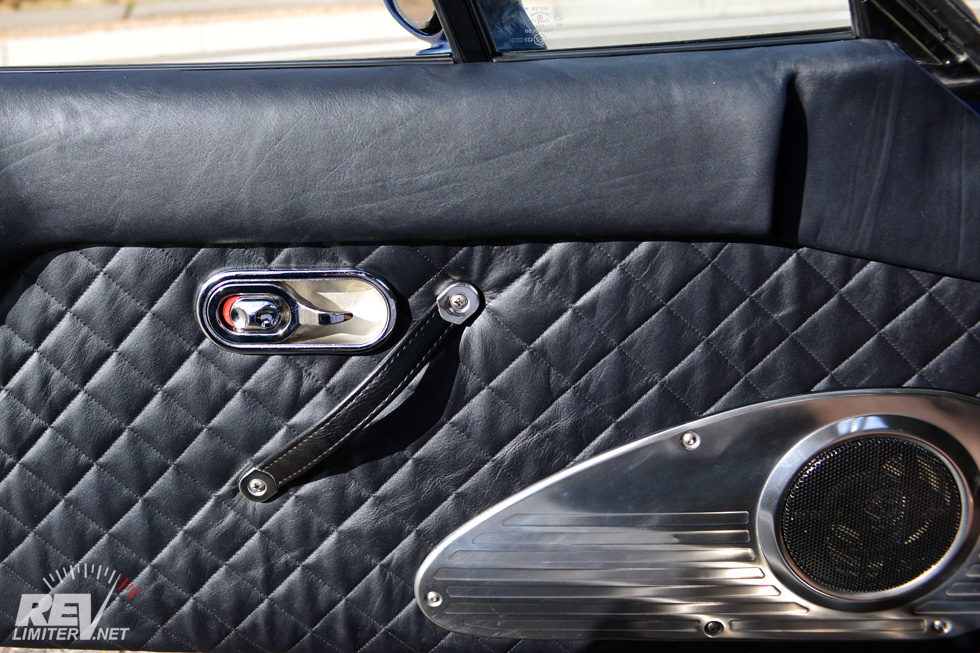
Coming to the revlimiter.net store very soon!
I’ve been working on this item for a few months. They’re pressed leather door handles with a metal core. That’s like the cover of a leather book – nice quality, but easy to live with and requiring no special care. The hardware is all stainless steel and is quite rust resistant. They’re meant to be an affordable option for folks who want to get rid of their OEM armrests but don’t want to pay $240 for the privilege.
Getting the length just right was a challenge. Too long and they look rather like dumbo ears. Too short and you can’t get your fingers underneath. However, getting the width right was no problem. I simply looked at the M2-1002’s door pull straps and used the same measurement.
As I said in the caption above, these will be in my store very shortly. In days. This post will be updated with a link to the product page.
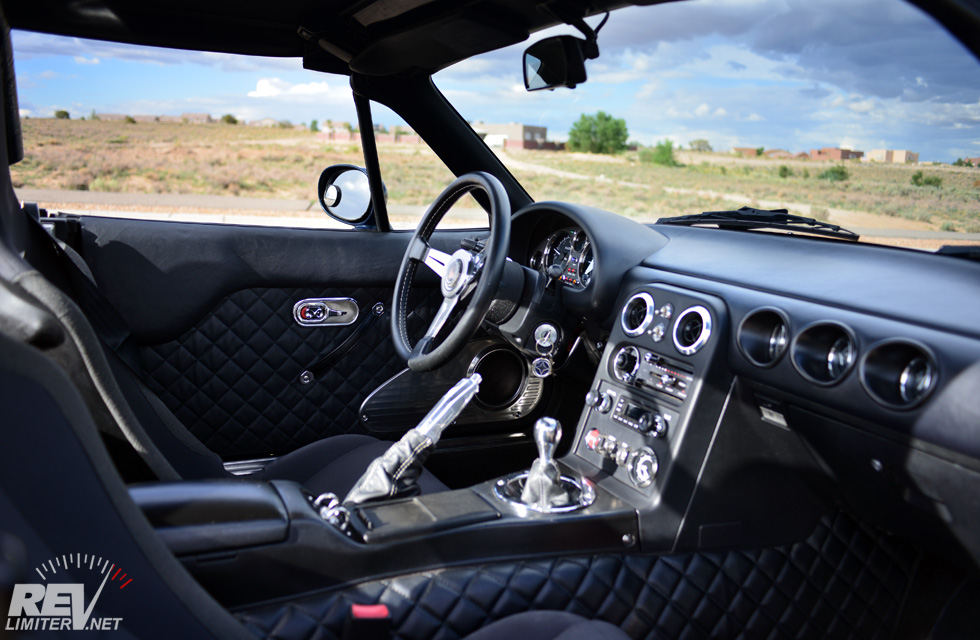
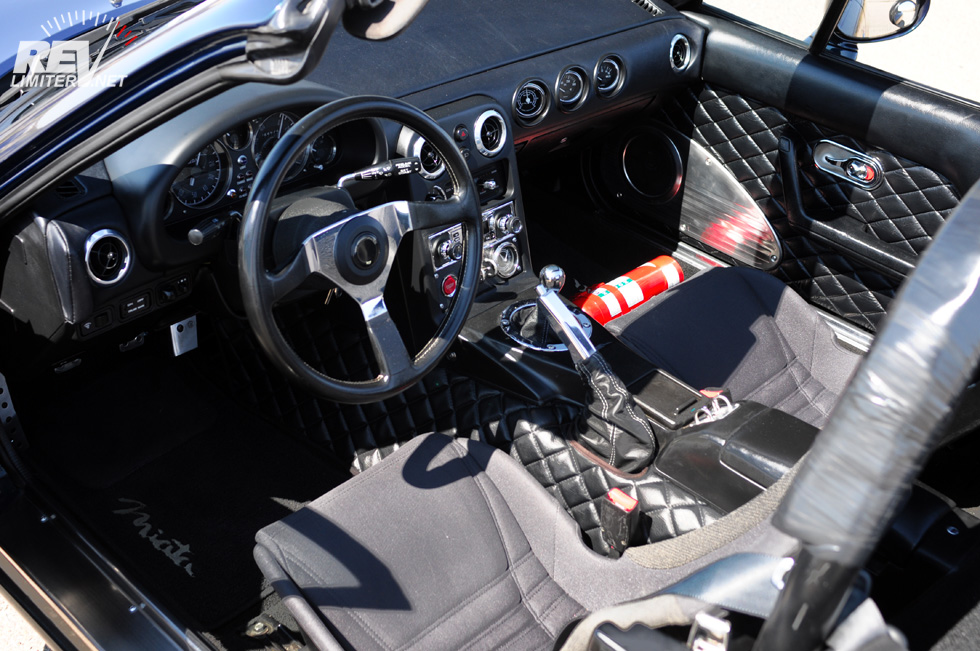
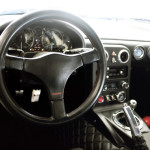
The Office.
I’m so very proud of how this project came together. In many ways it’s a very minor change – I swapped out one quilted black material for another – but it really is the details that makes all the difference.
For those who follow me on Instagram, expect more door panel pix than you ever wanted to see.
Update!
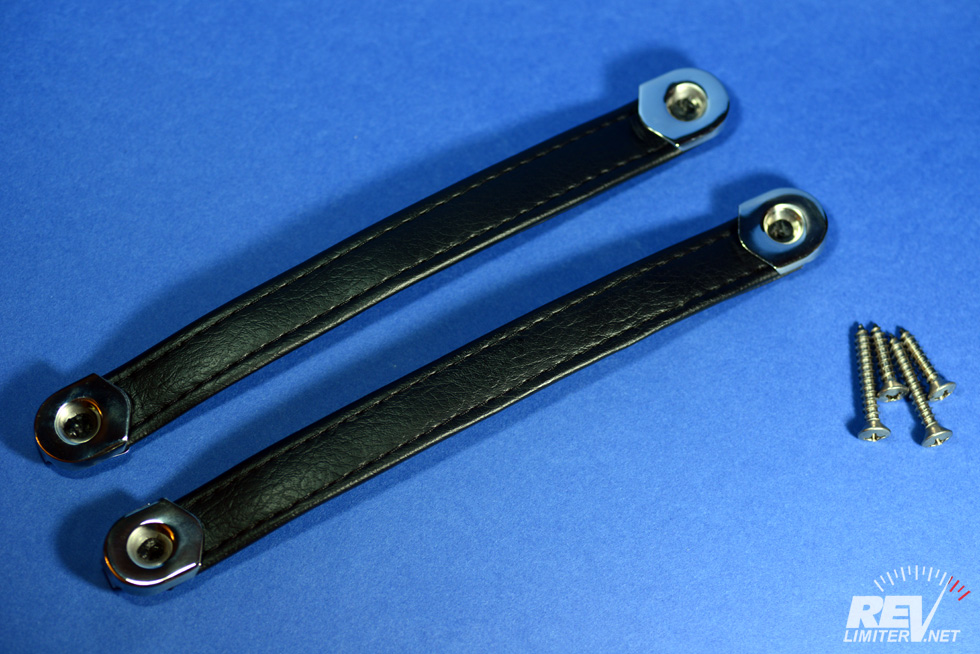
Sharka’s Door Straps
The door pulls are now in my store! I’m calling them Sharka’s Door Straps. You can order any color you want as long as it’s black.
Update 2!
White stitching!
I now have one option for the door straps – white stitching. It was requested by a customer and made me realize that all of the small leather items in Sharka have white stitching. My Project G shift and brake boots have white stitching and my Nardi Classico does as well. I asked my manufacturer about it and was told I could order a batch.
Driver’s strap

Passenger strap
Subtle? The white stitching that is…
The white stitched door straps are in my store now. Still in black only with no plans to do red or tan.


Aaaand another change, another skill, another product, another awesome blog post ! Keep going !
Thanks Alex! I will try to keep my quality high.
Incredible.
Thanks!
Just wow. With this kind of attention to detail you should be working for Aston Martin.
Sure! Tell me where to sign. I’d love to work with them.
Amazing!!!!! Keep up the good work. The passion u have for ur miata is incredible!
Thank you Peter! I’ve got no plans to stop soon.
Neat work, but regarding the M2-1002; these do not attach to the door using the existing hard point. So I don’t think basing a handle on the length of the m2 handle and then fitting it to the existing hardpoints will give the correct appearance Instead, M2 riveted a bit of steel strip to the door frame. Its pretty crude, but something I found during my ownership of a M2-1002 9which is now owned by an Italian collector).
You might find these reference photos I took to be useful. In truth, the M2 handle is tiny; you can grip it with a couple of fingers only.
http://i110.photobucket.com/albums/n109/saz9961/m2-1002/IMGP1257_zpscd2eba3c.jpg
http://i110.photobucket.com/albums/n109/saz9961/m2-1002/P1020434_zpsa288c797.jpg
Yeah, I was aware of the odd M2 attachment and how those straps wouldn’t line up with the stock holes. They’re so pretty. A shame they wouldn’t work with a stock Miata.
Mine aren’t based on the length of the M2, but the WIDTH. Choosing the right width was pretty difficult. Too wide and it looks clumsy. Too narrow and it looks like a shoelace. The M2 width is just right.
And thanks for the pix.
amazing. but how is the armrest and center console not driving you insane? when i get my miata i will definitely be getting a lot of things from here…
Armrest and center console? Not sure what you mean. Do you mean how the goatskin on the lid doesn’t match the rest of the leather? I’ve thought about changing it out, but that would require removing 1,000,000 staples from the back side…
So, what are ya doing with the ‘old’ vinyl panels? Are they available? ;^]
I honestly don’t know where they ended up. I’ll dig around the garage and see if I can find them. They might have gone away though.
[…] Here ya go https://revlimiter.net/blog/2013/08/m…panel-project/ […]
where could i get this interior at? and how much would it run? contact lilnick421@gmail.com