

In for surgery.
My old Momo Master steering wheel is currently the favorite of my collection. It’s just so… perfect. The grip is thick, the style is understated and unique, and it just appeals to me right now. I’ve had it in since last winter and have no plans of changing it out.
One day not long ago, I needed to honk Sharka’s horn. I pressed and… nothing. The thumb button just produced nothing. I pressed the other one and after straining as much as I could, I finally got a tiny beep. And I’m honestly not that weak. I have a very strong grip. I just couldn’t get the horn button to press.
I got home, removed the wheel, and immediately brought it to my office for surgery.
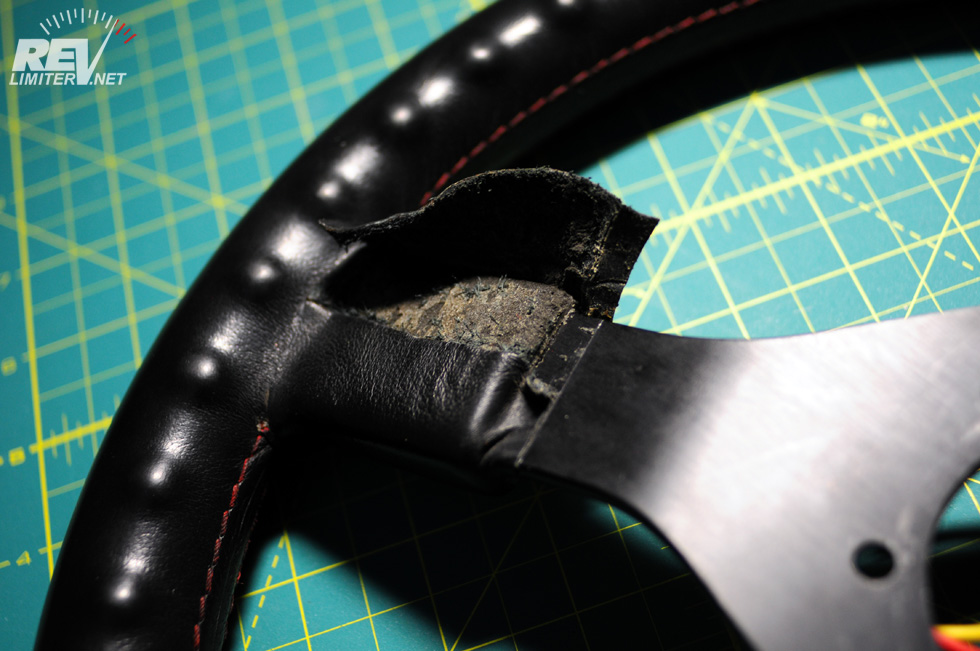
Opening up the horn button.
Um… whoa.
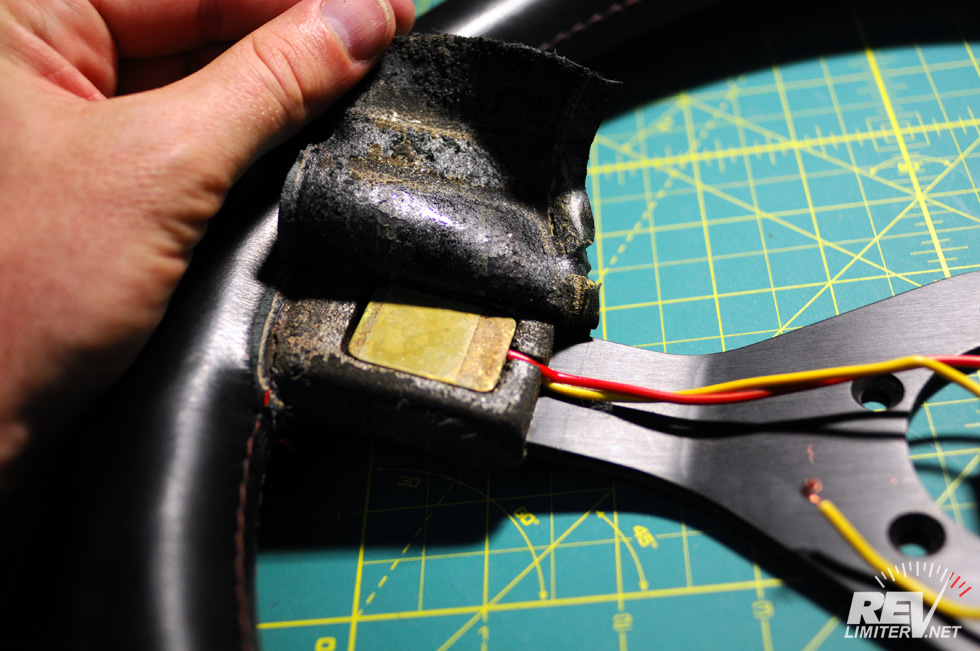
70s engineering via MOMO Italy. I was impressed.
I was a little worried ripping into the leather. My chances of finding another Momo Master in good condition was slim. But I wanted a working horn, so I very carefully worked it free on the seam. The 40 year old glue gave way easily and allowed me access to the horn button itself.
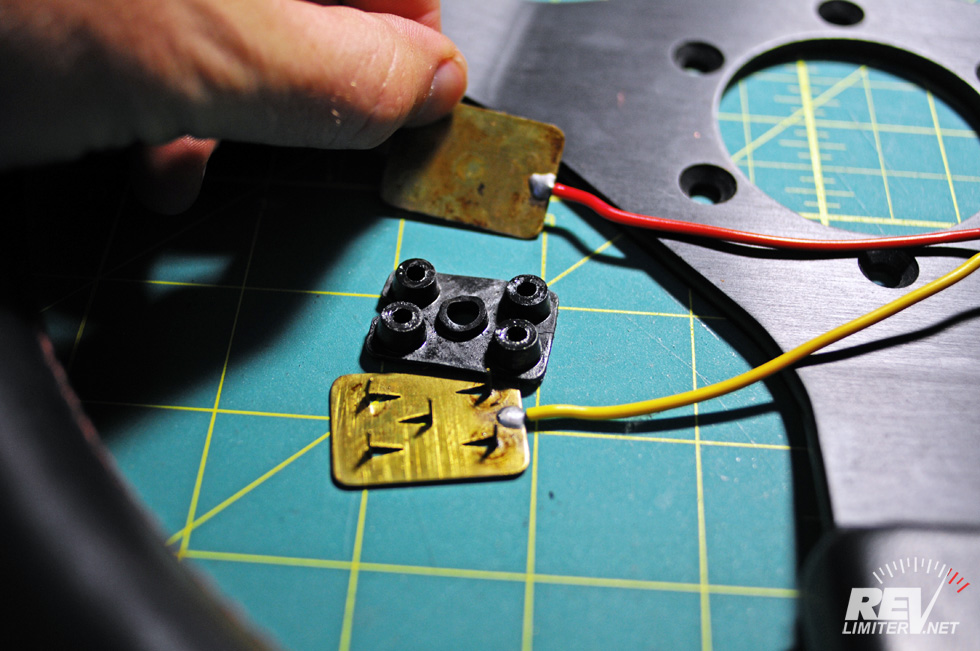
And what a button it is. It’s two metal plates separated by a rubber plunger thing. Yes, “plunger thing.” That’s the technical description. I mean, look at it. WTF?
One thing you don’t get from the photo – the plunger thing was as hard as a rock. The left hand plunger was literally solid. Zero give to it. It actually crumbled in my hand. The right side plunger was very slightly pliable on the bottom edge. Both needed replacement.

A modern replacement?
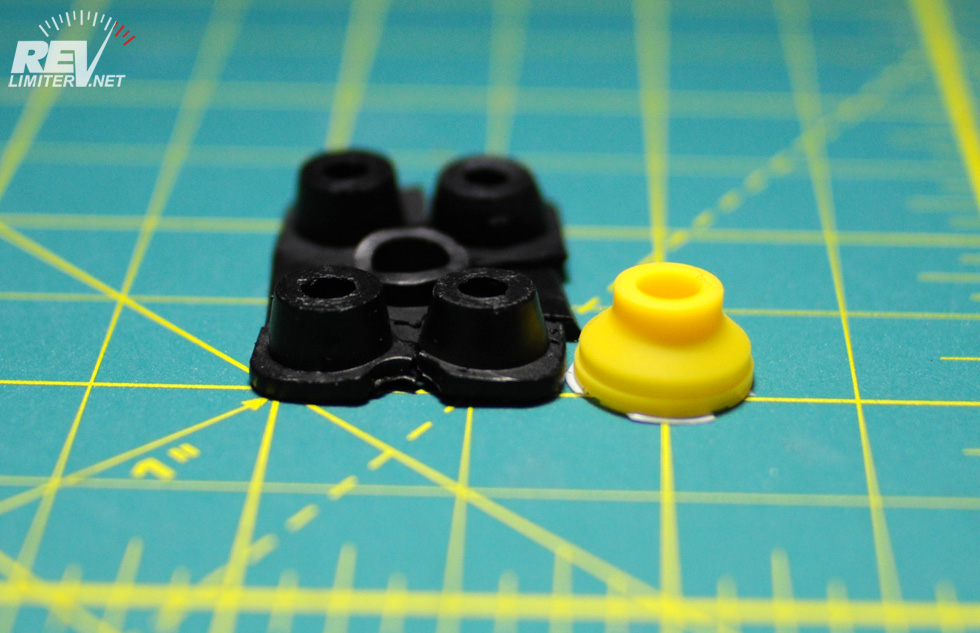
Nearly the perfect size.
I am a computer geek. This is probably not a surprise to you. I’ve got a ton of old parts in my shed. I took one look at the plunger and immediately thought of a keyboard membrane, so I went to the shed and rescued a couple of aged, worthless keyboards. One had some silicone plungers just the right size for this project.
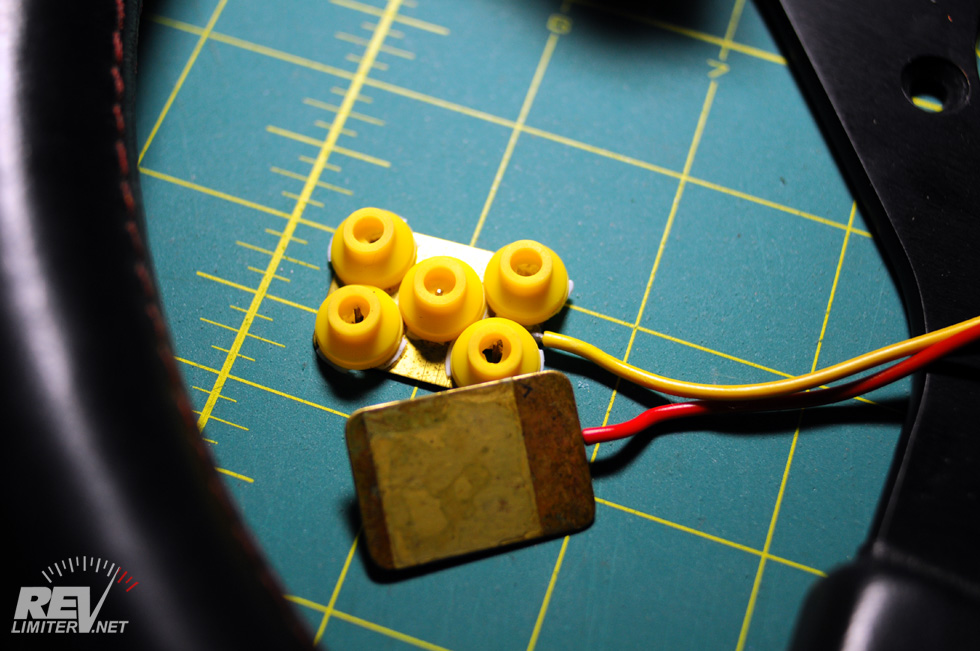
A keyboard though… is that really enough resistance to keep the horn plates apart? It is if I use five of them!
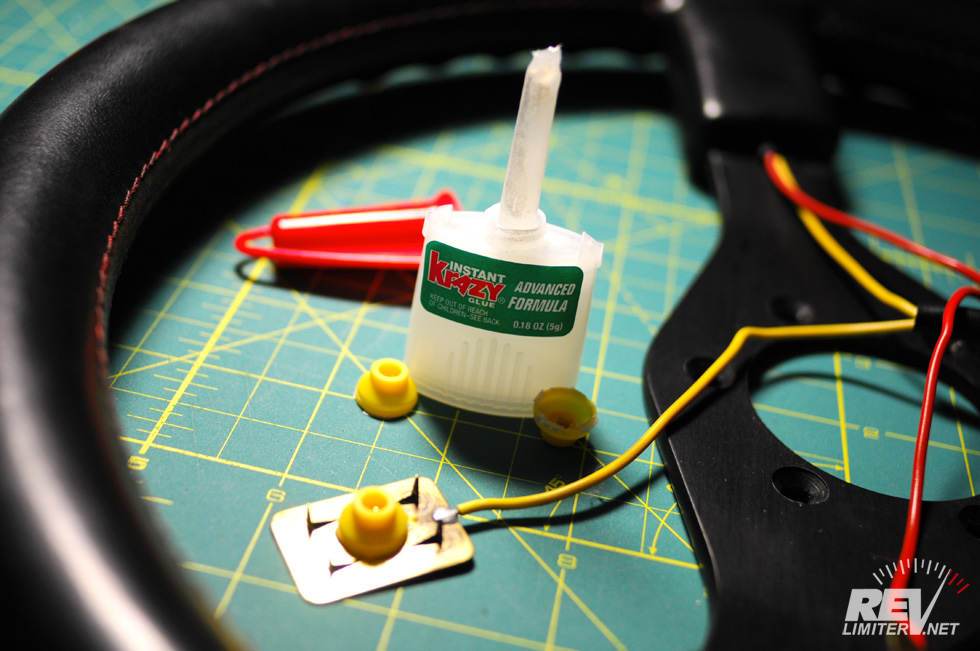
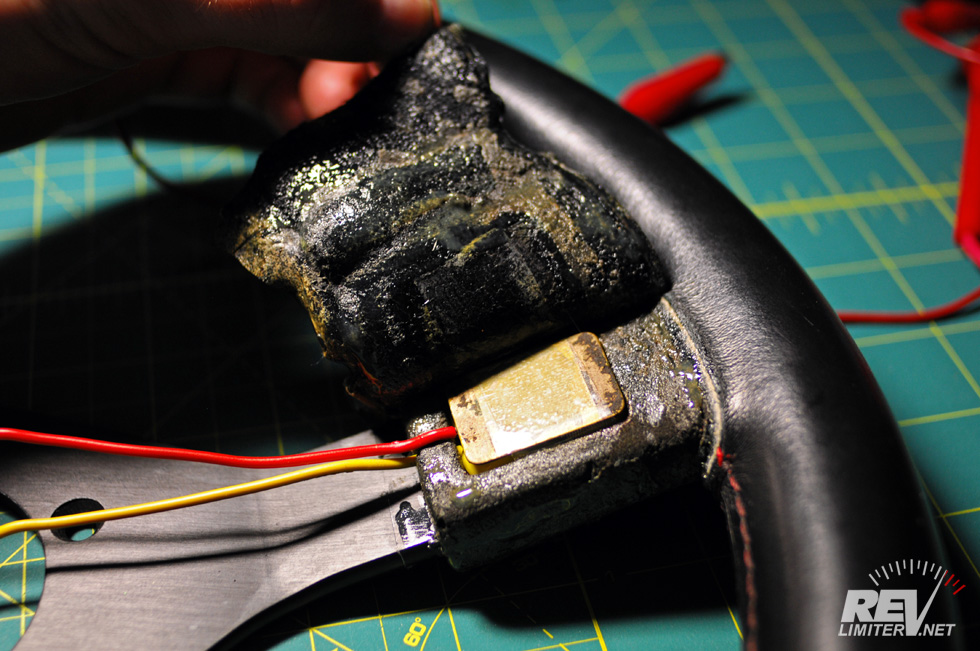
A little glue is all it took.
Not OEM approved.
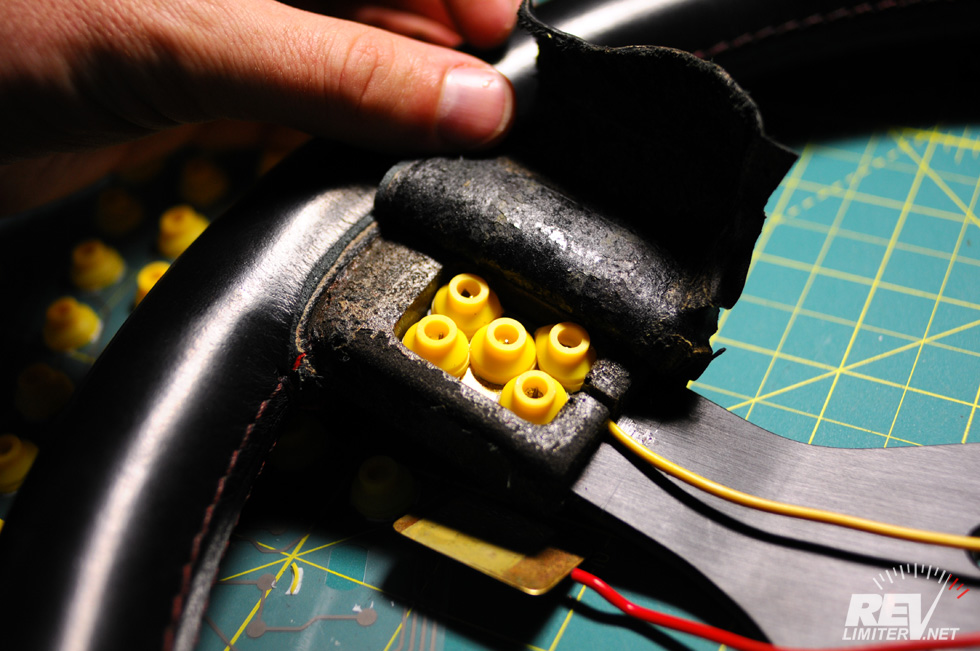
All snug. A perfect fit.
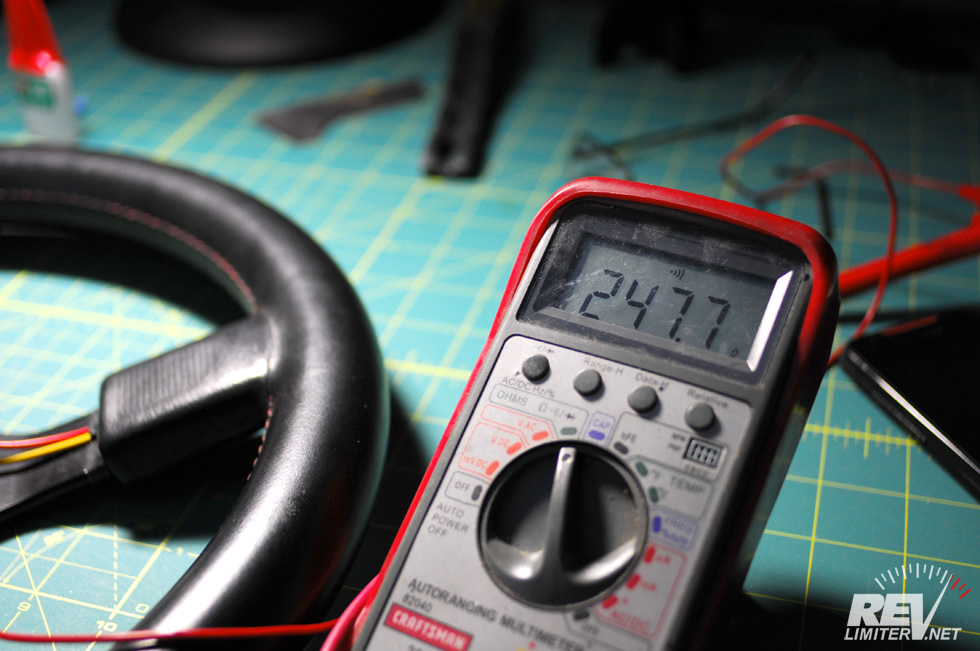
Horn button testing good.
It worked like a charm! The silicone plungers were ever so slightly too big for the horn button hole, but their pliability made this a non-issue.
Really though… what an odd horn button solution! I didn’t know what to expect when I opened up the wheel, but it sure wasn’t this. And I had no idea I’d be fixing it with an aged ps2 keyboard.
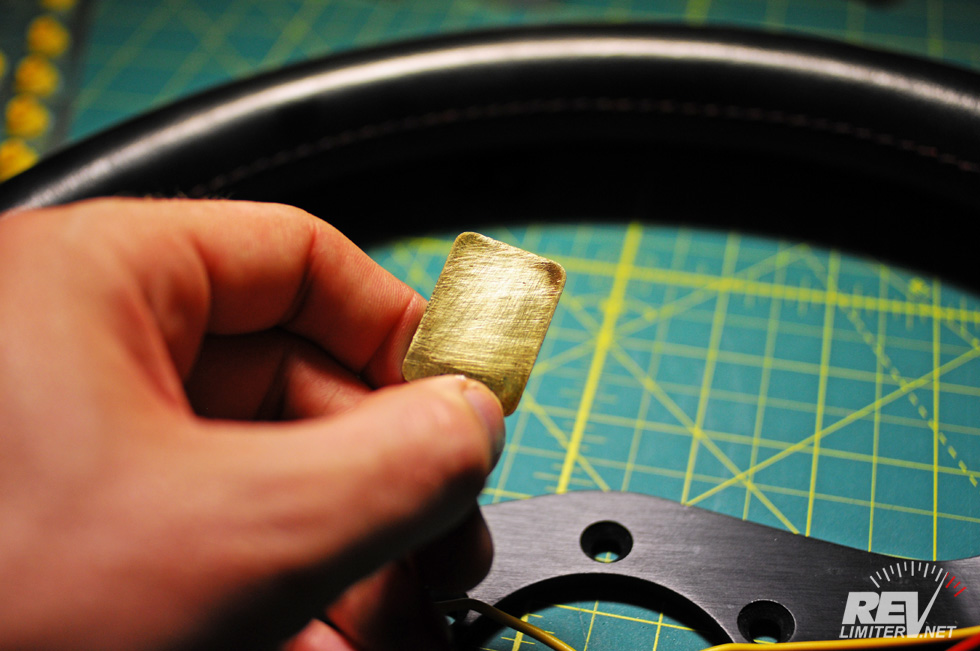
Scuffed before final installation.
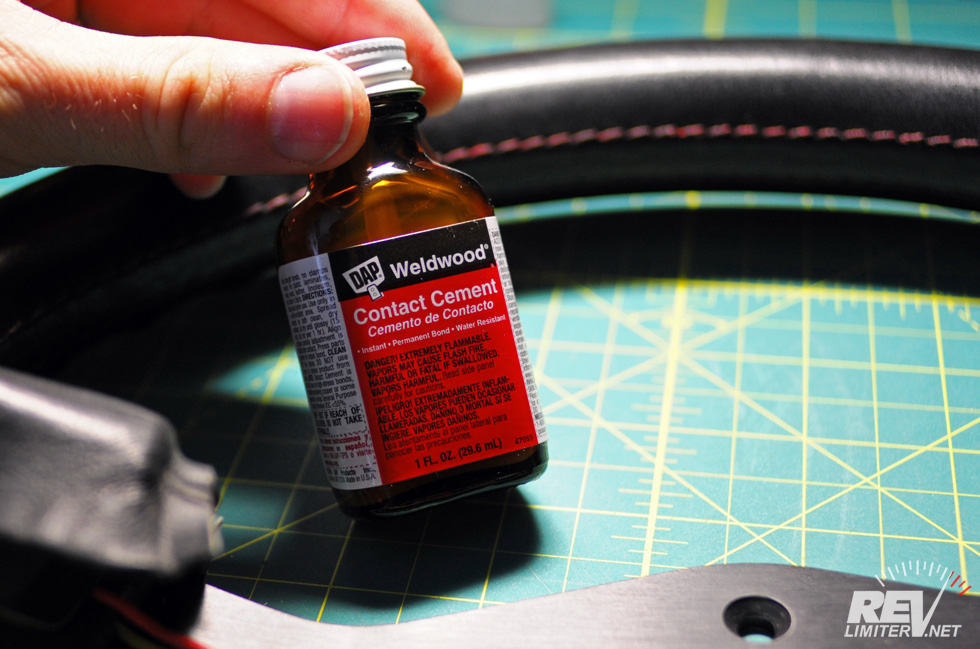
Contact cement to seal things up.
Liberally applied.
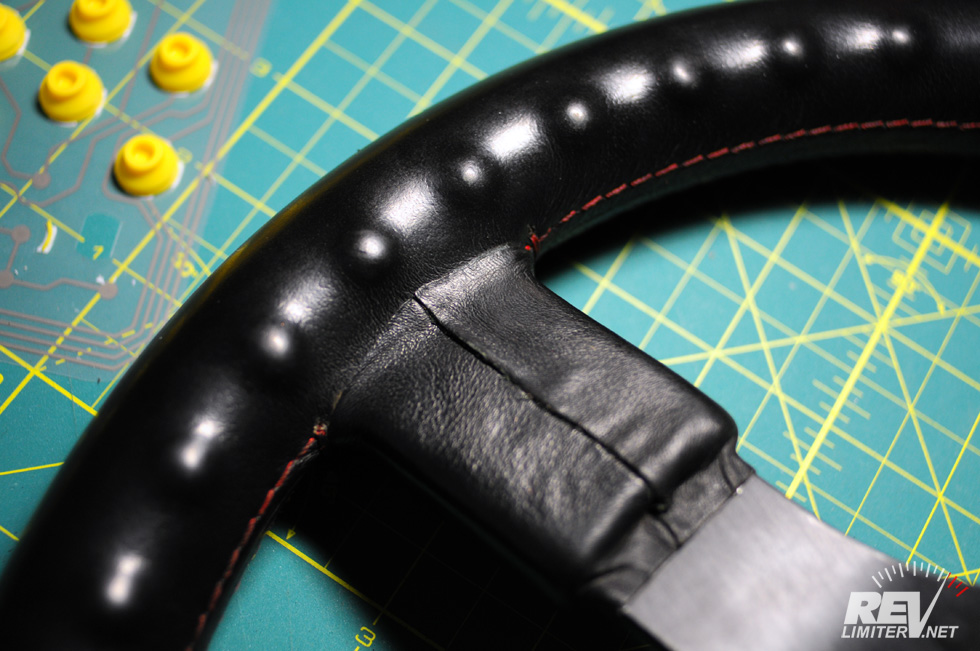
Good as new!

Can’t tell it was ever opened.
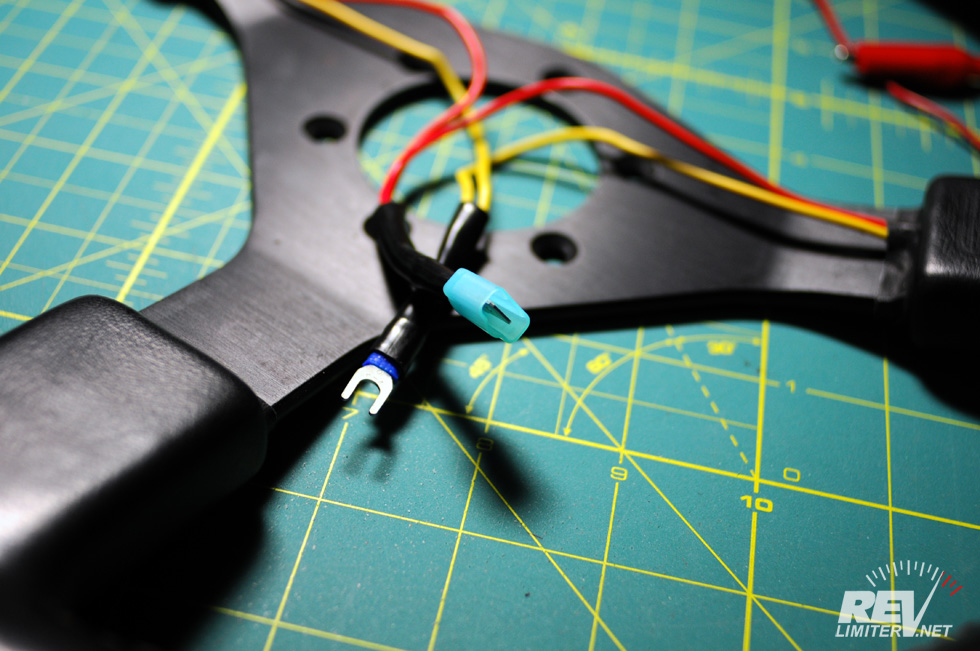
New connectors finish up the restoration.
It’s good to have my favorite wheel back to 100% functionality. I’m quite pleased with how this project turned out. There was really not much to it. Nothing tricky. I expected the leather to tear or to need some discontinued switch or to hit some unexpected road block. Nothing bad happened.
I can’t remember a project I could say that about…
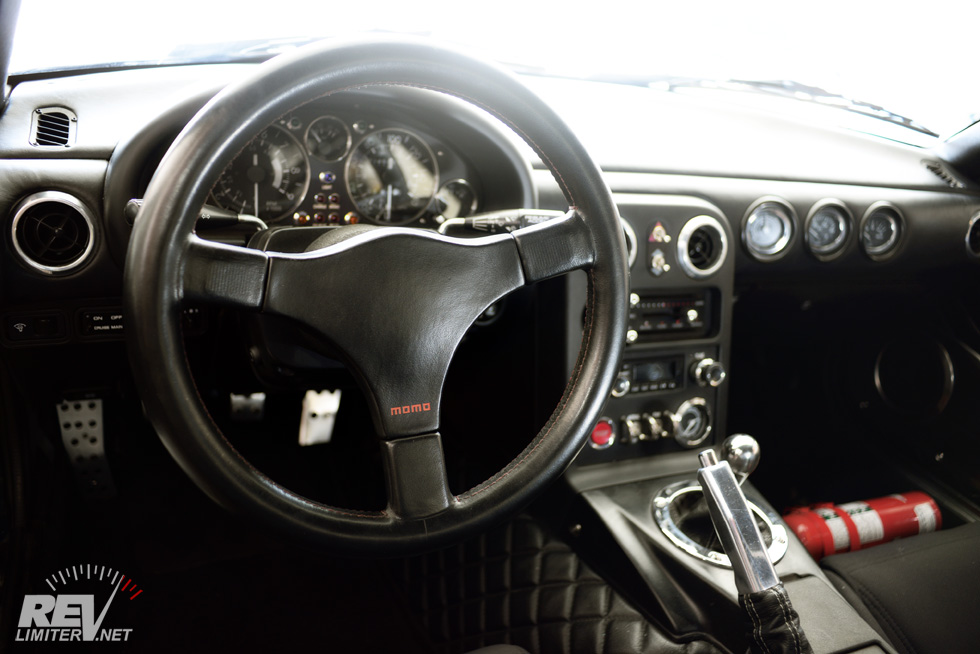
An old Momo Master, back at home.


I’m impressed by your ability to do / repair things yourself and your imagination helping you to always find an awesome way to achieve it. Good job !
Thanks Alex! I’m just glad I didn’t have to source some sort of odd microswitch for the horn. I was almost relieved to find the metal plates and rubber plungers.
Cool way to know how it’s done before I started 😀
Adam, you have golden arms :)))
Golden arms? heh. Never heard that one. But thanks!!
I’m Really amazed about your works, they look fantastic! Could you teach me? 😀