Yes, one more post on my leather dashboard project. I just couldn’t leave it alone. It was done, but not quite right. And the thing weighing on my mind? That radio. That damn radio. It needed… something. It needed to be different. It needed to not be so bright and shiny. It needed help.
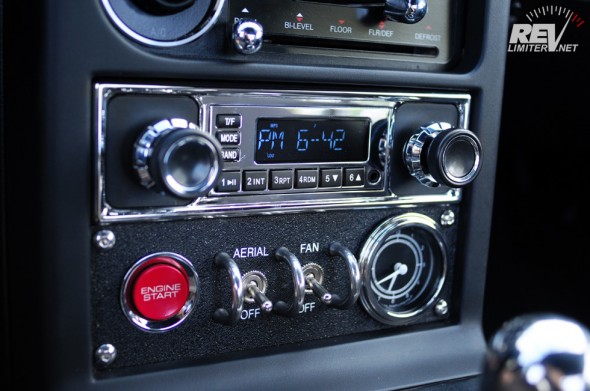
I bought that Retrosound radio in hopes that it would be pretty and vintage. I wanted it to blend in. Instead, it stuck out like a very shiny sore thumb. It shouted “LOOKAT MEEEE!!!!!!!! I’M SHINY!!!!!!!!!!!! I’M SO VINTAGE!!!!!!!!” and that’s not at all what I wanted. I wanted nostalgic, not… well… whatever that is in the shot above.
So I fixed it.
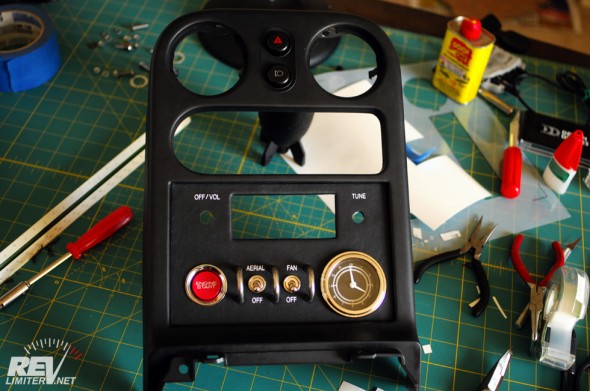
Originally, I didn’t post any details about how I created the bottom single-DIN start button and clock panel. That was on purpose. I didn’t want 50 emails asking me to make more that I’d then have to answer “sorry, no” and disappoint a lot of people. But now that I have it all to do over again? Yeah, I took pix.
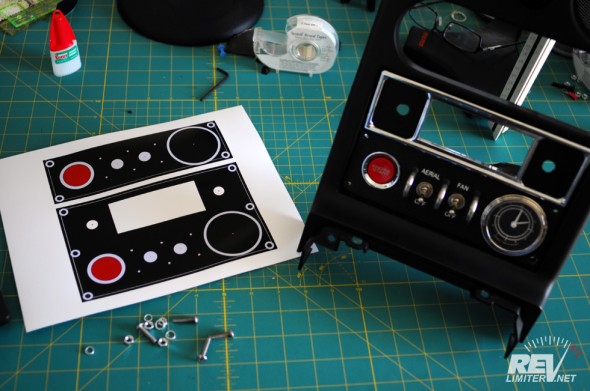
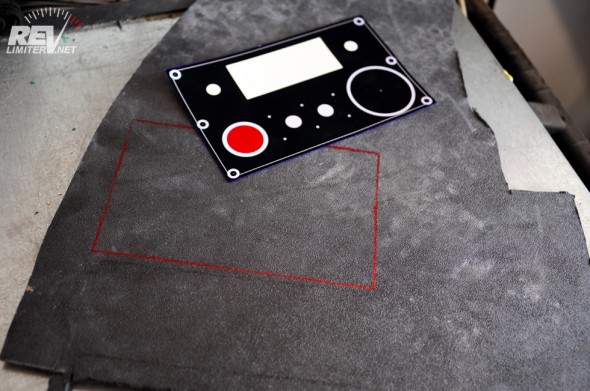
First step was to measure everything and lay it out in a design program. This, to me, is infinitely easier than drawing measured pencil marks on plastic panels and measuring and remeasuring and crossing my fingers that I got it right. With CAD, I can see how it looks and I have spiffy tools to center and align everything for me. And that’s what you see above. The top one is the original single-DIN panel. The bottom is the double-DIN replacement with the radio integrated.
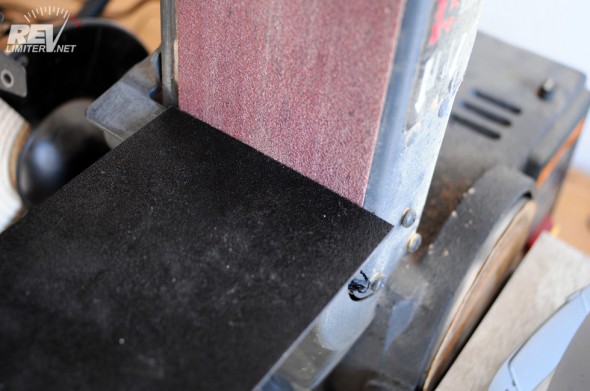
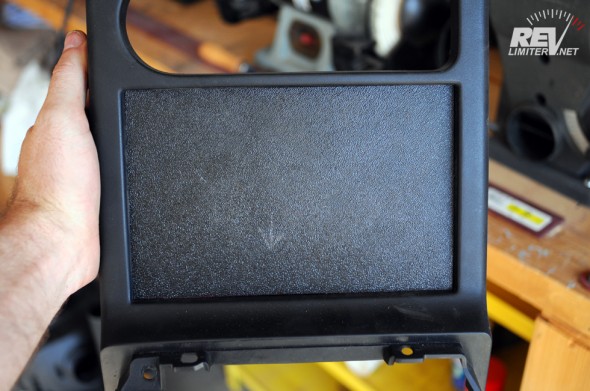
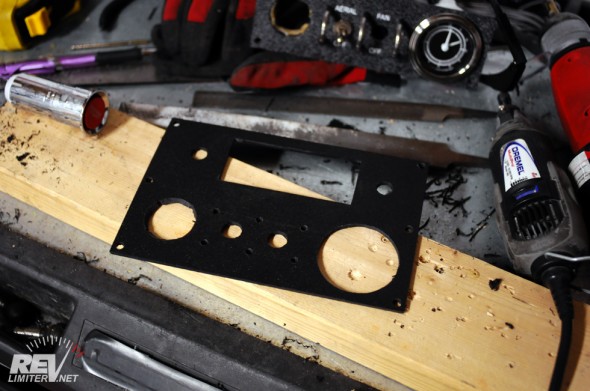
Those four photos represent the better part of 2 hours. Most of the work is in the last pic. Once the panel is square, it needs to be sanded until it fits. For that, I used metal files. They are slow, but quite precise. I finally achieved a perfect pressure fit.
Pay no attention to the little arrow penciled onto the panel.
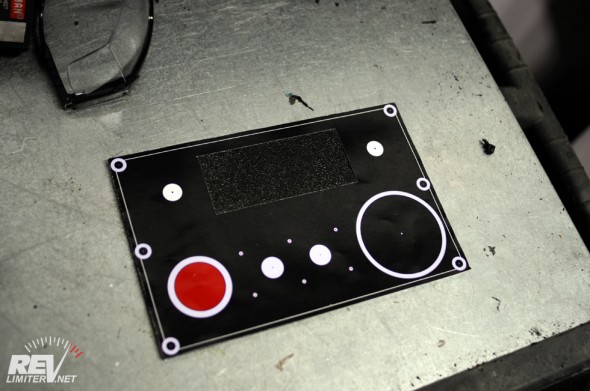
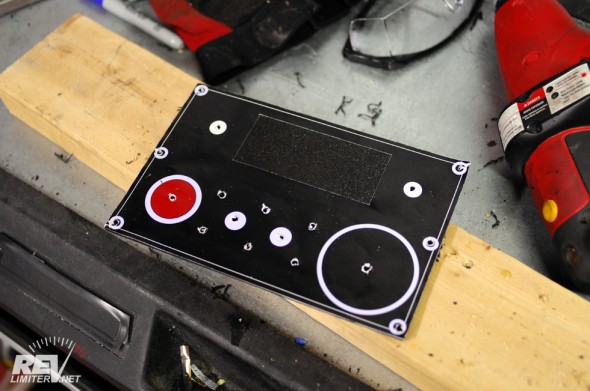
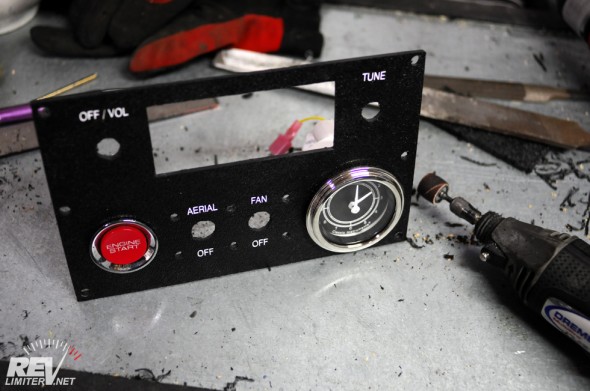
These three pix represent another… oh… three hours of work? At least three hours. Getting the radio hole perfectly square was not at all easy. More metal files and dremel sanding drums.
See the six holes along the edges for mounting hardware? Yeah, I’ll not be using those in the final version. They will eventually get filled with putty and covered in… something.
The start button hole is particularly difficult to cut. It is beveled slightly so that the button can sit flat and still have the short chrome lip stick out from the panel surface. I considered a flush mount, but this just looked better.
The clock is very easy to cut. A 2″ hole saw made quick work of it. A bit of dremeling to clean it out and the clock slid right in. No problem at all!
Pay no attention to the pretty labels. They won’t be on the panel for much longer. I’ll have to rip them off and install new ones in a bit.
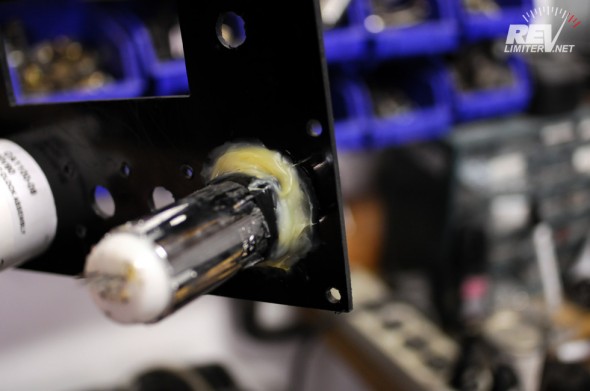
This is how I’m attaching the button to the ABS panel. It is actually quite brilliant. See the black underneath the glue? That’s just black electrical tape. I wrapped a couple wraps worth around the button before installing it, and then I troweled the glue on top. The tape allows the button to be removed if necessary. And it works! I’ve removed the button from my original panel (seen above) using this method, and in a couple photos worth of time, I’ll be removing it again.
The glue is Devcon Plastic Welder. I love that stuff. Excellent plastic epoxy.
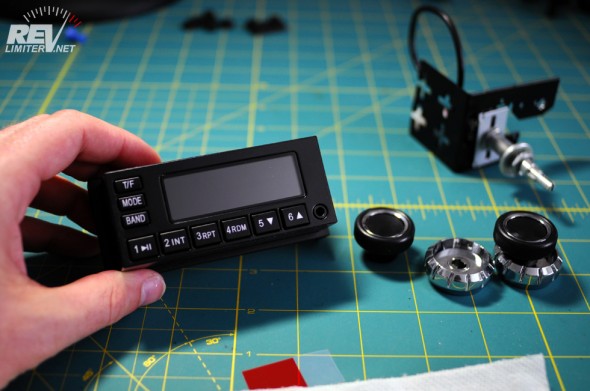
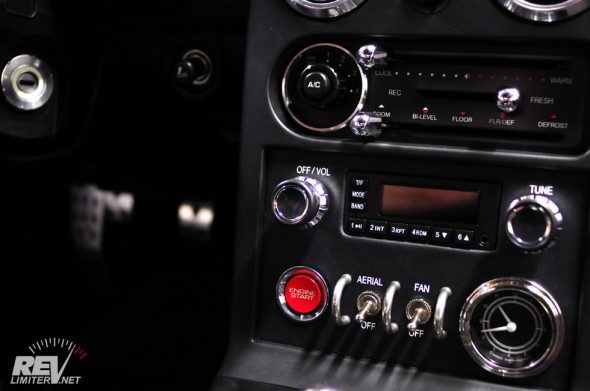
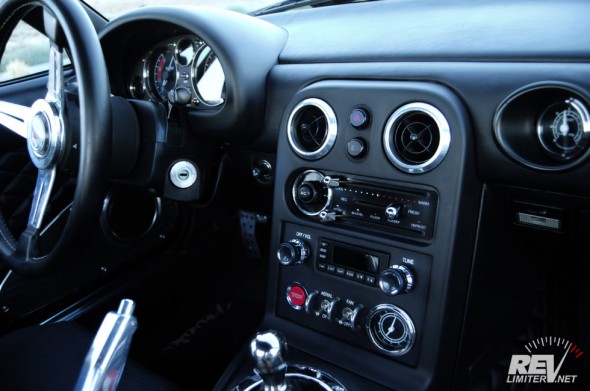
This is the same radio as above. I removed the faceplate (it is designed to do this), scuffed it up, and painted it in the same satin black that I used for the gauge cups. It now matches most of my interior perfectly.
Yeah… “most.” The NA6 tombstone and gauge hood are this flat medium grey plastic. They’re not the same satin black plastic that the NA8 interior and the NA6 lower dash are molded in. Very strange. Next time I have the tombstone off, I’ll probably paint it to match everything else.
And then some time passed.
.
.
.
.
.
No photos were taken.
.
.
.
.
I got the above ABS plastic panel installed and finished and… it wasn’t right. The plastic was gloss black. And it had that rough ABS texture that didn’t match anything else. It looked okay until I got it installed in the interior. I sat back in my seat after tightening the final screw… and my heart sank.
Not a single photo was taken of that sad, bargain basement ABS panel installed. It was too depressing. Several days of work and it looked like poo. It was close, but it might as well have been the chrome dipped version. So close, but so far.
I allowed myself to be depressed for a whole evening. Then, the next night, I got to work again. Out came the leather and contact cement.
That’s right, leather.
Inspiration hit me. The leather hide that I used on the dash has the perfect grain to match the NA6 tombstone. It is also nearly the perfect color, being very close to the dark grey plastic. And the whole dash is covered in the stuff! It had to work, right?
Right.
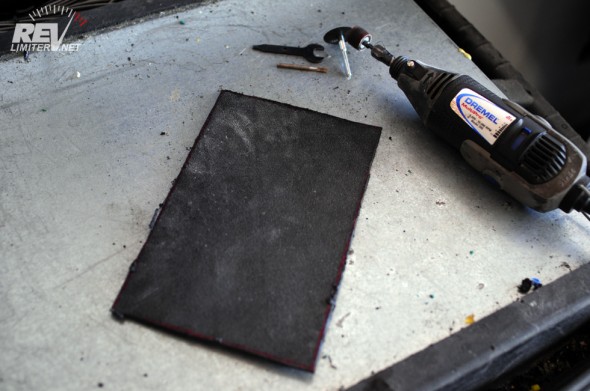
I enlarged the radio hole to account for the thickness of the leather. That took a few more hours. I also selected a choice square from the hide that is now sitting in storage. A few minutes sniffing glue in the garage and I was done!
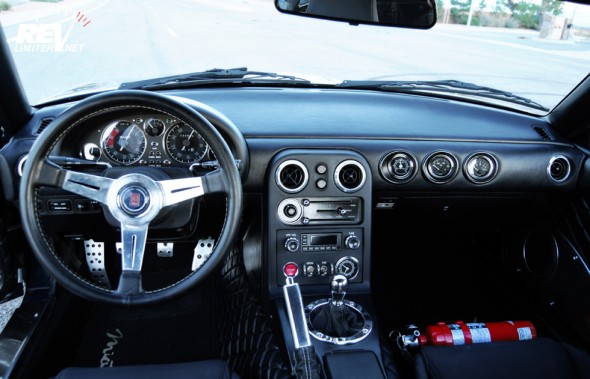
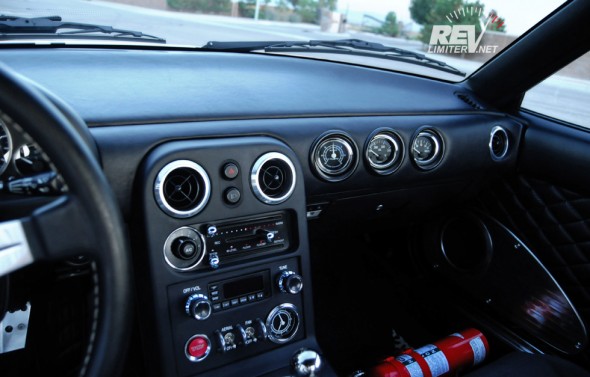
This time, when I turned that last screw and stepped back, I was not disappointed. Quite the opposite. Finally, it felt RIGHT.
Finished Photos
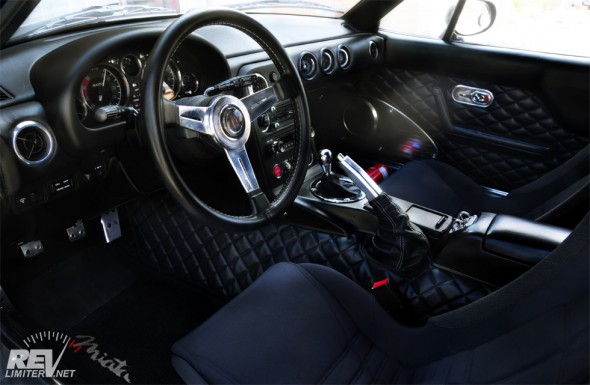
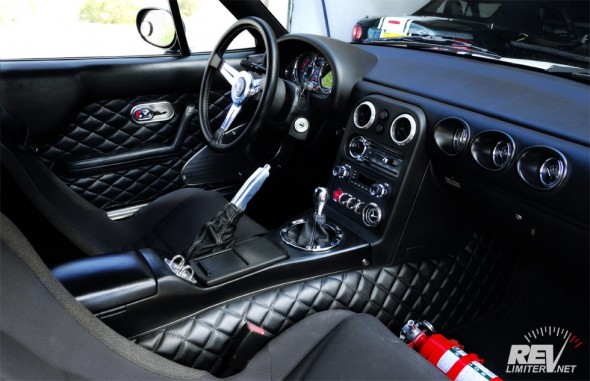
It’s just a radio. Just a small change. I removed about 7″x3″ worth of chrome and installed about 7″x5″ worth of leather. Not much to get worked up about, really. But it feels like a huge change. The whole interior feels different, and for the better. It works now.
Time for a drive.



Wow! Huge transformation! That looks brilliant. I love your attention to detail.
wil..
Thanks Wil! Much appreciated.
I admit, this latest update was me letting my OCD run wild. But I wanted as close to perfection as possible.
Well you’ve done it. . . perfection. Congratulations Adam
THANKS!!!!


Wow, that DID make a big difference. You’re absolutely right, getting rid of that bit of bling just makes the whole picture work much more nicely.
Now to not screw it up…
This radio panel looks awesome ! So much better than the previous one, not only for the bling, it also gives an impression of a better finish.
It really is a much better finish. An integrated piece vs a cobbled together pair of single-DIN panels. Everything is now at the same level whereas before, the radio stuck out about 5mm farther than the start button and clock. And LEATHER!
And thanks!!!
It is all in the details!
Damn that thing is tarting to look so damn good!
OCD is just another word for LOVE.
HA! That’s the quote of the day right there.
that looks fantastic…
how do you do the neat white lettering on your work?
kindest wishes – rox
The letters are tiny bits of cut vinyl. I used to have a fantastic vinyl cutter that did a horrible job of cutting gauges. Now I have a monster table cutter to do the gauges, but it lacks the delicate touch to do tiny letters. ha!
If I had to do it again, I’d silkscreen.