Anyone who’s ever owned a car without a metal roof has thought about this topic. What do you do when the old soft top is done and in need of swapping out? Go to full time hardtop or buy a new piece of material to keep the rain off your head? Since I already have one hardtop Roadster, I decided to invest in some new cloth for my 2001 Miata and tackle one of the few maintenance tasks left that I’ve never done.
Yup. I’ve never installed a soft top. That in itself was enough to make me take on this project.
There’s a ton of soft top DIY’s out there on the internet. But even with the Robbins instructions and a handful of internet how-to’s, I was still a bit clueless on a few steps. I couldn’t find specific answers to the few questions I had about my specific install (Robbins cloth on an NB frame). So that prompted me to carefully document my install with the idea of supplementing the official Robbins instruction sheet. (And that sheet needs all the supplementing it can get. Those black and white photos are awful.)
So. Here goes. 27 photos of installing a Robbins cloth top (OEM 3 piece style) on an NB frame. Bucky, my 2001 Miata, is the star of this particular episode. Sharka gets the week off.
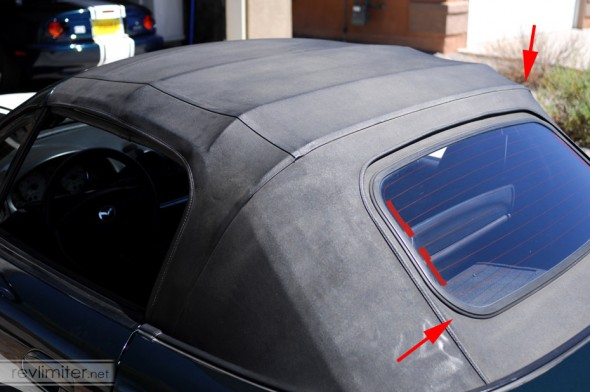
It doesn’t look bad in this photo, aside from the weathering, but trust me – this top has had it. There’s a huge tear all the way around the lower left hand corner of the window. There’s also a large hole in the top corner where it folds. Still, 10 years is a pretty long life for a vinyl top that’s been outside for most of it.
This part really needs little in the way of explanation. You just remove the old vinyl from the frame. It’s quite straightforward. And in my opinion, this is quite easy to do with the frame still on the car. You have the car there to hold the frame for you rather than it flopping around on the ground. This is nice.
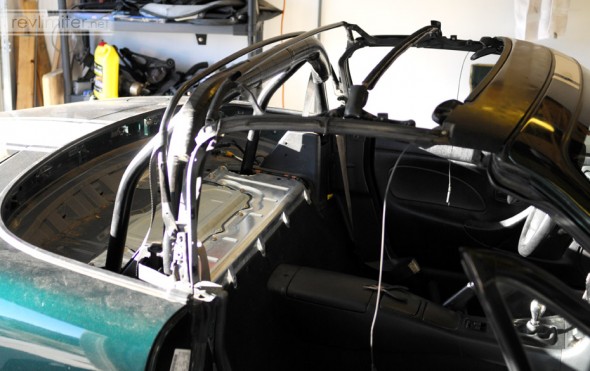
You can see that I’ve removed the seats. This makes life SO much nicer. It’s 4 bolts each seat on the NB. Don’t think about it. Just do it. The few minutes spent arguing with them is so worth it.
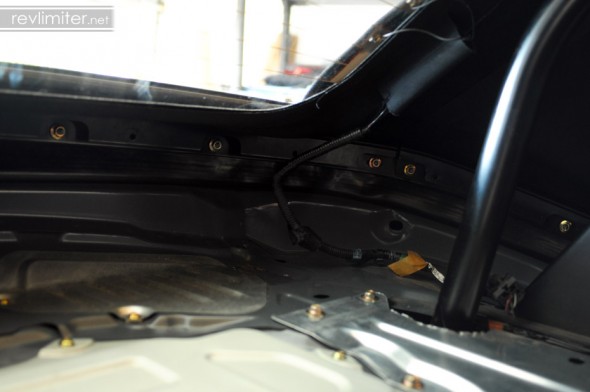
I also removed the rear carpet. It could have just been rolled down and out of the way, but I wanted nothing in my way. I know from experience what a pain that rear top retaining rail is.
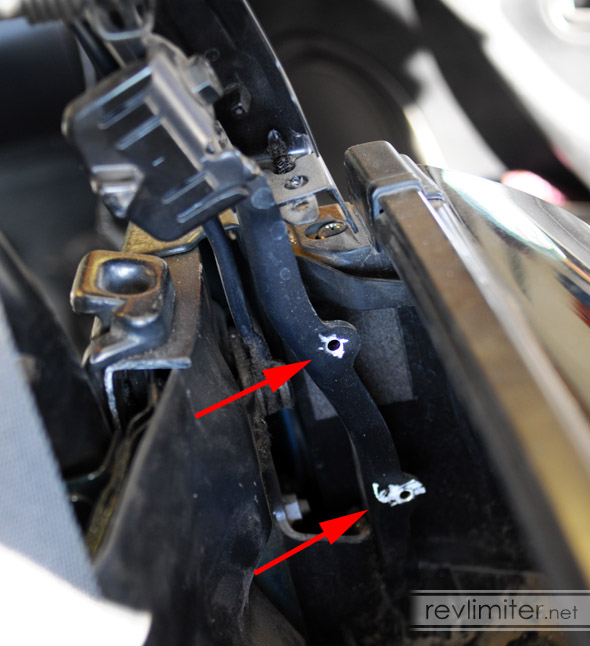
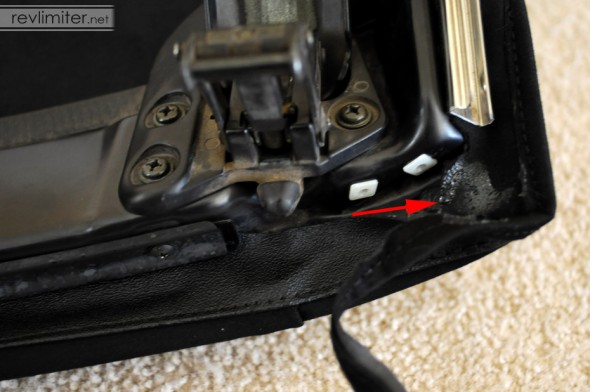
These were the one pain of taking the vinyl off with the frame on the car. It wasn’t too easy to get the drill down in there to remove these pop rivets. In fact, I had to also use the dremel after drilling out the center.
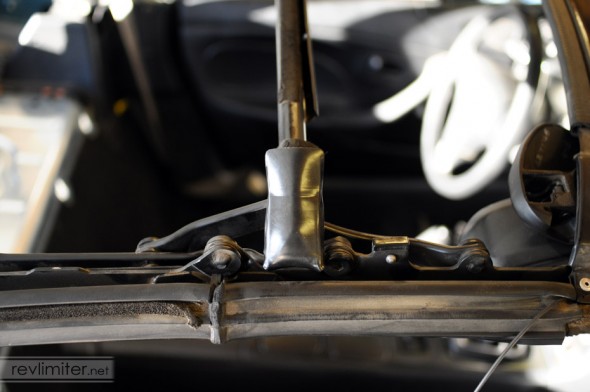
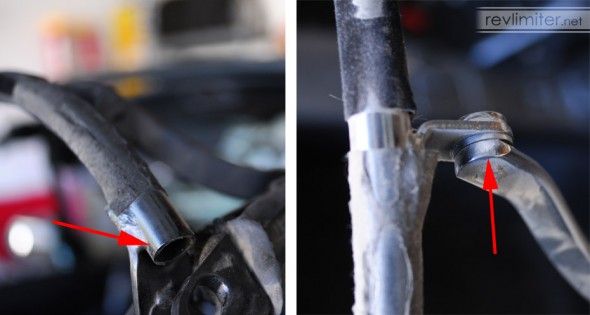
This little guy slips over the end of the center bow to keep any rubbing to a minimum.
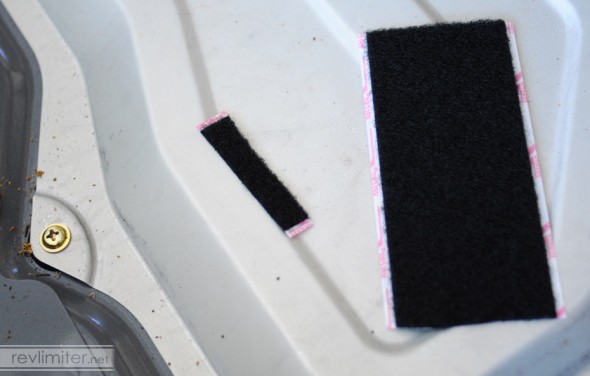
This was where I hit my first snag. My top came with two large pieces of velcro (the loop side) and no clue as to where I should install it. I poured over the instructions for literally a half hour. Couldn’t figure it out. Then, for some reason, I went back to the inside front cover to see if there was a parts manifest. There were the instructions. “Supplement to 4C: apply velcro to third bow.” Or something like that. At that point, I decided to start taking a lot of pix.
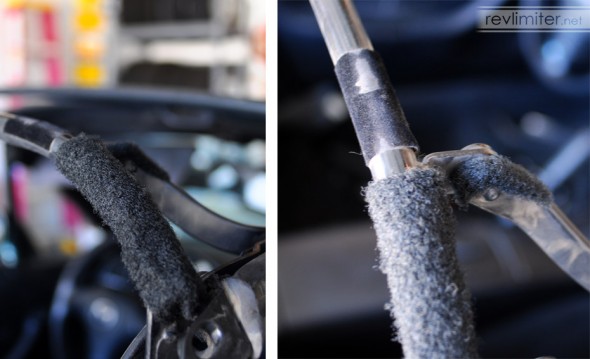
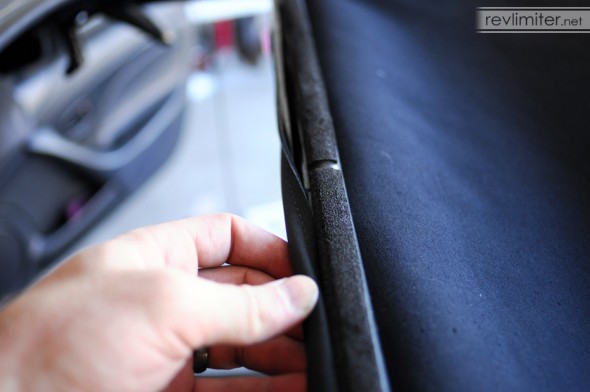
Pictured above is the bow you should apply the velcro on. It’s directly beside the one with the new rubber protector.
I was quite pleased with this small modification. Judging by the shine on that hinge, there’s some rubbing going on here. So I used the scrap velcro to protect it as well.
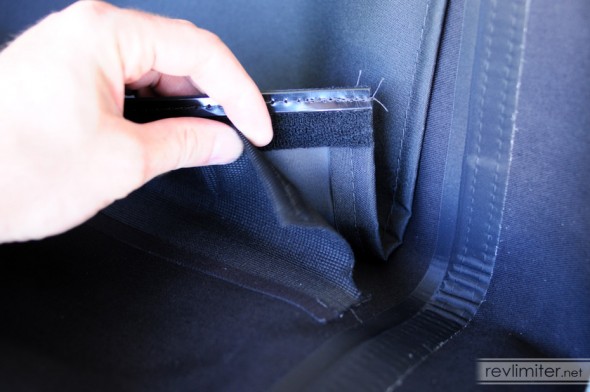
Then the instructions went on for a paragraph about how to connect the front bow listing and the #4 bow listing (I think). I was super confused. WTF is a listing? A little internet research revealed that the listing is the extra cloth that goes over your head and helps the top suck the back window down as it folds. The Robbins instructions were saying – in many many words – that you should velcro these two parts together.
They were already velcro’d together from the factory.
Stupid instructions.
This should look familiar to you. No surprises. But the photo in the Robbins instructions made this look like black magic.
One thing: the whole top lays over top of the frame at this point. The listing lays on top as well, then curls around this 2nd bow (the first small bow after the big front one). Then you insert the edge into the little channel and squeeze it back together. All of the bows except this one pictured should be visible from inside the car. If you make a mistake and put the listing underneath the 3rd bow, you’ll lose headroom.
At this point, I decided to take the frame off the car and carry it into my living room. There are a few steps that require you to access things that are somewhat obscured by bodywork (like this one) and having the top off makes it easy. It’s only 3 bolts per side to remove the frame anyway. Quite simple.
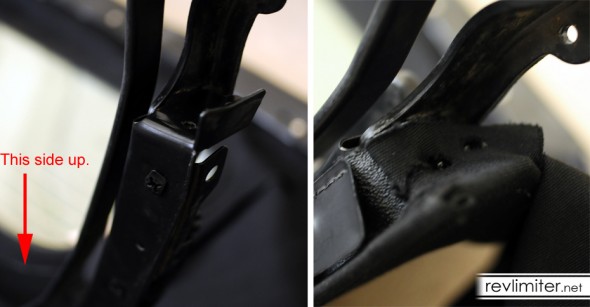
This little slot is quite invisible with the frame on the car. It goes inside a pocket on the soft top. Getting both slots into both pockets requires some work and stretching of cloth material.
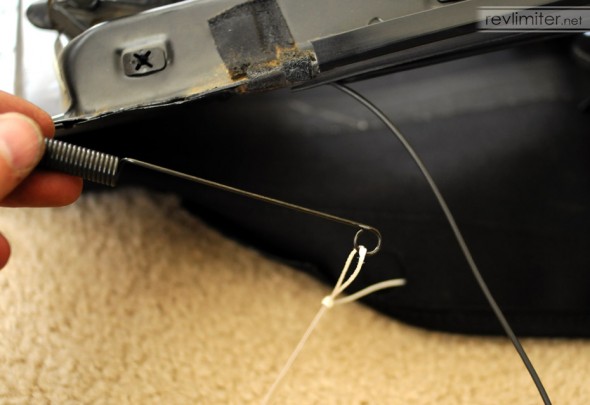
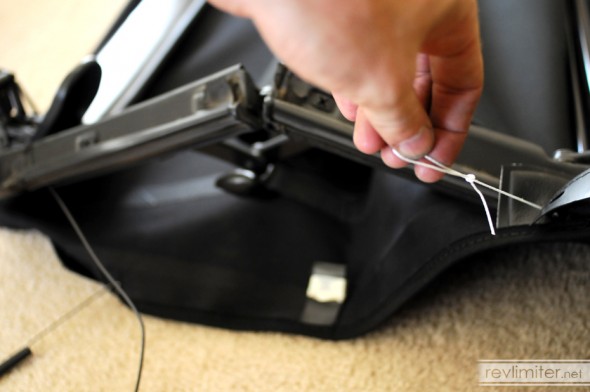
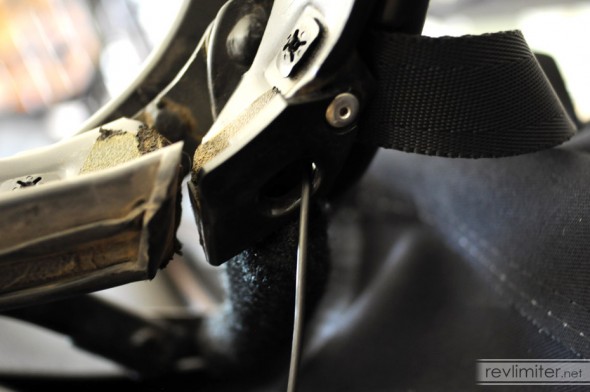
This little string is a nice thing that Robbins includes with their tops. You loop the tension cable through and pull it out the back of the frame. Slick, huh?
There’s a missing photo #4 showing me bolting the end of the tension cable to the frame. That’s because I did it way late near the very end of my soft top install. That’s not good. It’s much easier to do it now.
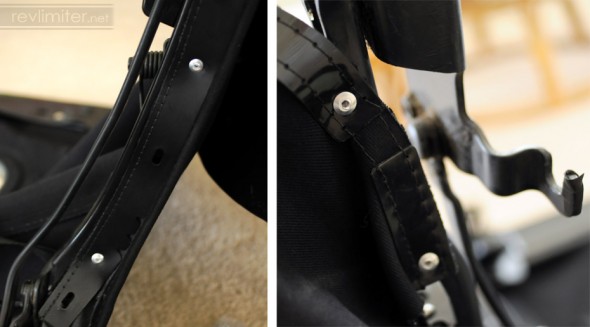
It’s easiest to pop rivet the cloth to the frame now. I believe I did the top 2 rivets first on both sides. Then I did those lower ones.
Those lower ones are a pain.
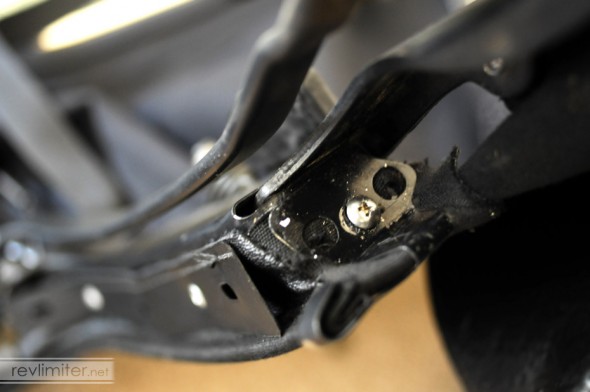
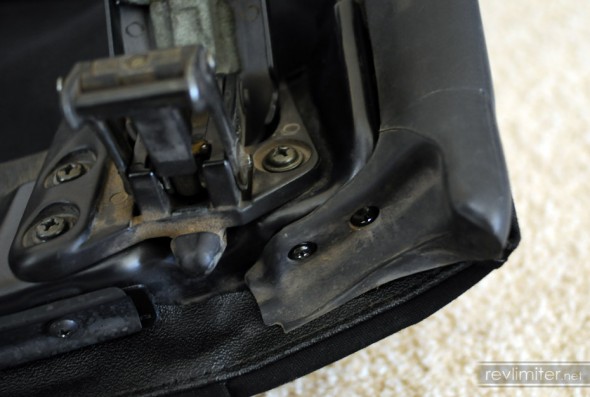
If you try to put this little guy on before doing the pop rivets, you’ll have a hell of a time. Lots of material stretching and cursing to try to get that screw lined up. If you do the rivets first, they’ll hold the material for you. Then you just zip the retainer in place.
I figured this out after struggling with the retainers for a few minutes. It suddenly hit me that having something like a rivet to hold things in place would make it way easy.
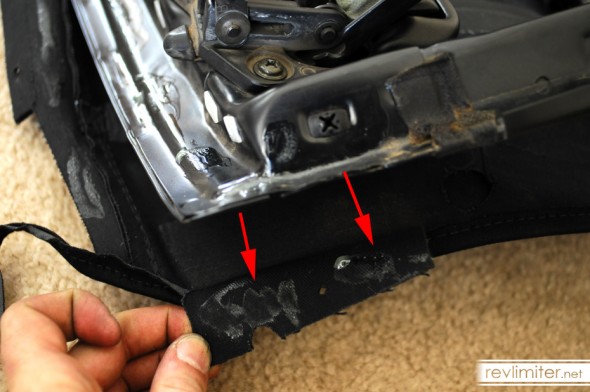
The Robbins instructions call for some contact cement, but they don’t show exactly where to put it or how much to put. Some people glue down the entire front edge of material. Others use no glue at all. I scrutinized my factory top and deduced that a couple circles of cement on the corners of each flap would hold things in place just fine.
The outside edges get a dose of contact cement. Then 10 minutes for it to dry. Then stick it down and install the front window seal retainers to hold it perfectly.
Another dab of contact cement for the outside corners of this front edge. The Robbins top comes with these little sewn tags that need to be cut free once the edges are glued correctly.
The long front plate can then be installed. On NA cars, there’s like 8 little screws. NBs only get 4. I hope that’s enough.
Finally, finish with the weather seal. Then it’s back to the garage to install the top on the car!
It’s really quite easy to pull the top off and put it back on. There are 3 bolts per side and a little n shaped (lowercase n) hook that grabs onto a stud sticking out the side of the bodywork. You lower the top onto that stud and then apply the 3 bolts. Very easy.
Notice the lack of rain rail installation stuff here? I elected to buy my top from Robbins with the rain rail attached. They use this excellent rubber rail with no ABS parts. It’s totally crack-proof. Even if/when I need to replace this top, I can probably use that Robbins rain rail for the life of the car.
And you’ll really begin reaping the rewards of removing both seats now.
As if it wasn’t bad enough getting this damn thing back on, Robbins includes these little felt washers that go on both sides of the retaining rail. That makes an un-fun job even less fun. You can choose to install them or not. I installed… “most” of them.
The only way to install this retaining rail is to do the large center part first. Then do either outside small rail. Get it started with that first center bolt just to hold the middle rail in place. Then grab the two window straps and attach them to the outside bolts on the middle rail and fasten those nuts down. Then do the rest.
This is the last step – latching the top. It will not be easy. The material won’t want to stretch, no matter how hot the ambient temperature. I did this in June in New Mexico. IN the afternoon sun. My garage was in the 120*F range even with the fans and garage cooler blowing. It was still hard to latch the top.
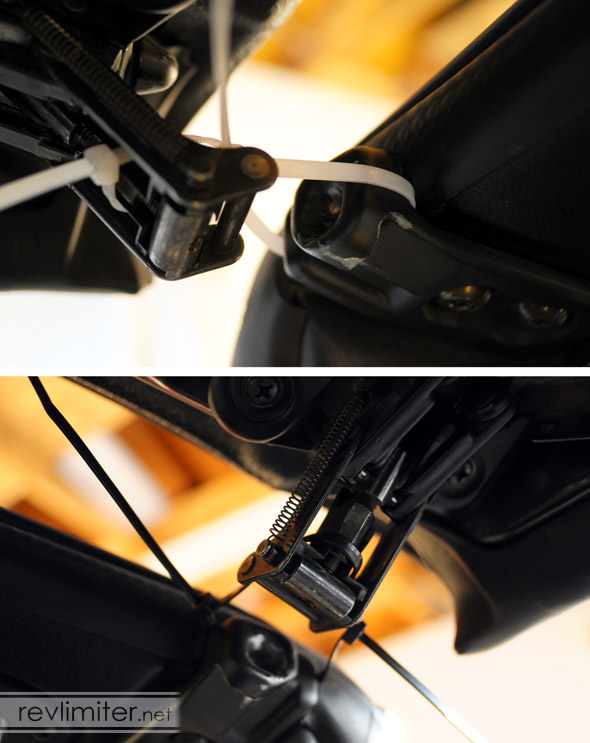
This zip tie method was a partial success. I’d let it sit for a few minutes, then a buddy would help tug the top down a bit and I’d tighten the zip ties a few clicks. A bungee cord running between the front center handle and the steering wheel also helped. After a half hour of finessing, we were finally able to get it latched. Thanks again for your assistance, Sam!
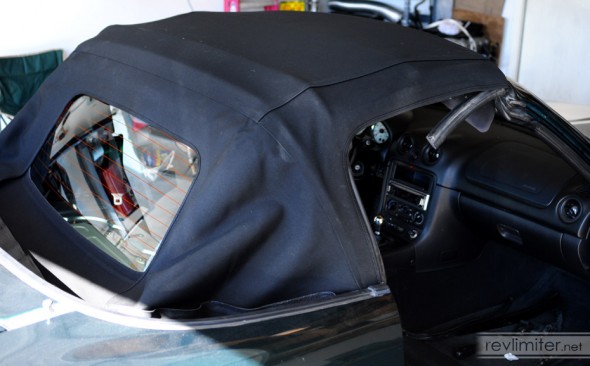
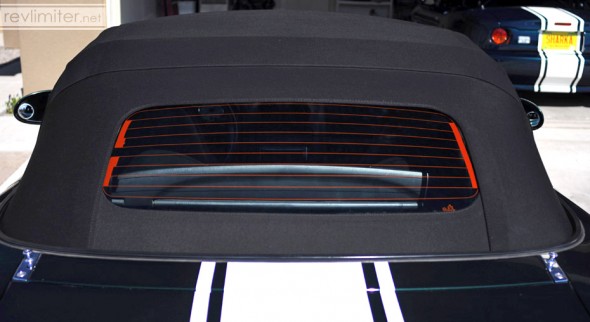
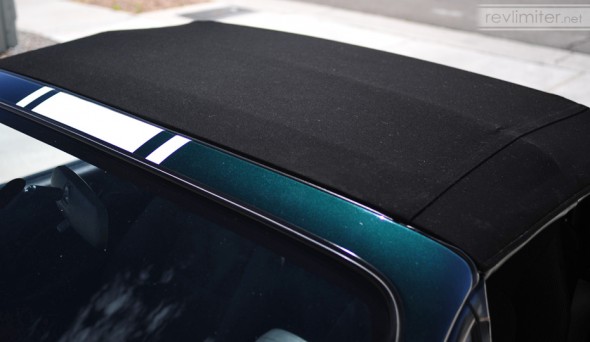
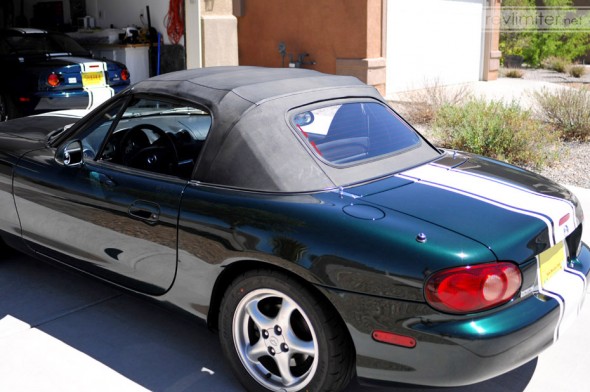
Before and After
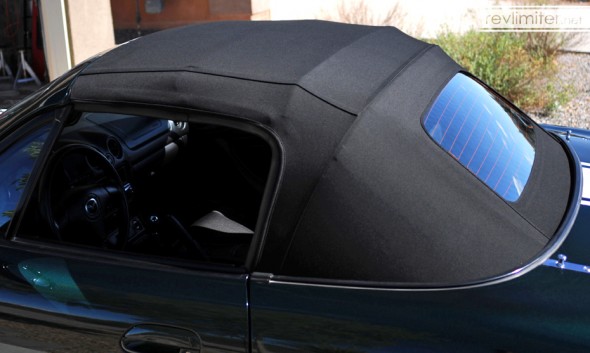
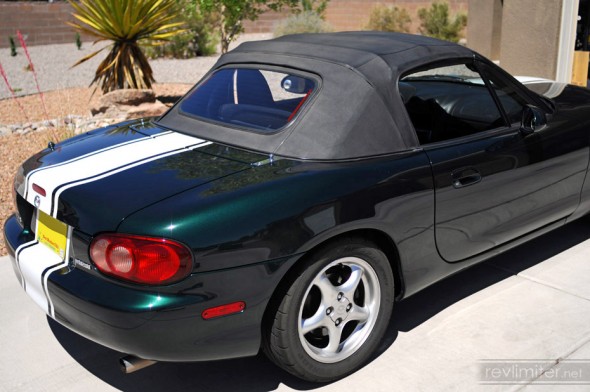
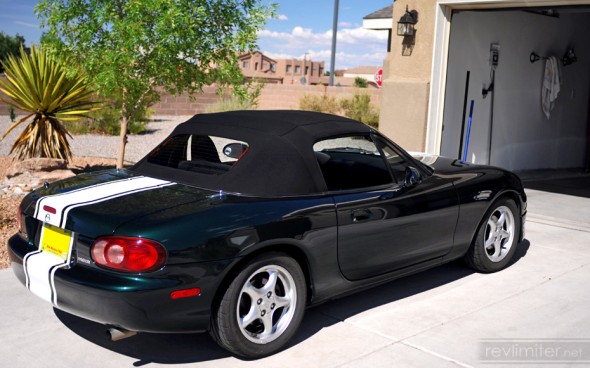
Not bad, eh? I’m quite pleased with this bit of maintenance. The top on Bucky has never been extremely attractive. The first owner lived in the mountains and parked outside. Bucky has worn a faded OEM top for all of the 8 years in my garage.
I got this top at Planet Miata. When I bought it (summer 2011), they had the cheapest price anywhere on Robbins tops. I used a discount code they posted on their forum in ClubRoadster. Even if you’re reading this years in the future, give them a call and see if they still have a discount. Mention you saw the instructions on this website. Steve should be able to help you out. (I don’t mean this to sound like a commercial, I’m just a very satisfied customer.)
If you have any questions or notice that I totally don’t make any sense in parts of this post, please leave a comment!



Editor’s Note: Revlimiter has only acquired the 2001 Miata through a long-term loan. Ahem.
ALL MINE!!! Muahahahahaha!
Purdy! You hire out?!;-)
My hourly rates are great, but my travel fees are enormous!
Great job, I think Planet Miata at one time sold the tops already installed on the frame I do not see it listed anymore. Right now my car is a fair weather car top goes up only when parked at my office. When the time comes to replace I will try installing it myself.
Thanks for the detail pictures and comments this will be a lot of help.
Wow, you’re right. They don’t have the pre-installed version listed anymore! It was up when I bought this top. I chose the DIY kit just because I’d never done a top install ever.
Jobs left on my list:
I’ve never changed wheel bearings.
I’ve never swapped a differential.
I’ve never dropped a gas tank.
I’ve never installed a dash, though I have removed one.
Thanks for the great blog! Just finished installing a one piece tan vinyl Robbins top on my 2000 Miata – great fit by the way. The rain rail was pre-attached which I understand really makes things a lot easier. My tension cables were ok and reused.
Paid attention to “most” of your comments inclduing taking out the seats (easy to do) which I’m sure reduces the frustration level.
A couple of things done differently:
1. Left frame on the car…no real problems.
2. Discovered an easy trick for taking out the 2 plastic buttons on the bottom of the B-pillar weather strips…take a 3 inch or longer phillips screw and place the head on the “point” side of the button (fits perfect) and tap it out (with the top down of course so you can get to them). Then a small stubby phillips will get the remaining screw out.
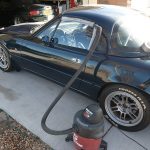
Also my drain holes were plugged up…used wet-vac to suck them clean.
I’m extremely satisfied with the look and fit of the Robbins top; very professionally manufactured.
She’s good to go for another 10 years!
Thanks again.
My question is regarding the b-pillar retaining clip. I did not realize that the driver side clip was NOT two pieces like I had seen when uninstalling. (Had I realized it was to be 1 piece and that mine was sheared in two, I would have ordered a new one at that time.) I need Mia driveable by Monday and the new retaining clip very well may not be here by then. Is it possible to just go ahead with the complete install and then replace the b-pillar clip and weatherstrip after the clip arrives? I do not want to run the risk of gluing everything down and fouling something up by it not already being in place. I cannot see any cons, but then, again, this is my first install.
BTW, your top looks great! This is our second top, and we ‘upgraded’ to cloth. It looks so sleek!
Nope. It would be damn near impossible to install that piece with the top in the car. It’s… well… you know where it is.
Don’t make your life harder than it needs to be. Just wait. Or drive with the top down/off for a few days.
IM IN THE PROCESS OF PUTTING THE ZIPPER GLASS NON HEATED WINDOW IN AND CANT FIGURE OUT HOW TO WEAVE THE CLOTH PIECE THAT VELCRO’S AND SLIPS INTO THE FRONT RAIL… COULD ANYONE CLARIFY?
My question is the rainrail. I am overseas (Military)and had a German mechanic install a new rainrail. However it still leaks BAD! They ask how does the rainrail go on??? I seen some instructions that have the beltline go in between the rainrail like sandwich. If it does go in like a sandwich…the beltline is for the whole beltline? Your Subject Matter expertise is very warranted. The German mechanics are awesome however they never did this before.
I’ve not looked at these parts for 2 years, so it’s a little fuzzy.
The rain rail wasn’t at all what I expected. It’s just a rubber membrane that channels rain into the tubes on the side of the top. That rubber rail is seemingly sealed between the body and the metal rail on the inside of the top that sandwiches everything together. But I guess it can channel water somehow.
So it goes from outside to inside (I think)
Body
U-shaped rain rail membrane
metal rail
bolt
I hope I’m right and I hope this helps.
Adam,
Thanks for the input however I would like to have detail insight in installing the rain rail. Everything I have research tells how to put a install a new top with great details. But none explain or show the details of the correct way to install the rain rail.
Once again I appreciate your input.
Why not contact Robbins directly? They’re sure to have some info. I’m just a guy who runs a blog. Sorry to not have detail insight.
Adam
Last year I replaced a Vinyl top on an older Miata for an old lady whose car was vandalized. I am 78 now (worked on cars all my life)however, it took more time than it should have but came out great.
I have an 1988 Alfa Romeo Spider with the original Robbins cloth top but it has shrunk and have tried many routes to secure it to no avail.
Most recently I have been able to at least latch it to the windshield but not able to fully connect it. At that position I have saturated it with water and taken a walking stick and pounded it between the ribs to try to stretch it to no avail. Need HELP ????????????
For a Miata top, heat is really the thing that helps it stretch. Soaking it won’t do much good since the material is waterproof. Try parking it out in the hot sun for a few hours, then stretching a bit. Then repeating?
Thanks for the tip about using zip ties to stretch the top out! After 3 days of struggle I read your site and realized that I need constant tension to accomplish the feat! I can’t say I would ever insatal another top again, wayyyy to many problems, even though the end result turned out nice!
[…] 2 years of 8000' sun exposure will really age a top. Boom! I have a whole how-to for installing a Robbins cloth top on an NB frame. I didn't wanna retype it here or anything, I just wanted to post some highlight pix. The install […]
Hey, great info on the install. I’m currently in the process on mine. I was wondering what you did with the 2 side flaps kinda past the #2 bow? in the photo where you’re pulling the tension cable through I can see you have a similar flap. Thanks!
I just a top replaced by a dealer’s garage and I will pick it up tomorrow. I was told that it had been difficult to close and I am advised to leave it closed for one month. After reading your piece here, I understand the taut tension is normal, so I expect that keeping it closed is for the purpose of stretching it over a period of days/weeks.
Just got my car back from body shop, older RR top and when I got in it there were two straps attached to the last back rib flapping around. I’m just wondering where they attach to??? Think I’m going to try and put a new one on myself, thanks or the pics????
Found….FINALLY where they connect to……Sorry for the spam….