
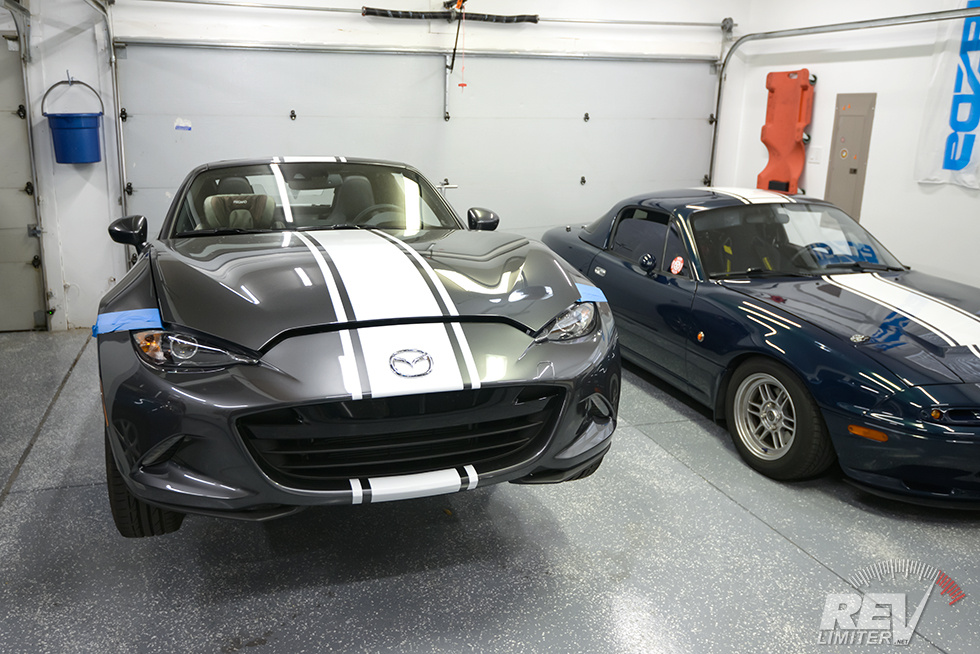
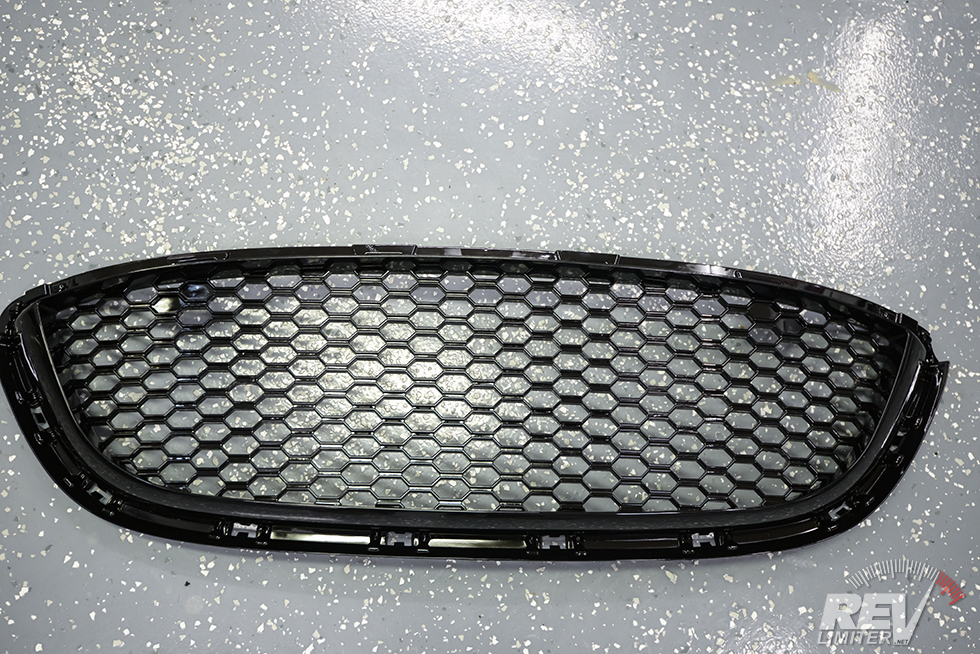
Ready for the dentist.
Since I got to visit the Mazda R&D Basement, I’ve loved the ND Spyder. It came with a bikini top, retro leather interior, and THIS GRILLE. Hold on, I’ll go grab a pic.

The Spyder
It just looks so proper. It’s a pretty subtle change, but… man, that grill. I had to have one. Fortunately, CarbonMiata made one! You can have it with or without lights.
I chose the grill without the lights. The ND already has the best lighting I’ve ever experienced on a passenger car. And that’s saying something! Sharka’s lights are like the sun coming out in front of you. But the ND’s are just a little bit better.
Plus, I like the look without the lights.
Anyways, no offense to anyone, but the instructions I managed to find for installing this grill are really sad. Nothing is included with the grille and there’s no official document on the CarbonMiata site. I found something on a googledrive link that gave a few random tips. I thought I’d do a quicky blog post on installing this piece and try to help out my fellow ND owners.
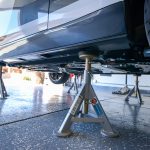
Step 0: Jack up the front of the car. Removing the wheels helps too. I started off with the wheels installed but yanked them off a bit later to get a good view of all the bolts and connectors that needed to be removed.

Remove these.
Step 1: Remove the front bumper cover.
There’s a few tabs in the wheel well that need removal. You can use a sharp knife to get under the edge or your thumbnail.
You don’t need to remove all of the tabs you can find in the wheel well, just the ones that interface with the front bumper skin. That’s about 4 if I remember right. Then peel the wheel well liner back out of the way.
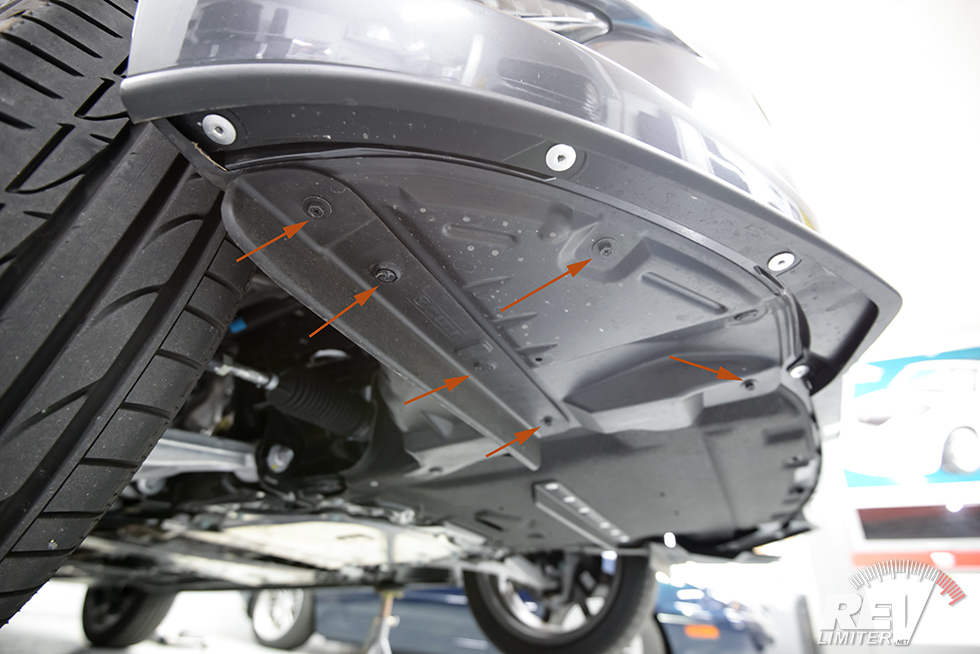
Remove all of those.
There’s a bunch to remove under here. Just remove them all. Make a nice pile. Some are little bolts that require either an 8 or 10mm socket to remove. Some can come out with a screwdriver. Others are plastic pin connectors.
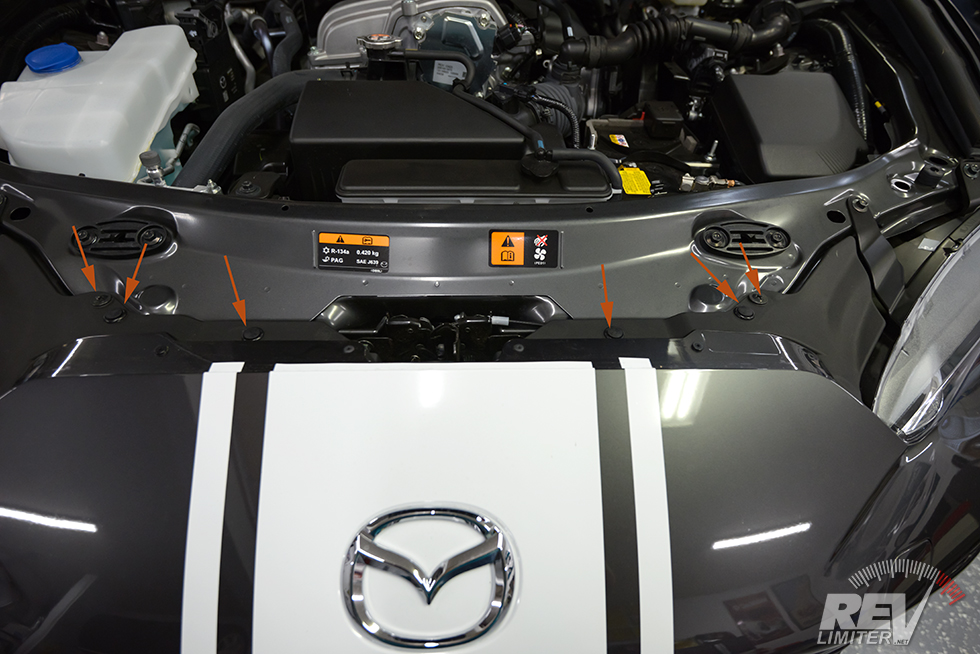
Remove these in particular.
Moving to the top of the bumper skin, remove all of these pins and bolts. That should leave just one more on each side..

And remove that guy.
… and here’s that bolt. This guy is hidden waaay up inside the back side of the front bumper skin. You can grab it through the wheel well.
Removing this will allow the whole bumper skin to come off. But wait! There’s an electrical connector still to pull out.

Last piece to free.
The daytime LED connector has a wire support attached to some body work. You can yank it out without destroying anything. The support will just pop free.
The connector comes free pretty easily. You just press on one side and it pops out.
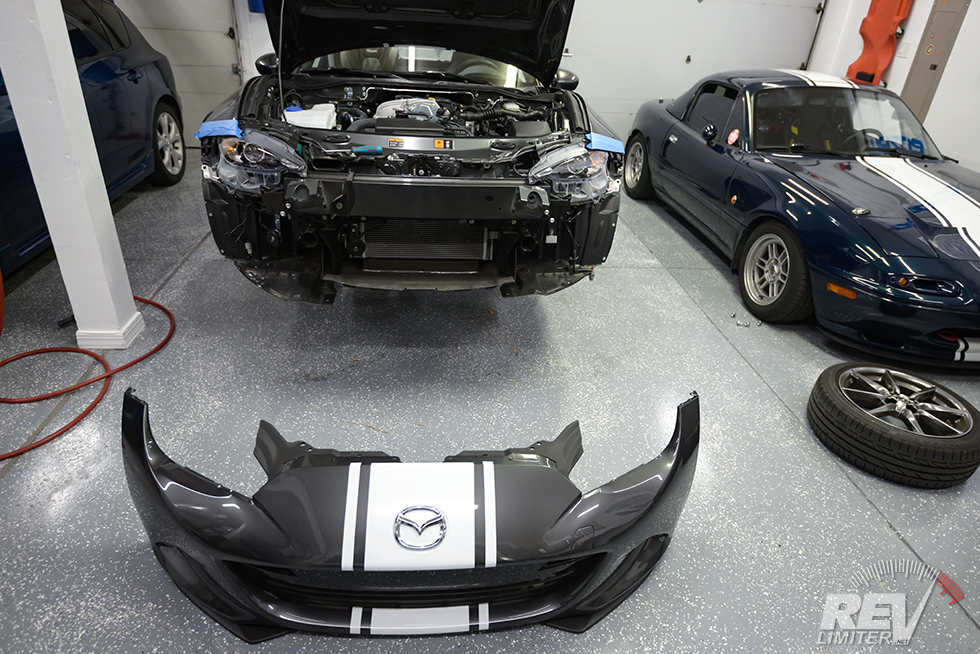
Bumper skin free!!
Set it down carefully. I prepared a nice soft spot for it to rest on while the nose was in direct contact with the concrete.
And then I took a slight detour.

Hella horns.
Since the bumper skin was off, I thought I’d change out the weak stock horns for something better. I’ve had Hella Supertones on every Miata I’ve owned and thought Mona could use a set. They produce a lovely and loud sound.
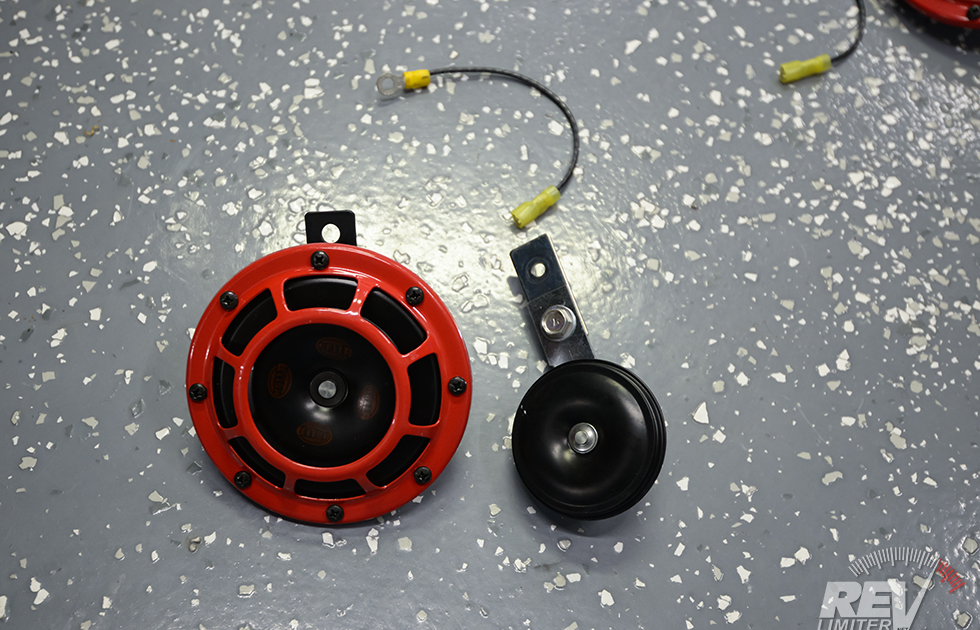
Harness and mounting bracket.
The little mounting brackets that came with the horns are perfect for the ND. The bolt holes are big enough and there’s enough room to bolt them into place. All you need to do is make up a grounding harness for each horn. The harness goes from the horn ground terminal up to the bolt holding the horn onto the chassis.
And as for that guy who’s reading along going “what about the horn power and some relays?!?!” – Mazda already did that for us on the ND. The (weak, sad) factory horns are relay switched and use decent gauge wire to connect. Even the connector is the right one for the Hella ones to plug into. No extra work needed!
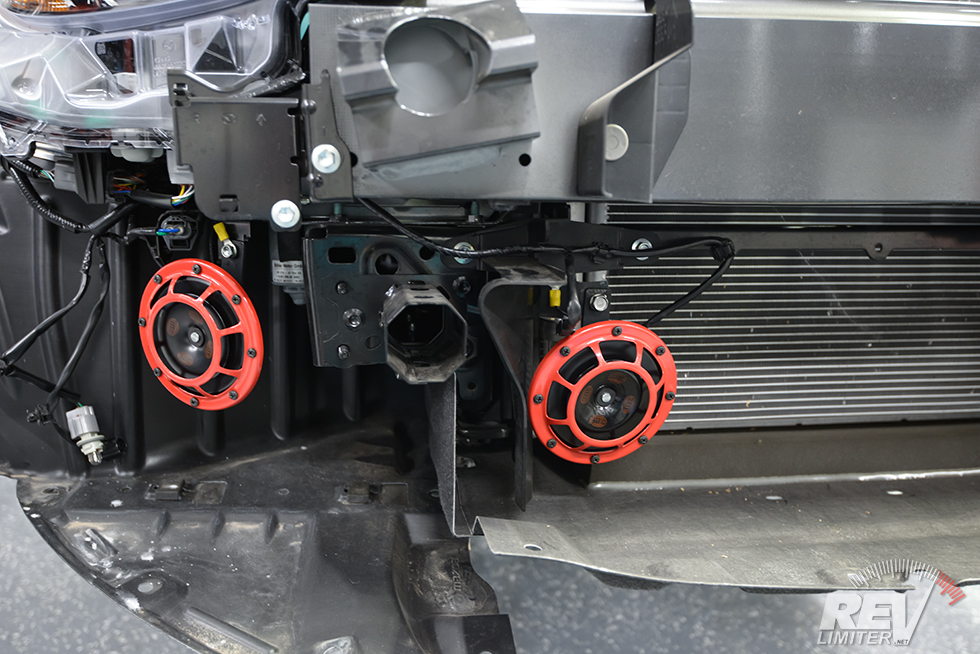
Installed!
Bam! Done. Hardly 10 extra minutes to do this while doing the grille.
Back to the grille.
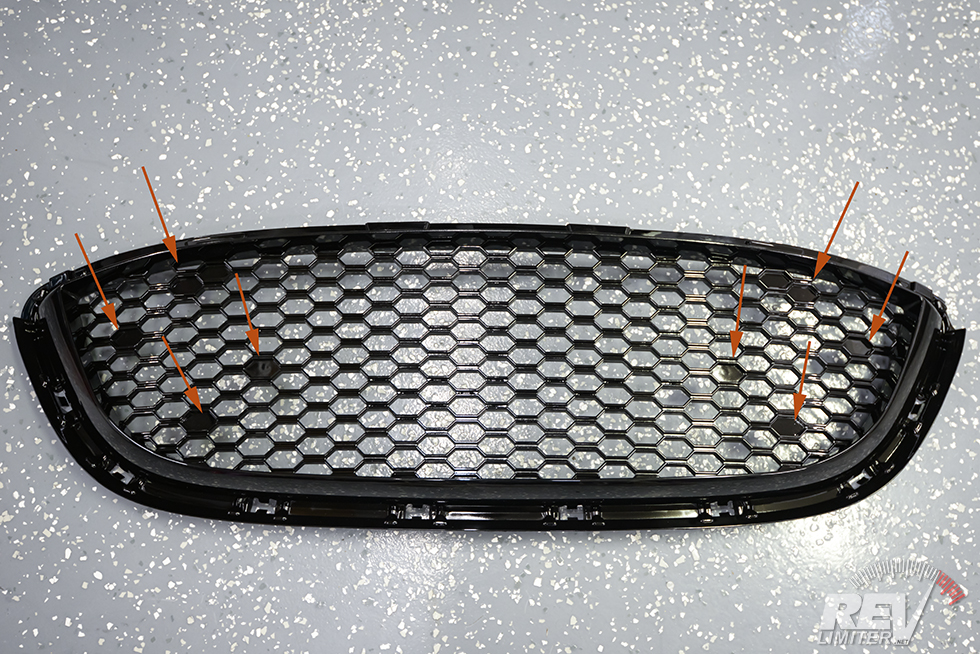
Blank holes.
Step 2 (optional): Drill out the blanked holes.
I’m not sure what exactly these are. The blanked holes have a screw tab in the back which seems like something mounts to it. Perhaps the lights??? Since CarbonMiata also makes a light kit? But the light grill is a different mold which includes a big finished hole for said lights. No idea why there’s a few blanked out holes in the no-light version.
A few minutes of work and these holes were sorted.
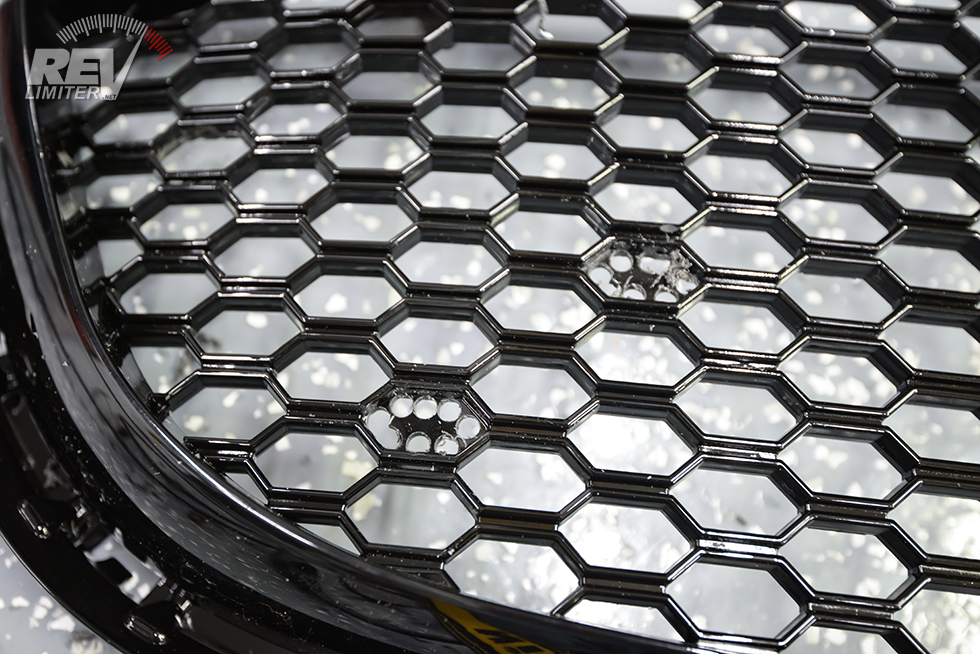
Drilled out.

Dremeled and sanded.
Holes opened.
The first hole took me maybe 10 minutes to open up. The rest of the holes took an additional 10 minutes total once I’d figured out what tools I needed and what I was doing.
I drilled holes all around each filled hole with a regular drill and drill bit. Nothing fancy. And the closer these holes can be to each other, the easier life is on the next tool.
Then I took a Dremel with a burr tool and sliced out the connectors on the hole. This opened up each hole to about 90% with a bit of junk left on the ends and a sort of jagged tooth pattern in the center.
Then I switched to a small diameter sanding drum Dremel bit and finished each hole. This got each one looking smooth and flat.
Lastly – a black paint pen used for modeling. The whole grille is painted gloss black and the inside plastic is more of a grey black. Literally 5 seconds in each inside hole with the paint pen recreates that gloss black finish.
Back to the bumper skin.
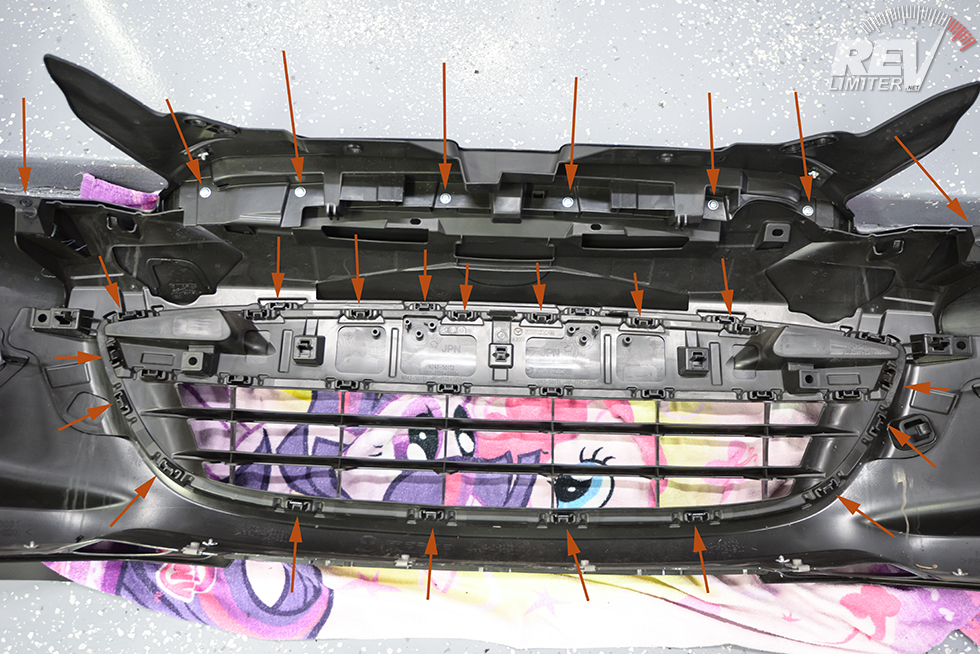
Sell all them arrows?
Step 3: Remove the OEM grill.
Just look at all of those orange arrows. Just look at them. This thing is IN THERE. It’s an obscene amount of attachment points.
The arrows on the top are small screws that need removed. Around the grille, they’re all plastic tabs.

So many tabs.
These pop free relatively easily. That is, once you figure out how to pop the first one out. The rest are super easy after you get that first one.
You just pop them free with a thumb and finger.
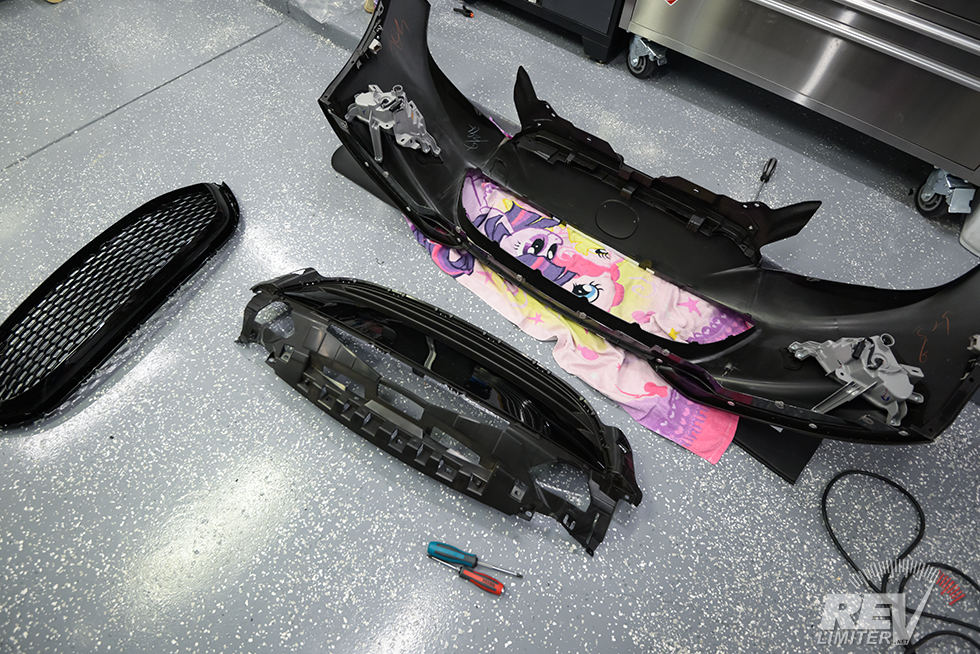
Grille removed.
And just like that, it’s out!
Next, you have to decide if you want to cut the top part of the grill free or not. See, the CarbonMiata grill doesn’t include the top third. This isn’t a part you see and doesn’t really NEED to be there, but without that top third, the bumper skin is extremely flexible. Like… too flexible.
I highly recommend cutting that part free and mounting it back to the top of the bumper skin. It’s very easy and adds perhaps 2 minutes to the project.
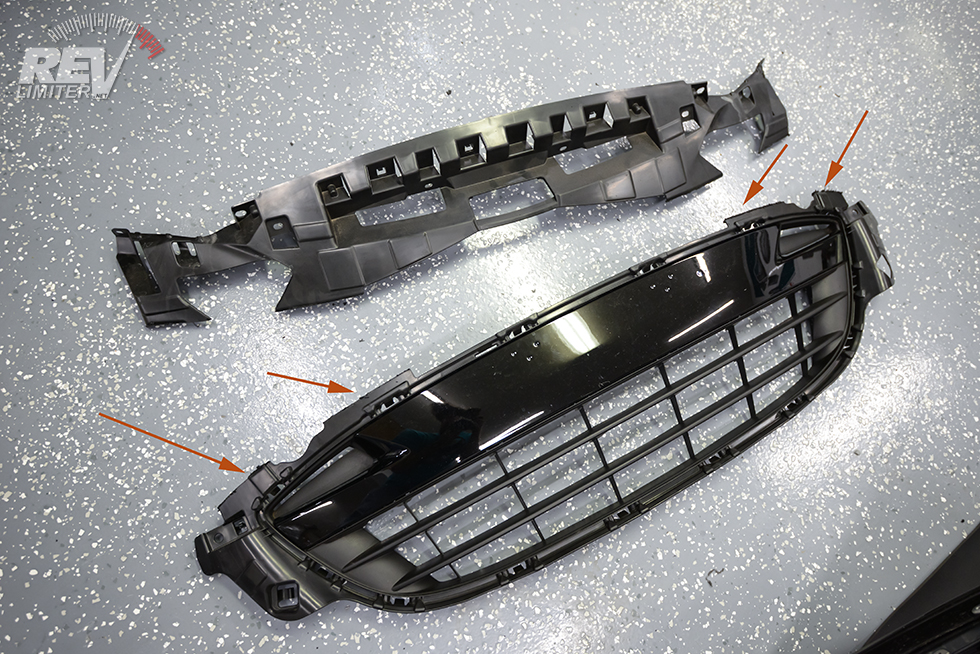
OEM grille cut in half.
Step 4 (optional): Cut the top of the grille off and reinstall.
There’s not many photos on the entire intartoobz showing what it actually means to cut the top part of the grill off. It’s very obvious once you have the parts in front of you but until then, it’s pretty mysterious.
This is it. You need to cut in 4 small places to separate the two parts. I used a plastic cut off tool with my Dremel.
Screwing it back together.
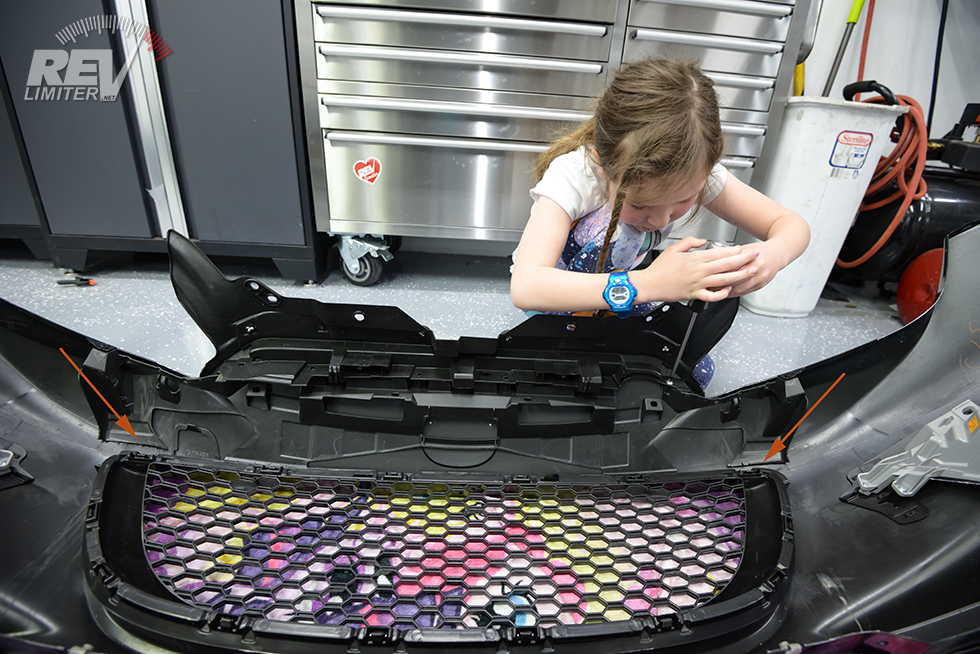
Step 5: Install the Spyder grill.
If you have the nose angled down like I have it in the photo here, it’s NEARLY IMPOSSIBLE to actually install the grill. You’ll be forcing the tabs down into the bumper skin… which is not high enough to clip into place. I struggled with this a good 5 minutes before figuring out the problem.
Let the nose sit flat (like it would sit normally on the car) and then start clipping each of the 52,000,000 clips into place. The Spyder grille will actually stick out of the bumper skin by a centimeter or so.
Also screw the top half of the stock grill back into place. Many thanks to my sweet daughter for helping.
And lastly, install the bumper back in the car. Do not forget to reconnect both daytime running lights. I know I certainly did not forget to do that. Nope.
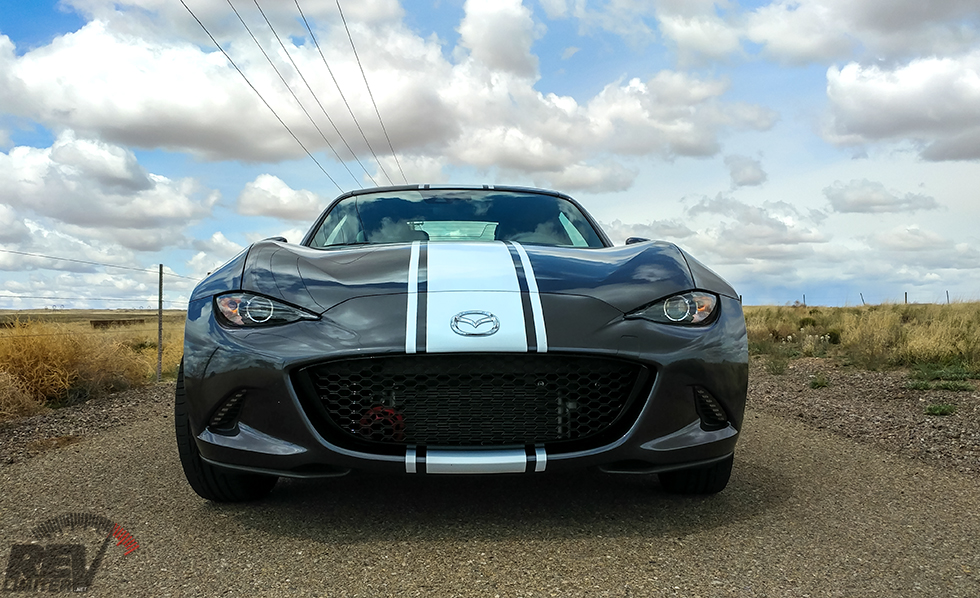
Installed.
A happy face.
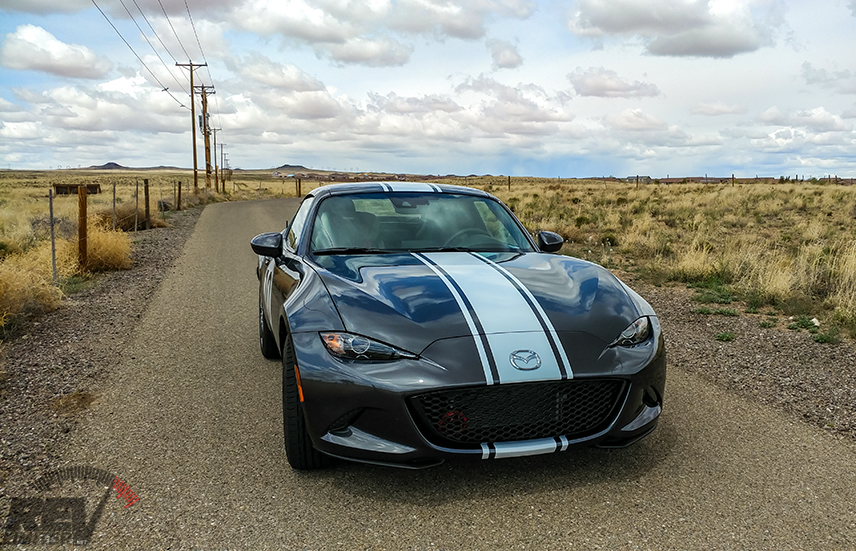
It might be a subtle change, but I really like it. It opens up the nose, reportedly helps with cooling on the track, and brings a piece of a car I saw at the Basement into my own garage. Well done CarbonMiata!
I hope these photos and my text helps others install this piece. If you have any additions or questions, please mention in the comments below.


Wow, that grill does look nice. Even though I will likely never use them thanks for populating the Internet with some good installation instructions.
I’d keep an eye on that helper. I think she has plans for that Miata.
She doesn’t keep it a secret. She has SO many plans for the ND.
Respect for another well-done, helpful article.
I too am a Hella Supertones fan and am glad to have them in my NA.
Thanks Larry! And yeah, love the Supertones. If they prevent even one accident they were worth the $30.
Thank you! This is my project next weekend. Very helpful and witty.
@revlimiter – First off thank you for this post. This is by far the most informative posting I have seen on the subject. I just recently received my grill and like you I chose the one without the lights (personal preference). After reading your article, I decided to drill out the holes in my grill as well. It’s the aesthetics of it.
Your guidance was more than helpful but I do have a question for you.
Was there a reason you didn’t do the top two slots on both sides of the grill?
I debated on whether it was a structural choice or if it was something else. I went ahead and removed the material in those as well. I figured I’d went this far; I might as well do them all. I love the look of this grill, and if it truly aids in cooling over the OEM then that’s the icing on the cake for me. Anyway thanks for the info.