

9 stripes
I teased this on my last post… and was anyone really surprised?
I love stripes!! LOVE them. I applied my first piece of vinyl back in 2002 and have been addicted ever since. It might be dorky, but I just love the way it looks. These cars look so proper with the stripes. So sporty… wider… MORE VISIBLE.
Heh, visible.
That was the original reason I put stripes on Sharka – so he’d have a bit more visual presence. It seemed like his dark blue paint just faded into the road and everyone aimed their land yachts at the empty space in traffic. I added a few white lines and suddenly folks stop trying to actively run into me! It was like magic.
And it’s been the same with Mona. I thought maybe it was the superclean showroom-fresh paint (and temp tag) that was making folks aim for us… Like serious road rage levels in that first week of ownership. Then I did the stripes and all of that magically vanished.
But I’m getting ahead of myself. I promised a blog on the stripe process. And here goes.

So plain. NEVER AGAIN!
As of the time of this writing, Mona has been striped for 2 weeks. I’ve owned her about a month. I started applying the stripes on that 3rd weekend of ownership.
Without going on a multiple paragraph rant… wtf is it with grey cars now days? Everything you see on a dealer lot seems to be a shade of grey. Are we that depressed as a nation? We need some variation! Some pigment!!!
some stripes.
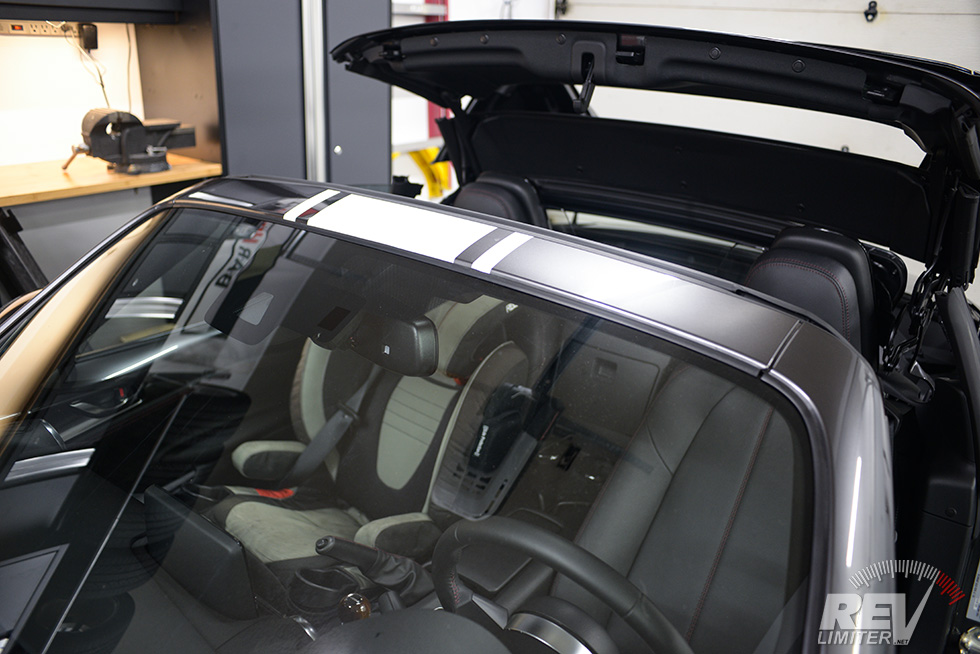
The first panel to get vinyl.
For the NA and NB, I like to start with the panel behind the back window (some call it the tramp stamp). But that panel on the ND is… like four panels. It’s a bit confusing. So the windshield seemed like the most logical place.
I’ve striped a half dozen or so cars over the years. That first panel always gets torn off and redone a time or two. It’s best to choose a small panel instead of something huge like the hood since you know that vinyl is gonna be sacrificed.
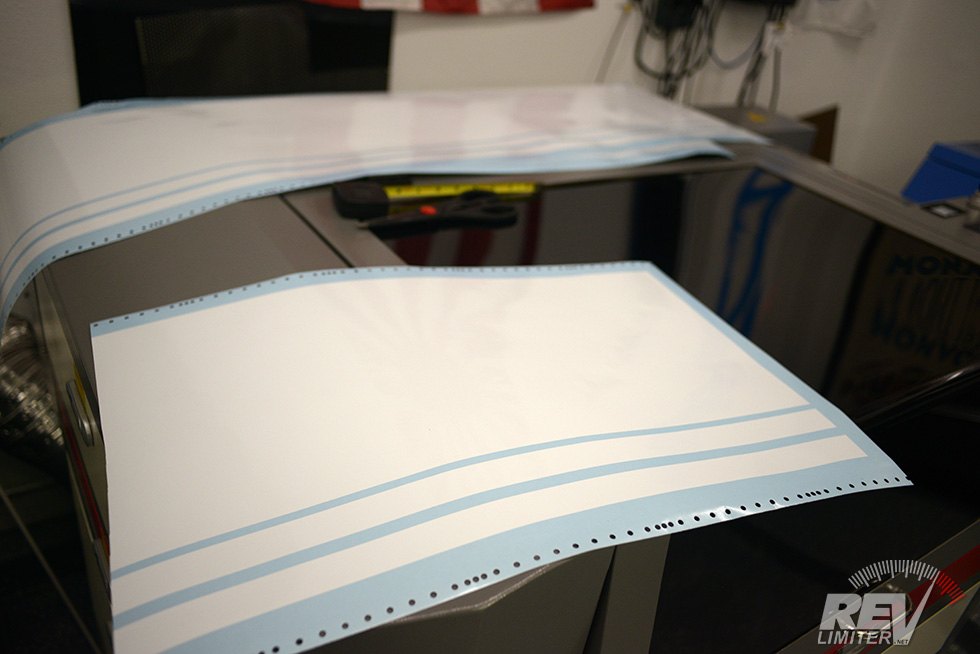
Speaking of vinyl amounts, it seems like you need about 15-20 feet to easily stripe a Miata and not worry about running out. I believe I used 13 feet and I’ve got about 2 left over from the vinyl I cut.
For the vinyl, I used Oracal 651. It was just stuff I had in the shop. It’s decent intermediate grade vinyl and will work for Ramona for the time she needs to have it on her bodywork. I intend to paint the car in a year or less, so I didn’t need the highest quality possible vinyl that would be UV stable and removable for 10 years and so forth… the 651 should be fine for this.
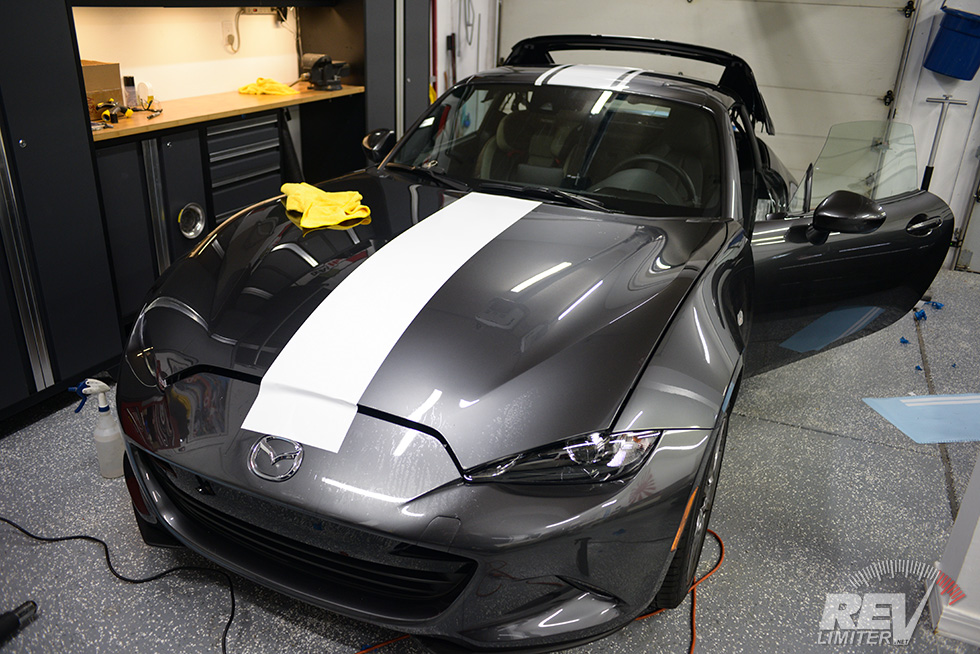
Hood action.
The steps are like so for every new panel.
1) measure. Measure. MEASURE!!! Find the center line. Mark that line.
2) Mark the outer lines from the center. For me, with a single 10″ center stripe, it’s 5″ out on either side.
3) repeat 3-5 more times on the panel.
4) Clean the panel. REALLY really clean. Any dirt will get trapped under the stripe.
5) Spray the panel and stripe with slightly soapy water.
6) Apply the vinyl.
Perhaps you noticed the single stripe?
Individual stripes. No transfer tape.
See, I like to apply the stripes individually. I’ve tried to do it with transfer tape and it’s the most frustrating thing in the world. HATE transfer tape. Maybe it’s just me, but I find it waaaay easier to put on stripes by themselves.
To do the outer stripes after I do the center, I use a tape measure and manually adjust things as I go. It’s really quite easy.

A wild revlimiter appears!
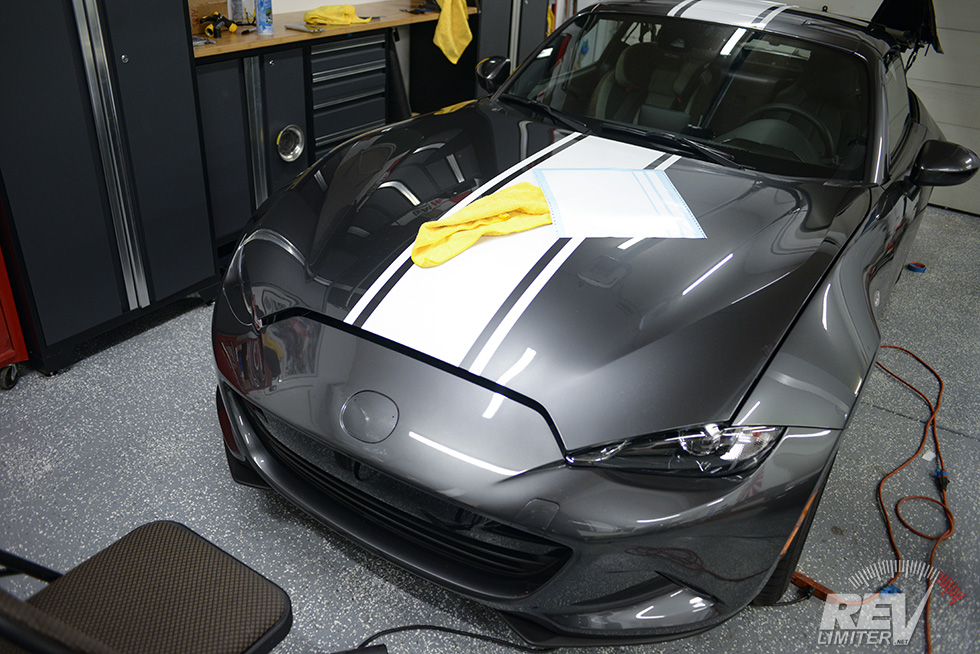
Hood done!
When applying the vinyl, use slightly soapy water on the car and on the vinyl. Then you squeegee it out and apply some heat to tack it down. I like to use a windshield wiper to squeegee. It’s not good for small areas or wraps, but for stripes and large panels, it’s amazing.
A heat gun and microfiber get things stuck down the rest of the way.
And many thanks to my wife for taking some action photos.

Badges removed.
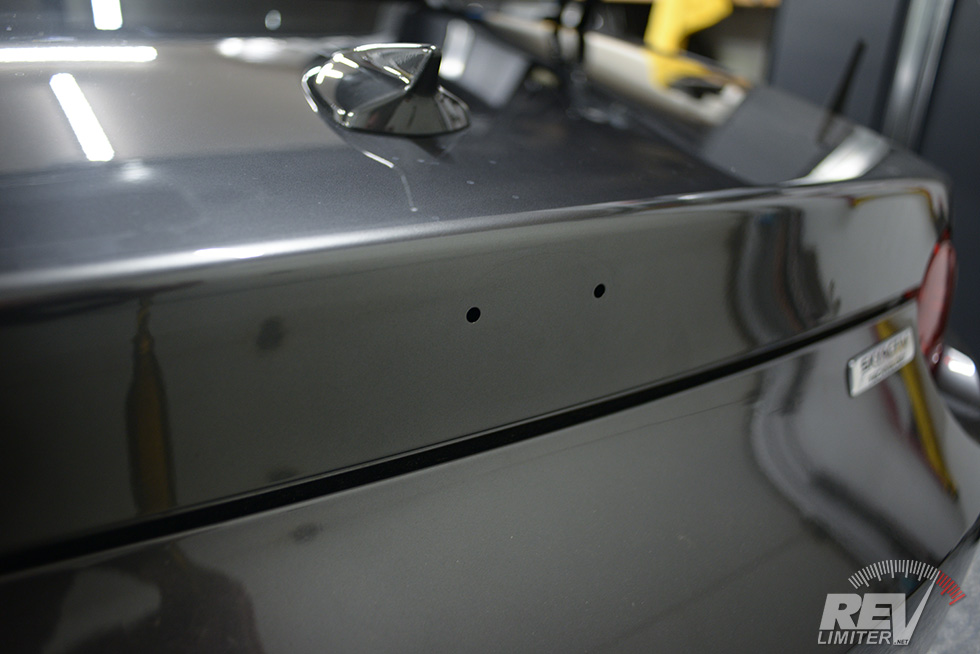
Trunk holes.
On the finished hood pic above, you can see the holes in the front bumper for the badge. The back bumper has similar holes.
Removing the badges is very easy. A few strands of fishing line (I used 8 lb test) will get through the factory mounting tape with ease. Then you just have to pop the badge off those posts.
The front badge has posts that snap off when you free it. This is fine and you don’t need the posts to put it back on correctly. The back badge has posts that sort of pressure fit it onto the back panel. They shouldn’t break off. But you still need your own double sided mounting tape to get the badges back on.

Nose finished!
I just love this. The stripe just feels right. SO happy!!!
And this has to be the easiest Miata nose to stripe ever. The NA hood is painful and that belt line all the way around the car just SUCKS to get vinyl inside of. The hood and front bumper are terrible on the NB as well. Complex curves that hate to let things line up.
But the ND nose? A joy to stripe. Even getting vinyl inside that badge recess was simple.

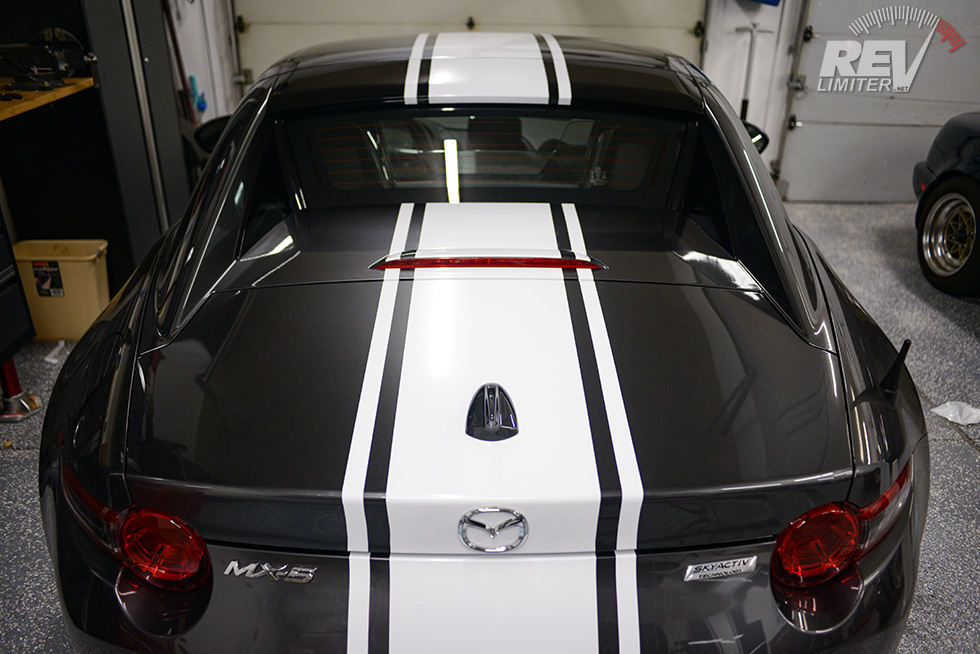
Fastback striped.
This part was also easy. The whole top was kind of a pain to raise and lower (partially) over and over to get all the little panels striped, but not too bad. And having this full back section just fold itself back for easy access was brilliant.
And then I did the rest of the back.
Dat Ass.
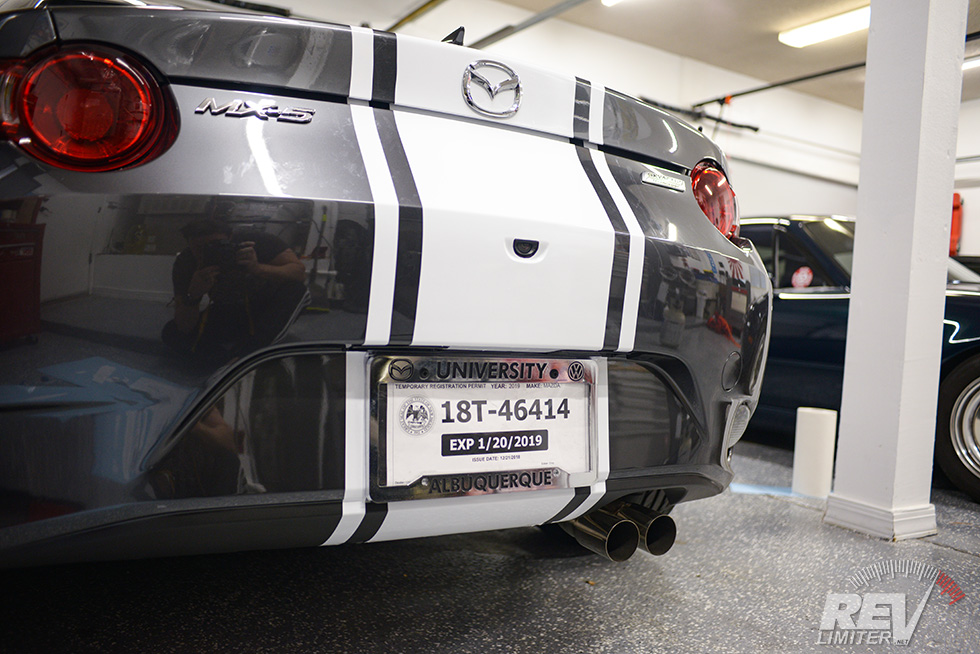
So much pain. Ugh
No kidding, these two panels – the trunk lid and back bumper – were easily as much work as the rest of the whole car. I think I worked on them for five full hours. It was pure pain.
That bumper camera is the devil.
Mazda couldn’t just put it in the bumper. Nope. They made a recess for it. A funky shaped recess. So painful. A full hour to get the vinyl just right in that little recess.
But I did it!!! And the whole car is striped. Side note – the shark fin will get done in white plasticoat. I just didn’t have any when I took these photos.
You might notice the temp tag. I’m pretty proud of the fact that I got the car striped before the registration papers came through.

The Garage
A few folks have asked me if the stripes have any special meaning – all being white, all in the 3-stripe pattern. And… I wish I could come up with something deep… I mean, I could probably make something up. But… No. There’s no special meaning.
This is the stripe pattern I picked out back in 2002. I thought the wider center stripe and two flanking stripes would look nicer on the Miata than a pair of wide stripes. And the overall 14″ width fits the NA license plate area nicely.
It became Sharka’s signature stripe. Then Bucky got it. Now Mona has it.

Front view
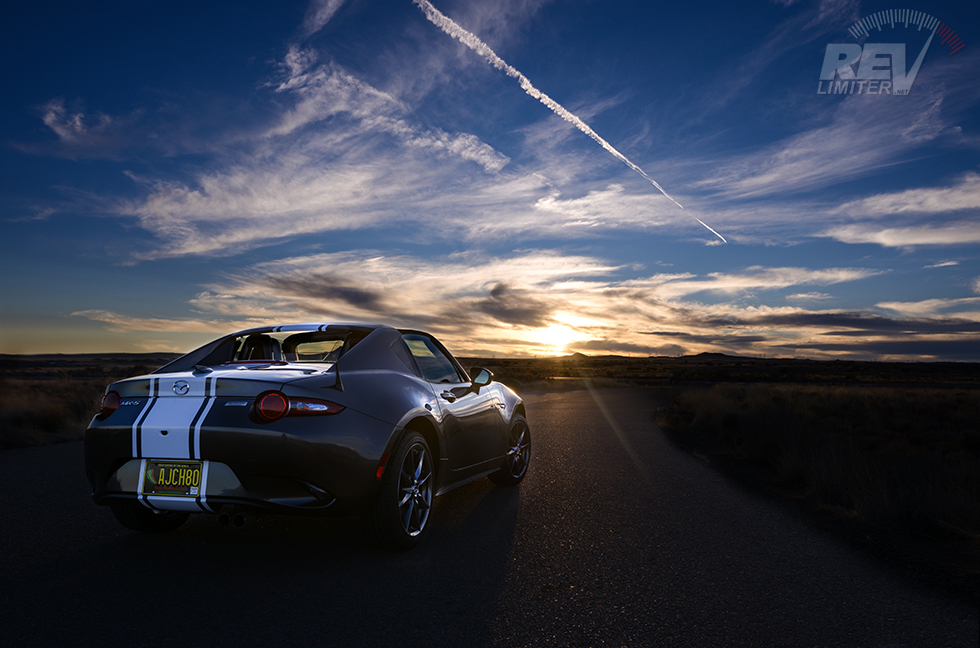
Rear view
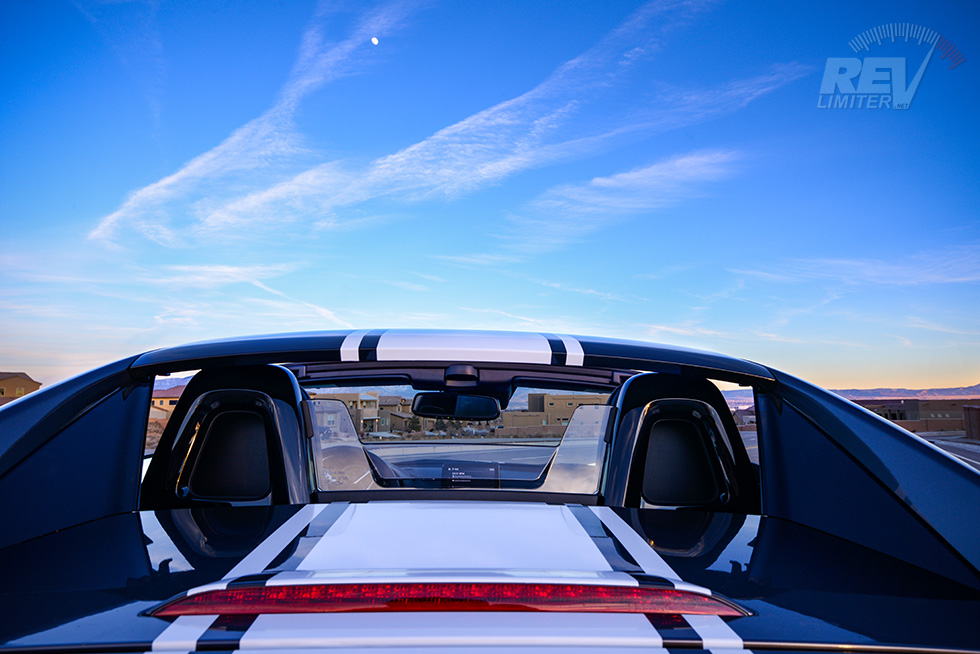
Moon
Expect to see many more stripe pix in the next… forever.


Love the stripes and as always the write up. I did read paint, right? Paint as in stripes permanent on the car or paint as in Montego?!?!
I’d assume both^^
Wait, I thought you sold Bucky?! Please tell me you still have him!
He sold Stormy the NC, not Bucky (as far as I know).
Yes! Why do people dislike stripes? These look so right on the ND.
The stripes look great. Well worth the effort (he says, having not put in the effort himself). Know what you mean about needing to stand out in a small car too. Anything you can do to make tiny cars more visible is always a good thing…
That looks great. Cheers on the effort you put into it to make it unique.
Been thinking of striping my 2001 BRG, I just wanted to get an estimate of what I’d be saving, so I stopped by a shop that did that kind of things.
“No problem” he said. “I’ll do that for about $1200”
“no problem” I said. “lets see” I thought, if I do it myself I’ll save enough for a dash upgrade, perhaps some new tires, oh man, this is great!
Good job~! and Beautiful pictures.
I’m very impressed your passion for cars. I like a car, too.
After well done(stripe job), I imagine your smiling face as you look at Roma.
Keep going~!