

One Retro Window Switch – no OEM parts.
This blog post has been 6 months in the making. That’s how long I’ve been working on removing OEM parts from my Retro window switches. And finally, I’m there!
By OEM parts, I mean the stock window switch. I used to hack them up and add the metal plate and industrial switches. It was a fine thing to do, but I was slowed by not being Mazda. I didn’t have an unlimited supply of switches to hack apart. I had to wait for folks to mail me back their cores so I could make more switches. Sometimes it was a long wait.
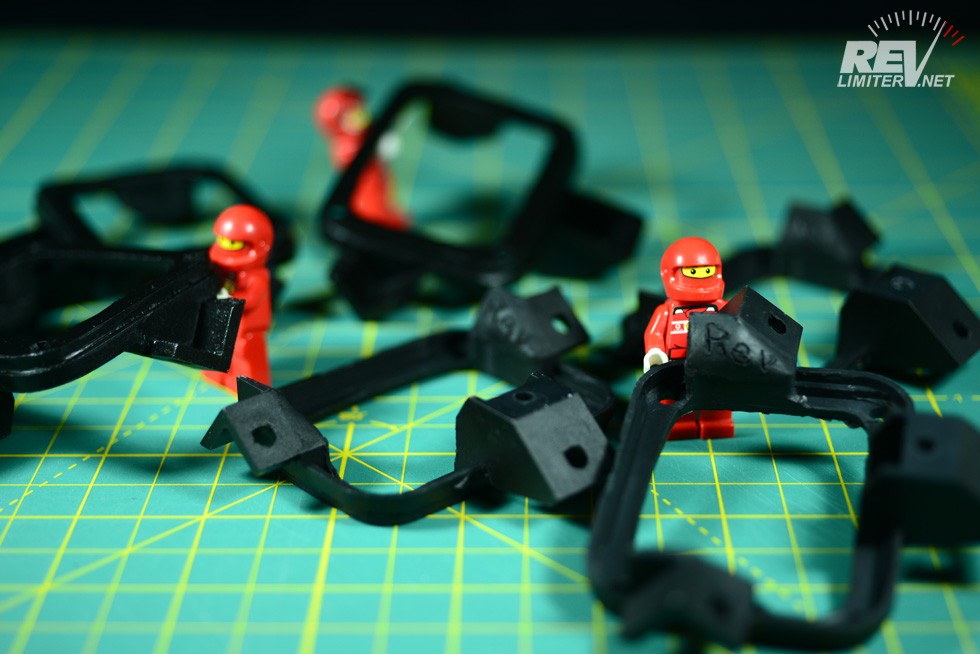
Cast plastic frames.
These aren’t the most gorgeous plastic pieces I’ve ever cast, but they work. After numerous failed molds, I finally got one that produces workable parts. And I’ve run something like 50 little frames out of that mold. I wish I could explain how happy this makes me.
I cast the frames in black plastic, but it’s not quite black enough. When installed in the center console, you can juuuust barely see a tiny sliver of grey peeking out between the black OEM plastic and the metal plate, and that wouldn’t do at all. So, after I make the frames, I dust it with a layer of semi-gloss black paint to match the stock panel.
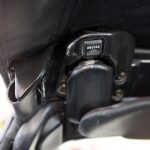
But what about plugging in the switch?
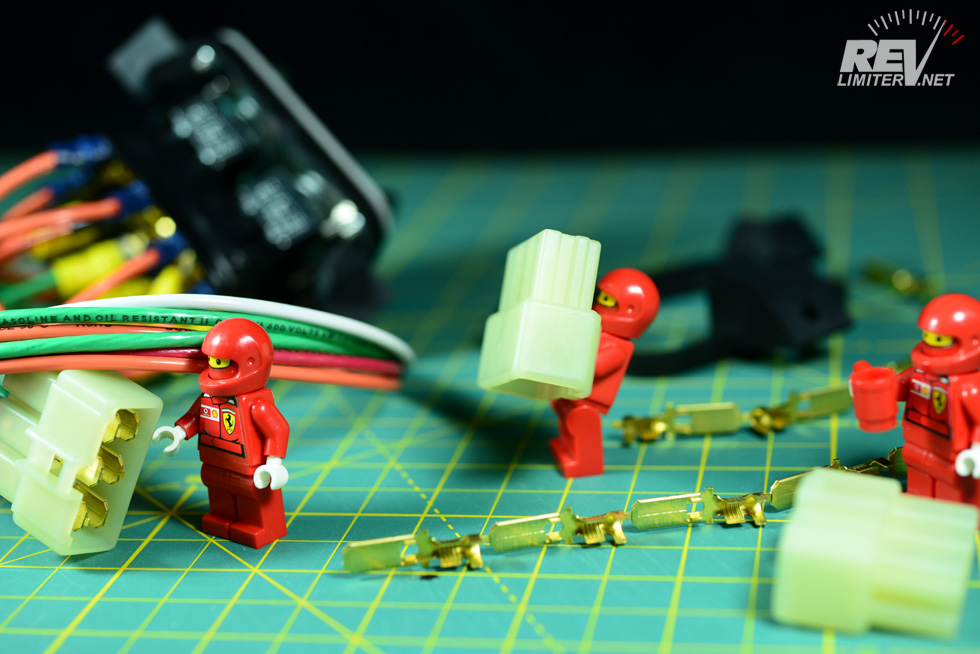
OEM style switch ends.
I have a distributor for switch ends and the little non-insulated terminals to plug into the factory wiring harness. I’m not sure why, but this is almost magical to me. These connectors have always seemed sort of random and exotic. Not like something you can just pick up at the local parts counter. But nope. They’re standard items. You just have to know what to order.
Mine plug in perfectly. I then add 20 inches of 14 gauge wire and have a factory-compatible wiring harness.

Perfectly cut plates.
The plates are the final piece of the puzzle. The first batch of aluminum plates I had cut ran out and I spent months waiting for another batch from the water jet place I originally used. Weeks passed. They turned into months. I had the harness and plastic plates figured out and was just waiting for some water to be sprayed on metal. Finally I gave up and started the search for a new shop.
Fortunately, I live in a decent sized city and have a few options. One turned out to be awesome. The plates were water jetted with more precision than I dreamed possible. No marks on either sides of the plate either. No flash on the back. And the shop even treated me like a real human (which was an upgrade over the first shop.)
After about a week….
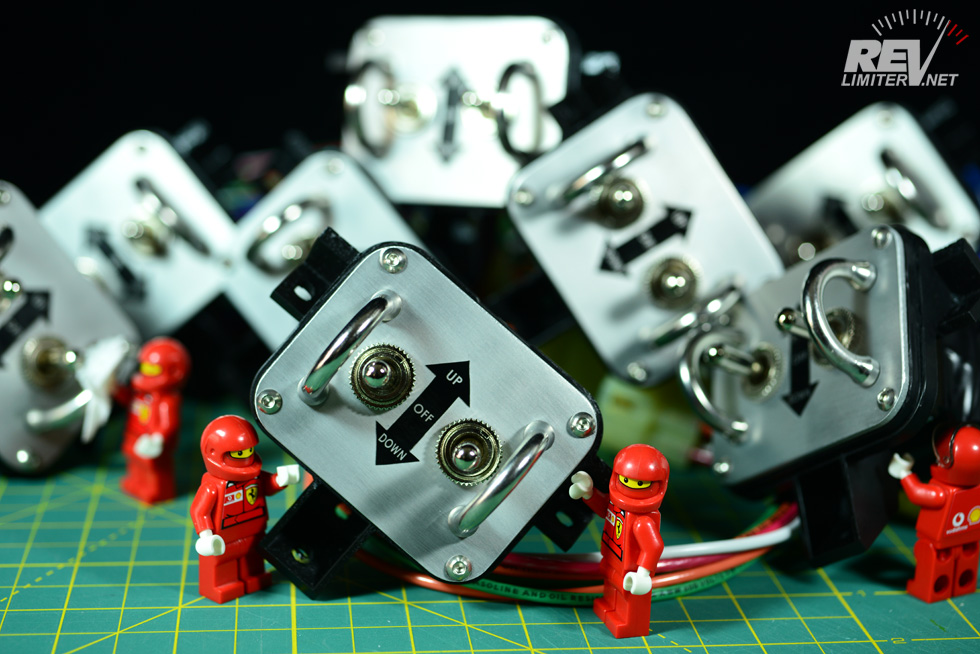
Now that is a PILE of switches.
When I tightened the last screw on the first switch using my new materials… I can’t explain. The feeling of pride and relief. 6 months of work came together beautifully and the switch in my hands was every bit the match to the ones I was making with OEM parts. In ways the new switches are superior. I didn’t think that was possible.
Months long waits should be a thing of the past. Biannual blog posts about a small batch of switches being in stock should also be a thing of the past. Now I can just make up another batch whenever I have time, no need to wait for more OEM switches to be mailed back or scour ebay for new ones to hack up.
Yes sir. Life is good.
Cliff notes: I have window switches in stock. I might have them in stock forever.


That’s also some great news for international customers ! Retro Window Switches all around the world !
Shipping is stupidly expensive, but yeah! I’m always happy to help out my international buddies. If someone over there wanted a switch, I could much more easily provide one now.
Excellent work as always (that seems to be my go-to comment for this blog), it has been so nice reading your blog over past few years as you’ve gone from being frequent modifier of parts to becoming a proper indy parts developer
I’d love if you could share some tips on casting your own parts. I assume silicone mould with smooth-cast resins?
All the best
-Paul
Thanks Paul!
Sure! Tips for casting stuff: Practice is the #1 thing. Molding and casting takes a lot of practice. Also, check out some youtube vids. Making parts is no different than casting anything else. I started out making toy robots and spent a summer doing it. The skill got a bit dusty from non-use, but was still there.
I’m using Brick In the Yard products right now. They have some great silicons and resins. I’ve also used Alumilite in the past as well as a few Dow Corning products, but the BITY stuff is just incredible. Very easy to work with.
Are there any plans on making a version of this for NBs, or are you aware how much work is required or if it’s possible for this to fit on one?
The shape is too different for the NA to fit, but yeah, I have plans for an NB version. Now that I have a reliable water jet facility, I have a lot of options open.
Just letting you know, that if an NB version makes it to production I will be one of the first to buy one. I’ve been pretty envious of my NA friends that have them and would LOVE to see them in my car.