I’ve always been fascinated by 3D printers. Fascinated and kinda intimidated. See, I’ve got next to zero 3D CAD skills. I can (and do) draw in 2D all day, but none of the programs I use for gauges are setup for a Z axis. So… no 3D skills.
Yet.
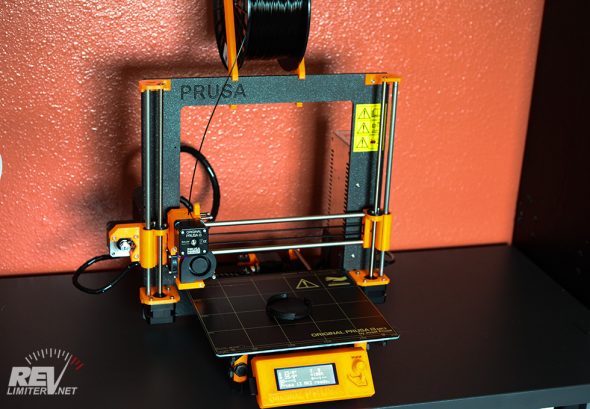
Last Black Friday, I was bitten by the 3D printer sales. I shopped and researched and consulted buddies into the 3D world. One winner emerged (which wasn’t actually discounted for Black Friday): The Prusa I3 mk2.
The youtube reviews convinced me. They were, in a word, glowing. It’s been called the Gold Standard of 3D printers. So many gushing reviews. So many features! And an affordable price tag. I was smitten.
About 2 months later, mine was built, delivered, and on a desk.
Guess I should start building those 3D modeling skills eh?
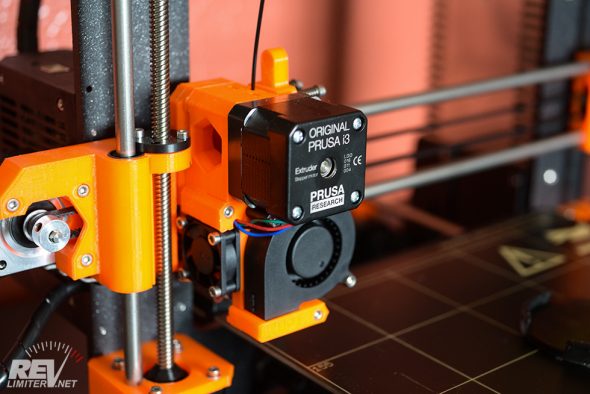
A few specs on the Prusa I3 mk2.
- Build volume: 25 x 21 x 20 cm
- Metal frame
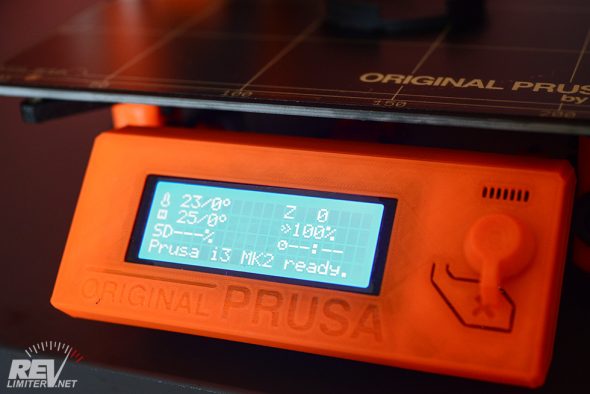
- Integrated LCD and SD card controller
- Automatic mesh bed leveling and axis skew compensation
- Heated print bed
- 5 to 35 micron print layers
- Any 1.75mm filament works with it.
- Open source and hardware.
- Quiet printing
That ticks all the boxes for me.
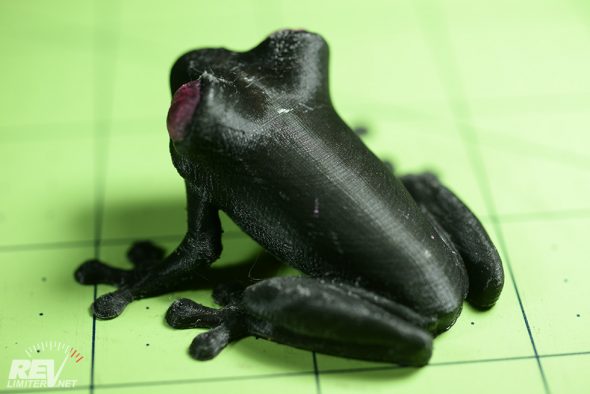
This was the first thing I tried to print. The Prusa comes with a bunch of test models loaded on an SD card. This is a tiny frog with a .05mm layer height. Took 3:30 to print. I didn’t clean or smooth it after printing and before taking this pic. I just sharpie’d the eyes.
It’s SILKY smooth. Like, amazing. I’ve never seen this kind of quality from a traditional FDM printer (the kind that adds multiple layers of melted filament to make an object). I mean, it took comparatively forever for this tiny print. Doing the frog at .35mm layers would have taken a half hour or less. But that smooth back. Impressive.
Yeah, this will make prototyping badges and stuff so much easier.
I’ve modeled a few things in 3D before in my life. I mean… not well, but I did it. I’ve used SketchUp for a few frustrating hours. It’s easy to draw with, but if you want to scale anything, it becomes exponentially more difficult, at least for me.
The idea of using Sketchup for many many more hours did not excite me, so I started trying out other programs. Autodesk Fusion 360 has come out in front as the winner (for me). It’s SUPER easy to draw with and scaling things is part of every step.
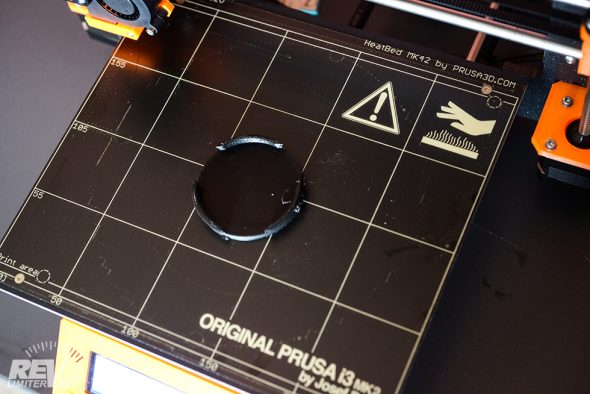
This 3D printed wheel center cap took me maybe an hour to draw up in Fusion 360. That’s with watching tutorials and fumbling around and stuff. I’ve re-drawn it several times since the one pictured above was printed. Just to get more practice and tweak the design. It takes me just a few minutes per model now.
Fusion 360 is a great program. I’m quickly becoming a junky.
And no, I do not plan on offering 3D printed center caps for sale. This was only a test object for me.
My thought process: “I could plane down the stock FD wheel center caps… OR I could print something with the new printer! OOH! Printing stuff!!” And so I spent a couple days arguing with the printer before I could show off the above pic.
Again, I am not offering 3D print services to make center caps. This was a test run for me to see if I could do it. A starting project to get a little comfortable with the new printer.
The whole 3D printer thing has quite a bit of a learning curve. For one, I learned that PLA doesn’t like high temperatures and doesn’t have any flex in it.
So… not the best material for wheel center caps that will get heated and cooled over and over and need to flex-fit into the wheel…
You live and learn, right?
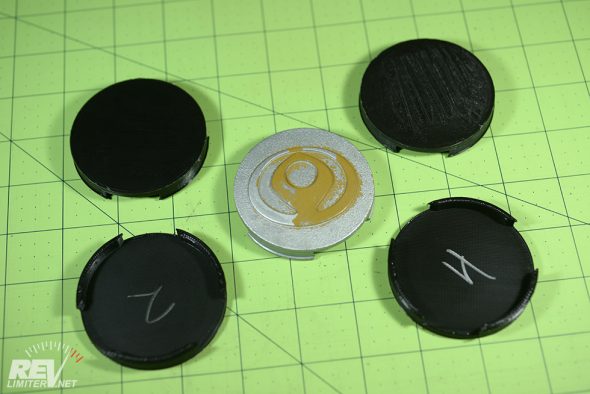
As I said… PLA doesn’t work for center caps. I learned this the hard way. Each one broke a tab off while pressing into the wheel. Then I actually googled what PLA should be used for (non structural stuff that stays at room temperature) and ordered some ABS filament.
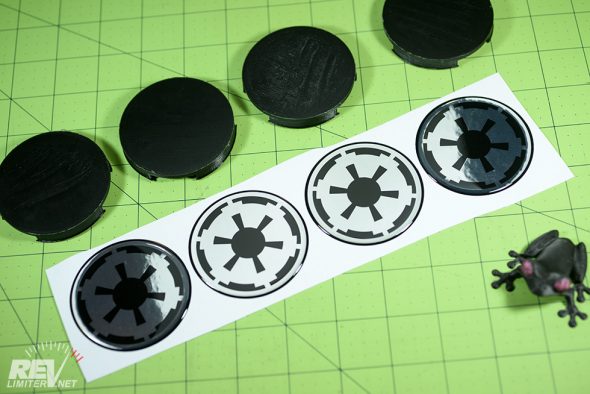
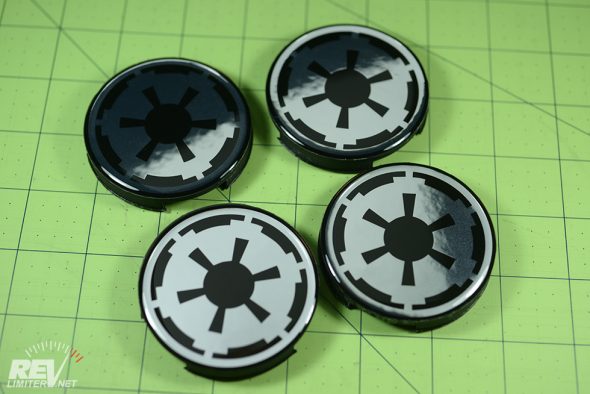
But it was for the best. The chrome Imperial Logos were way way too bright for the Platinum Satin wheels on Stormy. Not good at all. I didn’t even take a photo of them.
And then one fell off.
heh. Oops.
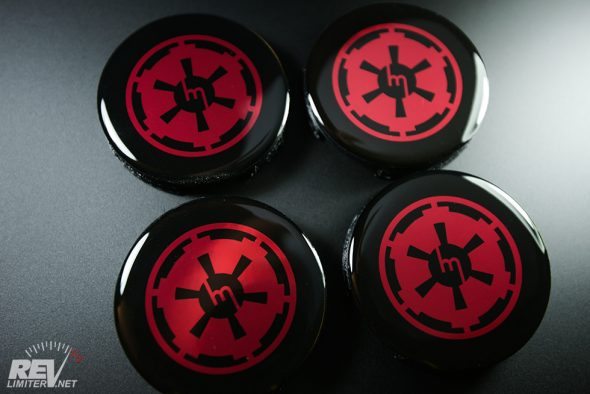
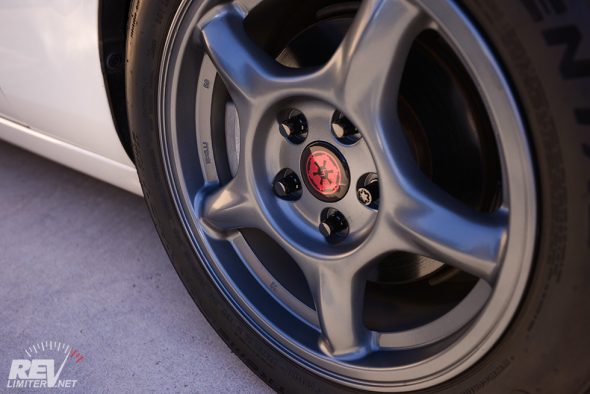
Yeah, that’s more like it. A smaller logo, red foil, and the Mazda M in the center of the Imperial roundel.
Printed in black ABS.
Perfect!
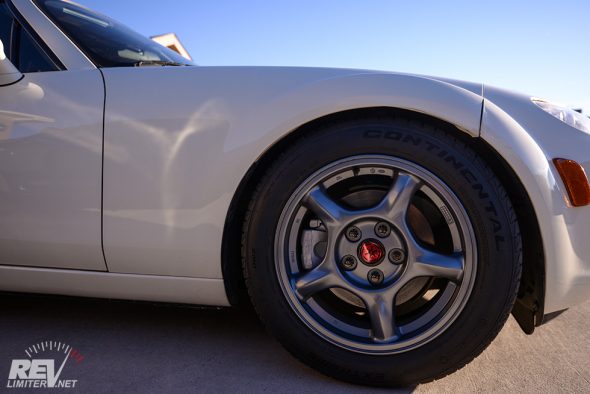
This looks really good. It’s subtle and sharp. And the red foil looks incredible in person. It’s got a really nice contrast to the dark wheels.
I also took care of the red toenails (brake calipers). Now they’re sprayed silver. Much better in my opinion. Red calipers should be reserved for actual decent hardware with names like Brembo and Wilwood. Stock calipers need not be red.
So… what’s next? Lots of 3D printing and modeling. I’ve already got a completed and perfect model of the NA window switch frame finished (in ABS). The first switch with that frame is already in a customer’s hands.
And I’ve already broken and repaired the Prusa. A key part snapped off during a print (the Z axis sensor) and sent melty filament everywhere. I was able to glue it back and print a replacement part, which was both terrifying and thrilling. The upgraded part should be a lot stronger.
The next job for the printer is to prototype some NC1 nose badges. Once I get the shape right I’ll save my pennies and order a run of badges to be molded and cast (about the cost of the NC for mold fee, minimum quantity and shipping).
And toys. Printing lots of toys for my daughter.



What are the odds you’ll be making 3D printed cold air intakes?
In the zero range.
I mean, if I take off Sharka’s turbo, I’d very likely try to do the 3D intake. It’s pretty interesting to me. But the turbo works very well and is basically my favorite Sharka feature. So… yeah. Probably around zero chance.
So if I understand well, your plan is mainly to print prototypes to test fit and then have someone make a mold of the final version for the production stuff ?
Also, this reminds me of a small discussion about how the aftermarket gauge caps would just fit over the stock ones and look a bit too bulky. Now I wonder : can this printer use some kind of metal ?
All of the badges I currently offer were made without test fitting a prototype anywhere. They were based purely on measurements and CAD files. Then I spent a whole lot and ordered many many kilograms worth of badge blanks. And when they arrived I got to see how they fit.
So… not the best business practice ever.
Now, I can easily make and tweak prototypes of this sort of thing.
I can’t help but get the feeling you forced yourself to delete the word, “yet…” on a lot of the post Adam, and I couldn’t be happier for it. Very cool stuff man, keep at it. =)
HA! Maybe after I have a farm of printers I’d offer services for printing parts… but not yet.
Great to see you’ve finally jumped on-board with 3D printing Adam. I knew it would only be a matter of time!
Can I assume you are using hairspray to keep your ABS prints stuck down?
For modelling I can’t recommend Fusion 360 enough. After 10 years of solidworks (and 7 of autocad before that) Fusion is a breath of fresh air.
For making toys with your daughter, can I recommend TinkerCAD? It is also by autodesk and a great entry point for teaching the little ones
The Prusa uses a heated PEI print bed. If anything, the problem is things sticking TOO well to it. I’ve had a devil of a time getting most of my prints to come free. No aquanet, gluestick, or ABS juice required.
And I’m loving Fusion 360.
Congrats! I teach design/drafting in NC; we do a good job getting the kids printing their prototypes. I’ve been working on/off on a printed itb manifold that will be sharable. Shoot me an email for some pics if you’re interested. There is a lot more to it…