The Artworks Dewa A/C control is one of those parts that I’ve lusted after for years, but never bought for myself. Seems like I’ve been starting off a lot of posts like that. I guess I’ve been treating myself to parts I’ve always denied myself for whatever reason. Anyway, here’s another official revlimiter.net parts review.
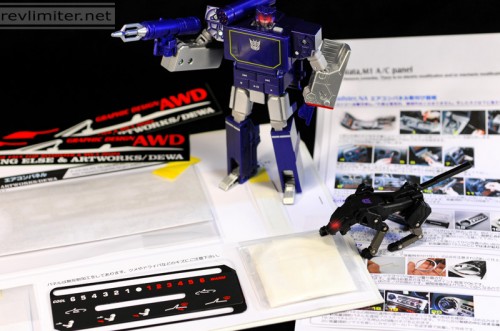
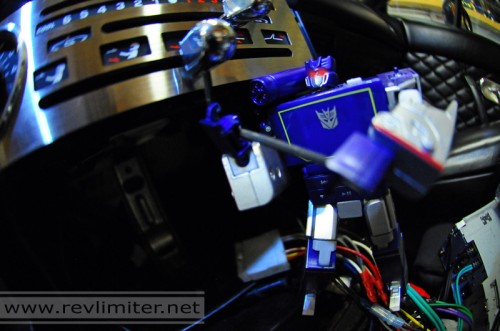
My helpers for this parts review and install are Soundwave (music label version) and Ravage (device label version). They were all too happy to help out. For the non-TF-crazy readers, Soundwave is a working MP3 player. Ravage is a working 2GB USB thumbdrive. The things Takara does with their JDM Transformers now days is pretty amazing…
And before I go any further, a word about the place I bought these parts from, Tetsuya Garage. Artworks Dewa products are notoriously hard to get. I sent an email to Rod and asked if he could get me this fine HVAC panel. He didn’t promise a quick turn around, but said he’d do his best. Two weeks later, I had the panel in my hands. Phenomenal service. Thank you Rod!!!!
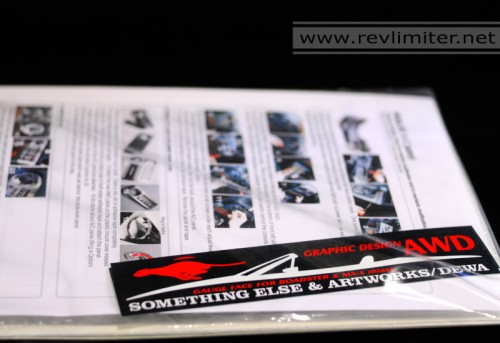
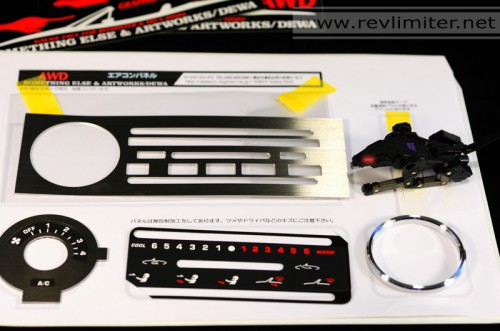
I was blown away by this. The way all the parts were laid out on this presentation sheet… man. Attention to detail that I’ve never seen in aftermarket car parts. Here, all of the items are removed from their individual bags. I’ve seen photos of these pieces for years, but never anything showing how the parts were packaged. I give it an A+ for presentation.
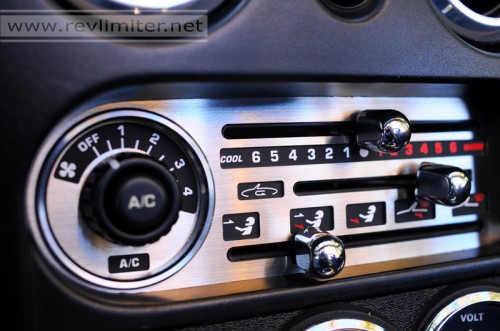
You can see the finish pretty well in this shot. It’s both polished and brushed aluminum. It’s the shiniest brushed aluminum I’ve ever seen. It works well with both a brushed interior theme and a shiny polished interior theme like Sharka has going.
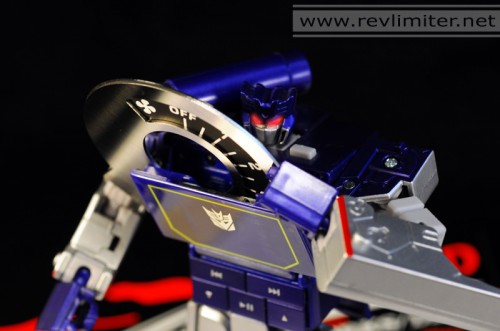
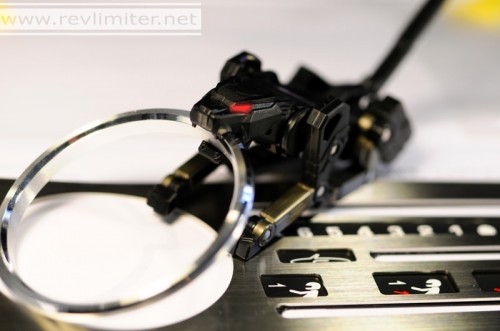
I went for the optional polished A/C ring. How could I not? It added a couple hundred yen to the price, but it was worth it. Ravage agrees. This was the only part that was difficult to install. The A/C plate and the two HVAC slider plates all came with double sided tape. The A/C ring simply said “installation optional.” A dab of clear silicon on the back side got it all stuck on there no problem. Still, it was the one and only part of the whole experience that could have been better.
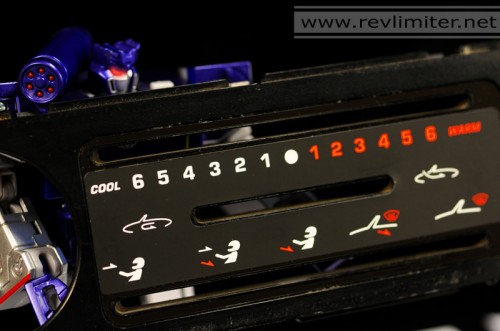
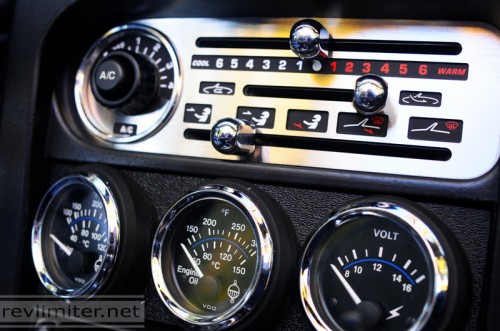
The HVAC display plate is nice enough to install by itself without the shiny face plate. I mean, it’s got The Stig on there. Who can argue with that? It certainly looks nicer than the yellowing stock HVAC display that plagues so many NA Miatas, including Sharka.
Installation was easy. Just rip off the stock display (it’s held on with double sided sticky stuff) and remove any left over adhesive. Then stick on the AWD display. It fit perfectly.
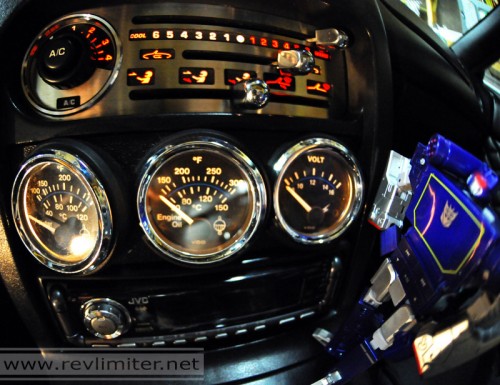
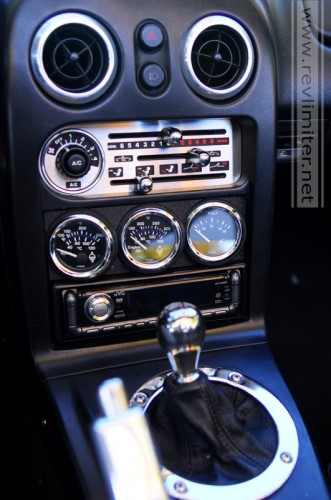
I get by with a little help from my friends. And by friends I mean small robots. And check out that night illumination! I’m digging the amber colors. Time to make myself up a new set of gauge faces with the same lighting. And by gauge lighting, I mean the main gauges. My secondary ones above the radio match pretty decently already.
The installed package is truly a sight to behold in person. Pix don’t do it justice. The fit and finish is just at another level. All of the individual components fit together perfectly. I’m very impressed. I should have bought this panel a long time ago.
I also upgraded my 90-95 red hazard / pop up light button to the later 96-97 black hazard light. It gets rid of the nasty green illumination and looks more at home in Sharka’s center console. Funny, I always wanted the red button when I had the 97. When I got the 95, I discovered that the red button wasn’t as cool as I thought.
Once again, that’s Tetsuya Garage for all your JDM Miata parts needs. Thanks again, Rod. And thanks again Soundwave and Ravage.



Nice post & nice blog. I love both.
thanks, Pharm!
Please send info to me regarding miata hvac plate )90)Mine is wasted away and I find them hard to locate. Tim
It’s in the blog post! Tetsuya Garage. Send them an email.
Love the articles. Finally, someone who sees their car for the classy ride it is. MGA’s are getting 30,000 and are ancient and troublesome compared to our MX-5’s and your site seems to treat them so. I really enjoyed your HVAC article and have also been looking for somewhere to mount a vacuum guage, to monitor the optimal revs for mileage. Am interested in where and how much to upgrade my Miata.
Um… do I trash MGAs anywhere? I don’t think so… I think they’re beautiful cars.
I used to have a boost/vac gauge in a single a-pillar mount. It was okay but was kinda ugly. I’m trying to figure out a better place for it.
still looking for how to get hvac plate for the 90 miata. MGA’s are gorgeous, but in Florida it’s A/C or suffer
Go to the Tetsuya Garage website – http://tginferno.blogspot.com/
email Rod – tetsuyagarage@gmail.com
Ask him about the AWD HVAC face plate for the NA. He’s very good about replying to emails.