Not sure what to call this post. It’s not really going to be a review due to having just put the part in yesterday and not having much end-user experience. It’s not really an install. It’s more like photo whoring. Yes. Photo whoring of my new quick release!
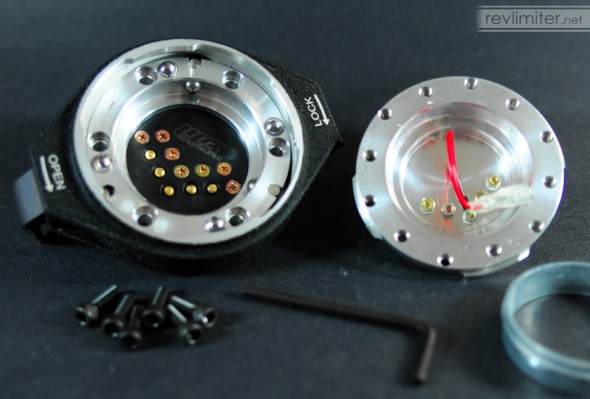
Not bad eh? This is what you get in the box: both halves of the quick release, bolts to attach the boss-side, a matching wrench, a horn ring, and a set of ring terminals (not pictured – doh) if you want to make more of the 5 wire terminals active.
Back on the topic of photo whoring. I’ve been researching steering wheel quick releases for a while. The thing I’ve noticed a lack of is photos. There are lots of opinions. There are a few measurements. But there’s NEVER enough photos. So, I present way too many photos of a very small part – the Works Bell Rapfix Quick Release Spacer mark Two (QRSII).
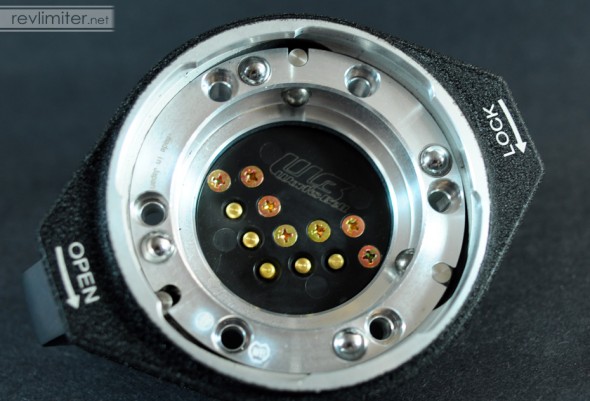
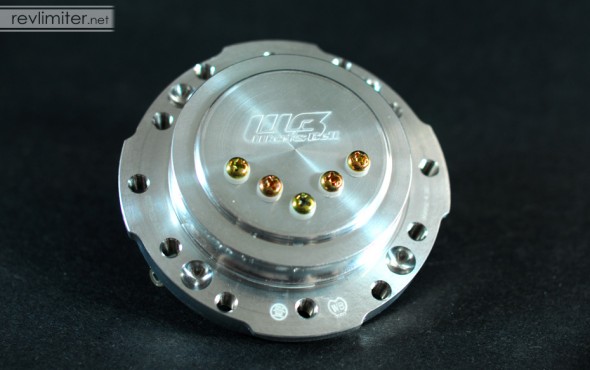
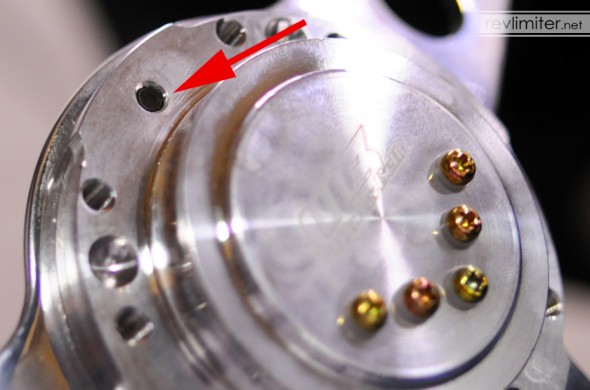
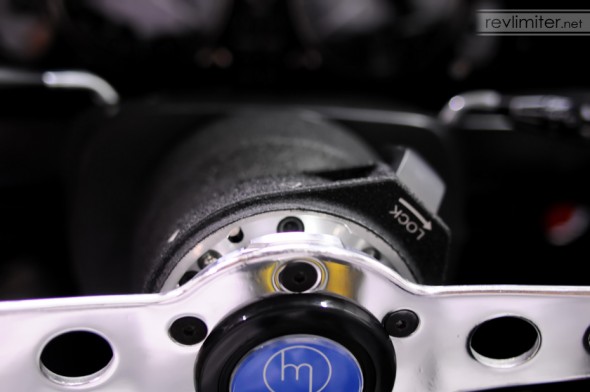
Not bad eh? The QRS is all metal. Some other versions of this slim-style spacer use a lot of plastic. None of that for Works Bell. Seven ball bearings help lock the wheel in place. And the ability to have FIVE circuits going through the steering wheel is a little bit impressive to me. All of my horn buttons require only one.
The boss-side of the QRS (the side that attaches to the hub, also known as a steering boss) has the standard 6-hole Momo/Sparco pattern. So if you have a Nardi-only hub, you’ll have to take care of that. The Daikei hub that Sharka wears has both Nardi and Momo patterns, so I’m good. The wheel-side of the QRS features both Nardi and Momo wheel bolt patterns.
The official measurement of this part is 26.7mm thick. We’ll take the tape measure to it once everything is in place and see just how thick my personally installed version is.
The Install
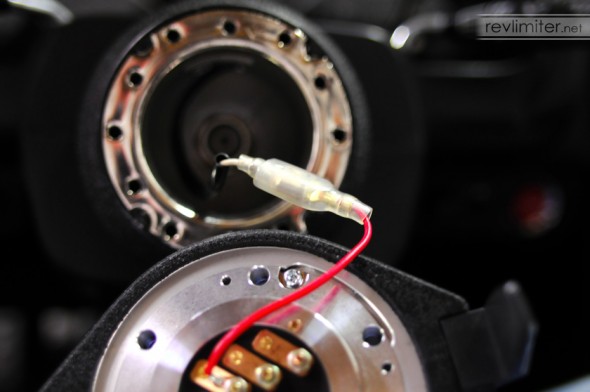
The quick release grounds through the steering column, so you don’t need to worry about a wire for that. In most cases, you’ll just need the single connection for the horn button. That’s all I needed.
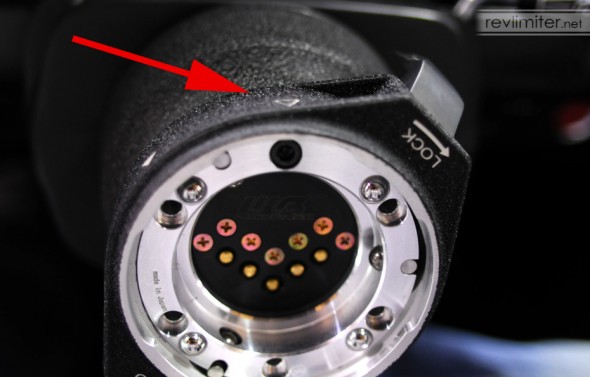
Notice the marking at the top of the QRS. That hollow triangle is the 12 o’clock mark for when the wheel is released, or “OPEN.” You line the bolt hole directly below that mark up with the top bolt hole on your hub. The V made by the five wiring connections should be pointed down.
If you’re using a Momo wheel, you install the included horn ring between the spacer and the steering wheel. If you’re using a Nardi wheel, you leave that horn ring out. Simple, eh?
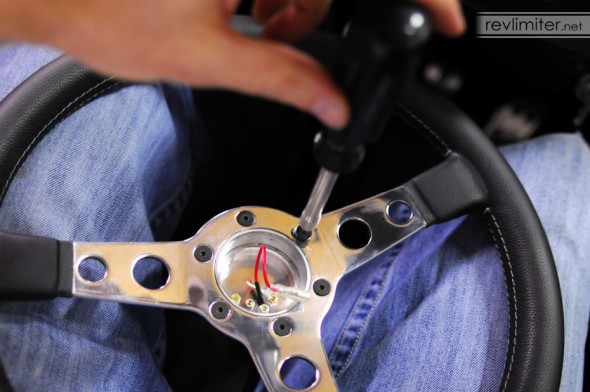
Also, make sure the bolts do NOT poke out the back of the QRS wheel mount. If they poke out, the quick release will not connect or work. The bolts that came with my Momo wheel and hub were of the perfect length.
Finally, connect the horn button to the wire. That’s it. You’re done.
Using the Quick Release
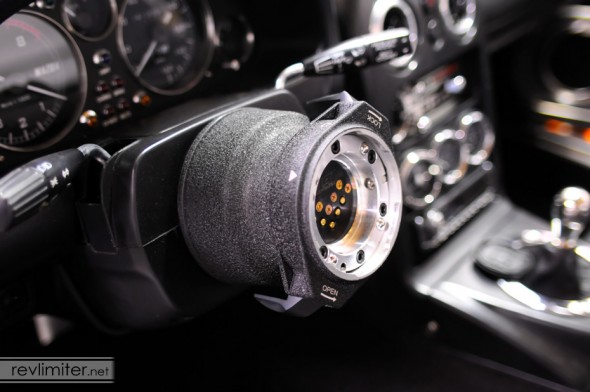
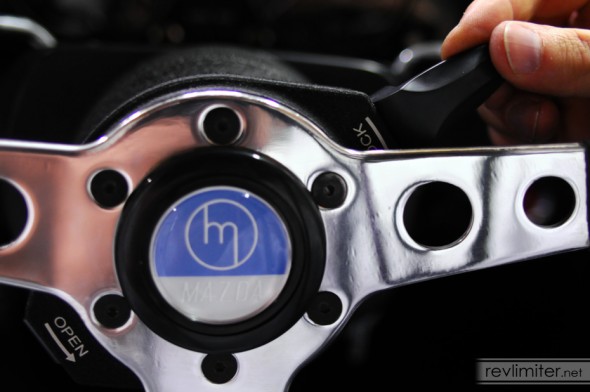
It’s very easy to use. Just line up the wheel and rotate the appropriate arm. If you’re locking the wheel in place, the QRS makes a very nice *click!* once everything is rotated into position. To unlock, just rotate in the other direction. And it is actually harder to release than to attach. It likes to stay attached. I consider that a good thing.
I’ve been using a 10mm Momo spacer between my hub and steering wheel. Due to my Lotus Elise seats, I sit a little farther back from the wheel than I used to. A small spacer was needed. Now, with the QRS, I’m only adding about 15mm to my previous hub thickness. And really, that’s not much at all.
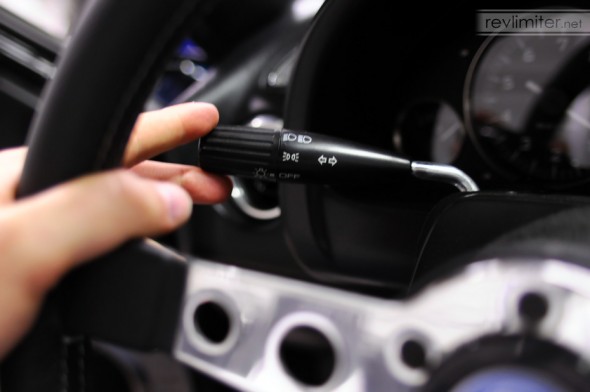
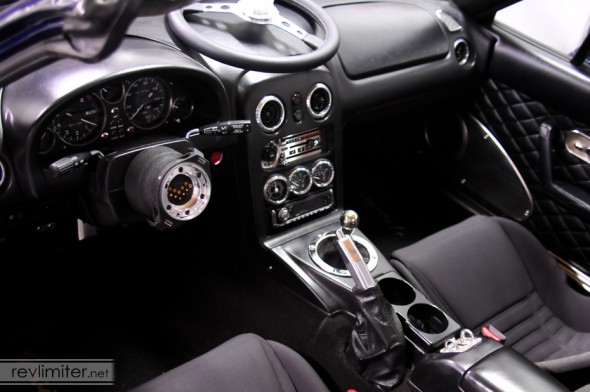
I have no problem hitting the turn signal with my thumb coiled around the steering wheel grip. The spacing between the wheel and signal is now just about equal to what Mazda gave their Mazda3 cars stock.
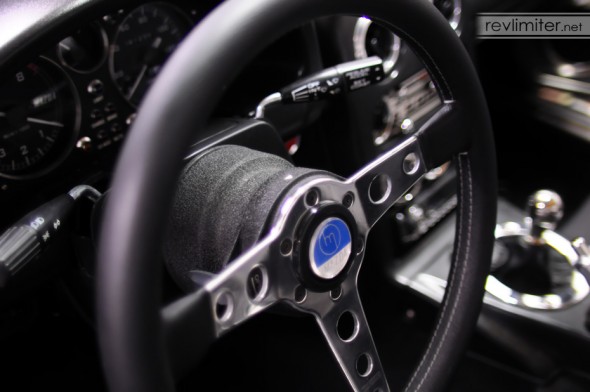
Daikei and Works Bell put exactly the same texture on these two parts. They look like they were meant to be installed together. I actually had no idea the match would be this exact when I ordered the QRS. It was a happy bonus.
With the wheel locked on, the little ears of the QRS hide behind my Prototipo’s spokes perfectly. It’s hard to tell the quick release is even there.
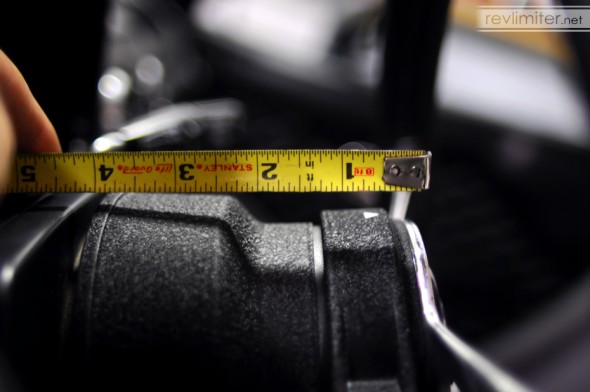
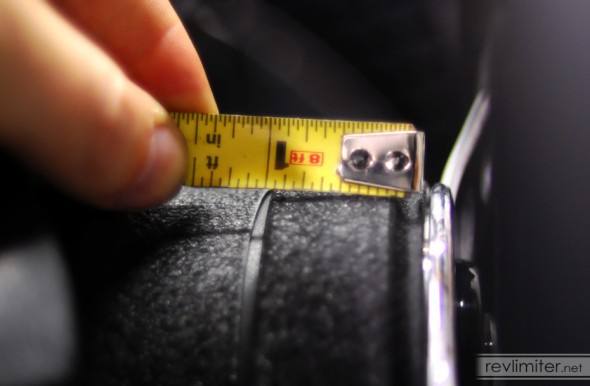
Hopefully these measurements help a few people. I’ve seen a handful of measurements of various hubs online. Too often the photographer measures everything including the steering wheel rim. That’s… not so helpful. Different wheels have different depths. But the distance from the base of the hub to the wheel mount is pretty constant.
Daikei hub + Works Bell QRS = ~4 inches thick.
Just as I said in the beginning – photo whoring. Hope you liked it.



Very useful post. I’ve been thinking of getting a QR for my NA, somewhere down the line. Let us know how you like it after living with it for a while.
On a related note, you might enjoy seeing the tiny Cozy Coupe steering wheel that the PO put on the NA:
http://industrialstrengthscience.blogspot.com/2009/12/thats-not-at-wheel-thats-wheel.html
Skeeler
Glad you liked it! I will definitely update this post in a few weeks.
And DAMN, that’s a tiny steering wheel!
Love the whoring in this posting LOL where did you order it from if you do not mind me asking? I have been kicking around the idea of picking one of these up for my weekend car.
I got it from Tuners Group. They go to a lot of effort to show they’re authorized Works Bell dealers and don’t sell knockoffs. This seems like one piece you’d definitely want to be the real deal.
excellent write up with great pics.
is this model rapfix discontinued?!
No! It’s a current model. In fact, it’s an update to the QRS model as far as I know.
I’m looking at a wood Nardi, inspired by you but not copying, and I noticed you said no horn button on a Nardi. Do you lose the horn? A couple of the Nardis,
like the personal and one other 340 mahagony look very nice. Hard to tell why they are priced (for that matter, on any of them).
So I need a Daikei hub and the QRS or Rapfix. Anything else I need?
It’s inspiring to watch your progress, frustrating because I don’t like to copy anyone else. I’m still thinking of whether or not an old single Lucas lamp could be mounted up front and how it would look. Love the retro looks.
No, I said no horn RING. “If you’re using a Nardi wheel, you leave that horn ring out.” The Nardi horn button doesn’t need the retaining ring that the Momo does.
However, the Nardi horn button is a bear to fit in the QRS. I got mine to work (and you can see it in some of the more recent posts like the Version Rossa gauges), but it took some fiddling. There’s just not much space inside the QRS for the big Nardi button.
First of all, I have to say you’re doing an awesome job with Sharka and this blog (but I would have to write at least 2 pages of greetings and finished reading yesterday and now just came back from Geneva’s motor show so this will do the job for now (m_m) ).
I was considering to get a quick release for my future car (which will be a NA of course, and I already listed all the things I want to change for it^^), but got afraid of any wear (and even possible fail but this one looks well made enough to prevent any fatal mistake). You got this installed for 1 year now ? Did it get loose, or does it feels like the first day ?
The QR still feels excellent. There’s no rattle, no movement, no flexing, nothing. It makes a positive CLICK! when you attach the wheel and locks quite nicely. It’s still a bit difficult to get the lock to release in the first place.
And thanks for the complements!
I just installed this QRS II(FET). Mine is too tighten to lock and open with a nardi steering wheel all the time. how’s yours? just easy to lock and open when you put the wheel into the hub?
How is the length of your wheel mounting bolts? Do they stick out the back of the QR at all? They must be flush or slightly less than flush. If not, I should imagine the fit would be very tight.
But no, mine works perfect with all of my wheels. Very smooth and easy to use.