In the week since the last blog update, this is what I’ve been doing. Cleaning. And more cleaning. And degreasing. And more cleaning.
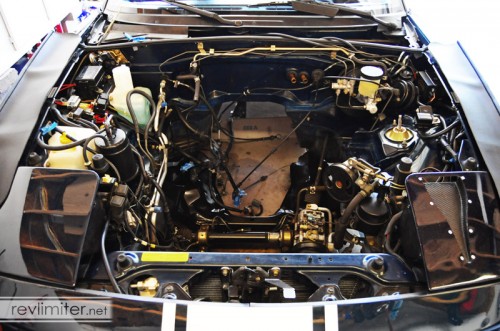
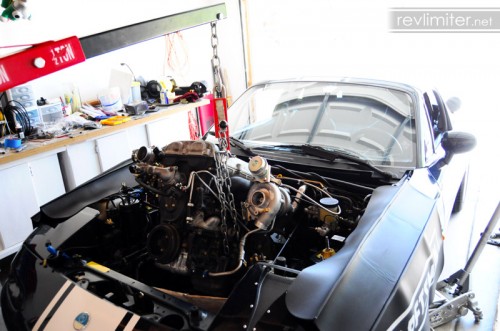
Though the last pix didn’t really show it too well, the engine bay was filthy from 15 years of infrequent driving. The exposed areas that got cleaned often were clean. But the hidden areas? They were caked with dirt. The front subframe was amazingly filthy. The nooks around the brake booster? Yucky. Lots of yucky. So I cleaned.
And then I shot the above shot that barely shows the cleaning. hahaha! Ahhh…. damn. But seriously. I worked hard and am happy for it. 98% of the engine bay is now from-the-factory clean.
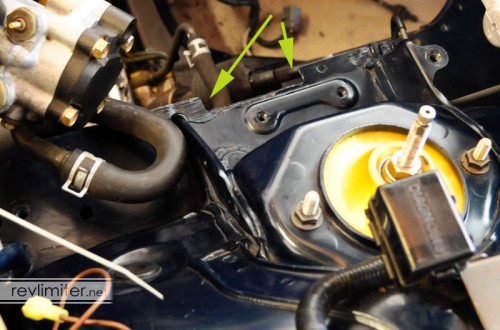
FM tells you to slot this on both ends and then fold the metal down. When I did that, the metal kinda…. broke. Which is a shame, but I guess it gives the turbo just a little more room to live. And I doubt much structural rigidity was lost in breaking this three inch long section off.
I then sanded, smoothed, and painted.
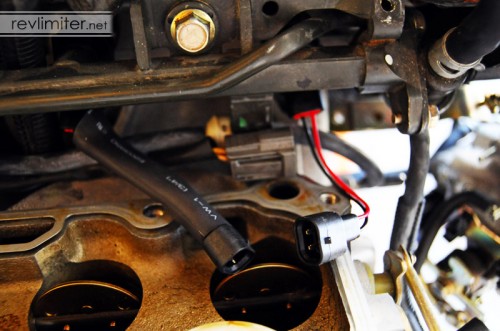
I was suddenly struck with this idea right before taking the engine off the stand. Protection for those little pigtails! The stock wiring comes with such protection, so I added it to the FM wiring. Fortunately, I had this stuff in my workbench and didn’t have to drive to Radio Shack to get it.
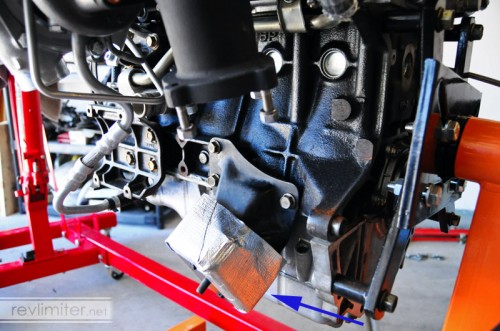
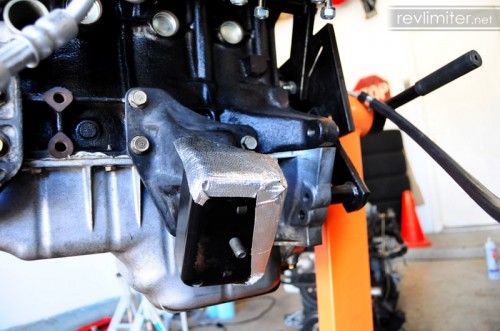
Another idea I had with the engine on the stand. Apparently the downpipe does a good job of cooking that motor mount and making it crack prematurely. I had this stick on heat barrier laying around waiting to go on my intake box. I figured why not add it to the mount housing? Having it in place has to be 100% more effective than not having it in place. Right?
I used this stuff from Competition Products. Nothing fancy, but it was way cheap ($3.45 at the time of this writing) and on hand. If it makes my motor mount disintegrate, I’ll post about it.
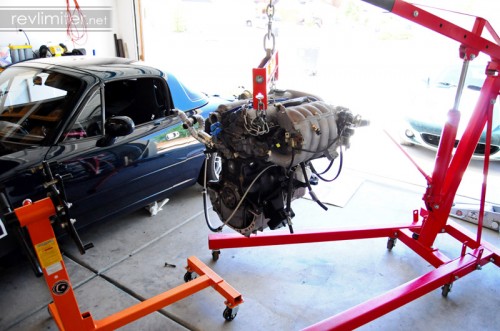
That engine has been on that stand for about 3 months. Taking it off was a big deal. For me.
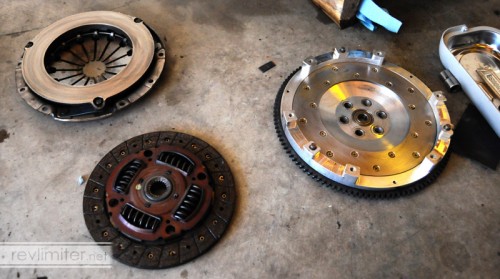
I lovingly resurfaced my 8 pound Fidanza flywheel. Barely took any effort at all. And I’m reusing my stock MSM clutch. It has barely 5000 miles on it (Maybe more like 8000) and should hold the moderate power levels I’ll be making up here in New Mexico’s thin air.
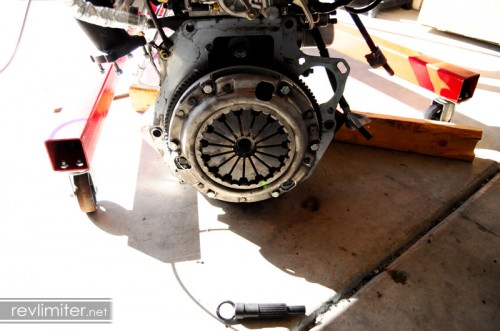
I really hope to not see this side of the engine for a few years. Hear that, MSM clutch??? I’m counting on you!
The turbo made the fit pretty tight. But me and my buddy Alex got it in place and bolted down.
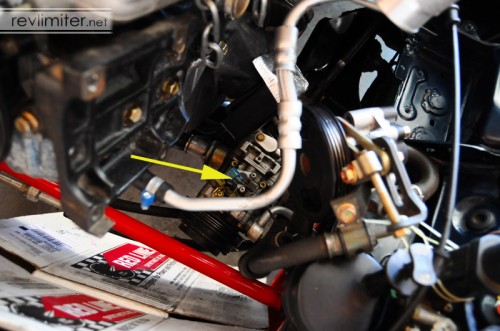
This was the one problem. The a/c compressor could not be pulled back far enough to allow the hard drain line to remain installed on the turbo. Nor could it go down or up or anything. Once the engine is in place and the compressor is bolted on, there are no problems. But that drain line just couldn’t be there while dropping the engine. I was a wee bit unhappy.
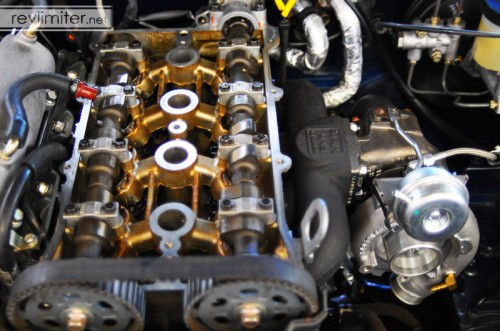
So pretty. So shiny. Something that’s been on my list for a long time.
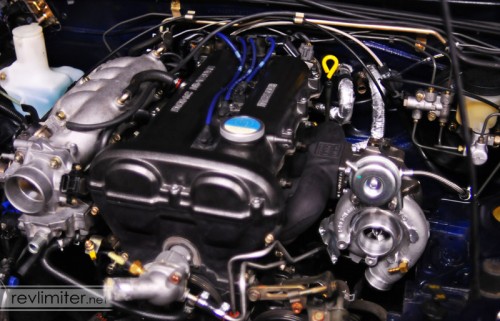
Only thing left now is to hook everything up and start it! Which might happen this week. Maybe. There is a LOT to hook up. I need to make a damn list so I don’t forget anything.



Adam: Beautiful.
just wondering why you havent gone with toyota COPS on this build?
I might. Someday when the car runs again.