Since I’ve got Sharka’s head off, I decided to take the opportunity to do a coolant re-route. And I’d like to apologize in advance for breaking this up into two blog posts. There’s just a whole ton of photos. It seemed best to split it up. Plus, I’ve got some work to do on the car before I get all the parts installed to let me take pix for part 2.
Why a re-route? It’s a very lengthy topic and there’s a ton of discussion on it on every Miata message board. I’ll leave the research to you and just give you the executive summary: Engineers took the engine out of the Mazda 323 GTX, a front-wheel-drive car, and turned it 90* before shoving it into the Miata rear-wheel-drive engine bay. To make plumbing easier, they moved the coolant outlet from the back of the engine and mounted it in the front – right above the coolant inlet. This means the front piston gets great cooling and the situation gets progressively warmer as you move toward the back. Moving the coolant exit back to the rear of the head (re-routing it, if you will) puts the system back to how it was originally engineered in the 323.
By the way, I’d not be making this post without the knowledge presented on MiataTurbo. I’m not recreating the wheel or doing anything new and innovative with this blog post. I’m simply re-stating what a lot of MT members have said before. All I did was sift through the wealth of info posted on that board to find what I think are the best parts for the job.
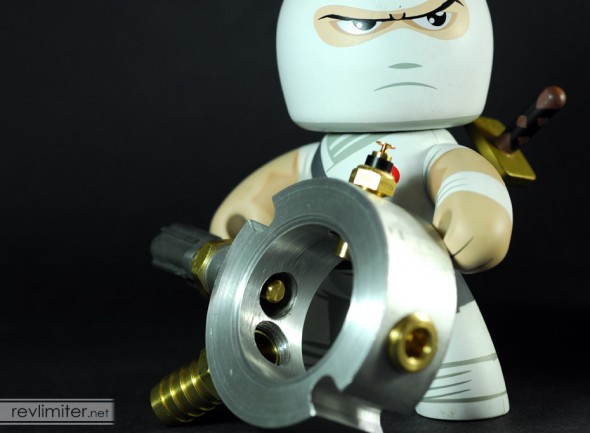
Also, many thanks to Storm Shadow for helping me show off these parts and keep those lousy, spoil-sport Joes from spoiling my fun.
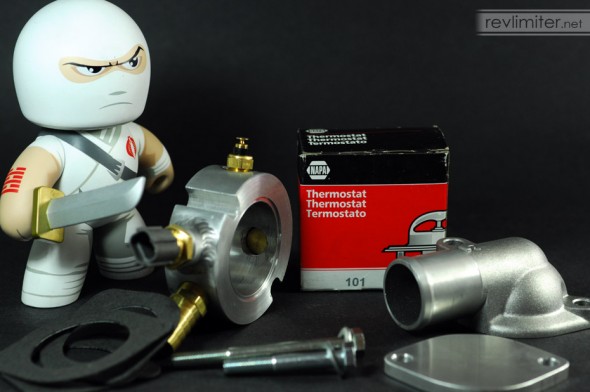
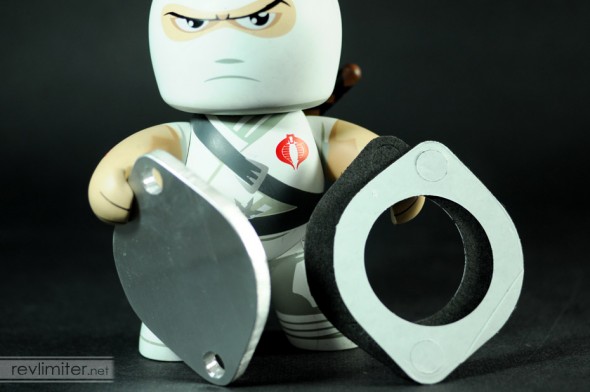
Since I’m rerouting the flow to the back, something has to be done about the front water return. The neck could be removed and a freeze plug put in the block, or I could just use this spiffy block off plate from Bell Engineering. That’s what I chose to do.
The little self-adhesive gasket can be found at your local NAPA. It is part number THM-1068. One side is sticky. This is great for coolant reroutes since you can’t always see what you’re doing on the back of the head. A handful of these gaskets came with my BEGI order.
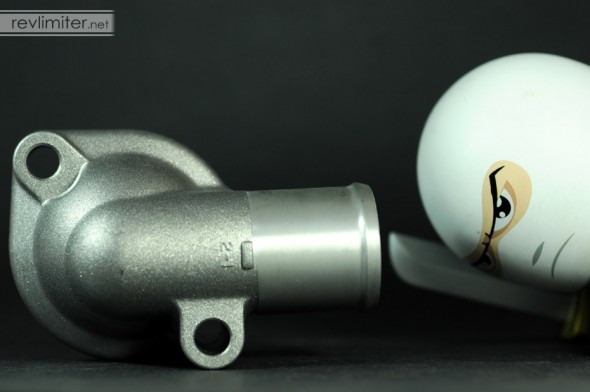
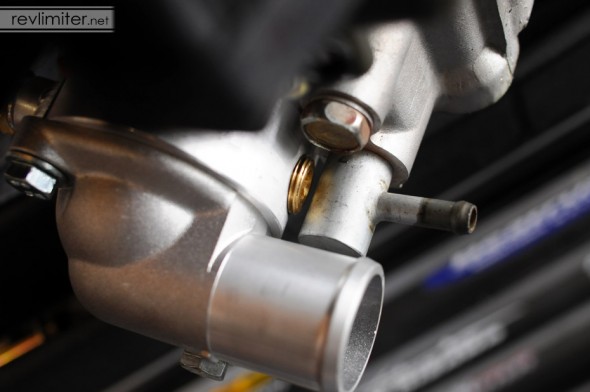
This is the water outlet (neck) from a 97 Kia Sephia. Part number 0K24715172A. It angles to the side and down slightly, letting a hose slip under the coil pack at the back of the head. Bell sells them on their website. I went ahead and ordered one from them along with the block off plate and spacer to make life easy.
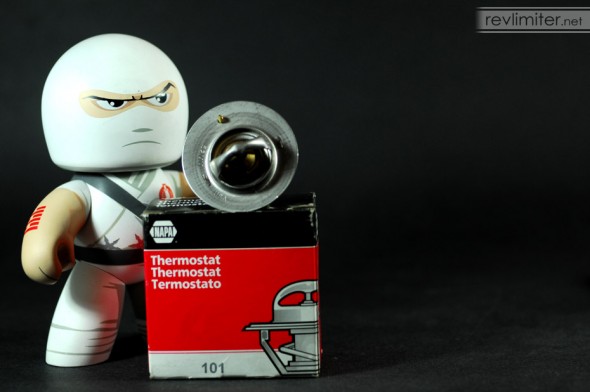
These little guys are cheap. The Napa house brand thermostat (part number 101) opens up very wide to let a lot of water flow and starts opening around 180*. I decided to buy a fresh one and maybe not have to worry about it for a few years. It has been boiled a couple times to make sure it opens and closes correctly.
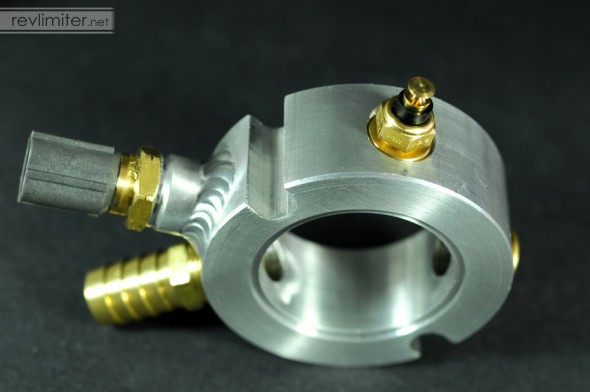
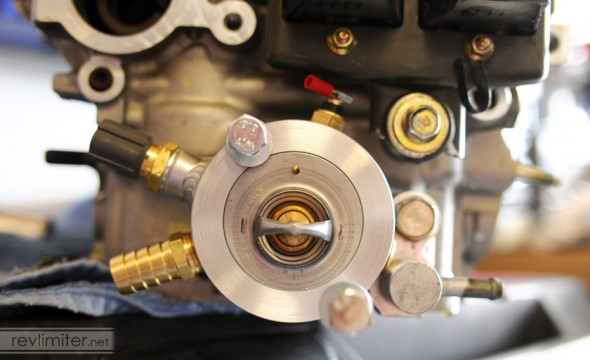
This is the big part that makes all of this possible. This little spacer holds all the various sensors, mounts the thermostat on the back of the head, and lets water flow to the heater core before the thermostat opens. BEGI makes it. This spacer and the big hose that will be shown in part two are what make this an “easy” coolant reroute.
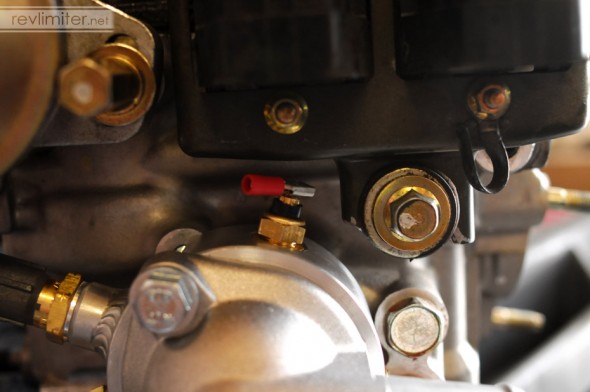
Notice the sensor in the back screwed into the welded bung. That’s the stock coolant sensor. It’s almost completely shrouded. I’m really hoping this won’t trap an air bubble and lead to unstable water temps. But I’ve not read horror stories about this, so I assume it’s all okay.
This is a little auxiliary sensor to let my extra VDO gauge work. It is part number 323-900. This part number gets you a 1/8 NPT sensor and three very thin adapters (1/4, 3/8, and 1/2 NPT). These adapters are perfect since there’s not really space in the back of the head for a full 3/8 NPT sensor to match the 3/8 port in the spacer. But a 1/8 fits just fine.
Funky connector on the end of that sensor, eh? I’ll show how that hooks up in a second. (I admit to having never seen a connector like it before.)
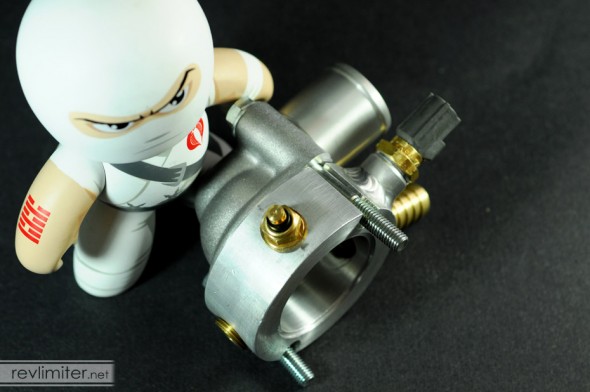
This is how the spacer looks with the bolts in place. As you can see, there’s a lot of thread. The long bolt that BEGI included is an 85mm. According to MiataTurbo, a 70mm will be much easier to fit in.
There is a lot going on in the shot above. I’m pretty happy to be able to show it. Having to fit all of this stuff and do trial and error with the head on the car would have really really sucked. Getting to actually look at the back of the head and measure clearances is wonderful.
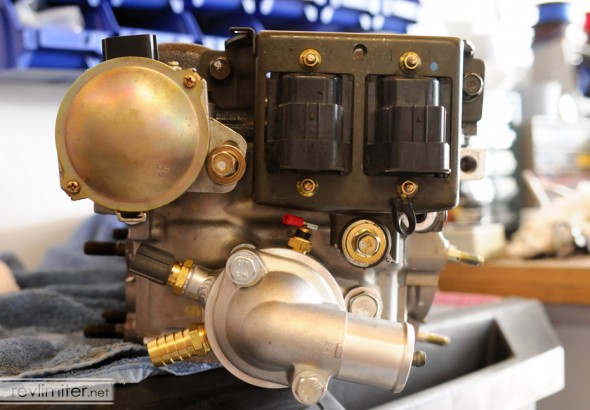
I guess that little plug is usable on 1.6 cars that don’t have the oil cooler fitting coming out the head. Not having that fitting would give nice clearance for the water neck too. Looks to be juuuust enough room to slip the hose on.
Nice and tight, isn’t it? I don’t think any other sensor would work with that coil pack in place. I’d have to install a coil over plug system if I wanted to use that port in the BEGI spacer. Also, this is how you plug into that style of connector! Very clever. As I said before, I’ve never seen this sort of electrical connection.
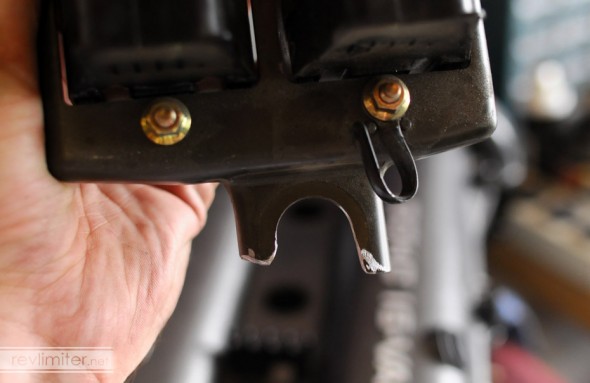
You can also see the customization to my coil pack mounting bracket. More on that in a moment.
The jiggler goes at the top. And when I actually mount this permanently, I’ll use those fancy self-adhesive gaskets.
How about this? I also have the MiataTurbo forum to thank for this bit of genius. You just slice the little edges off with a dremel to allow the coil pack to slide right out of the rubber mounting bushing. It’s still held in place by the two top bolts. This just makes it easier to swap on and off with all the coolant reroute hardware on the back of the head. Not having to deal with that bottom bolt will be wonderful.
This bushing just stays permanently mounted to the head. And I’ve tried it out. The coil pack slides right over top (it’s a very tight fit) while the top mounting area just barely clears the valve cover. I wish I’d done THIS mod years ago. I’ve cursed at that stupid bottom bolt far too many times even while using a GearWrench.
And that’s the end of part one. I hope to have the conclusion of the Easy Coolant Reroute up shortly.



Useful post. Thanks. I look forward to part 2.
I’m looking forward to it too! I hope everything works and fits.
Do you know how thick is the spacer? I’m looking to do my own and seeing how thigh is the clearance between the water neck and the nipple is, I don’t want to make it too thin.
Sorry, I don’t. I bought the BEGi spacer so that I’d not have to figure those things out.