Many years ago (okay, 2006), a Miata message board called Club Roadster was created. I joined within the first few days. (Member number 73.) And in those first few days of the forum’s existence, I posted a thread about creating a DIY bikini top for a Miata. Time passed, I thought about it off and on, but never got the project off the ground.
5 years later, some guys on Club Roadster formed a company called Project-G to make a few niche products for the Roadster community. One of their products was inspired by that 5 year old bikini top thread: the Project-G G-String bikini top. Today, after a long wait, Sharka finally has a bikini top.
Bikini top install
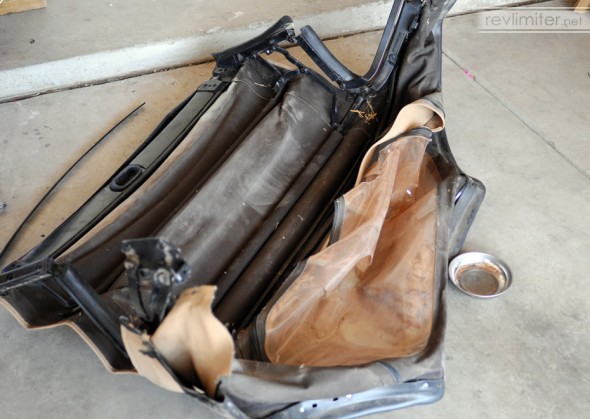
This sad thing has lived in the rafters of my garage for at least 6 years. Maybe longer. I think I got it for free from a buddy who was cleaning out his garage (thanks Tom!) Lots of dust and cobwebs from its life in the attic. And it looks like it was just parked in the down position for quite a number of years before I got it and stored it.
In just a few paragraphs, this neglected piece of shit will become an object of beauty.
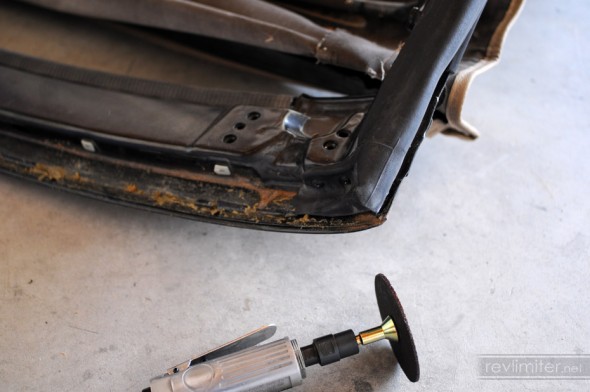
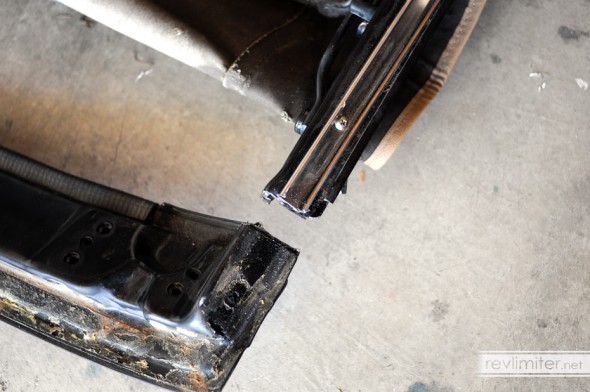
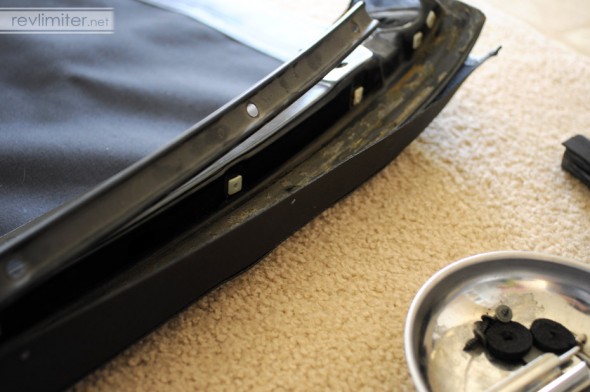
The only part of the old top that needs to be used is that front bow. However, the front bow has a lot of small parts. 2 of these are the side seals at the very front. They should be left in place while you cut to make sure everything is cut to the same spec. You can remove the side seal and chrome retainer immediately after cutting through them. Then work on cutting through the frame.
If you don’t have air and a die grinder, a hacksaw works well too. The metal is pretty soft. I got my front bow free in just a few minutes per side.
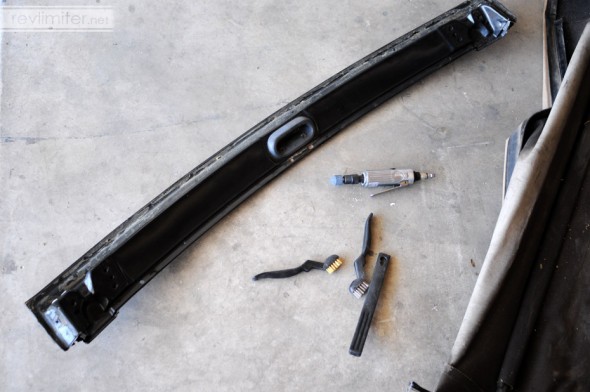
After slicing off the front bar, I got out a grinding stone and took care of any rough spots. Project-G supplies a little end cap for the cut metal, but I still wanted to take care of all the jaggies.
Next stop, my living room floor.
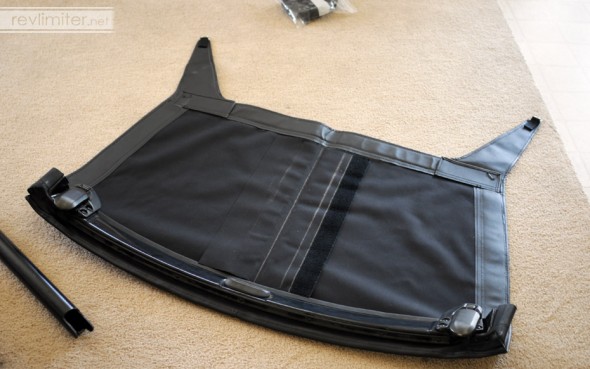
You basically just follow the soft top installation instructions for the front bow. It’s very easy. Most how-to’s recommend contact cement for the corners under the weatherstripping. My photo above shows the top in place without glue. I realized my error and took the top apart again and added the contact cement. It made for a nicer fit. I managed to not take a picture of this. My brain was a little tired from the 105* garage temperatures.
Really, the top is very forgiving. If you don’t get it quite right, you can unscrew anything/everything and line things up again.
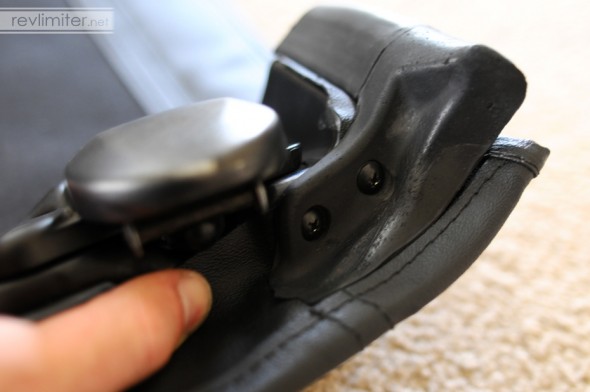
Not much to it. I added the soft top strikers and rubber edging for the back of the header bow. I also swapped out the sun faded center handle with a nicer one. Then it was back out in the heat to mount the top.
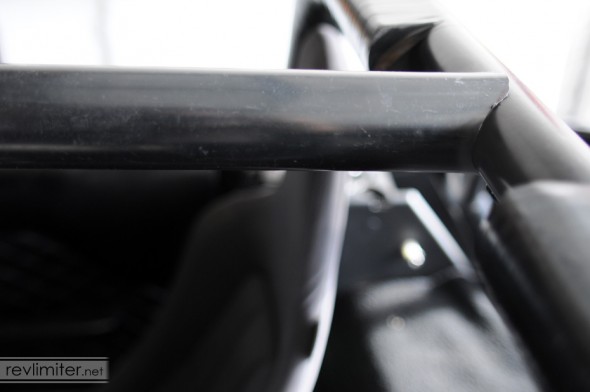
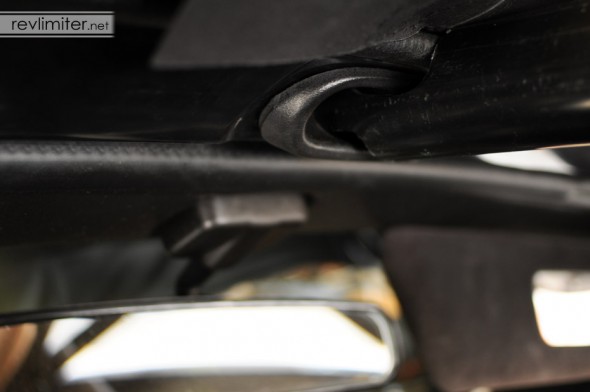
The real work with the G-String kit centers around this support brace. You get a nice plastic bar, but you have to cut it to suit your car. And you have to cut it juuuuust right to get a good fit between your windshield frame and the front bow of your bikini top.
Here’s what you do.
1: Lay the bikini top on your windshield header. Align it correctly and clamp down your soft top latches part way – just enough to get the header bow in the correct position. Then measure the distance from the forward-most part of the center handle to the front of your rollbar main hoop.
For Sharka, this measurement was 23.5″. The measurement to the rear was 25″. I made marks on the plastic support bar at 23.5, 23.75, 24, and 25 inches. This was to give me a visible range showing exactly how far I could carve before ruining the center brace and having to go to Home Depot for another ABS tube.
2: Mark your center brace. I marked both sides of mine as I mentioned above. I made sure to put the marks at exactly horizontal. I also marked the vertical points at 25″.
3: Carve out an arc. Cut it shallow. I started at the 24″ mark and had a center brace that was WAY too tight. Then I slowly progressed toward the 23.5″ mark. I didn’t quite get there and have an extremely tight fit on my front bow to windshield. I figure it’ll just loosen up over the years, so better to start out tight.
After cutting the center bow correctly, this is the result. The fit is spot on. A factory soft top has nothing on this front bow fitment. It is perfect.
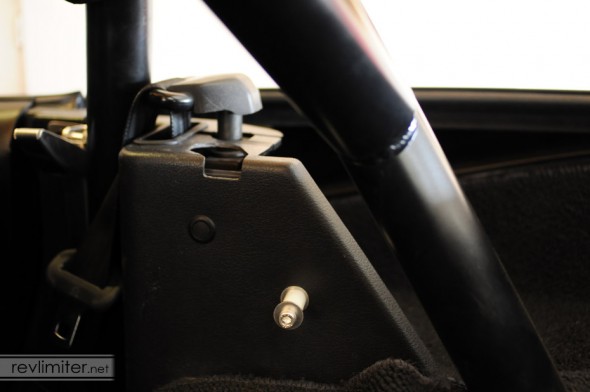
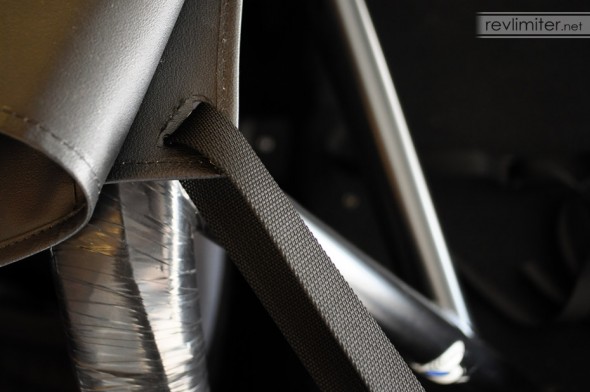
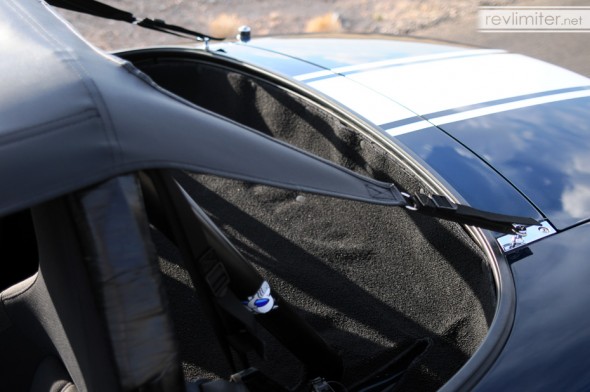
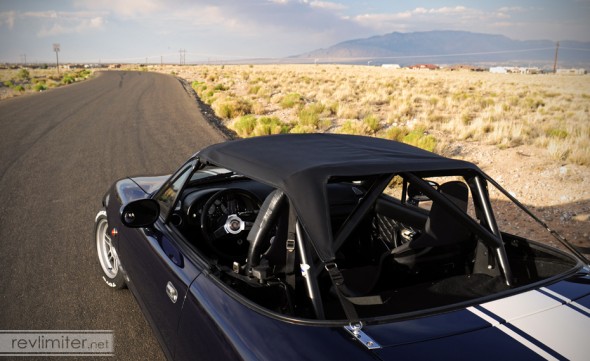
I found this bit to be extremely clever. This bolt replaces one of the boot clasp locations on the NA cars. Then, there’s a somewhat hidden strap that goes from the corner of the top down to this bolt. This gives the bikini top 6 mounting points plus the center brace velcro. Seriously brilliant.
The rear mounting points are the frankenstein bolts that hold the rear feet of the hardtop. Little D-rings go around and tighten. It works extremely well.
Finally, there’s the center brace. A large piece of material velcros around the entire thing. I managed to forget to take any photos of this.
And that’s it. Installation finished. After that first time getting the straps to the correct length, installation takes only a few minutes. Not much more than adding the boot cover to the stock soft top.
Bikini Top Review
Build Quality: Extremely well made. I’ll put it like this: I installed a Robbins cloth top on my NB on the same weekend that I installed this Project-G top. The Robbins is widely regarded as being the highest quality top you can buy for a Miata. And the Project-G G-String is every bit as nice. Every part is engineered. Every stitch is straight. There are little rigid inserts in every edge to keep it from flapping. There’s little flaps in the front to get it glued down to the front bow correctly. It’s the goods. I’m blown away by the quality. A+
Initial Build: Difficult. The vinyl parts aren’t very hard. But that center brace is a little tough to get perfect. I spent a half hour grinding away tiny bits of plastic to get a perfect fit. It’s not like a big complicated install or anything, but it isn’t the easiest thing. I’d give it a C.
Install/Removal (once you have everything together): Very very simple. Seriously minutes. Just taking the top off and on is cake. I give it an A.
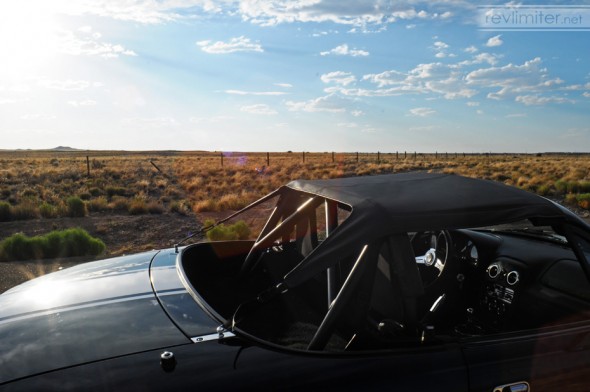
Useability: (How is it to live with this top?) This top is seriously great. There’s no ballooning at speed thanks to that center brace. There’s no flapping at all thanks to the many attachment points. There’s just shade and lots of ventilation. It’s wonderful. Everything I ever wanted in a bikini top. And better than anything I ever designed in my 5 years of working on-and-off on a bikini top project. A+
Overall: I love it. A++
Update!
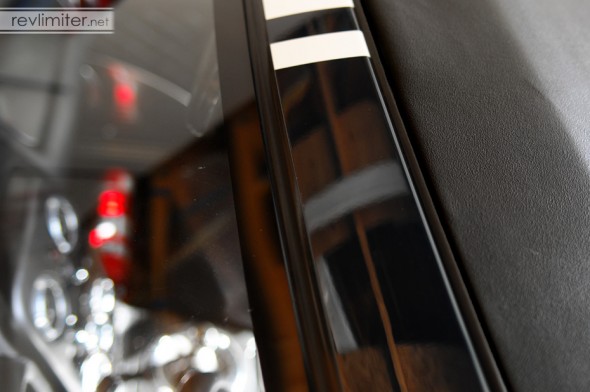
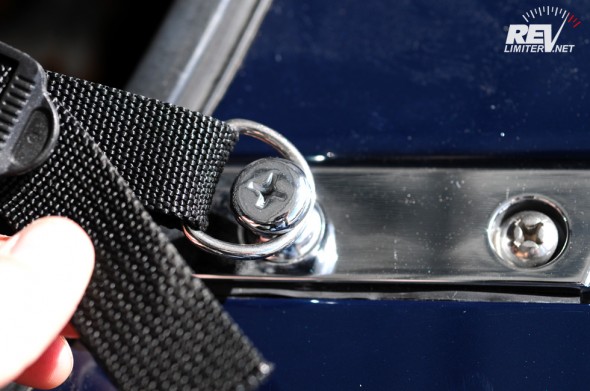
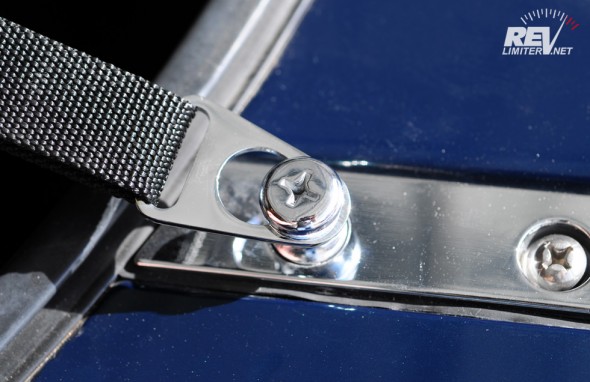
Since installing my G-String, a whole winter and most of another summer have passed. I’m writing this update in August of 2012, 14 months after the above text was written. In that time, Project-G has updated their bikini top slightly. The above photo tells the story. The official name of that gorgeous chrome blob is the Bikini Buckle.
And holy crap is it awesome. The fit over the factory frankenstein bolts is perfection. The finish is great. It really makes the old D-clips looks horrible. And yet there’s nothing wrong with the D clips. They worked great, held on fine, and had no problems at all. But the Bikini Buckles… they kick it up to the next level.
Sharka has been wearing the G-String and Bikini Buckles since April of this year. I cannot recommend this top enough. It really is a must-have for any Roadster.

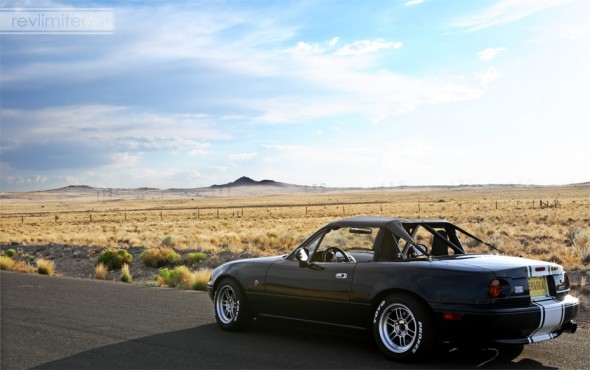


I see the tire lettering is still white. Have you been touching it up, or has it held up better than expected?
Also, how are you liking the FM turbo kit after living with it?
Michael
Yup, the tire lettering has held up great. Aside from the initial cracking, it’s stayed pretty much the same. I did touch up one tire (the unpictured front) after my tow truck ride a while ago. It got scuffed.
The FM turbo is seriously the best thing ever. I should have bought one years ago. I’m loving it.
This product actually inspire me to get my rollbar this year. The G-string and the their side skirts (not out at this time) are on my wishlist.
It’s a great reason to get a rollbar. One with padding!
Got my from a guy on Miata.net with the padding from Kentucky shipped to by Greyhound in March the install by myself and never doing this before was long
but you really can not put a price on safety.
On the center tube I was thinking it is too bad they could not come up with a spring loaded tube, like the ones for the shower or closet.
I’ve talked a bit with the Project-G dudes. There might indeed be a new version of that center bar coming out in a future version.
Not that it should put you off the G-String. Cutting the center bar is really only a half hour or so of work. Not difficult.
Sharka’s looking great!
Thank you kind sir! He’s driving great too.
This looks even better than I would have thought! Such a huge improvement from the standard cloth top, the vintage look is unbeatable and it really goes well with your interior. Sharka is by far the coolest Miata I’ve ever seen.
Thanks Trip! Yeah, this bikini top blows the stock vinyl top away. This top + my hardtop = Miata bliss.
And thanks!
Oh how I wish we had the weather for this in the UK! I’m planning on deleting my softop soon and just running with the hardtop . . .
Sharka’s looking pretty trick with that bikini top though! Very nice
Yeah, New Mexico is totally the place for this kind of top. Year to date, we’ve received .19 inches of rain (not a good thing, it’s the least rain recorded since 1893). But at least Sharka can wear the top with no fear of getting wet!
Definitely delete your soft top. I’ve had mine gone for about a year and a half and have never missed it.
I’m planning on boxing in the sides and then fitting aluminium/oak rubbing strips and black leather luggage straps on the parcel shelf :o)
I’d love to see this.
Thanks again for the nudge I needed to make sure I didn’t let the opportunity to get one of these pass me by. Looks great!
Glad to help! You NEEDED one of these.
I just got in on the latest GB after reading this. It’s your fault. I can’t wait to get it!
Sweet! I was hoping this blog post would send a few more guys toward Project-G.
You’re gonna love it.
Great writeup, as always, Adam. I agree with your grading system. I’m going to tackle the bar this morning to get a good fit. Keep up the good work and good luck with the online store!
Glad you got one, Dan! It really is a great top. I’ve got mine back on again after a week or so with the hardtop. I’ve been meaning to do a third post and show off the storage bag.
And thanks! The store has run quite smoothly the first couple weeks.
i have an extra soft top frame from my old 95, and am considering getting a bikini top. my new 94 came w/ a SnugTop, and no soft top, so i figured this would be a good alternative.
which kit did you order? the project-g website doesn’t say specifically to send in the front bow for either the DIY kit or the Factory Front Bow kit; it just gives you the option of sending it in (core charge maybe?)
Man i want one of these so bad..