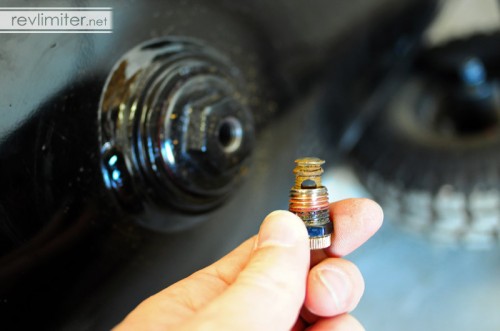
So. This is apparently a pretty common problem. After a long day in the garage, you go to drain your air compressor tank. Air and muck shoot out and you go in. And the next time you try to use the compressor, you can’t get that worthless little valve to seal to save your life. Eventually, these little things rust enough to not seal anymore and you get a constant leak. Pain in the ass, but at least just about every hardware store sells replacements. $3 and you’re back to compressing air day and night.
But what fun is that?
Answer: No fun at all, precious. No fun at all.
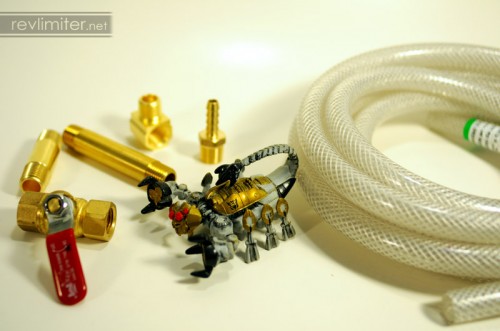
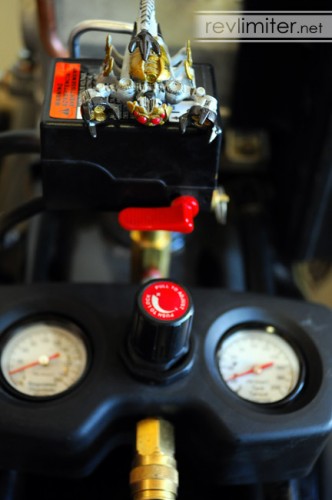
So here we go. Spending $30 to fix this problem is much more fun than just replacing that worthless little valve with a new one. And Scorponok agrees. He gravitated right to the new ball valve that I got to replace the little twist drain.
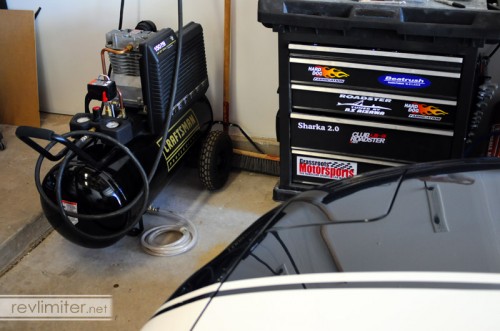
Right, some details. I’ve got a Craftsman (made by Devilbiss) 150 psi “Professional” air compressor. 25 gallon I think? Anyways, it’s a pretty standard model. And since I’ve only seen one model of little worthless drain valve on the pegs at the hardware store (1/4 NPT), I’m gonna guess that this parts list will work for anyone.
- One 1/4 NPT ball valve.
- One 1/4 NPT elbow. I chose male to female.
- A couple assorted 1/4 NPT extension tubes. Male to male. I bought a 3″ and a 2″.
- One 1/4 NPT to 1/4 ID barbed hose adapter.
- PIPE SEALING COMPOUND! – Forgetting this caused me to go back to the hardware store.
- A short length of 1/4 ID rubber hose.
- And if your tank doesn’t have a 1/4 NPT drain, you’ll need an adapter. Or to buy all this stuff in 3/8 or 1/2.
First off, you might want to lay your air compressor on the side. I’m sure it’s possible to do this while the thing is sitting on the wheels, but I’m not one for too much punishment on a small project like this. I have a Miata for those confined-space projects.
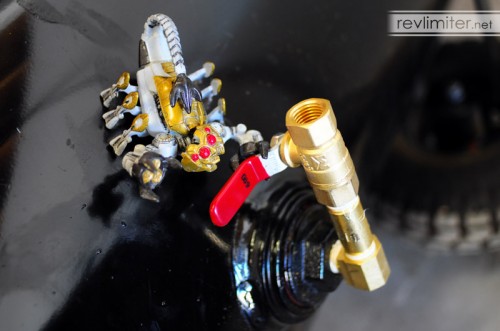
Next, screw on your elbow. It should end up pointing to the side you want your ball valve to sit on. And into the elbow, you should attach the extension to allow the ball valve to be accessible without you having to move the tank around a lot. 2″ was perfect for my tank. I can reach the valve, but it doesn’t stick out in shoe territory.
Then you screw on the ball valve.
It’s easier to do all this stuff than type about it.
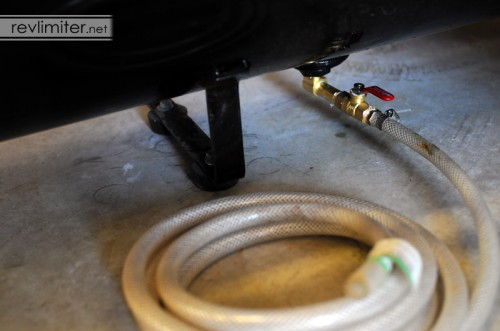
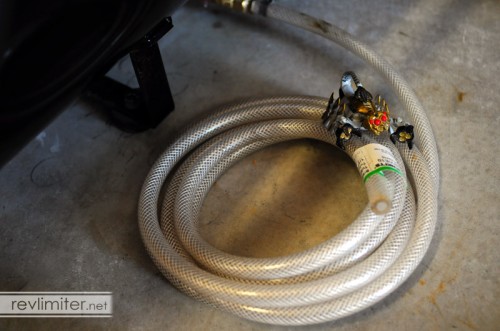
Once the ball valve is on and you’re happy with the fitment, go ahead and screw on the barbed hose adapter. Then attach the hose and add a small hose clamp.
Why are we doing this? Well, you could just add another small extension tube to the end of the ball valve, but then the air would blow straight out across your shop floor. Also, you could add an elbow to make the air blow down at the floor, but then you’d end up spraying pebbles and dust into your face whenever you bled your tank. With the little hose, you can direct the air wherever you want. I tend to use mine to dust my workbench.
Keep in mind that yucky, rusty water tends to come out with the drain valve air. That’s why you drain the tank in the first place. I don’t dust anything of consequence with this air. I don’t dust my car with it. More often than not, I’ll just wrap a big dirty towel around the hose coil and let the tank slowly drain at the end of the day. The towel keeps the hose from zooming around on its own and sponges up the dirty water.
And if there are no leaks, then it’s beer time.
It really works great. The ball valve turns this annoying task that I’d do about once every ten tank-fills into something almost fun. Almost.
Happy compressing!



[…] Air Compressor Drain Valve Mod . May 24th, 2010 | Tools & Garage. Failed and rusty drain valve Here is the original post: Air Compressor Drain Valve Mod — RevLimiter.net […]
What a great resource!
[…] How often do you drain your Air-Compressor?
Just about every time I use it. Unless I’m certain I’ll use it the next day.
That is indeed a happy compressing tips and procedure you have shared. I must say Air compressors are one of the most important pieces of equipment a shop or a household can have. The best thing about it is that it can be used to power tools, inflate tires (my wife just love this function), and clean my mini workshop in the house.
Too awesome.
Thanks for sharing such a useful information with us …. I like the way you describe the post with us. Many thanks
Just wanted to say thank you for posting this… I have the stand up version of this compressor and it’s in a tight spot so getting to the valve was almost impossible without moving and tilting the entire compressor. Using this, I was able to make a painless trip to home depot and had the entire project finished in less than 30 minutes. I used a 5″ extension to make reaching the ball valve easier, but everything else mimic’d your setup. Thanks again!
My pleasure! After nearly 2 years of having this little valve installed, I still love it. My tank gets drained much more often than ever before.
[…] harm the tools so much, but im more worried about it mixing in the paint. Im going to try this Air Compressor Drain Valve Mod — revlimiter.net to make it a little easier. It is a pain to go under it and drain it. + […]
I have the stand up model of this compressor and this mod was well worth it. I spent a total of $24.00 at Ace Hardware, then came home and installed the items in 25 minutes.
This link is the first one on Google, when you search “adding drain valve to air compressor”. I will tell my friends to do the same mod to theirs…..
Glad the post helped you! This reminds me that I need to drain my tank. I’ve not done it in a couple fills…
And awesome about the google status! So many people being exposed to toy photography. lol
Thanks for the information and article. Both my dad and I needed this fix for our pancake Porter Cable compressors.
Great work!
Thanks for the helpful article! I’ve just followed your example and bought the parts to do mine off Ebay. The only difference with mine is that, because I’m in England, the threads were BSP instead of NPT! All in I’ve spent £14 (~$23) and I think it’s worth every penny just so I don’t have to fumble round on all fours trying to undo that stupid drain fitting after a long days grit blasting!
This is a very smart thing to do and I am surprised how many model don’t have this feature ready. Great tip and relatively easy to implement. Thanks
Thanks for the tutorial and parts list…very thorough! I just put this on my 20year old Craftsman 25 gallon compressor. I brought your list to my local hardware store and the employee there found all the pieces I needed for the mod.
Good idea! Ebay has ball valves for just a few $, most compressors have 1/2″ connections (mine does), so basically all you need is one valve and one hose.
I recommend copper greasing the components that screw into the tank, to prevent any crud building up on the valve inlet. Also thread lock the 1/2″ thread.