
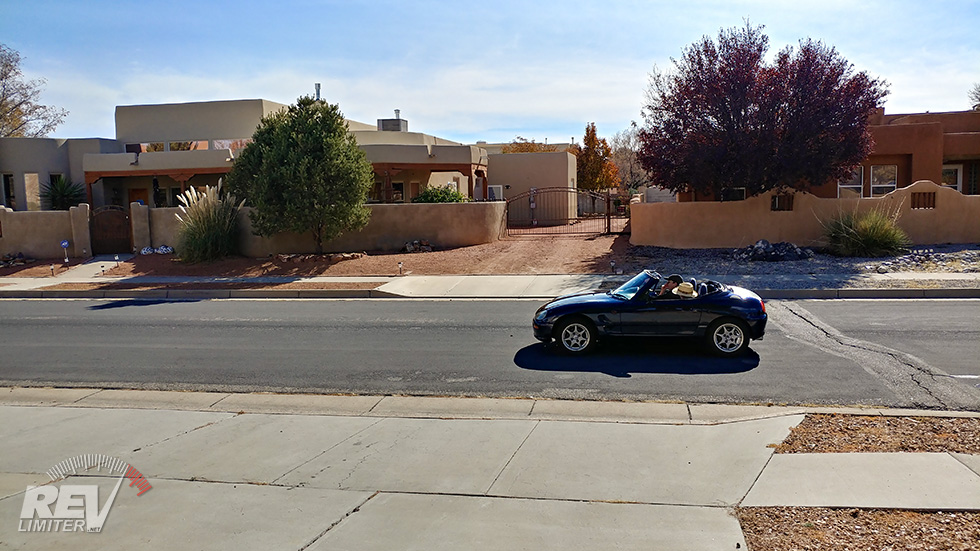
Cap with the top down.
Last December, I brought Ramona home. And she’s great, don’t get me wrong. She’s a 2019 ND and is… almost perfect. While there are many projects I can and will do, she’s new. Everything works well. She’s fantastic. Really… she doesn’t beg for or inspire many in the way of car projects, at least not for now.
In contrast, Cap has almost everything going for him – he’s old, he’s mostly stock, and he’s new to me. Parts are a bit rare since the Cappuccino was never in the US, but that won’t be slowing me down much. There’s a TON of projects I can do with this little car.
But first, I had to mess with the top.
The Cappuccino Top

The Cappuccino hard top panels.
By his own account, the importer had never removed the Cappuccino’s top. That meant the top had almost certainly never been off since leaving Japan.
That meant the top had to come off. This was done within the first hour of Cap being at home.
The three panels above are what constitutes the Cappuccino roof.
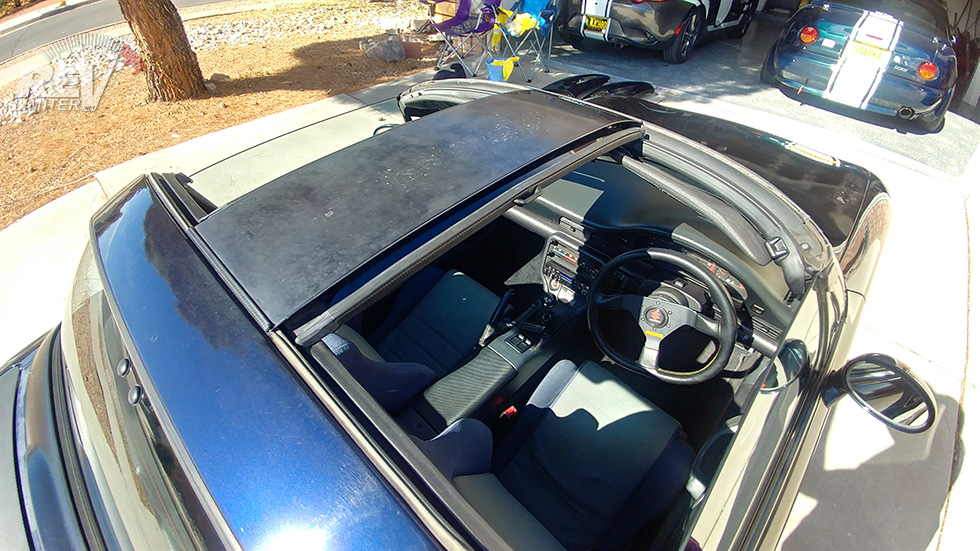
T-top.
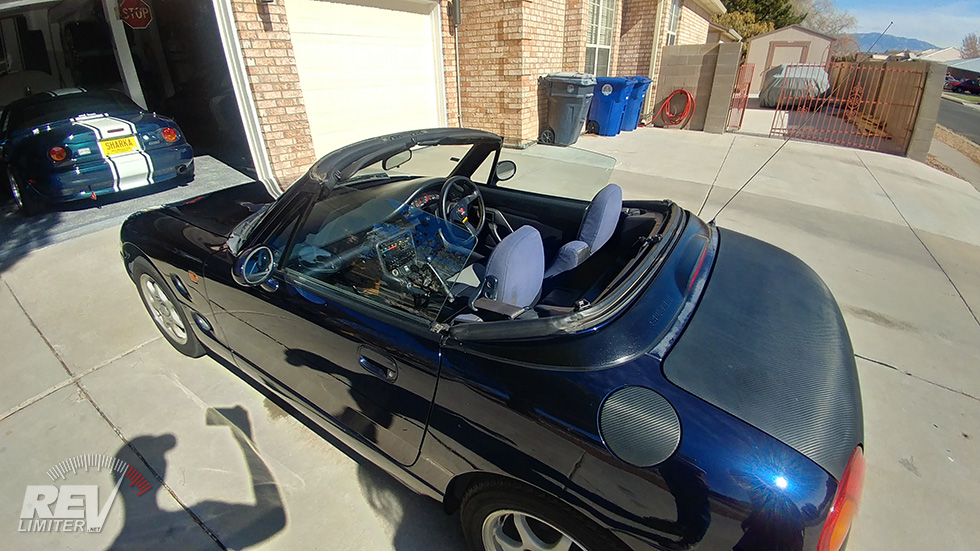
Targa top
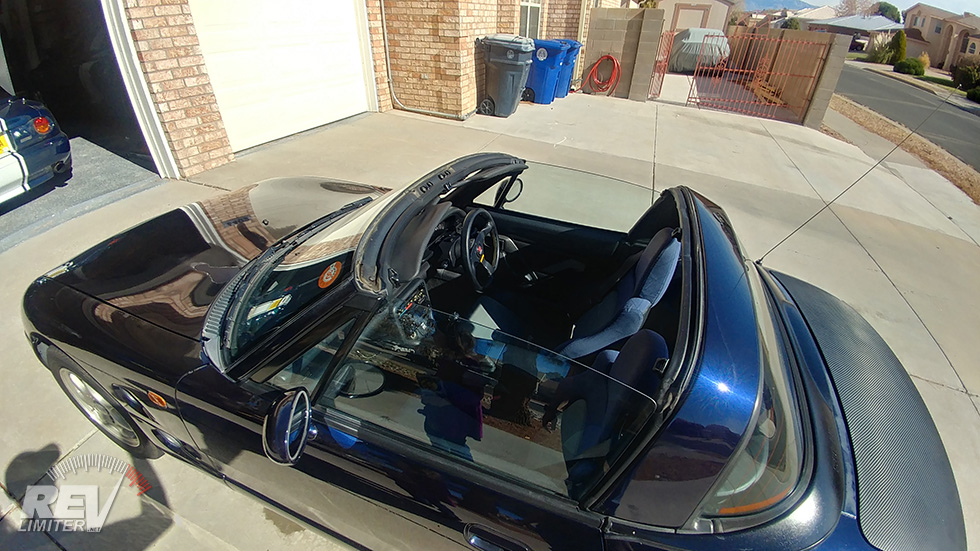
Full convertible.
In order to fit in the trunk, the Cappuccino’s roof comes apart in three panels. That gives three top configurations – T-top, Targa top, and full convertible.
The T-top is just weird. That center panel feels very strange being left up there by itself. But the car is so awesome as a Targa, I’m not sure if I’d ever voluntarily do the T-top config and drive around that way. Still, I needed a photo.
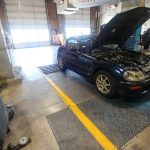
The car is great in Targa mode. I really dig it like this. It lets in lots of air and looks fantastic.
And in full convertible mode, the glass back window magically folds into the trunk area and makes the car super mega kawaii adorable.
Is it fiddly? Oh yeah. Weird? Yup. Awesome? Yeah.
After an hour, the glass folded back up, the top panel went back together, and the car became a hard top once again.
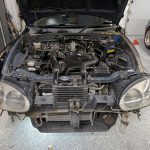
Headlight Aiming
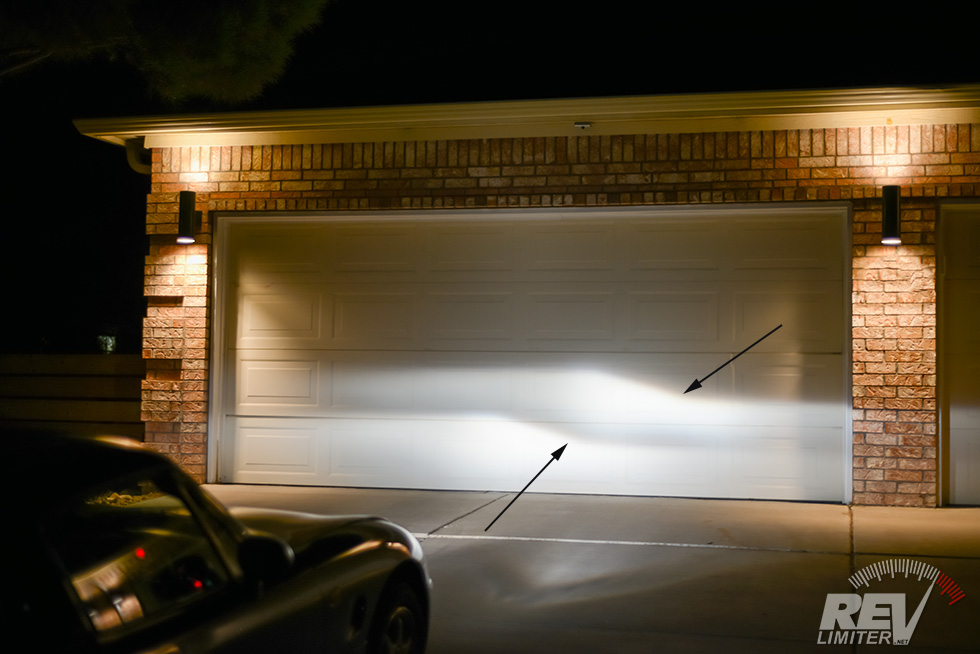
The headlight situation.
I mentioned how horrible the headlights were in the first blog post. Fixing this was high on my list.
Note the pattern on the garage door. The left light was pointing downward while the right was pointing rather in the up direction. This was much worse while driving down the street. The right light never really hit the road while the left hit the road right in front of the car.
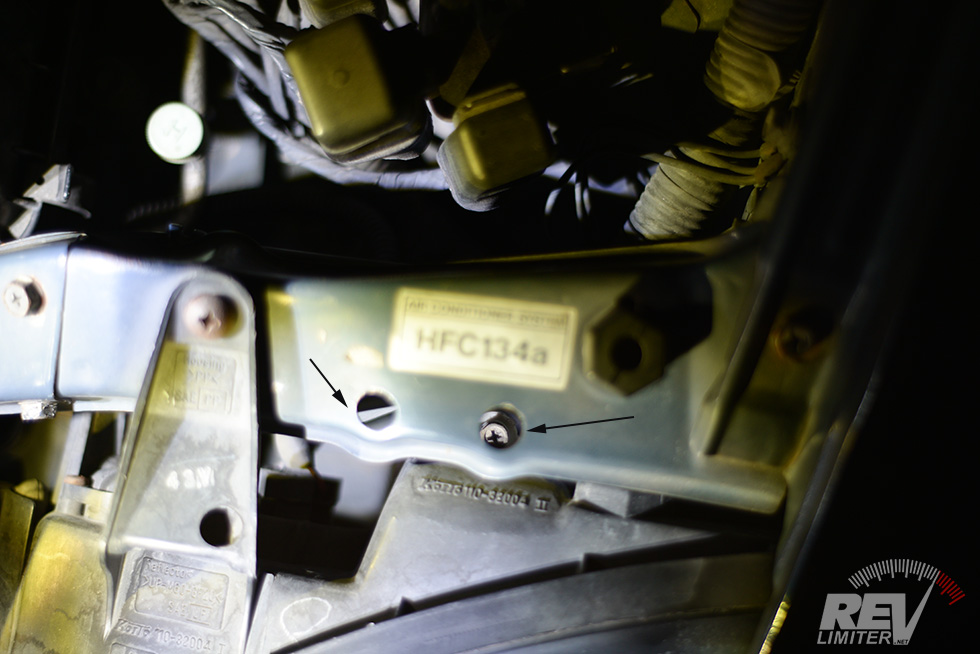
Headlight adjustment.
I couldn’t find any instructions on how to aim the headlights online. But headlights are pretty simple creatures and the Cappy is a very simple car. I started looking for screws to turn.
There’s two access holes in this front cross brace and a screw under each. Both screws seem to adjust the headlights up and down… which is strange. I expected one to move it left and right which doesn’t seem to be the case.
I mostly turned the one that’s in focus in the above shot and was able to get the lights at the same level. While they’re the wrong pattern for a left hand drive country, they’re now aimed decently and seem to not bother oncoming drivers. They’re not that bright and will likely be changed out for something better in the near future.
But the lights are now aimed!
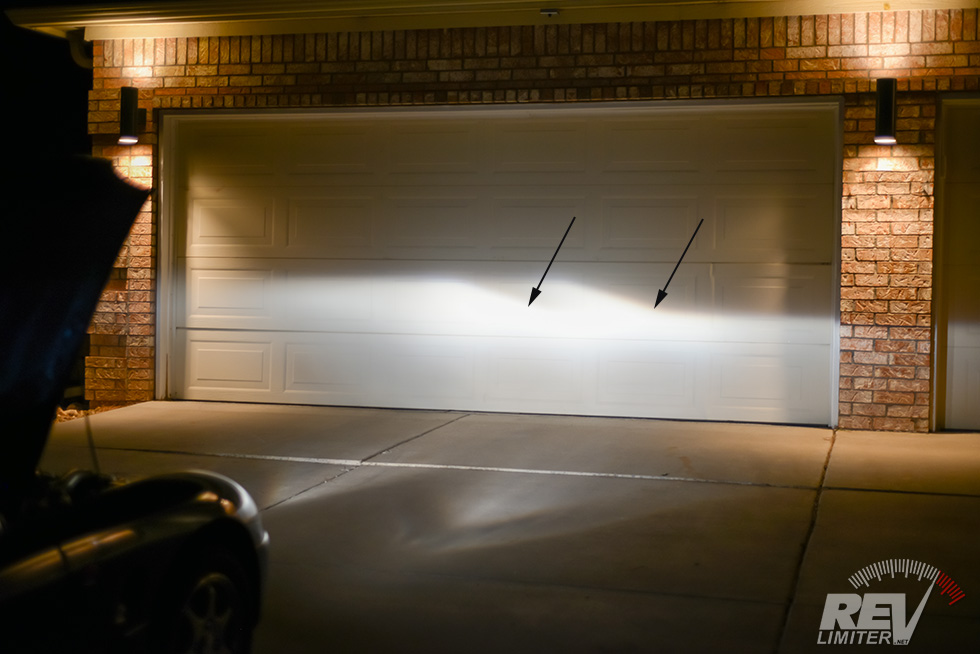
Fixed!
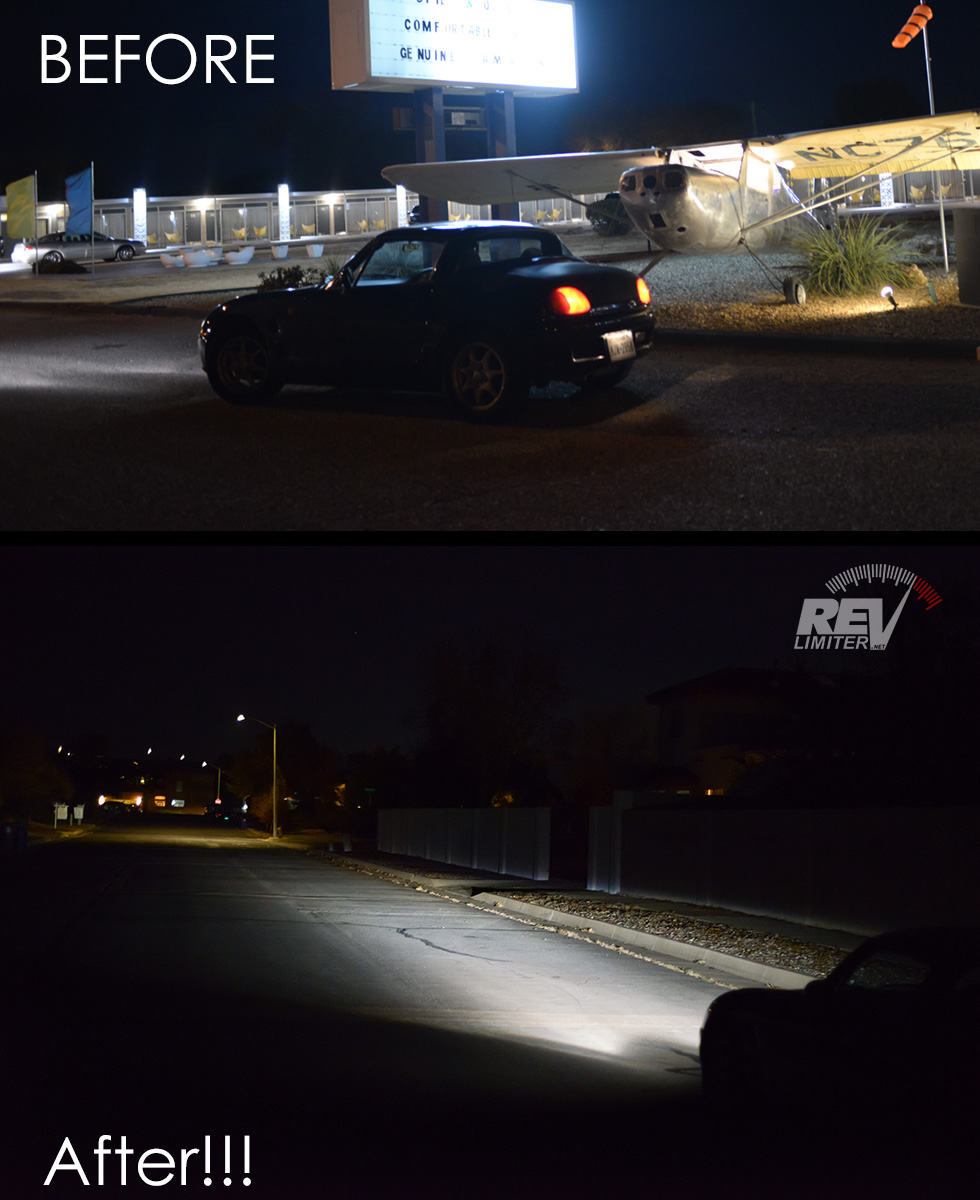
Before and after.
I didn’t have a great before shot, but the top one in Tucumcari tells the story. That light was aimed right at the ground. Now they at least light up the road in front of the tiny roadster.
Dongle Reduction
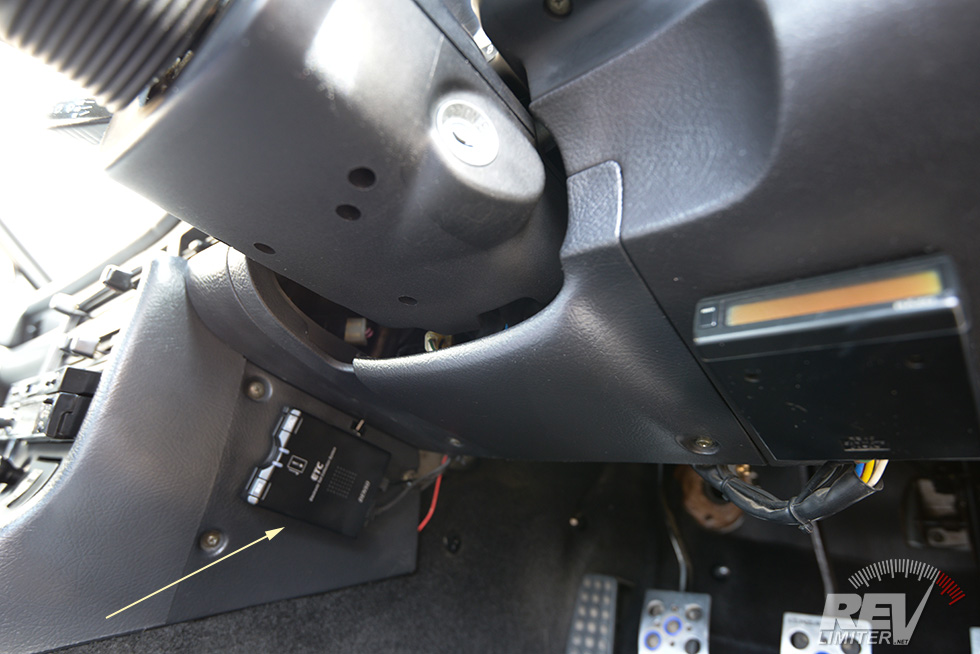
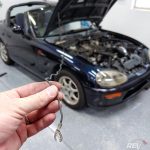
JDM toll card reader.
This little thing next to the driver’s left knee is a Japanese toll card reader. When you turn the car on, a very nice lady tells you there’s no card inserted. In Japanese. At top volume.
I was actually going to live with this for a while. It was charming.
And then I saw the wiring.
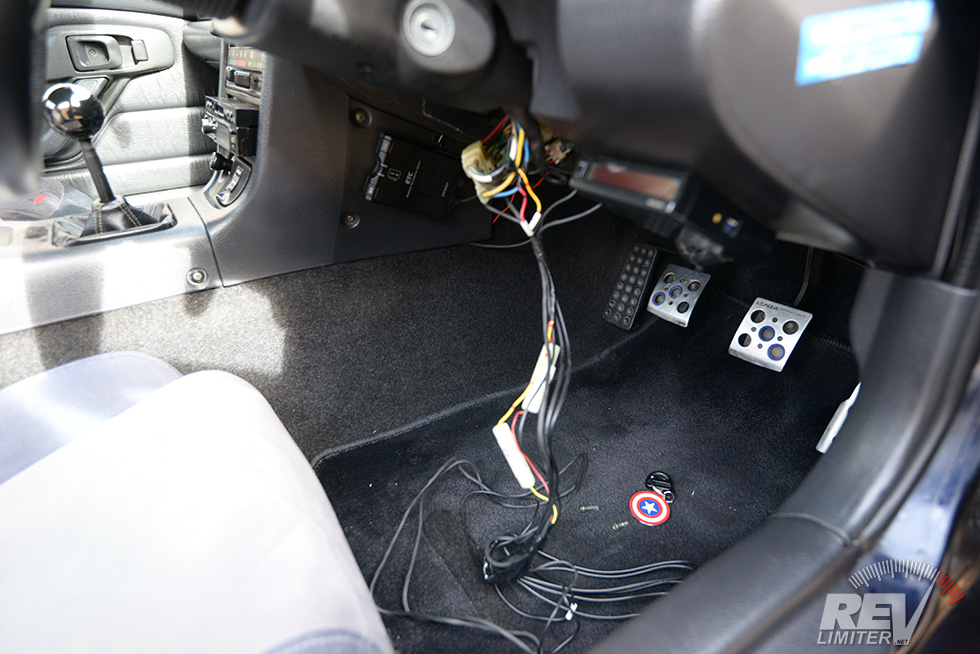
The wiring.
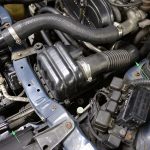
See, I started to take the dash apart so I could change out the gauge faces. The first step is to tilt the steering column down… but Cap doesn’t seem to have a tilting steering column. So I removed the small panel under the wheel to search for a lever.
And this wad of wiring popped out.
It was the size of a fist. A balled up fist worth of black 18 gauge. I pulled off a wrap of electrical tape and it just unfurled.
Removing the very nice Japanese lady from Cap became a high priority.

3 Cappuccinos worth of wire.
Fortunately for me, the wiring was very easy to remove. Nothing was hidden. The toll reader grounded to the steering column and it got power from the ignition circuits.
SIX INCHES AWAY.
Each wire was literally the length of the car. The ground wire, the power wire, and the signal wire to the transmitter glued to the windshield – all the length of the car. All running to the toll card reader a hand’s length away.
The previous owner who installed the reader didn’t worry about shortening the wires to it. They just balled them up and shoved them under the dash.
They are now removed and Cap is a little bit lighter.
Sunstorm Gauges!!!
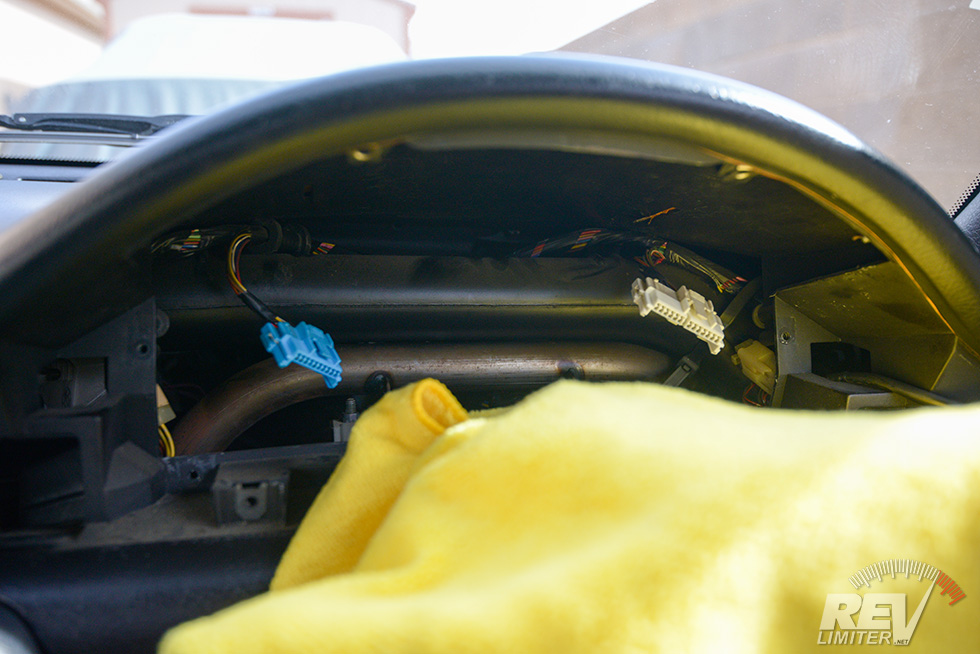
An empty dash.
I used my own how-to (written by Dustin) and tore into the Cappo dash. The cluster wasn’t as easy to remove as a Miata one, but not too difficult either.
20 minutes of work had it out and no 25 year old plastic broken.

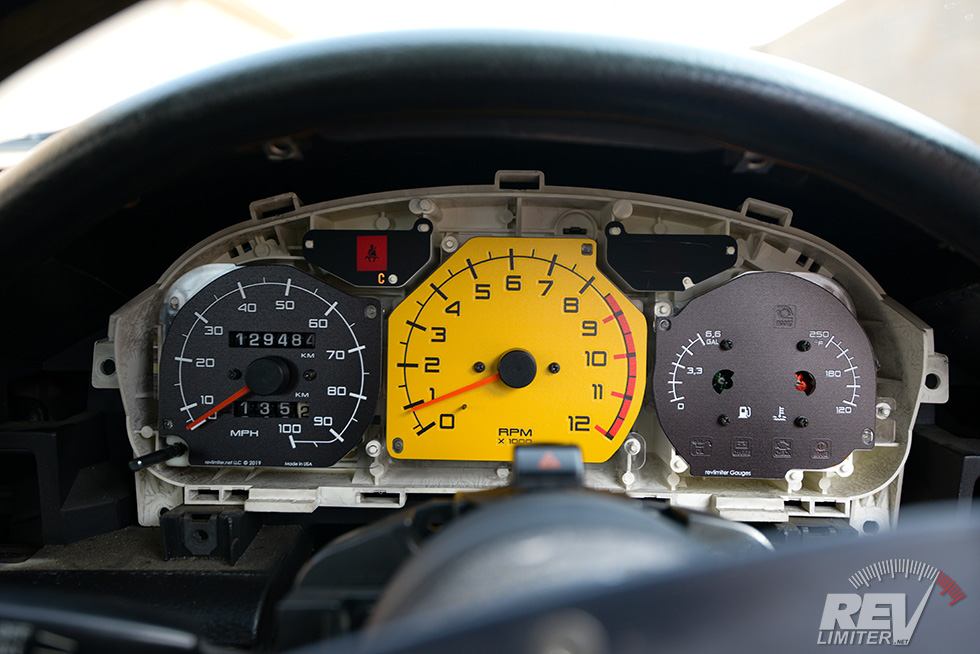
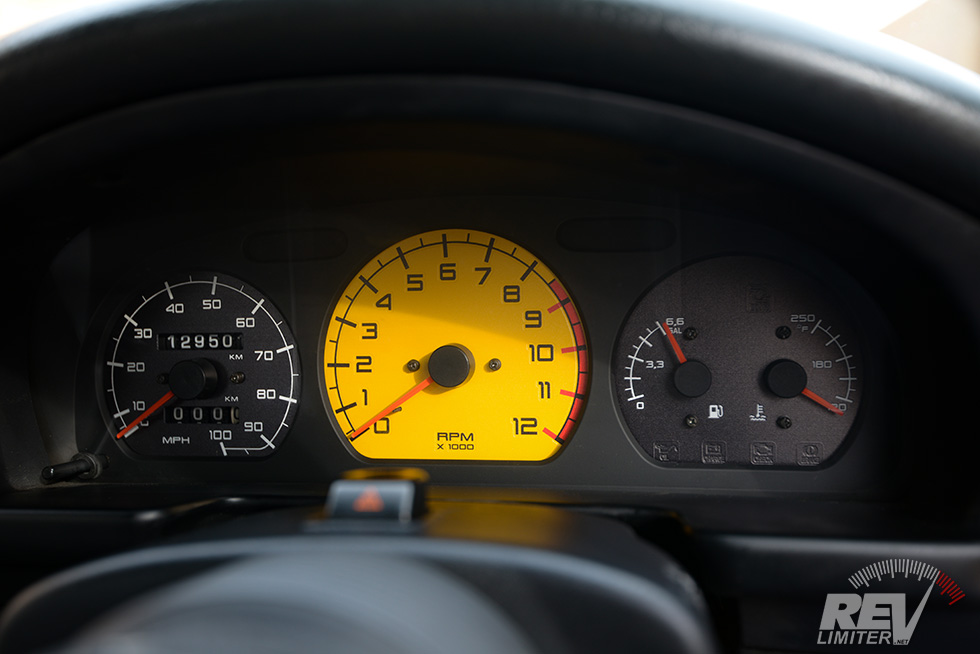
BAM! Gauges.
Once the cluster is out of the car, the rest of the process was easy. The needles are easy to remove from the Cappuccino gauges. The gauge faces come out easily. No problems at all.
I’ve been daydreaming about what gauges I’d put in my Cappuccino for quite a while. Things have been crazy busy in the shop, so I wasn’t able to design a new set for the car. The Sunstorm design seemed like a good place to start, so that was my pick for Cap’s first gauge set.
Calibrating the needles.
Done!
Unlike the Miata, none of the needles can be calibrated without the car running. But there’s only four gauges. That’s a fair trade off, yes?
My daughter helped me calibrate the speed. She read the GPS speed readings while we cruised along on back roads free of any traffic. I got the speed dead on after three attempts. No problems there.
Setting the speed warmed up the car and it was idling under 1000, so I set the tach needle and revved it up to the 9500 fuel cut. The needle hit 9500 perfectly, and that job was done.
Then I popped the temp needle on under the halfway point and verified it didn’t raise or lower while we drove to a gas station.
Then I filled the tiny tank (under 2 gallons needed, lol) and drove back home where I set the fuel needle a bit above full. I then drove the car another couple kilometers to verify the fuel needle wasn’t still moving upward.
And for all that work, I get a spiffy yellow tach, speed in miles-per-hour, and a huge smile on my face every time I glance down at the gauges.
Small Details

Retro shift plate.
The car came with a very-90s Razo sticker showing the shift pattern. It was peeling off, so I replaced it with one of my own in the same spot. I think it looks much better and it’s, well, not peeling.
Honorable mention to that Razo shift sticker. It was extremely useful during those first few hours of Cappuccino driving. My brain had a hard time keeping reverse in the right spot.
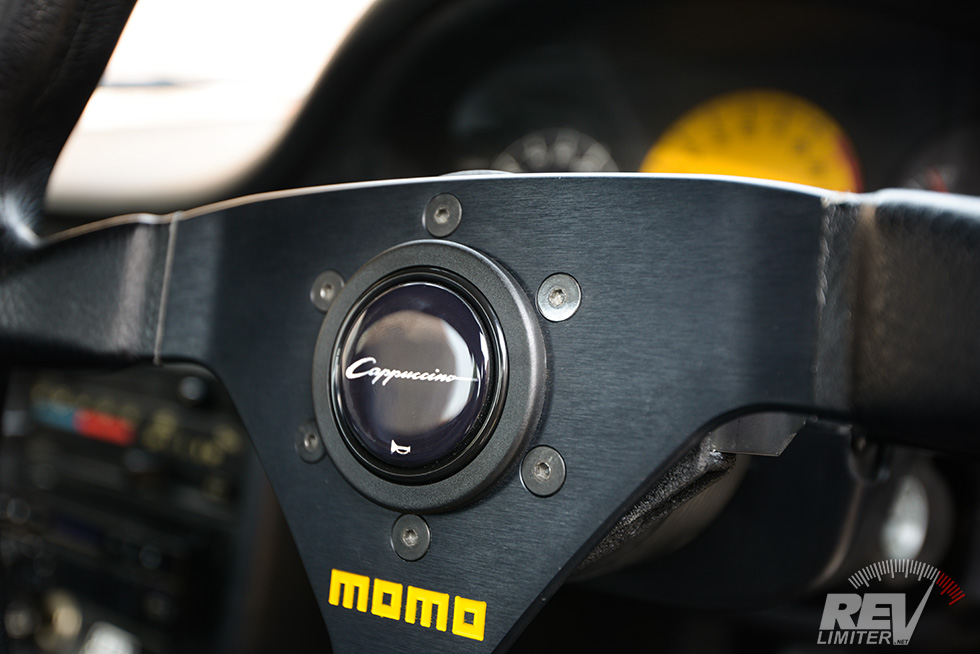
A special horn button.
Cap deserved a special horn button, so I cooked up a batch of these featuring the vintage Cappuccino logo in black and chrome.
They’re in the store now along with a foil red and chrome Suzuki horn button. Because one horn button didn’t seem like it was enough. I wanted to celebrate the little car a bit.
Next???
I have to get the car registered and plated. That’s gonna take a bit of work. Fingers crossed that Cap gets a plate easily!

That Targa is so cool. Wish there was a good top out there for the Miata with it!
I’ve dreamed of hacking up an OEM top for a targa panel for ages. I just can’t force myself to actually buy a top and do it. But I’m right there with you. I’d love a pre-done targa top for an NA/NB.
guess im going shopping when im off work.
WUT? Noooooo