
Yoink.
Not to spoil the ending but… Bucky’s back baby!!!
Apologies for the quality of the following blog post. This is basically just to document the work I did. No fancy how-to’s and not much in the way of quality photography. TONS of pix, but just documentary stuff.
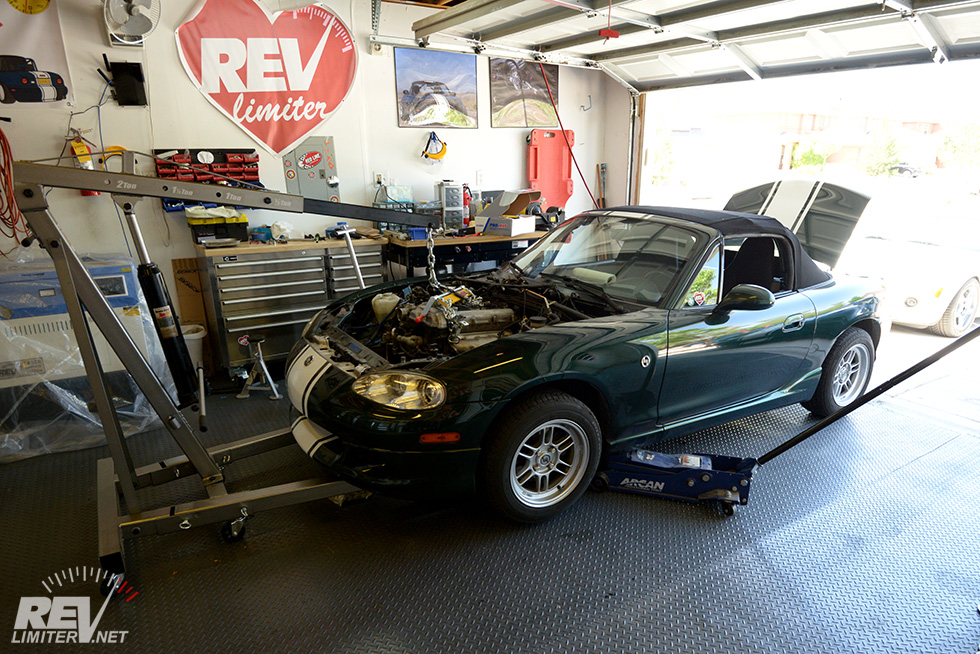
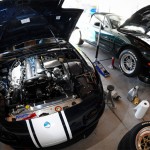
Anyways, here’s how I fixed Bucky’s cracked oil pan. Arguably there are much faster and easier ways to do it, but I chose to pull the engine.
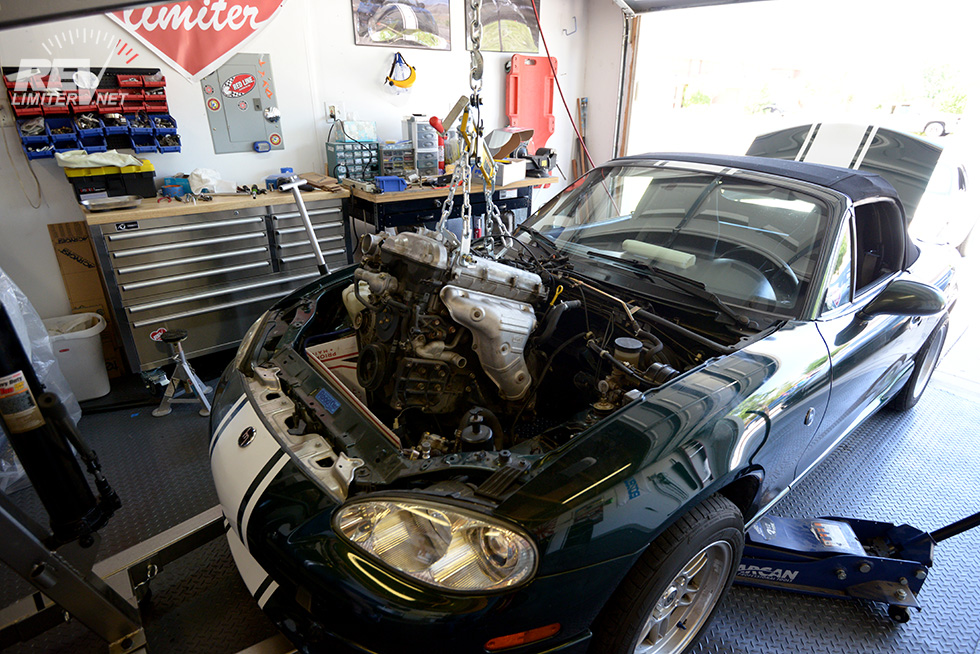
Engine + transmission out.

That floor SUCKS.
One thing I learned – my pretty diamond plate floor is truly horrible for actually doing much in the way of garage work at all. It doesn’t really allow things to roll over it… and if that THING weighs a few hundred pounds, it doesn’t want to roll at all. It’s comfortable to work on, sit on, lay on, etc. But rolling engine stands or hoists? Nope.
The floor doesn’t hold up to oil laying on it either. I had a puddle of oil under the car for a couple weeks without thinking anything about it. And that part of the floor is now permanently wrinkled and stained. Sigh.
I’ll worry about the floor later.
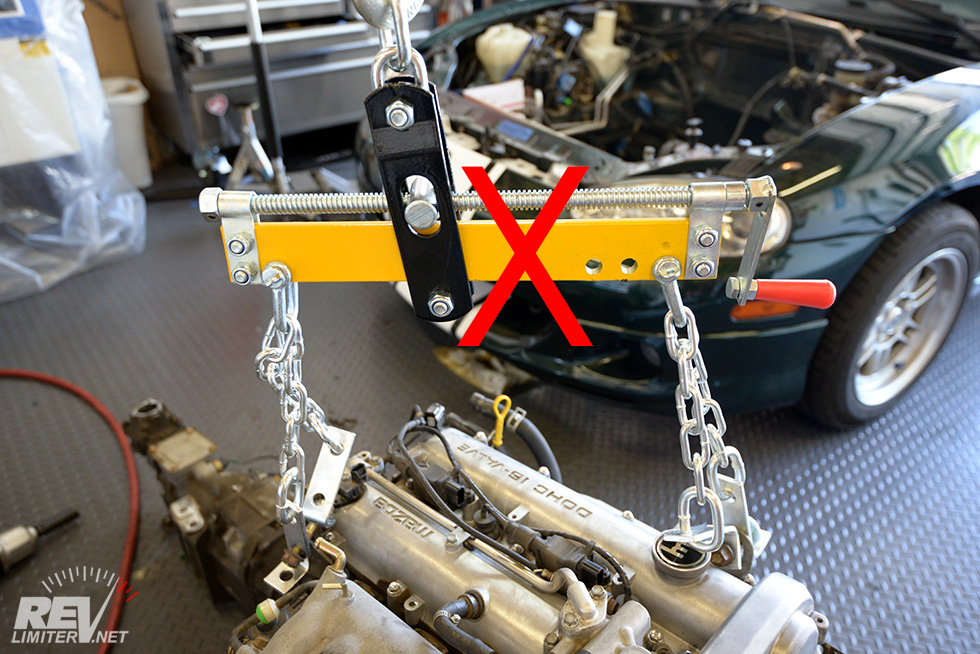
This thing sucks.
I hadn’t pulled an engine for a while and couldn’t find my old load leveler. I went to Harbor Freight and bought a new one – this one. This is the “small” load leveler. They had two models – one for $30 and one for $40.
This is the $30 model. It sucks. Do not buy it. It binds up without much load on it regardless of how much you lubricate things. It’s just not meant for leveling a whole Miata engine/tranny combo. Just too small.
The attachment method sucks too.
Just say no. Get the $40 one. It’s blue, longer, and works great. (I own it now too.)
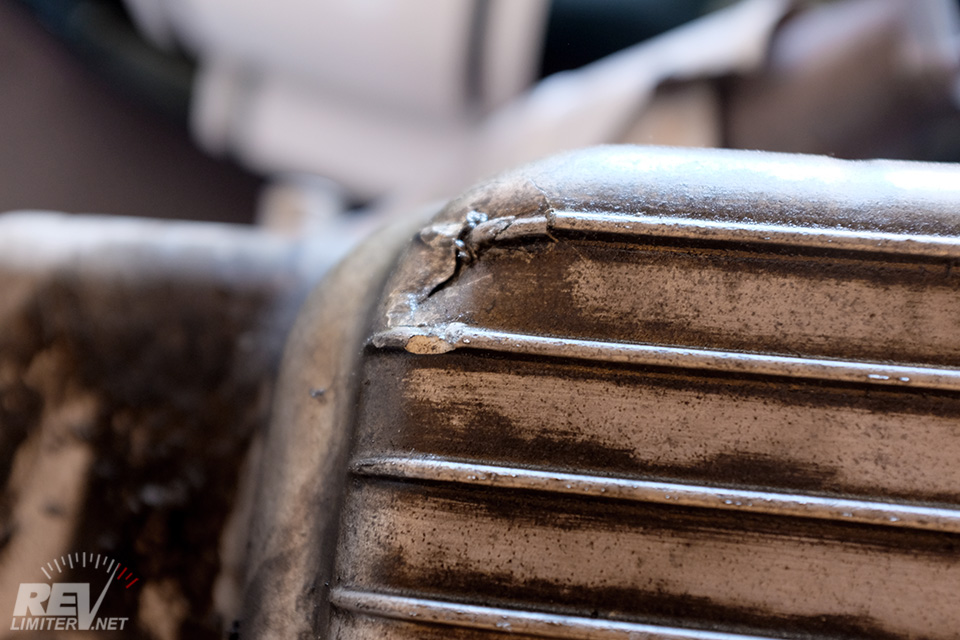
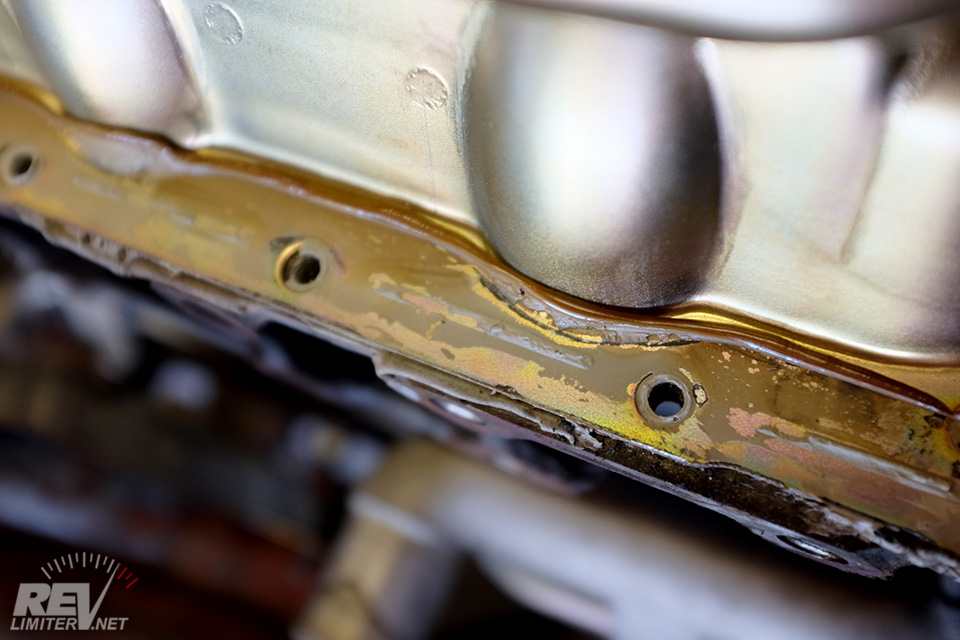
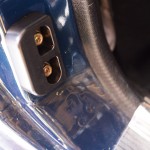
The crack.

From the inside.
Doesn’t look bad from outside but you can see the damage from the inside very well. At least all of the metal appears to be present. We’ll find out if a big chunk is hiding inside the block somewhere.

Unbolted.
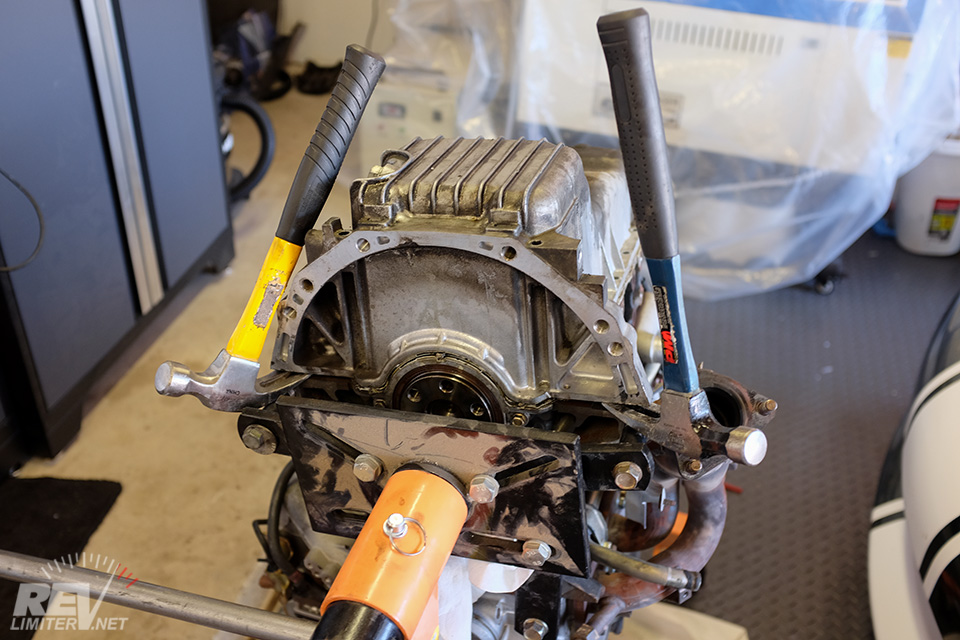
Cracking it free.

Do you even hammer bro?
Yup. Claw hammers – two of them. It takes a bit of leverage to get the oil pan free. The thing is pretty well sealed with the RTV around that pan. Lots of force needed.
Advice on MT was pretty much “Pry until you think it’ll break, then pry more.” And that’s what it took to get the pan free.

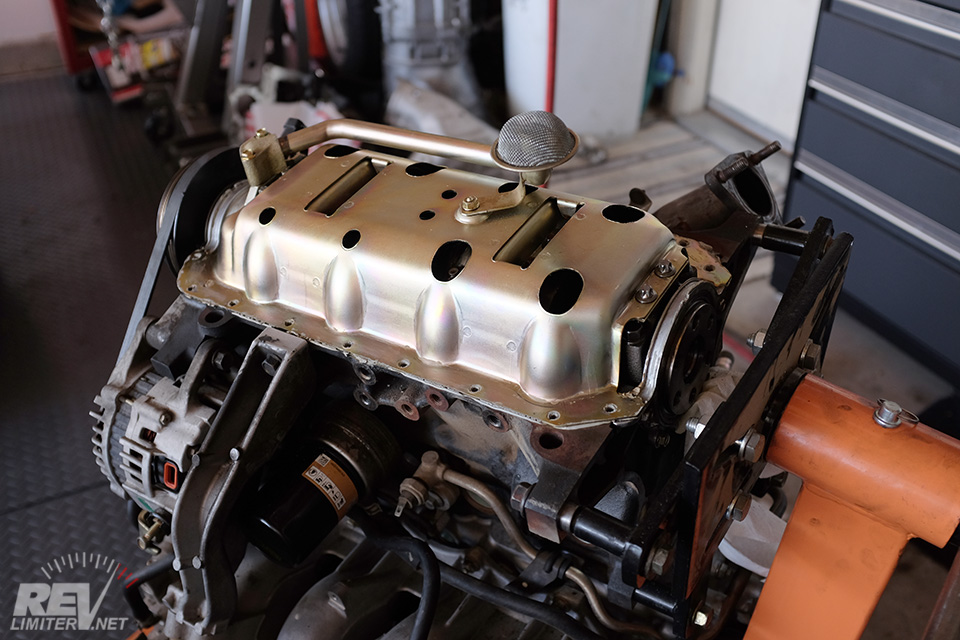
MBSP.
01-05 engines have a Main Bearing Support Plate, or MBSP. It’s different than all of the other Miata motors and requires a unique oil pan to make it work. The spare 94-00 oil pan I had didn’t work. That meant buying a new pan from Mazda.
*sob sob sob*
Pre cleaning.
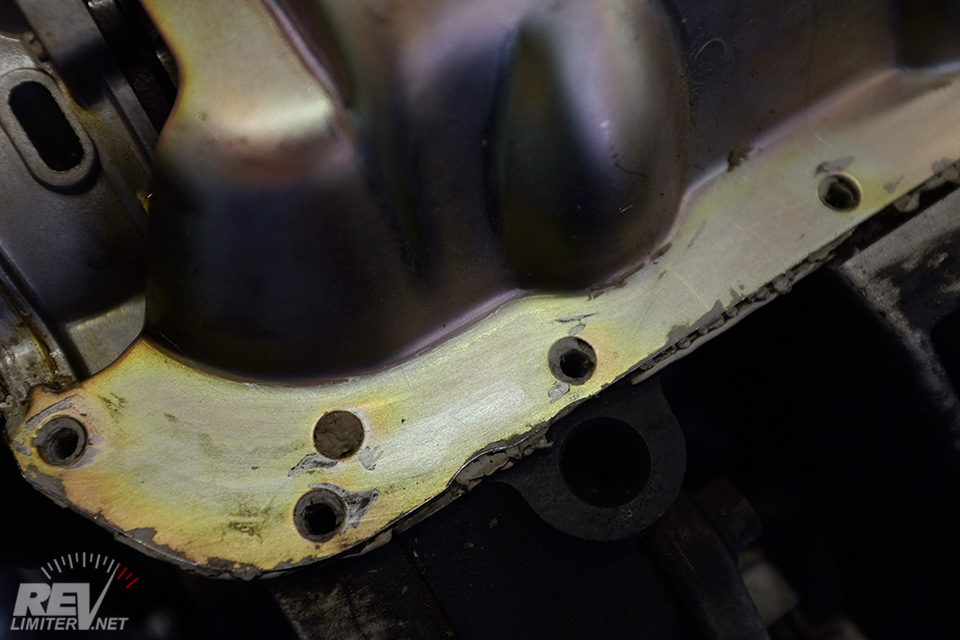
Post cleaning.
Ready for a new pan.
Since I only needed to change the pan, I left the windage tray and MBSP in place. No need to get them out anyway.
An hour of careful cleaning with a nylon brush got the engine ready for more gasket goop.
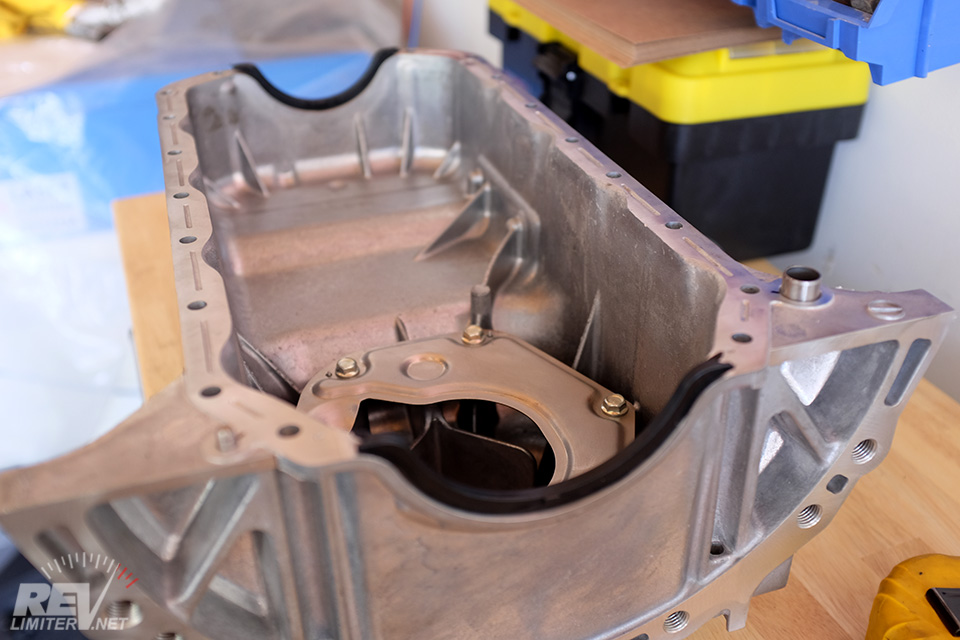
New front and rear seals.
New gasket goop.
The gaskets only go on one way. Pretty pleased about that. No chance on screwing it up. Though they go on the windage tray and not on the pan as seen in the top pic.
I went to the auto parts store and got a new tube of ultra grey gasket goop. I was rewarded with a new silver Matchbox Miata for my efforts! Pretty glad I decided to not just use the unknown-age gasket good that was in my storage locker.
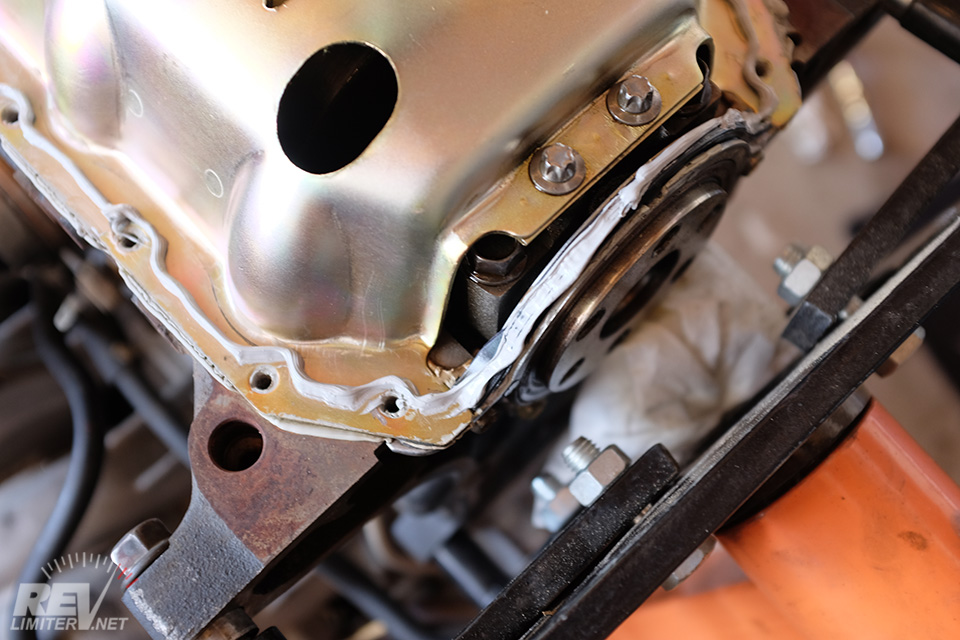
One unbroken string of goop later…

NEW PAN!

Even put the VIN plaque in place.
The whole pan replacement procedure was only about 90 minutes of work. Most of that was removing the old gasket goop from the windage tray. It was actually very easy. I can kinda see why folks do this with the engine in the car and just wiggle it from around the subframe.
I needed to do a few more things though…

Such hoses.
Bucky’s coolant hoses were all original. I think I replaced the top one when I did a timing belt change, but all of the rest were 15 years old. 16? Pretty old. Those tiny ones were worrying me. So out they came and on went new ones.
Props to Treasure Coast for selling a full set of Miata coolant hoses. No struggling with multiple part numbers, just one stop shopping. (I found this after discovering Mazdaspeed Motorsports no longer sells them.)
BAM!

Boom!
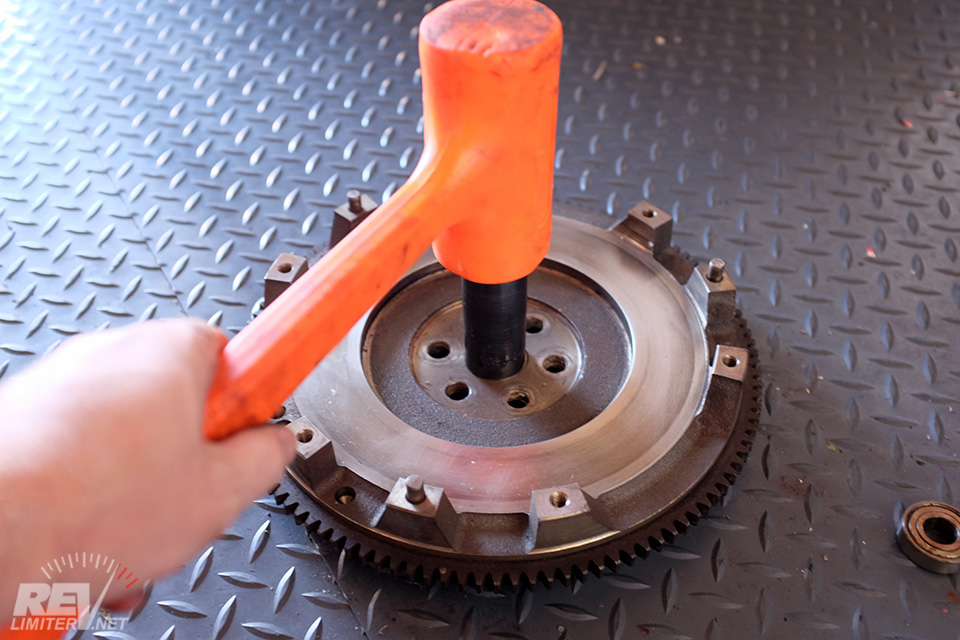
Bucky’s nose bearing was noisy. And… it had been noisy for like 2 years. At first, I could only hear it at like a drive-through ATM at first with a lot of stuff for the squeak to echo off of. But over 2 years it grew louder and louder. Any time I was driving next to a curb I could hear it screaming. It was going to eventually seize and strand me on the road somewhere.
Fortunately, a reason to get the engine out of the bay presented itself.
Might as well throw another stock clutch at Bucky while I had things out.
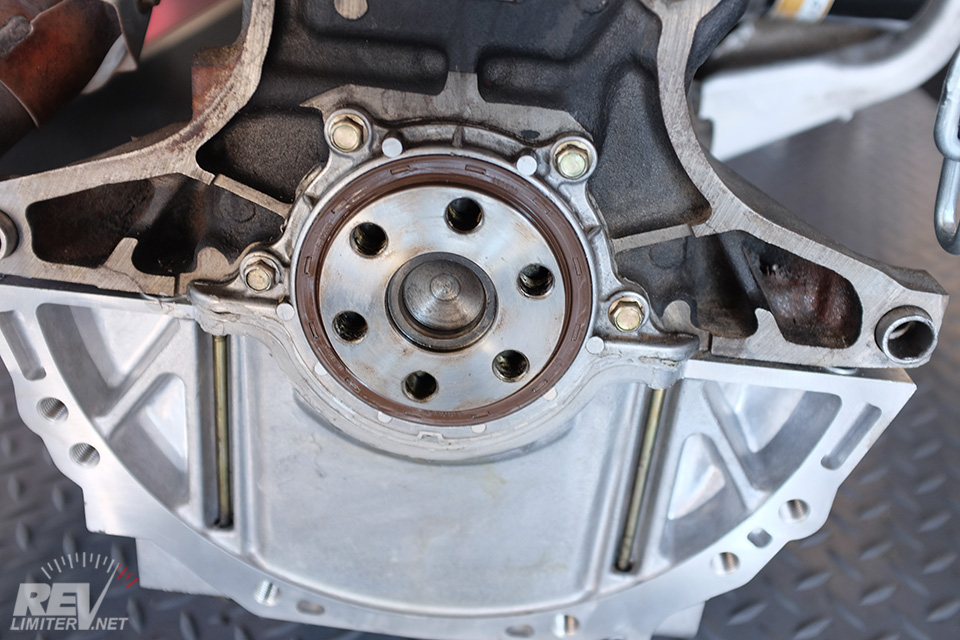
new rear main seal.
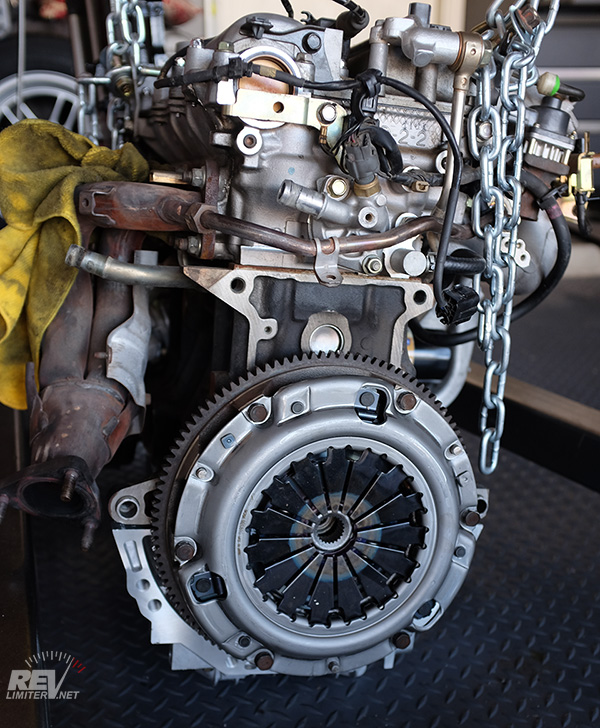
New clutch.
I bought a new rear main seal along with the clutch. Pretty pleased about that too. There was a nice oil trail coming from the old one that I only discovered when it was time to yank it out.
I think the Stormtrooper needs a new rear main seal as well. I’m very much not looking forward to that.
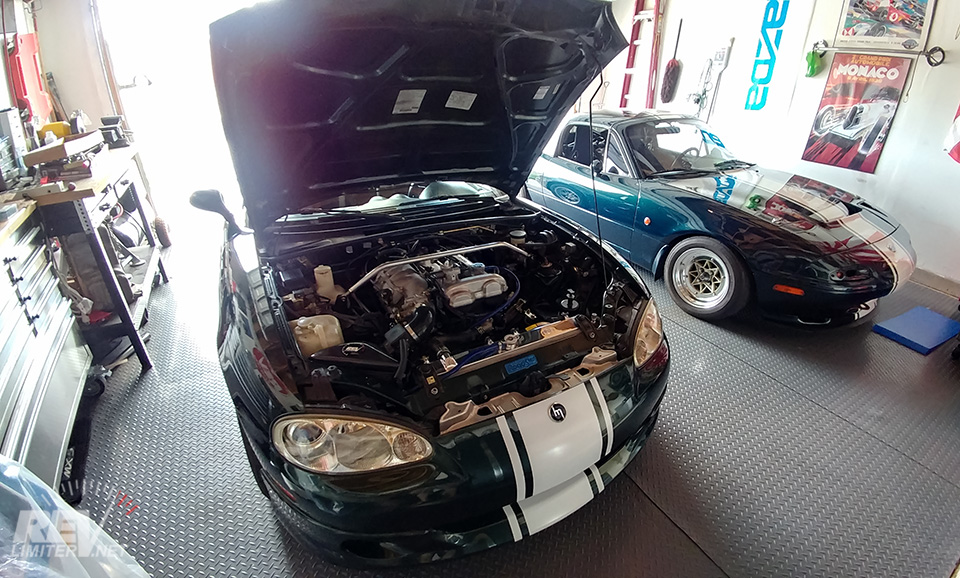
DONE!!!
Though I managed to not take a photo, Bucky also got a nice new CSF replacement radiator from Goodwin. It’s something like 2.5x the thickness of the stock unit and has no plastic end tanks. That was another part that was causing me stress. 16 years on a stock Miata radiator is pretty good.
So the total work included…
1 new oil pan
– including oil pan gaskets
– gasket goop
– Matchbox silver ND Miata
1 new OEM clutch kit
– including pilot bearing and throw out bearing
– new slave cylinder
– new small OEM shift boot (old one was trashed)
– new rear main seal
Big box of OEM water hoses
– 4 small hoses
– 2 large hoses
– 2 firewall hoses
CSF 42mm 2 row radiator
and some fluids
– 3 quarts of Ford Motorcraft transmission fluid ($$)
– clutch fluid
– which was also shared with the brakes, which got bled
– fresh 70/30 water/coolant
– fresh oil and filter.
And after all of that, Bucky drives like a new car. It’s astounding how well he runs. I’m ashamed to say there was probably a lot of overdue maintenance that got done with this oil pan job.
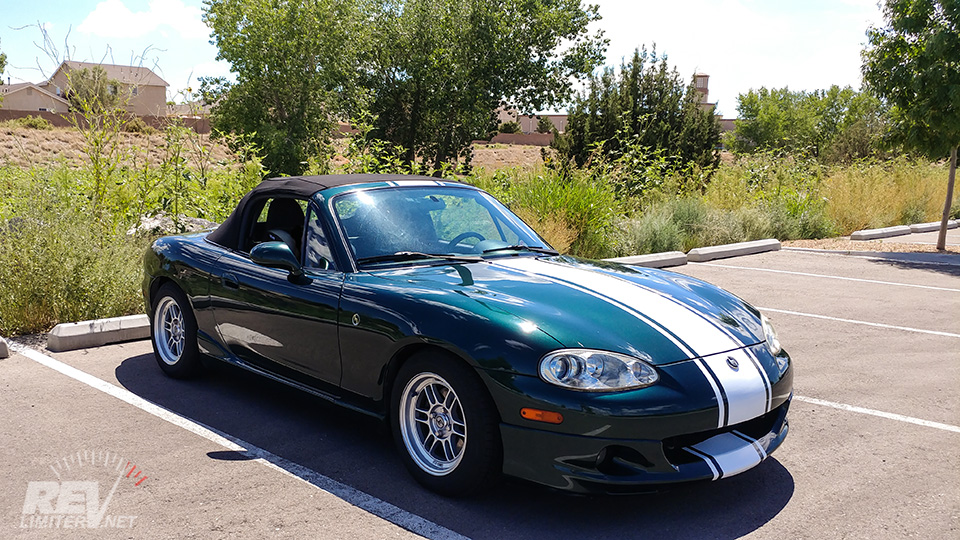
Ready for action.
Bucky power!
Did I mention the engine fired on the very first try? Yup. I’m pretty proud.
So… anyone got a garage floor suggestion?


For your floor, have you looked into epoxy resin ?
http://allgaragefloors.com/epoxy-flooring/
Very nice! I’m actually in the middle of a pilot bearing (nose bearing) swap right now. Do you remember what size socket it was to press the new bearing back in? I want to make sure I have the right sized one.
Bucky looks great! Hopefully it’ll go on to give you many more miles of smiles.
Sorry, but I don’t remember at all. I just matched a socket up to it. It was pretty big. Maybe 25mm?
For the garage floor coating I recently did one of those home epoxy coat kits you can buy at Lowe’s/ home depot, etc. My garage is about as big as yours and I used the kit designed for a 2 car garage. The only problem is to do the whole floor you have to strip your garage and that can be a pain. There’s also professional people who will do the epoxy job.
Or you can buy the rubber mat tiles and build up a new floor that way. I think you can order them off Jegs. It’s that checkerboard mat you see on EVERY car/ garage show on TV. You just assemble the tiles and you’re good to go.
I’ll probably do the epoxy floor thing. So over not being able to roll anything on the floor.
You have a lot of experience with Treasure Coast? I’m always looking for new OEM and used parts vendors!
Nope. I’ve only ordered from them the once. They seemed quite good though!
Had our garage floor coated in a Porter epoxy as soon as we moved in. First thing I did was sweep up all the dust, vacuum out around the edges and in the cracks, and let our painter have at it. Two coats were used.
Wasn’t what you’d call cheap, but the garage is fairly large, and the stuff takes a beating before you’ll see concrete. In four summers of working out in the garage, I’ve dropped tools, had chemicals of all sorts on the floor, and the worst damage I have managed to cause was when I dropped a subframe, it managed to chip through the epoxy. We’re talking something like 60+ lbs here, with all manner of edges to focus that energy too. Was repaired with some two -part epoxy in a tube, even I have to look to find exactly where it was…
One word of advice if you decide to go this route: avoid the color chips. Sure, it LOOKS nice and neat, but if you drop almost anything? It’s gone. Forever. Oh, and if you plan on washing cars in there, or just for safety’s sake, you might mix grit into the epoxy. The stuff is pretty slippery when wet, if it’s gritty it might be more difficult to clean up spills without tearing up your hands or rags, but if it’s not gritty, it’s like a slip & slide on, well, concrete. Ok, so that’s two words of advice.
I keep thinking about floor tiles or something like that. Epoxy would be nice, but my laser cutter can’t really be moved out of the garage while the floor dries. And Sharka would dislike it greatly as well.
I’ve been kicking myself for not epoxying the garage ever since moving in nearly 15 years ago.