
Topless Sharka
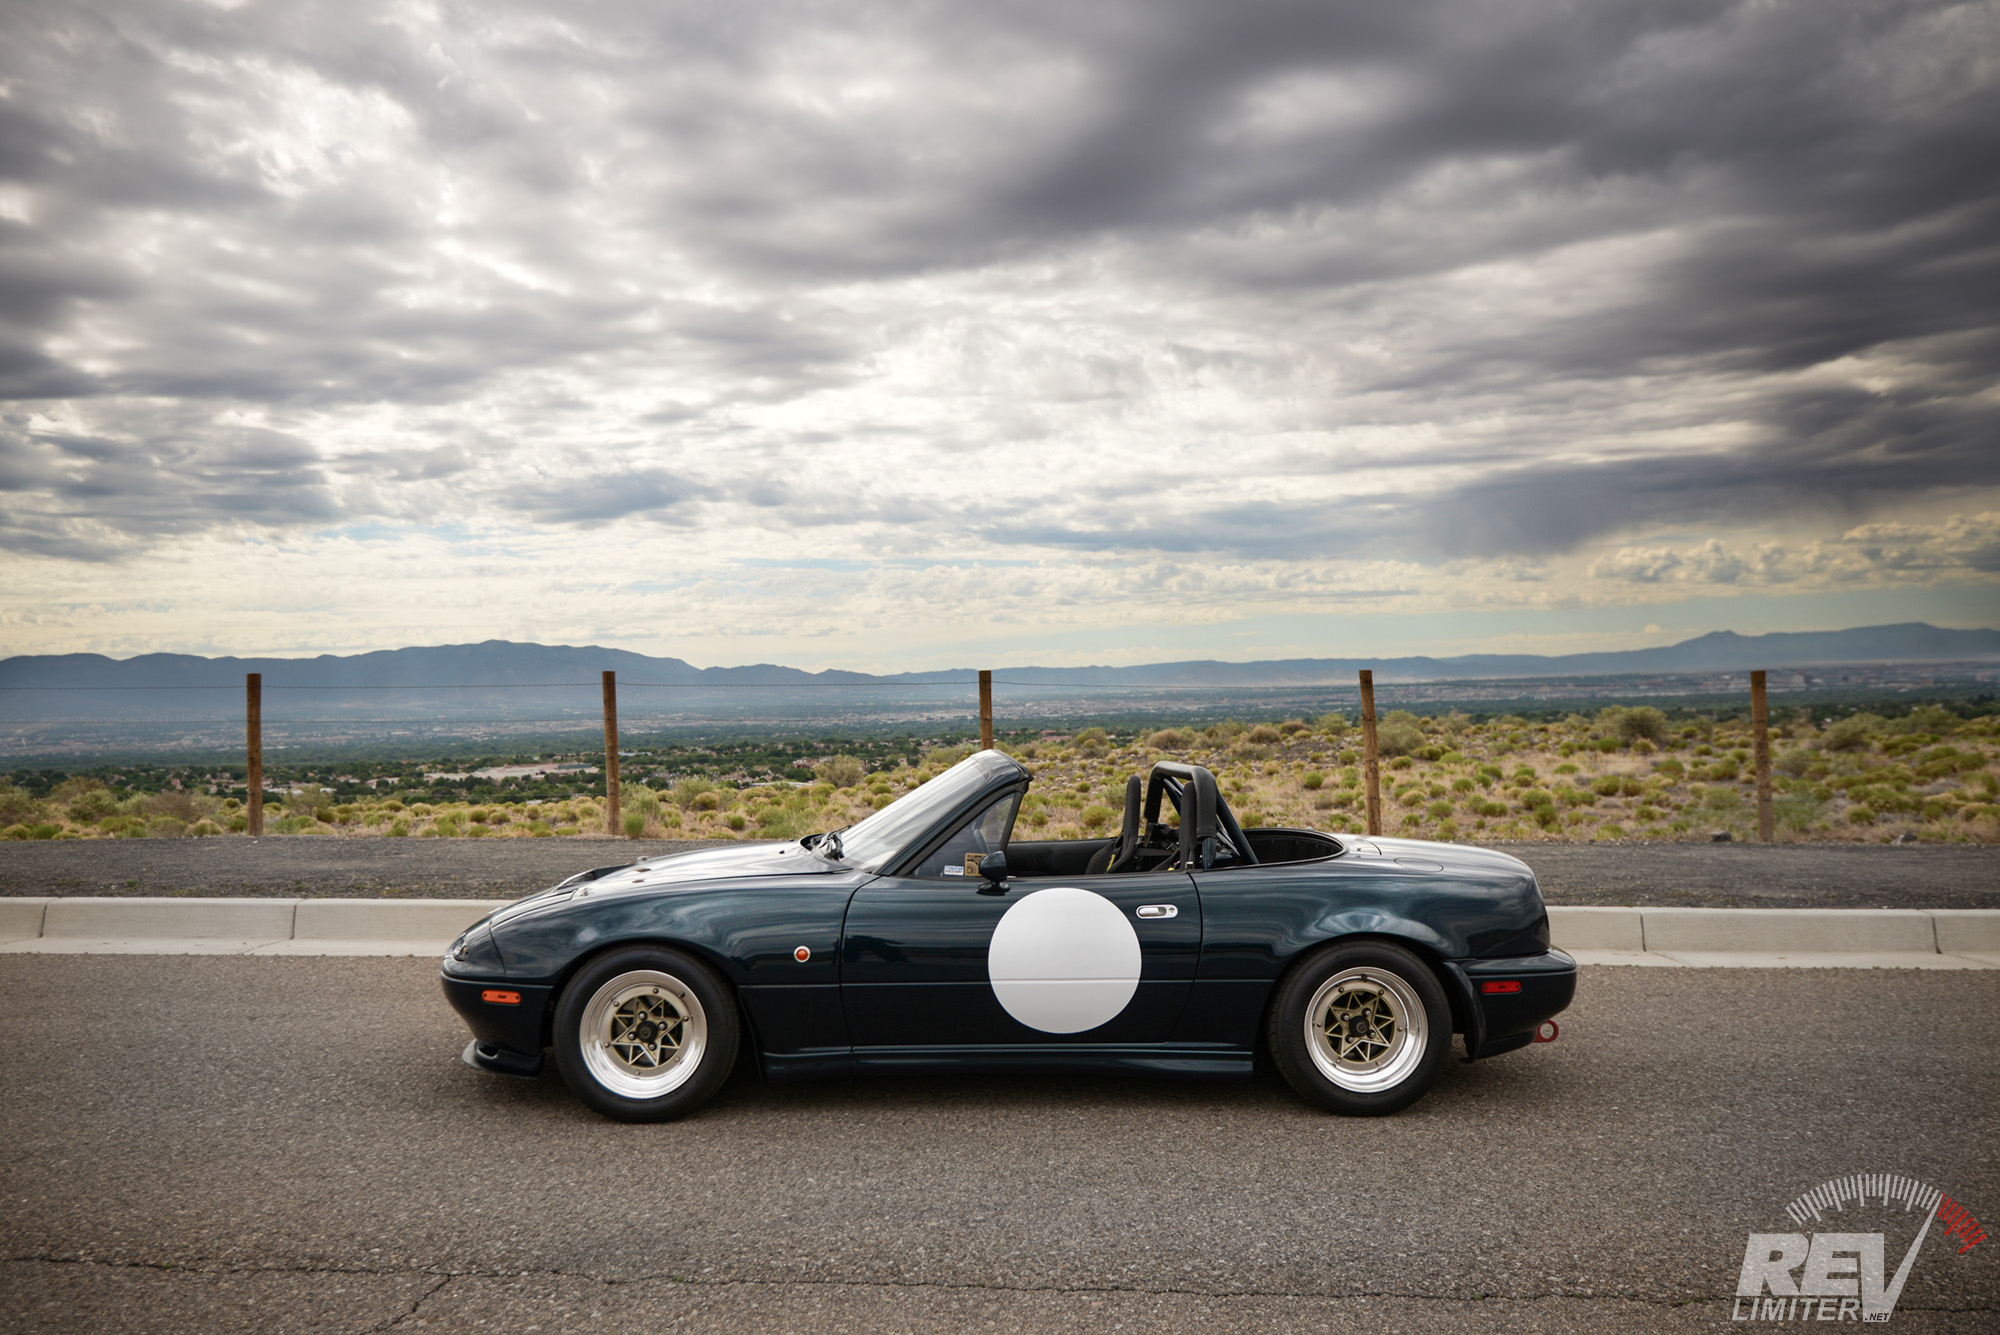
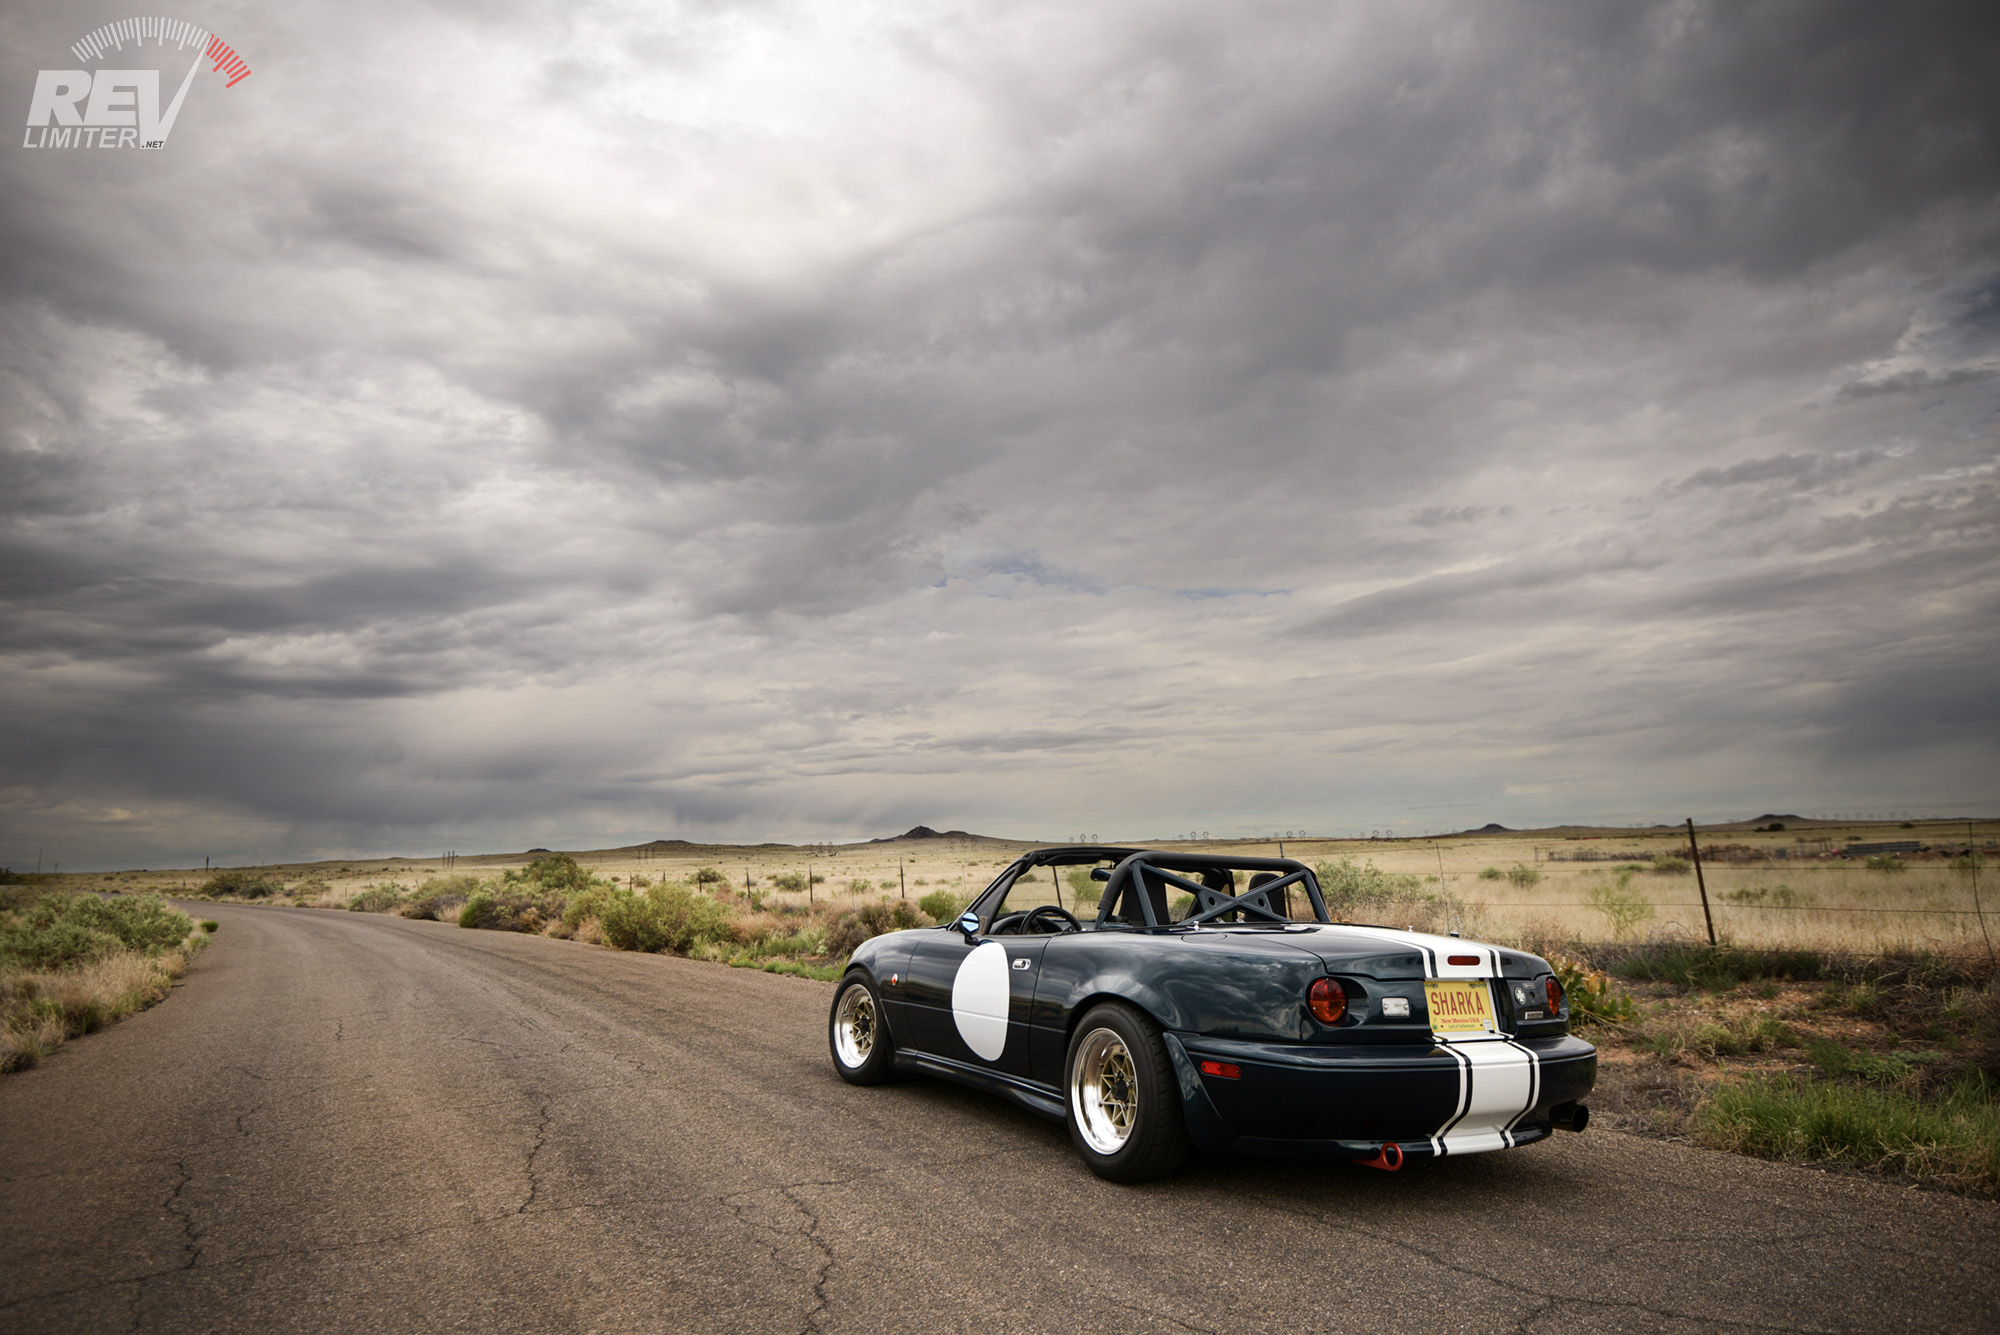
I had Sharka’s hardtop off lately to hunt down a rattle. Since I had the top off, I drove around and took some rare topless pix of the little guy. Those prompted this blog post, but my rattle findings actually gave me a purpose for blogging.
See, I had the most annoying rattle ever. Not constant, but when it happened it sounded like it was right behind my head. I searched all around in the back and around the seatbelt tower but found nothing. I decided the hardtop needed to come off.
Hardtop back legs
The back legs of the hardtop can open for maintenance. I’m not sure if I’ve ever posted pix of this before. It’s pretty common knowledge, but it’s also not obvious to a new owner that this piece can even have maintenance performed on it.
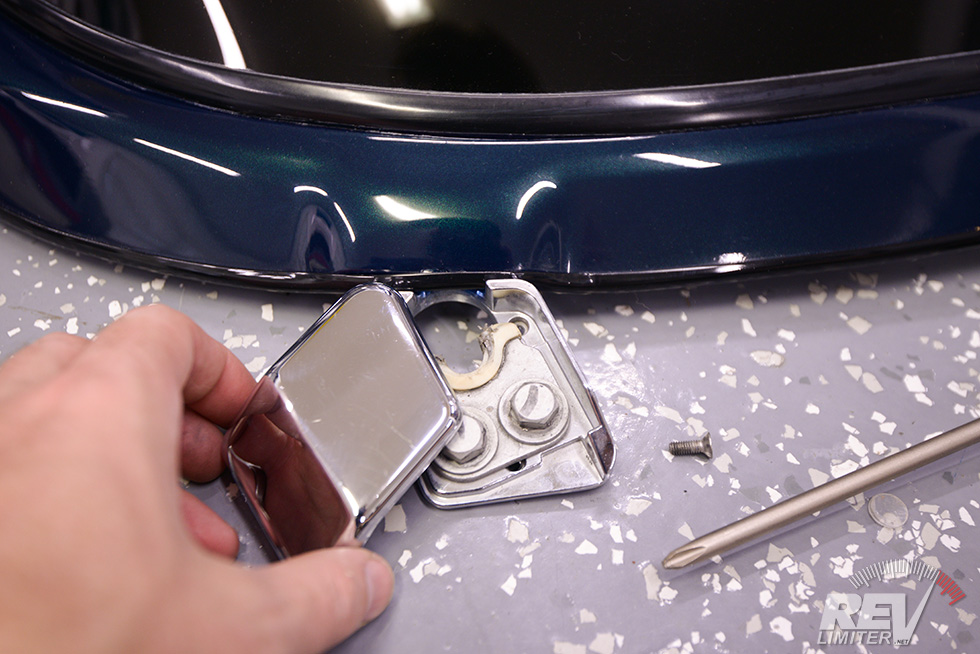
Both chrome covers that attach to the Frankenstein bolts have set screws on the inside edge. You unscrew them and then the top pivots out of the way to reveal the plastic coated ledge known as the Frankengrabber.
These grabbers need maintenance once in a while.

Grabbers disassembled.
Two small bolts hold the grabber in place and allow it to slide back and forth as needed to fit properly on the Frankenstein bolt. These two bolts can loosen up over the years.
One of my bolts was completely loose. The nut was sitting on the chrome piece that holds the Frankenstein bolt in place. There wasn’t quite enough room for the nut to slide free, so it was just banging around underneath the left foot.
I put everything back together with a bit of blue Loctite. This should keep the bolts still able to be removed and adjusted, but resist backing out.
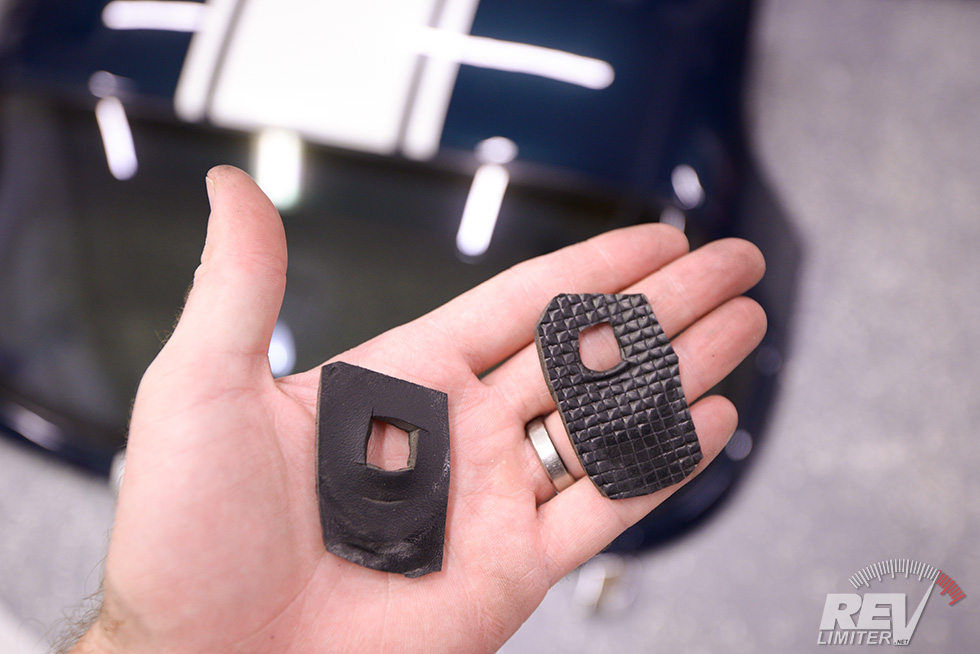
Bump rubber.
Installed.
I use these under the feet on my hardtop. I know there’s a factory rubber part, and I’ve used it, but I find these DIY rubber bumpers to be a little more effective at eliminating rear leg rattles. They also tear apart far less and last far longer. I’ve used these for over 10 years. My last set of factory rubber only lasted about 1 year.
They slip over the Frankenstein bolts and get compressed by the top. I think I have these to thank for my loose factory nut still being trapped underneath the chrome rear leg.
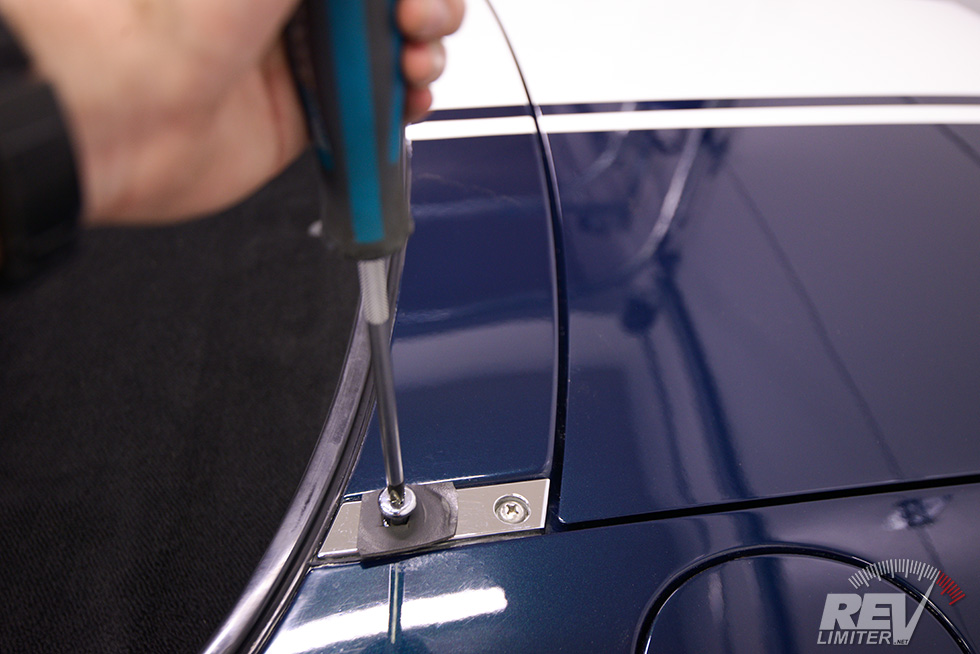
Tightened
I randomly decided to take a screwdriver to my Frankenstein bolts and just make sure they were tight. To my amazement, they were not. Both needed about a half turn to get them back to tight. This will also go on my Hardtop Maintenance List for the few times I remove it.
These things are nearly impossible to remove if you actually want to do it. They’re even harder to reinstall. They’re installed with red thread locking compound from the factory and usually need heat to remove – hence my amazement that mine were a bit loose.

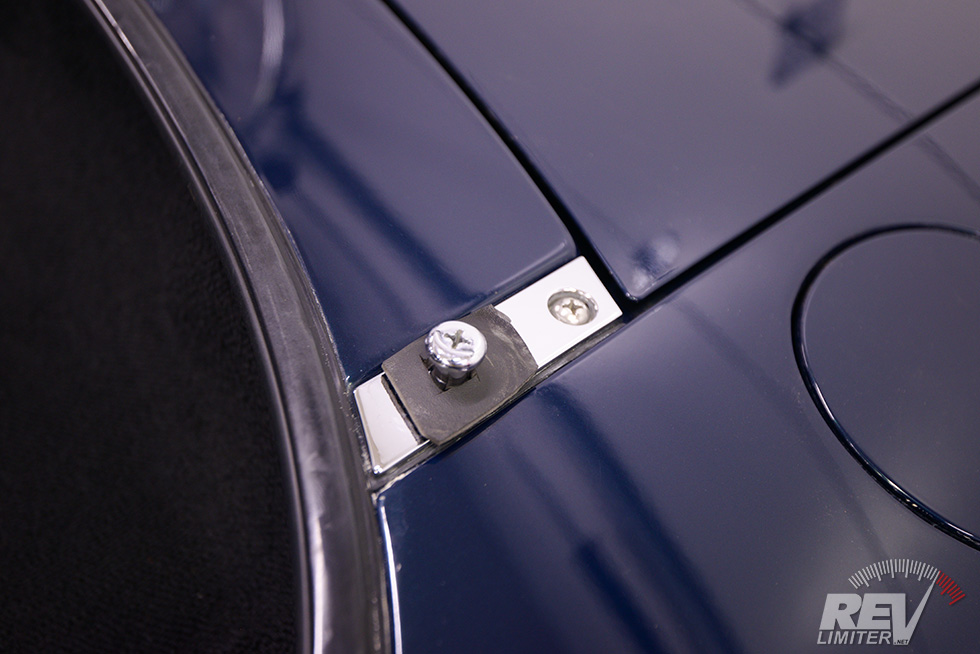
Hardtop grabber adjustment
And lastly, THIS is how you actually adjust the Frankengrabbers. With both bolts loose, but not removed, you get the hardtop installed and tightened down via the inside latches. Then you adjust the grabber to sit underneath the Frankenstein bolt. Lastly, you tighten the two bolts and close up the rear leg.
And maybe I really needed to do this in the past few years, but adjusting the grabbers helped SO much! Sharka’s hardtop always needs a week or two to settle after being installed. There’s always a little creaking or rattling after being reinstalled, but not this time. Everything is tight and quiet.
And there we go. Way too many photos and text about adjusting the hardtop. Onto those topless pix I promised.
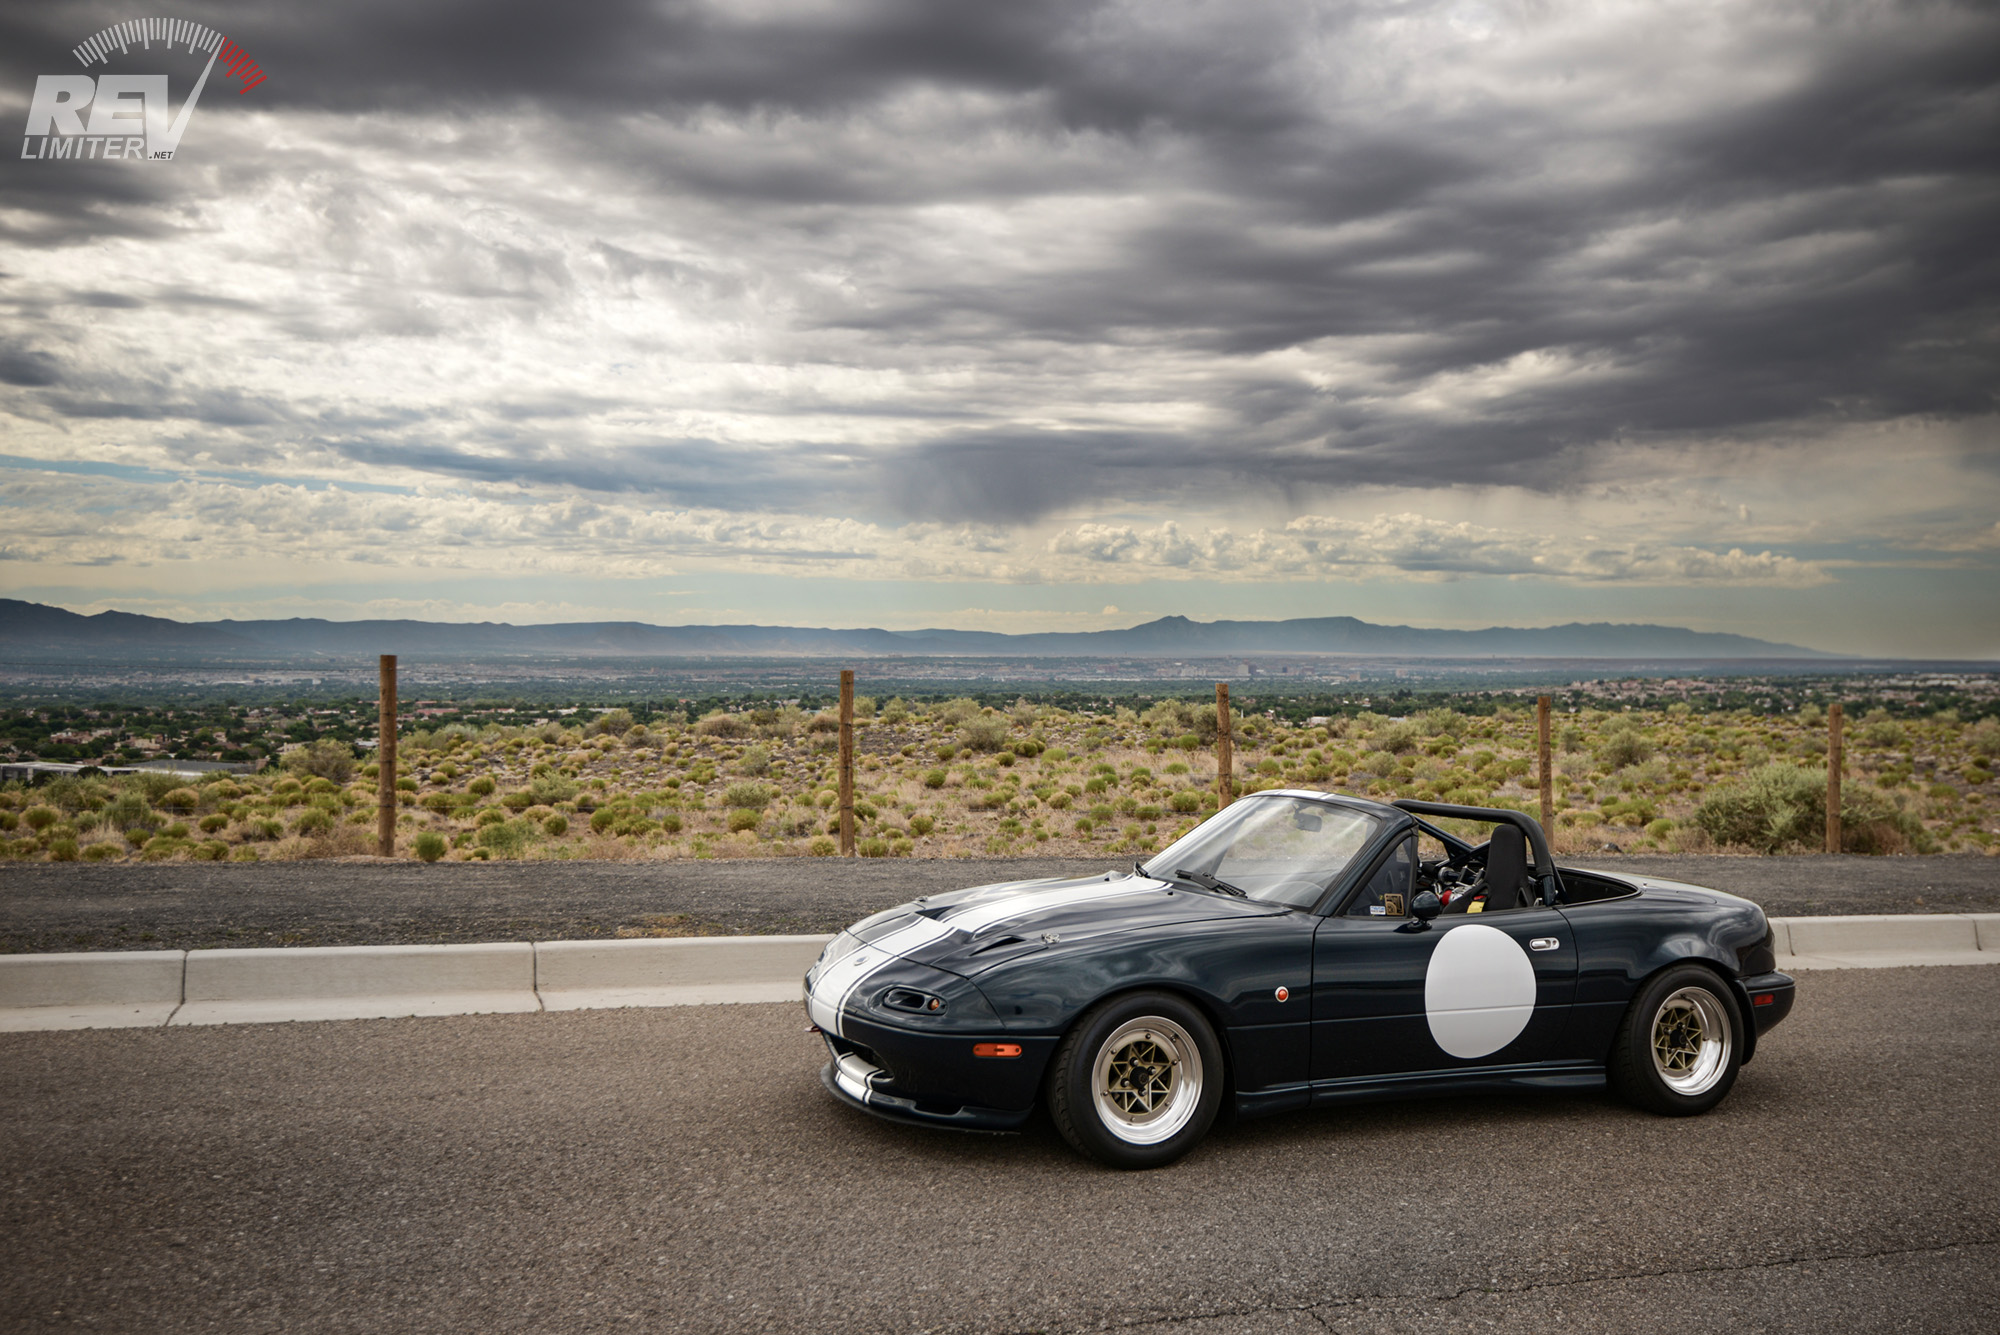
We didn’t get rained on.
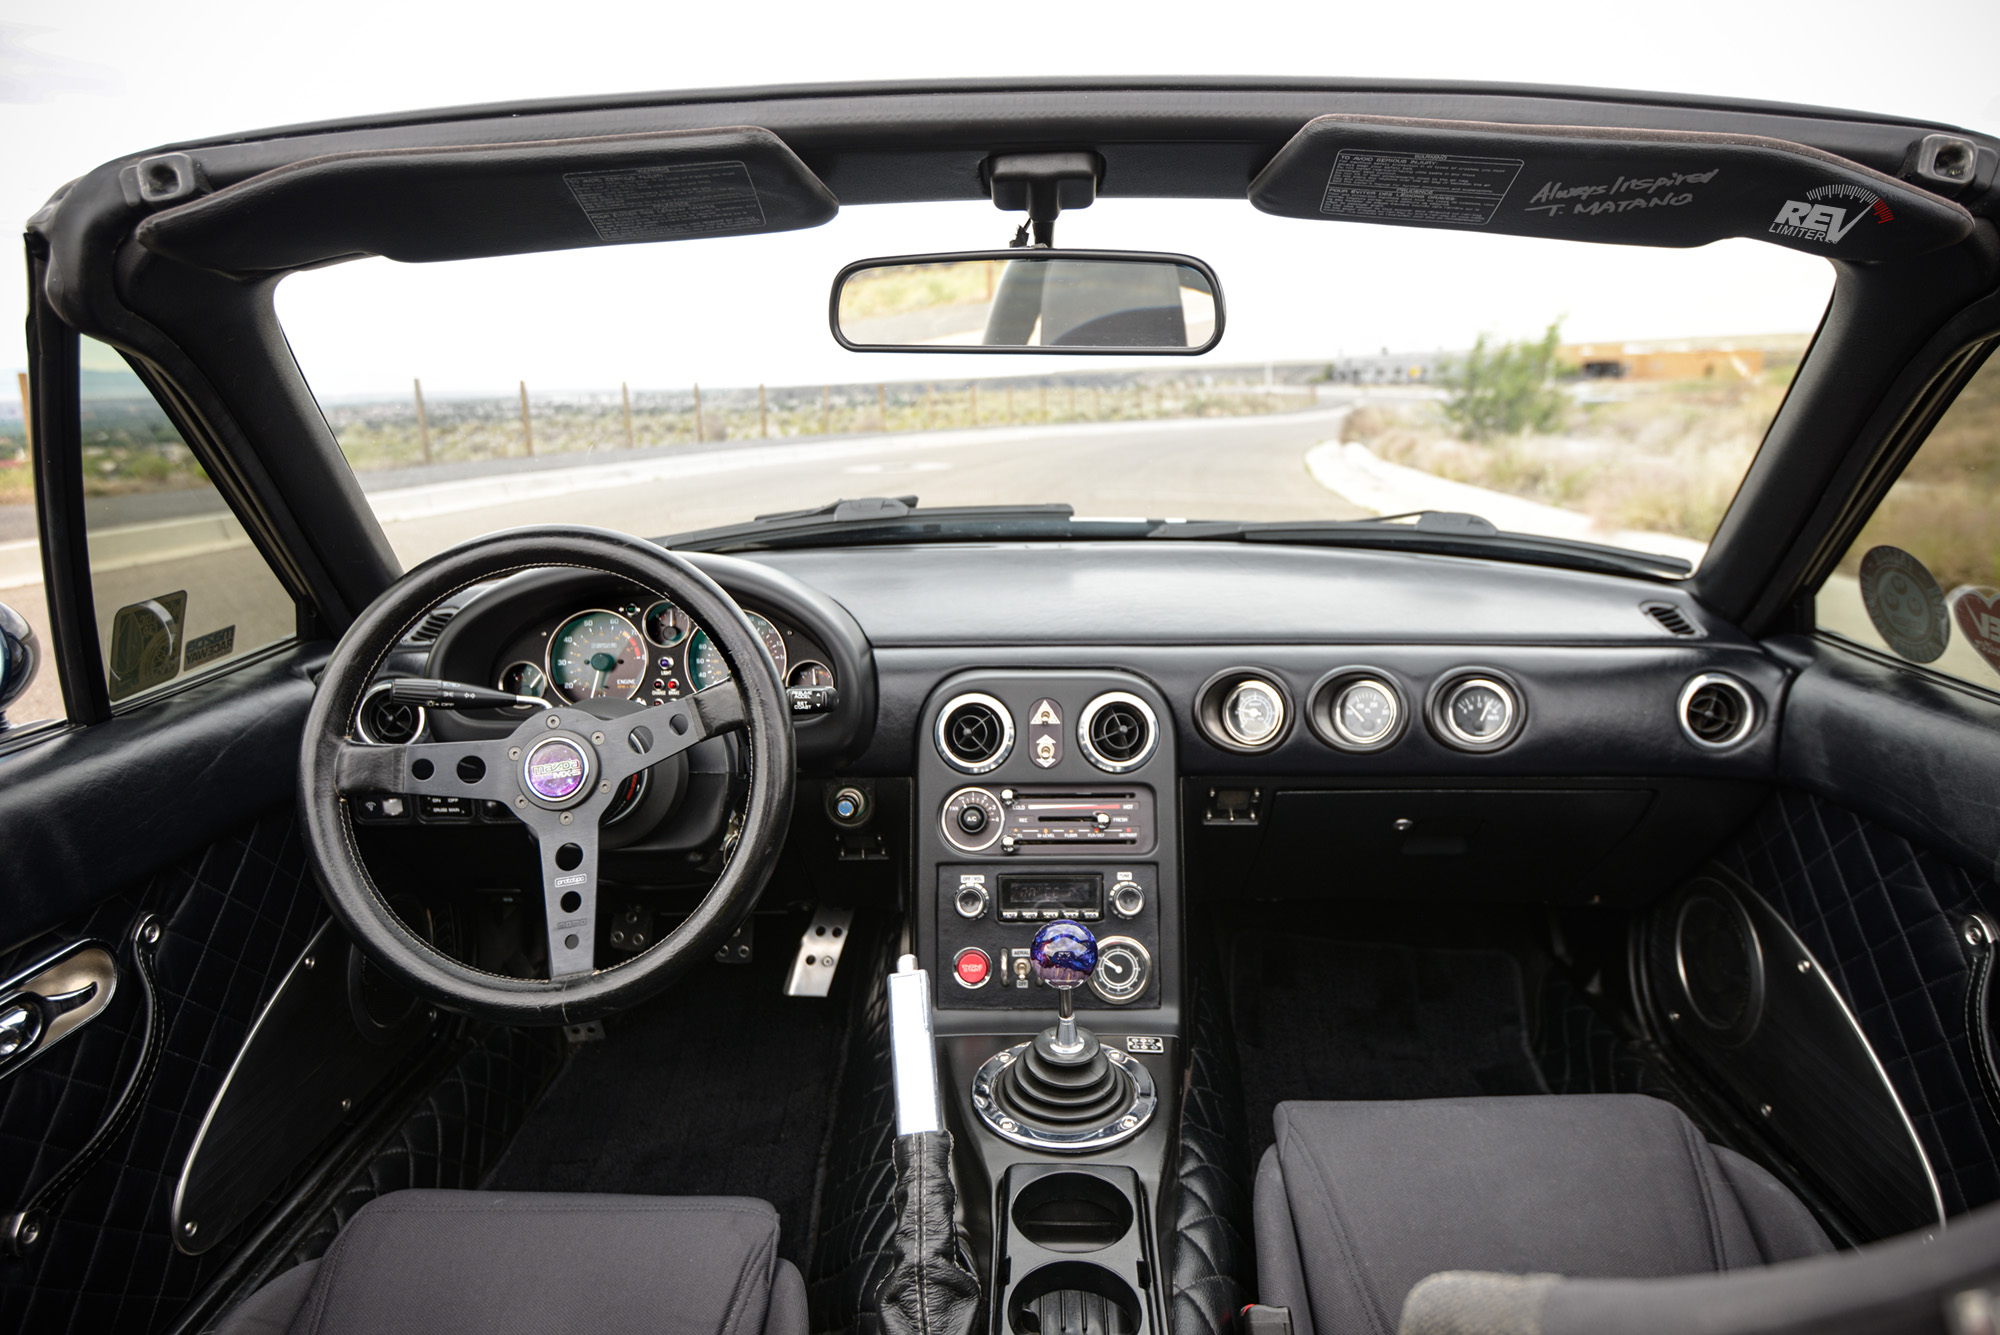
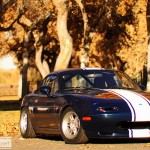
The Office – 2020
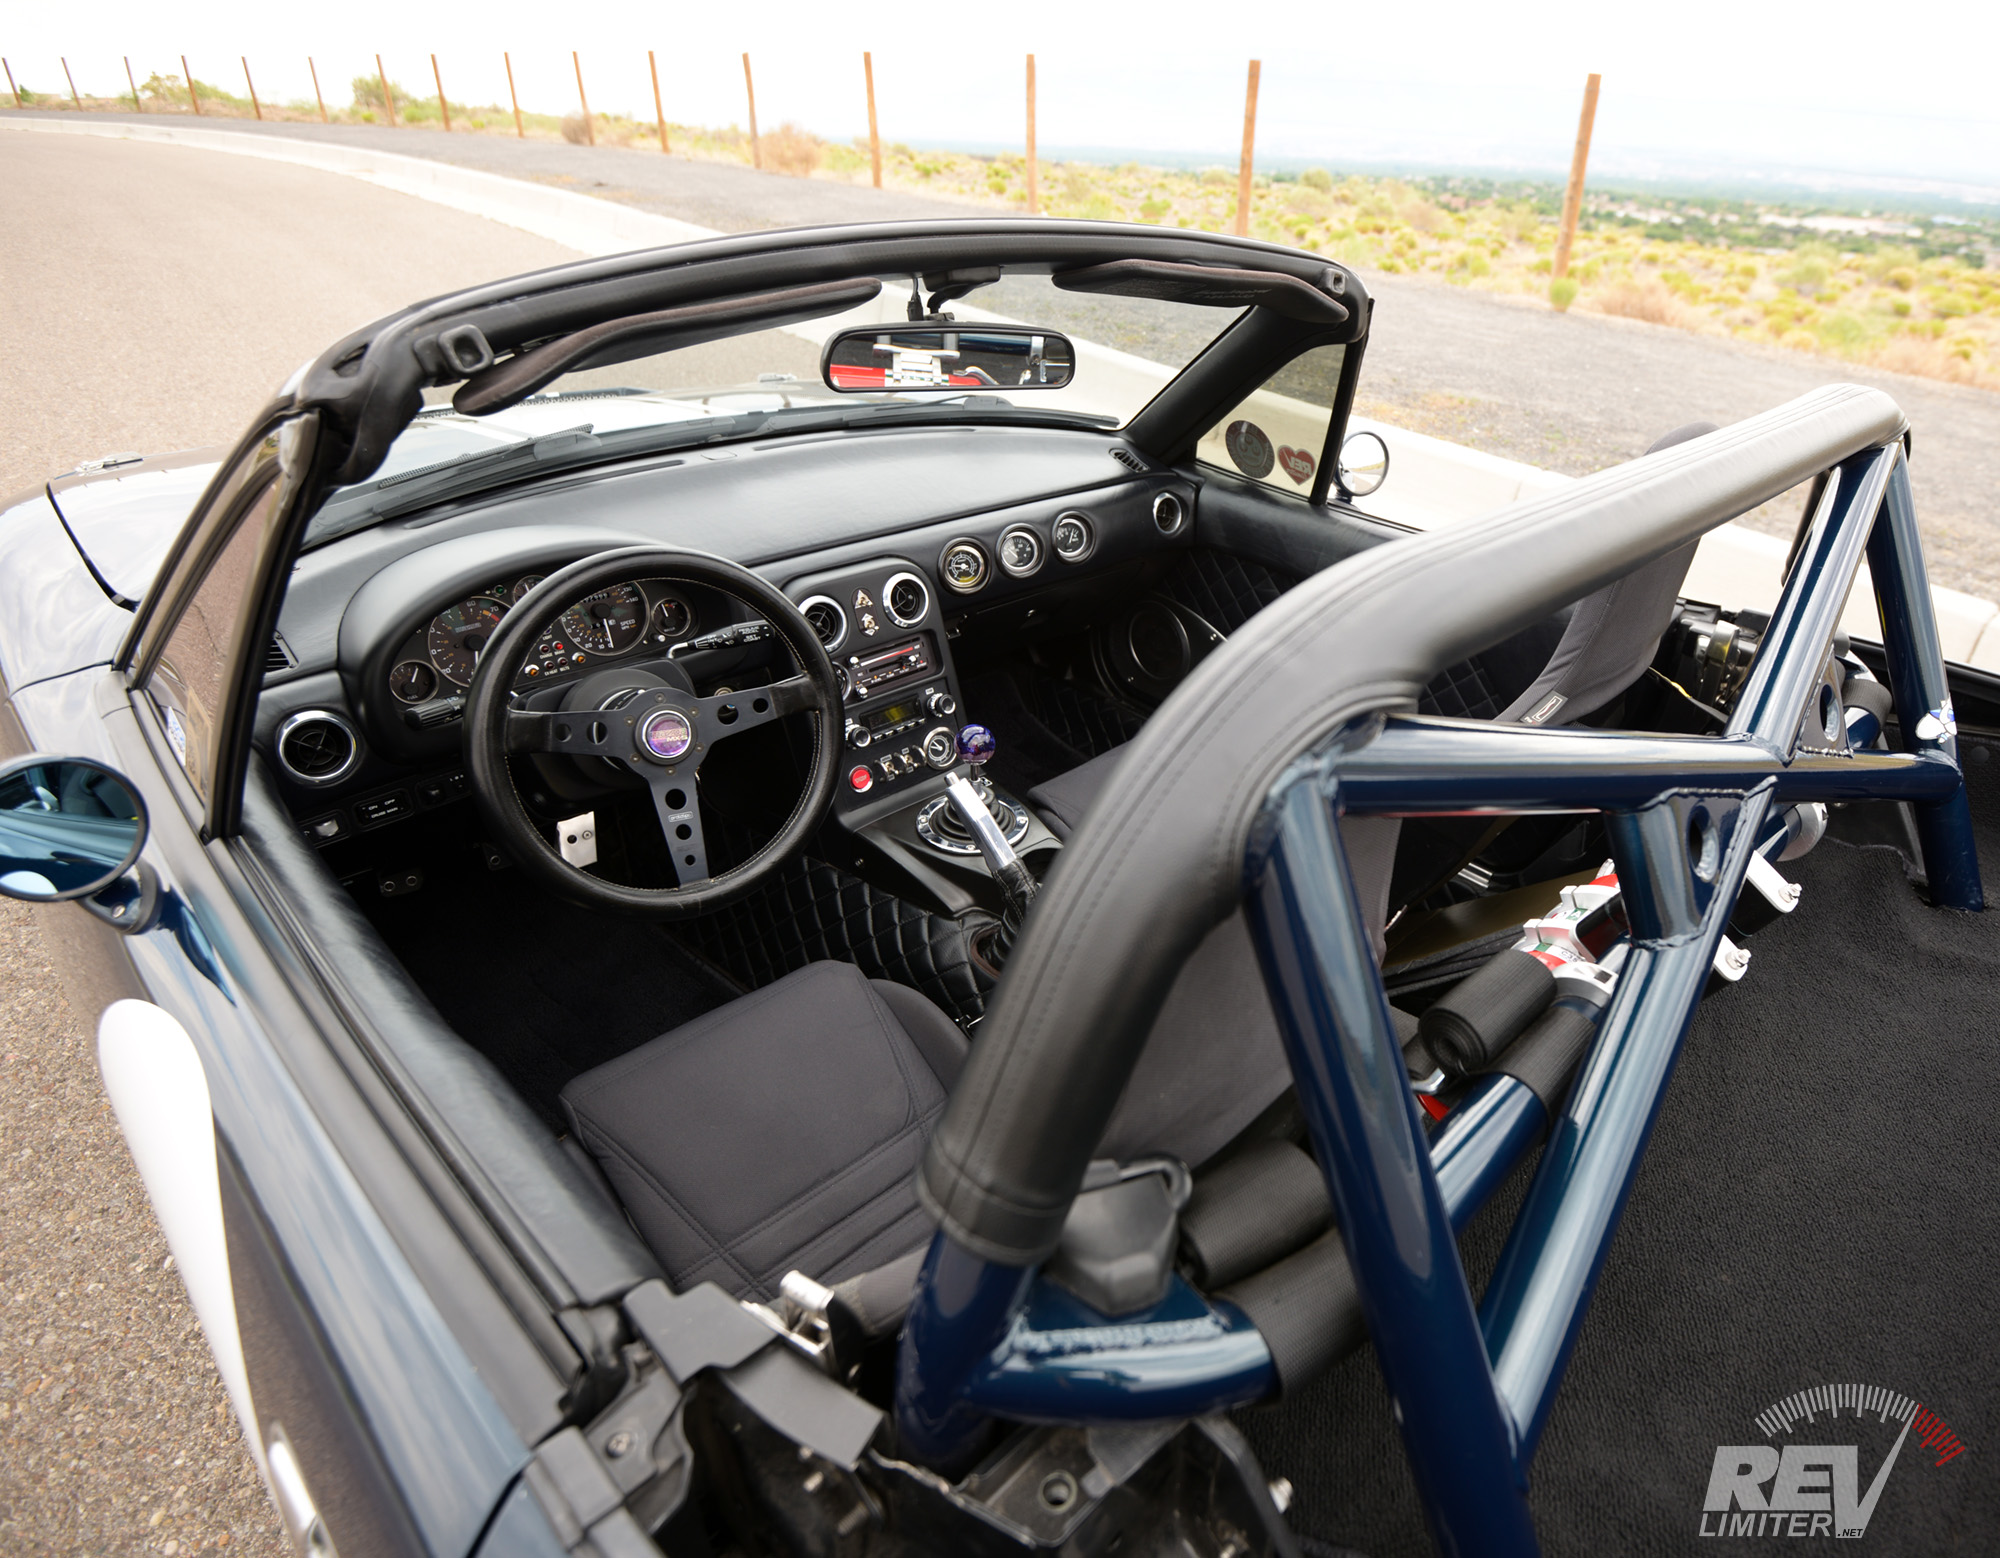
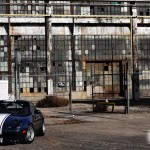
My favorite place to sit.
Begging for a roadtrip.

Sharka needs to go topless more often.
Have you considered skipping the Frankenstein setup and just bolting it?
Jass in the UK do a set of plates to convert the rear thingy to a bolt down setup, been considering it for mine.
Honestly, I’d never do that. I like the frankenstein bolts and have only had issues maybe three times in 20 years.
What material did you use for the rubber bumps?
What material was used for the rubber bumps?
It’s cut from a fender protection mat. You know those big black mats that you lay over a fender when you’re working on an engine? One of those.
You should sell a set of these rubber bumps