The one problem with new-Sharka was the paint. Well, the paint on the lower driver’s side door and quarter panels. The rest of the paint is so flawless as to almost be unbelievable for a fifteen year old car. But the paint on the lower quarter panels…. it’s not original. When I bought the 95, I noticed the winkle finish rock guard area was a little TOO wrinkly. But I put it out of my mind.
Then the weather changed from winter to spring and the bubbles started to form. THE BUBBLES. The paint actually bubbled up and you could crinkle it with your finger. It was very scary. As it got warmer, it got worse. Action was called for. The way I figured it, I could either a) do a rattle can job, b) buy a spray gun and possibly do a worse job than I could with a rattle can, or c) pay a lot of money to have it fixed right.
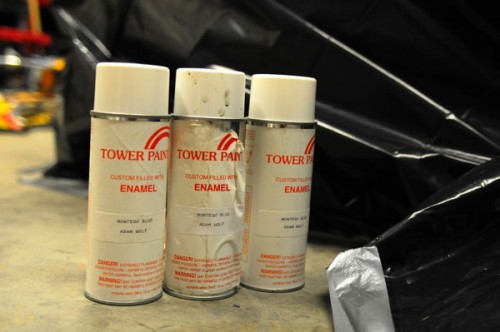
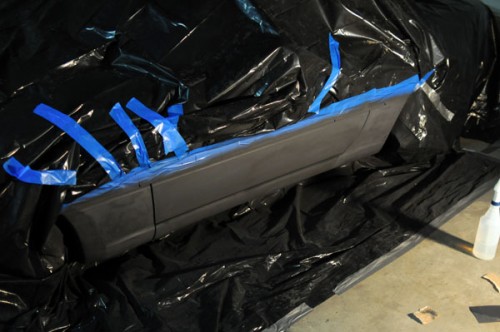
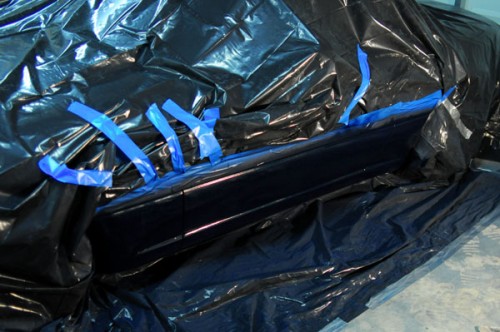
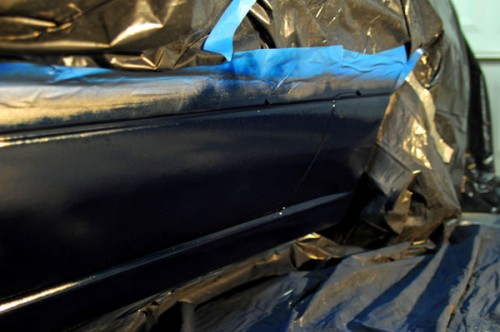
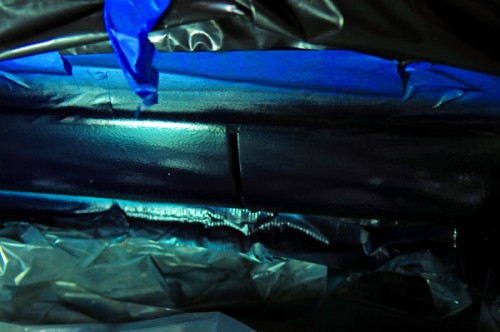
As you can see from the photo above, I chose the rattle cans.
Why? I had them left over from a recent painting project, my front airdam. Tower Paint is not particularly strong, but it’s cheap and the color match is pretty good. And that paint was about to flake off. Action was needed. If it sucks, I’ll STILL have to have it fixed by a pro, so I might as well just fix it now and at least the paint won’t flake off. So here goes. Lots of pix to follow.
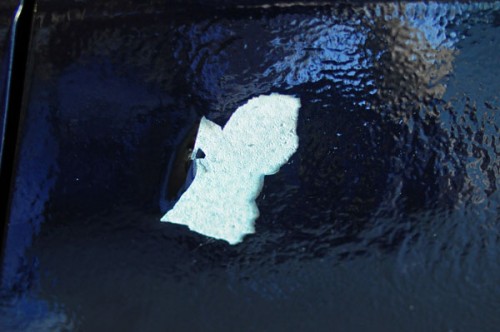
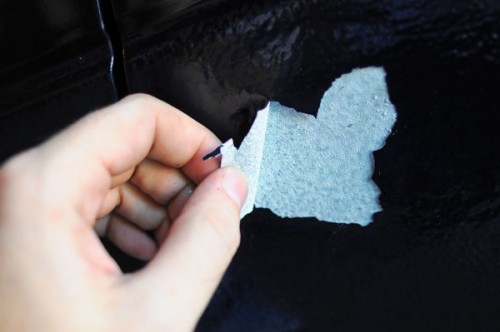
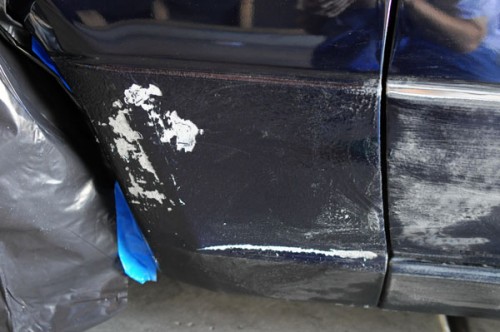
I did this with my fingers. It was incredibly satisfying, peeling up the damage and seeing just how easy it was to remove.
Yes, sticky. The undercoating in the non-bubbled areas was dry, but the bubbled areas, it was tacky to the touch. As the Mythbusters would say, “well there’s your problem.”
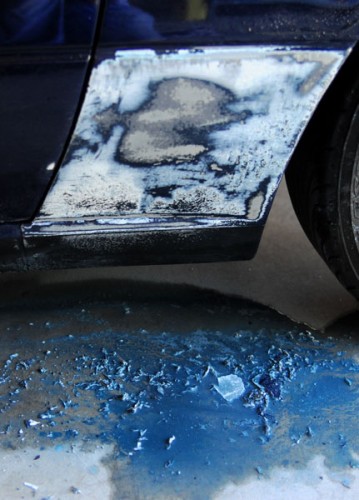
So there I was sanding bad undercoating was coming off, and it started to get blue again. Shiny blue! Whoever did this “repair” had sprayed the undercoating right on top of factory montego blue paint. I was shocked.
There was more bubbled areas on the front, but less total bubbled area. I also flaked this off with my fingers.
More factory montego paint was living under this stuff. In fact, I never found evidence of bondo or an accident repair. I have no idea why this “repair” was possibly done. Poor Sharka. I’ll make him better.
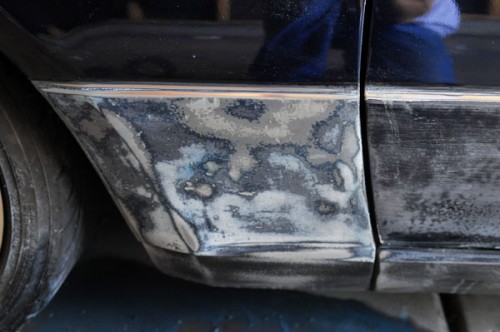
I also sanded the lower door. The paint wasn’t bubbling up, nor did the wrinkle finish look anything near as wrinkly as the surrounding lower panels, but it needed paint anyway for a good match.
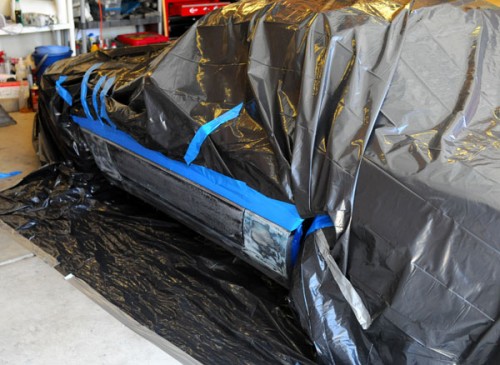
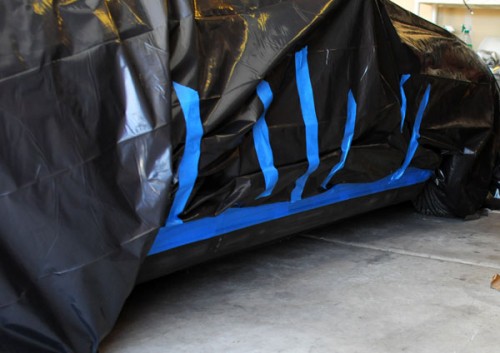
On 94-95 montego blue Miatas, this lower beltline came painted black by the factory. Sometime in 96, that was deleted and they started just painting the whole car montego. Sharka-the-97 had a montego blue beltline, and I wanted the same thing for Sharka’s new body. I lighty scuffed the paint and masked off the surrounding area since I was already painting the other side.
All total, I used a can of primer, 2 cans of Tower montego, and a can of clear. Rustoleum’s little spray can nozzle? IT SUCKS. Duplicolor is much better, and Tower is much better than that. Fortunately, I only used about a quarter can of that Rustoleum primer before switching to another can of Duplicolor.
The new paint isn’t perfect, but it’s a hell of a lot better than it was. And I’ve already covered much of it with 3M’s Xpel clear bra vinyl in order to protect from rock chips.
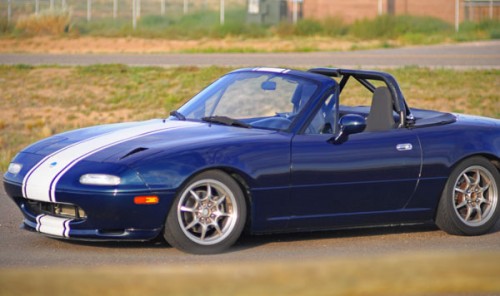
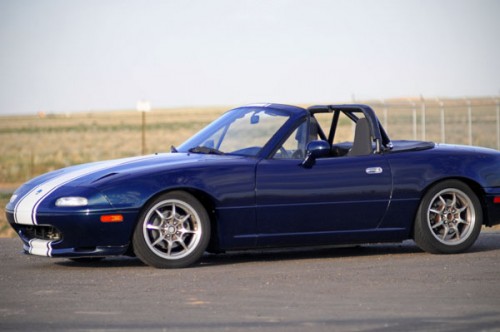
I used a 135mm f/2.8 lens to give me enough room for my shadow to be FAR away from the paint. Alas, I had to stand WAAAAY far away, about 200 feet, and ended up cutting off the back bumper. Oh well. It looks quite good in my humble opinion. One photo has higher saturation and one has lower saturation to show how well the paint matches without camera settings getting in the way. It matches quite well, even in direct sunlight.
All in all, it was a very long project, but worth the work. I started it two weeks back from the date of this blog posting. I finally got all the photos needed to show my work. I decided not to shoot any of the clear bra installation photos. That’s a pretty boring process anyway. I’m just hoping this paint will hold till I get the cash or desire for a full professional respray. In montego blue, of course.


Kudos for giving such a terrific site. Your website was not just knowledgeable but also very stimulating too. We come across very few professionals who can create not so easy stuff that creatively. Keep posting !!
what was the color code for your car besides M8?
I…. don’t understand. Mazda montego blue = M8. There is no other code.
How well did this paint job hold up?
Quite well! Sharka is still wearing it.
Hey there! So I ordered what I think is the same type of paint you did from tower paints (1k enamel acrylic). Could you go into a little more detail of your prep work? What sand grit did you use? Thank you!
Sorry but I have no idea. I did this project in 2009. Not sure what paint I used.
As far as preping for paint, there’s tons of how-to’s on the internet. Generally you scuff paint with something rough like 320 or so. Then clean off with a tack cloth. Please do some googling to get more in-depth help.