
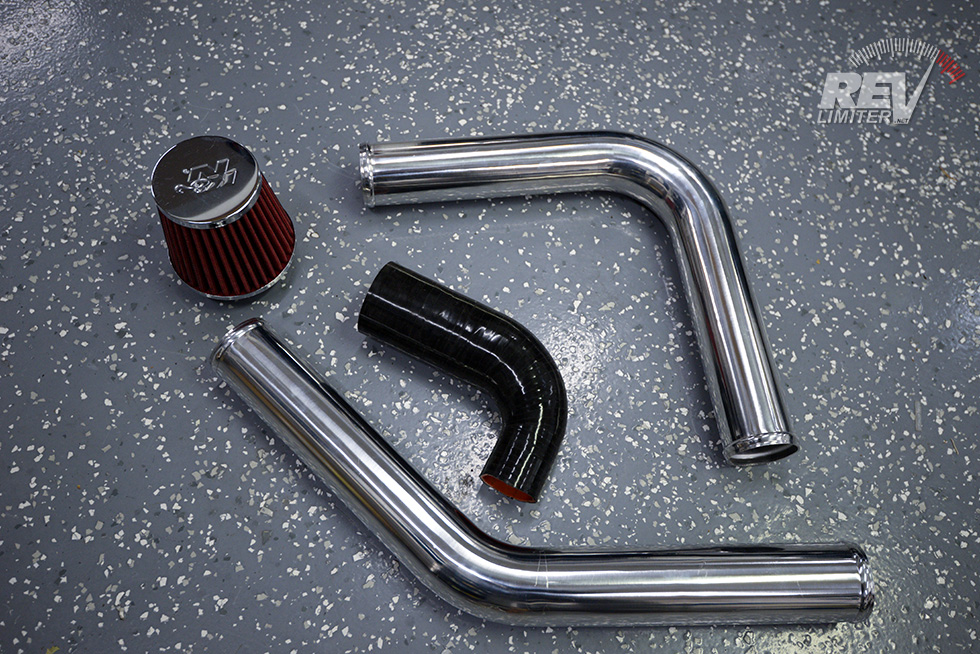
Some pipes and junk.
So… where were we? I discovered the Cappuccino’s convoluted stock intake path a few days ago. Traveling through square tubing and multiple 90 degree bends was just not acceptable. I got busy real quick.
I grabbed a few somewhat-random parts from Amazon to take care of things. These mixed with items I had around the garage were combined to make a pretty spiffy, actual-cold-air intake for the tiny 3 cylinder engine. All of this is based around 2.5″ intake tubing.
My Shopping List
Intake Isolator Box
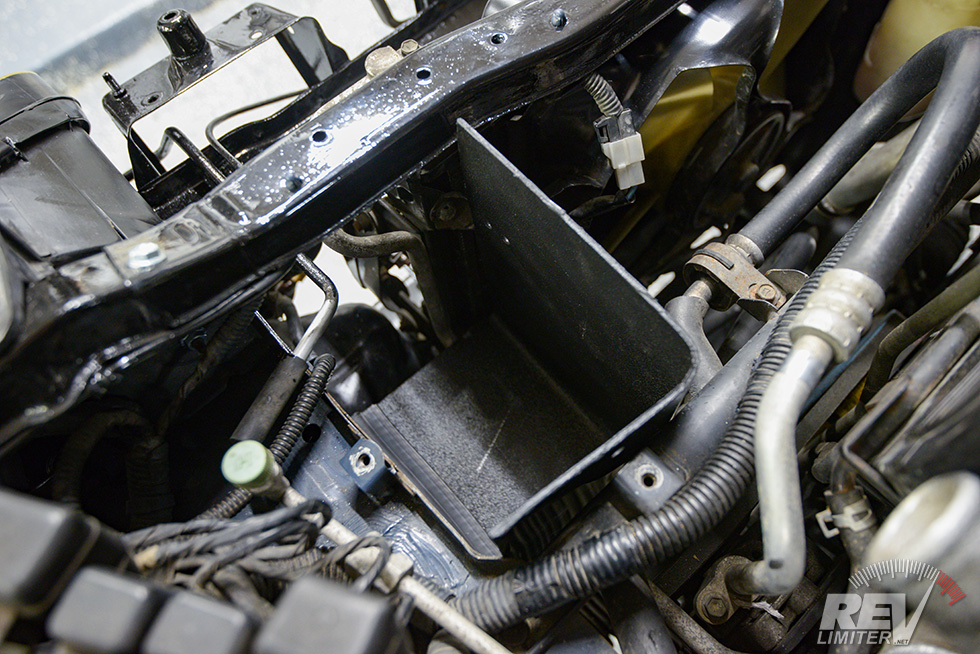
Really, it’s not just a cardboard box.
Removing the stock airbox left a wonderful empty area beside the radiator that was perfect to box off. Out came the cardboard and scissors.
It looks kinda like I shoved a cardboard box into the engine bay in the shot above huh? Really, I’m a bit more creative than that.
A bit.
Open from the front.
The box is open on the top and the front. The right side is closed up by the plastic belly pan. The left side is preventing the hot radiator air from being sucked into the intake. All of this engineering took about 10 minutes.

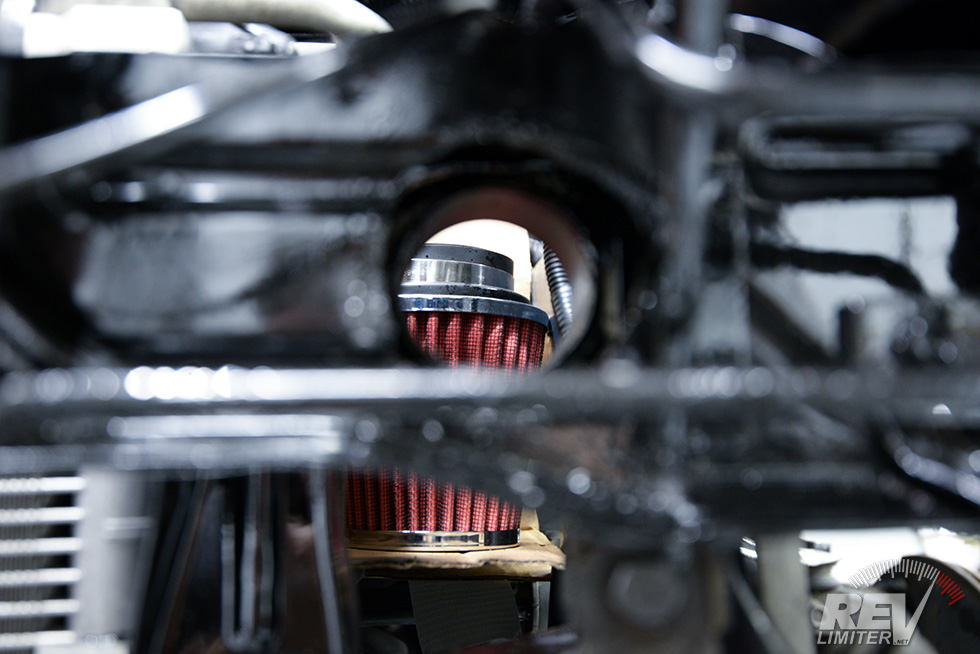
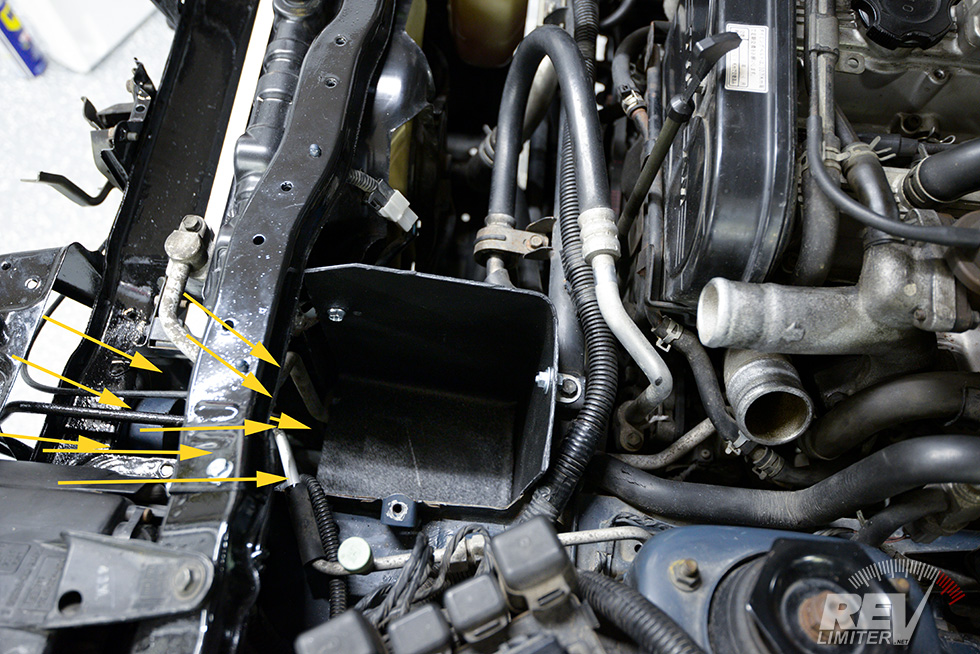
Hole in the frame.
I also opened up the front of the frame where the stock intake was sucking through. This creates a larger path to cool air behind the bumper. And… I just couldn’t leave it alone. I had to drill a big hole in the front!

Cardboard vs ABS.
The box got unfolded and transferred over to ABS. Though I have two lovely laser cutters, I chose to cut this ABS out with tin snips. ABS fumes are really bad for laser lenses and not too good for human lungs. ABS also melts and makes a huge mess inside a laser. It’s much easier to just snip or dremel ABS out.
The heat gun came out next to get the box bent up into its final shape which looks like…
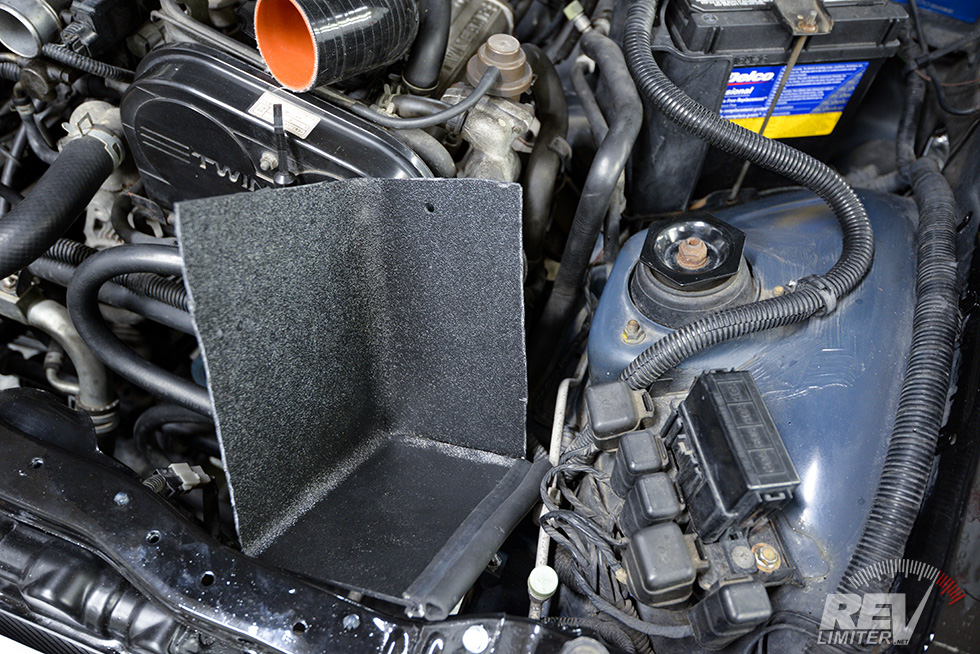
A plastic box!
A small piece of insulation at the bottom helps it seal against the OEM plastic belly pan and keep some rattles from happening. Cap already rattles enough. I don’t need to add new rattles to the little guy.
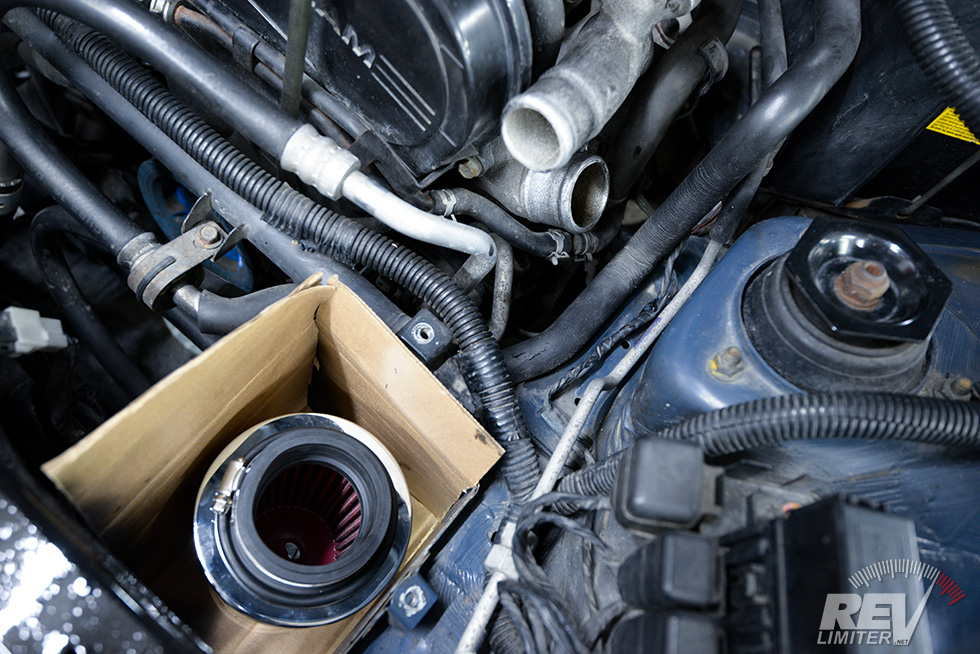
The air inlet.
Bolted in place.
Not bad huh? Maybe not so necessary in a turbo car, but I feel that keeping an intake as isolated as possible from hot engine bay heat is always useful.
I can take things one step further by designing a top for the box, but I’m gonna see how things work like this for a while. Plus I may have it in and out while upgrading other nearby items.
The Intake Tube

Silicone elbow.
A 90 degree angle adapter is needed if your Cappuccino has air conditioning. Some of the many many A/C tubes run right behind the inlet at the turbo. You can’t put a straight 1.75 > 2.5″ adapter with those tubes in place.
A bit of trimming gets the elbow fitting nice. I like to wrap a single wrap of tape around a silicone tube to give me a straight line to cut against. Then I just carefully use a razor blade and slice all the way around.
Test fit.

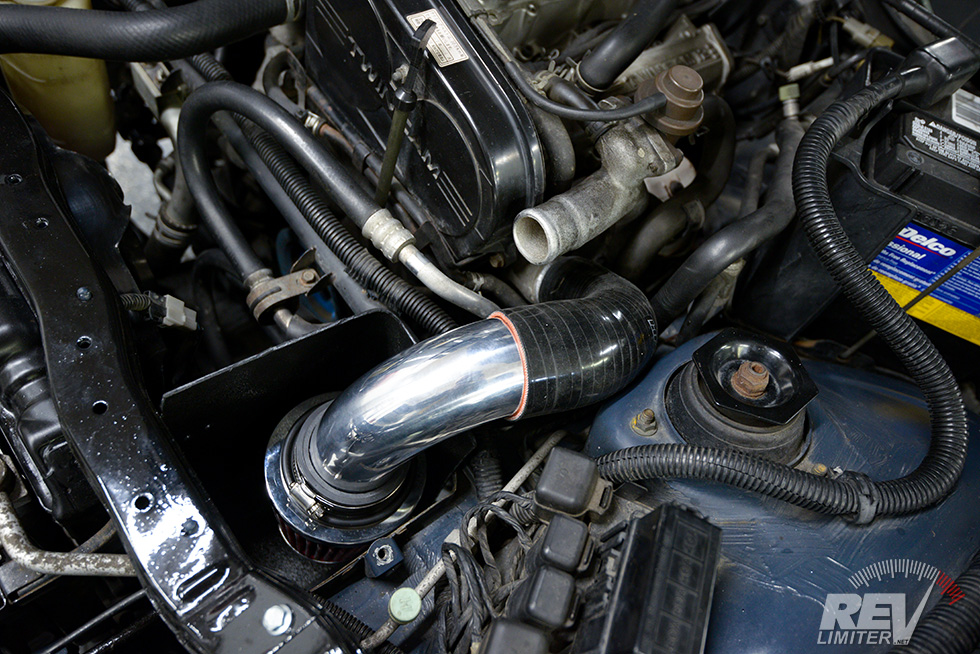
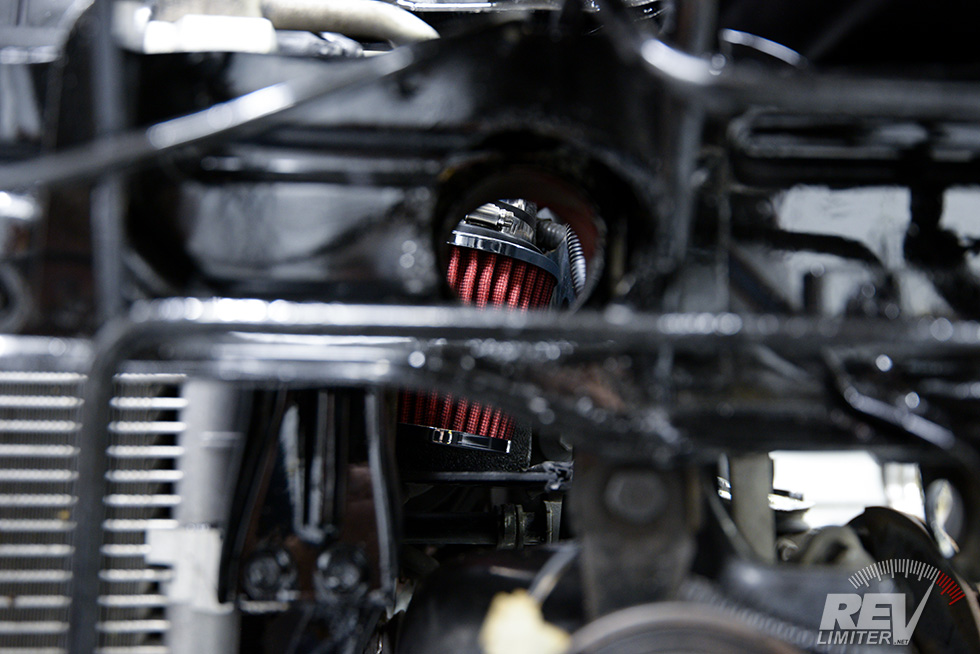
The finished tube.
This was extremely simple. The 90 degree aluminum tube was perfect to get the filter down into the box where I wanted. I cut about eight inches off each side of the 90 after a lot of measurement and fitment was spot on.
It was waaaaay more work making the box up than this little intake tube.
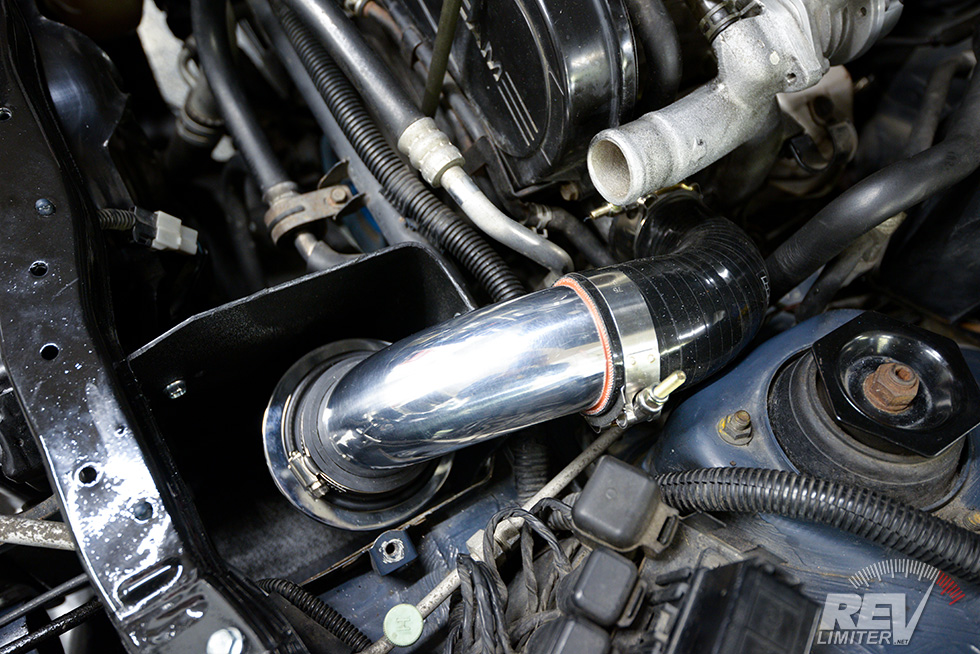
Everything tightened down.
Just like the simulations.
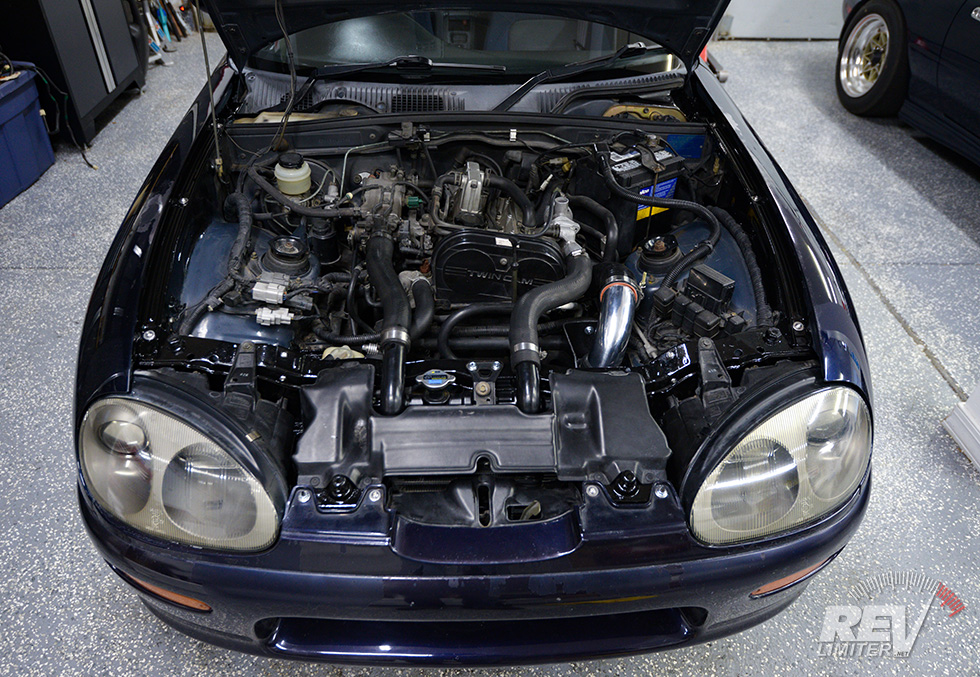
Buttoned up!
And so… now that this is all put together the $87 question has to be asked – how does it work?
Really really well, I’m happy to say!
Though I have not done a dyno test (I’d be ashamed to see how little Cap makes at 5200 feet altitude), the car acts and feels much better with this short intake path fed by cool air. There wasn’t much of a turbo boost feel before changing the intake out. The Cappuccino felt like an NA engine where power gently increased until it started to get choked off around 7000 rpm.
With the intake, I can feel the turbo spool above 3500. It gives a nice push back into the seat… which it didn’t do before. It also doesn’t feel like the engine falls on its face above 7000. It keeps pulling nicely to 8500, but still wheezes a bit on the way to 9500.
There’s also more turbo noises! I can hear the turbo spool now thanks to the cone filter. That’s gotta be worth the work, right?
Speaking of work, you’ll notice the body panels are back on. I’ve got all of the front clip rust protected with many coats of POR 15. I’ll do a post about that shortly.
You’re getting better Cap!


That wasn’t an intake path, that was a labyrinth!
Happy new year Adam!
HA! A long winding road with U turns and cul-de-sacs.
HNY!
Not visited here in a while. Sold my MX-5 a year ago so keep forgetting about Miata-related sites.
So I was overjoyed to discover you’d bought a Cappuccino. Just read through every post and finally ended up here. The road trip looked like a lot of fun!
May now have to buy one of these before inevitably getting another MX-5 in the future.
I need to do a post just about driving the Cappuccino and how it feels. It’s SO much fun. You should certainly get one. 🙂
Love it! Worked great on my ’95. I’m just curious what the dimensions of the ABS you used were. 12x24x1/16″ thick sheet should do the trick?