Oil change time! Yup. Very exciting. But I’m always surprised when I encounter a “car guy” who doesn’t change his own oil. It’s such an enjoyable little ritual. Paying the high school kid at Zippy Lube to over-tighten your filter just seems like cheating.
So hit the print button, bring this how-to out to your garage, turn on the crappy garage radio, and get your hands dirty.
Stuff needed:
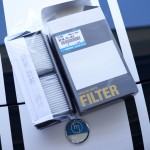
- A Mazda3 oil filter. I’ve got the 2.3 with the cartridge, so I need part L321-14-302-9U from Mazda. That comes with the two required o-rings and the filter itself.
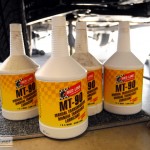
- 5 quarts of oil. Mazda calls for 4.25 quarts of 5w20. I like Mobil’s products. Feel free to pick anything. I don’t wanna start this with an oil debate.
- The big oil filter socket. Since I’ve got the previously-mentioned cartridge filter, I use the huge socket that Mazda sells. I think it’s 76mm?
- Oil pan
- 10 and 17mm sockets. Socket wrench. And torque wrench.
- Set of metric allen wrenches. I think you’ll need the 6mm wrench.
- Gloves and paper towels.
- A jack and jackstand or ramps.
Disclaimer: I am not ASE certified, nor Mazda certified, nor a real mechanic. I’m just a car guy who likes to blog. If you get hurt, I claim no responsibility.
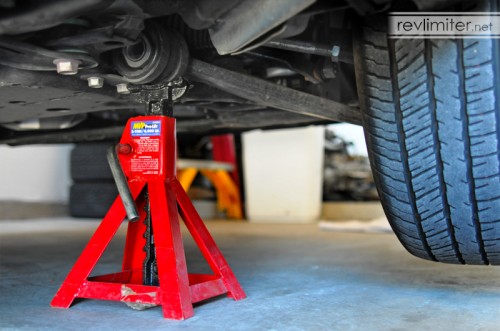
My Mazda3 is tall enough that I can get by with a single jackstand under one side. I like to put it as you see here, under the A-arm mount. Ramps work too.
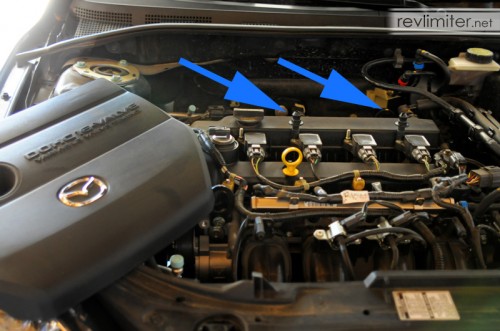
You can do this with your hands. Pull from the back. It’s held in by the two pegs in the back with the arrows and one at the front. You can also unscrew the oil filler cap at this time.
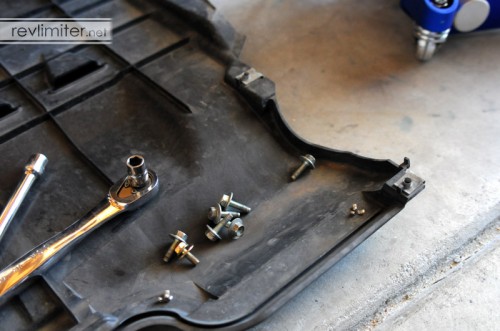
This is a little bit annoying. The belly pan is held in with seven (7) bolts with 10mm heads. Three in the front, and two on either side. I think the car also came with a few of those plastic retainers that you have to pry out with a screwdriver? I never reinstalled those after removing them the first time. I just trust in the OVERWHELMING amount of bolts to hold the pan in place.
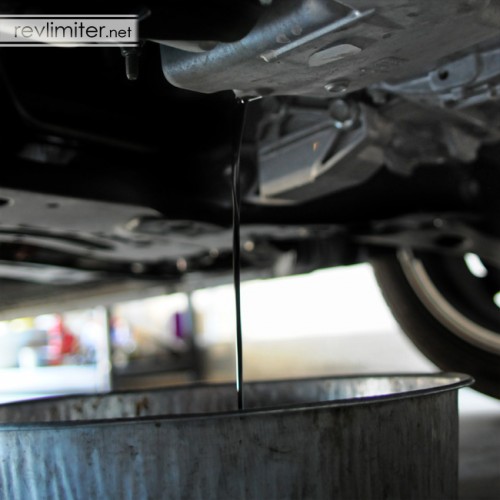
The oil drain plug is on the back of the engine. 17mm bolt head. Very easy to find once the pan is out of there. Drain the oil out.
For the oil draining, I remove the jack stand and put the car back flat on the ground. This gives you a little more complete flush. And, to go back a few steps, I always drive the car around a few miles before starting this job to warm the oil up a bit. Warm oil drains better than cold oil.
I’m 90% sure that the drain plug washers come with the filters when you order them from Mazda. The official line is to change the crush washer every time. I’m guilty of not doing that. You’re an adult and can make that choice for yourself. Officially: change out the crush washer.
When the oil has finished draining, jack the car back up and reinstall the jack stand. Reinstall the oil drain plug. Torque to 22-30 ft/lbs.
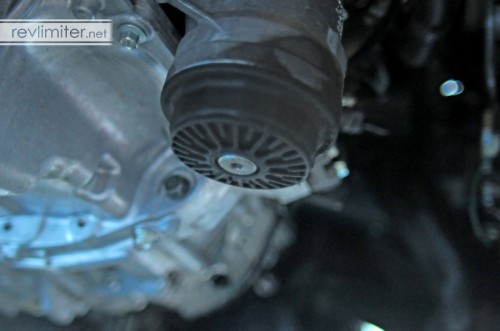
Notice the socket head bolt in the middle of the filter housing? That’s the drain plug. As I said before, I think it’s 6mm. Unscrew it and a small amount (but not all!) of oil will come out. Move your pan accordingly.
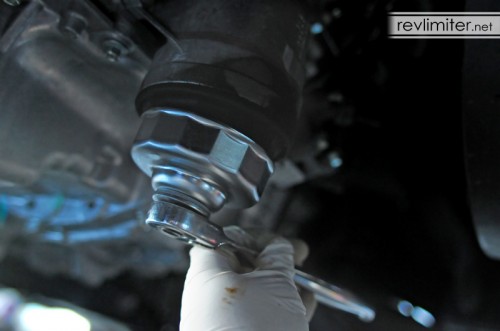
Once the oil has slowed, attach the big socket and unscrew the oil filter. More oil will be left in the base, so be mindful. I only splashed it all over my shirt once.
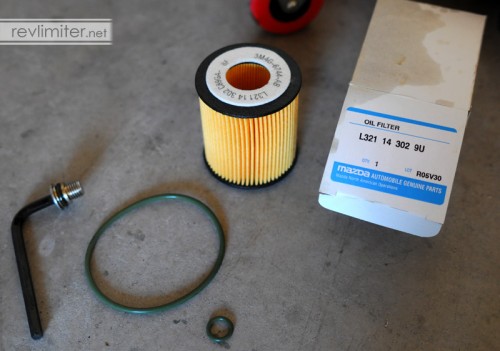
This is all included in the box from Mazda. You get a clean and shiny filter cartridge, a small o-ring, and a big o-ring. The small one goes on your cartridge drain plug. The big one goes on the cartridge itself.
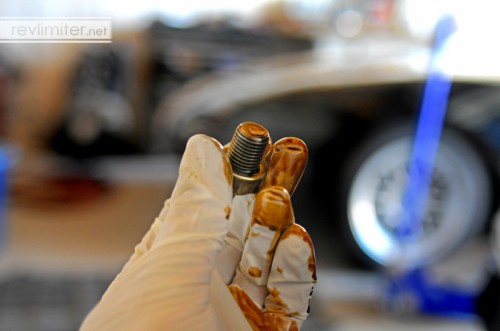
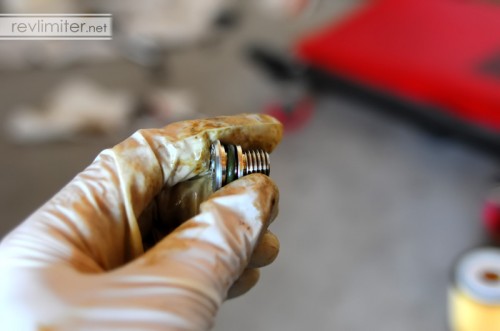
The small green thing at the base of the plug? That’s the o-ring. Swap it out. And around this time is when I like to take off my gloves for some reason.
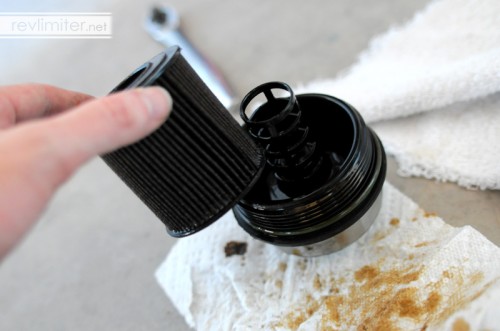
Old and busted goes away in favor of the new hotness. If you’re especially bored and/or crazy that day, you could cut apart the filter cartridge and see if there are any particles trapped. I always just toss it.
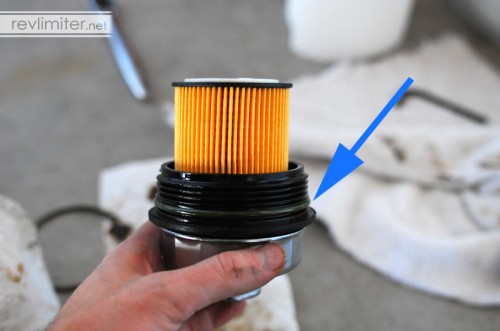
Don’t forget the big o-ring. This goes around the base of the cartridge. Looks good all clean like that, eh?
Reinstall the cartridge filter with the big socket. Mazda’s torque spec is 22 ft/lbs. Be careful over tightening as everything is made of plastic.
Remove the big socket and reinstall the 6mm filter drain plug. The torque spec is 7.6 ft/lbs. I’m guilty of just tightening it “enough” with the allen key.
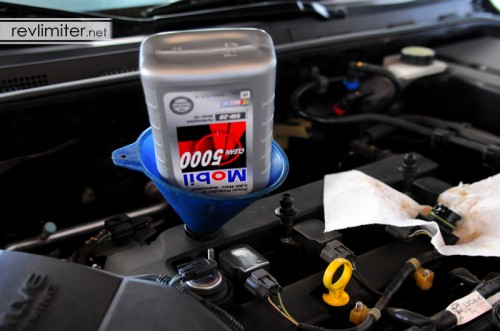
Yes. The end is in sight. Just add oil and you’re good to go. The factory spec is 4.25 quarts. I add 4 quarts and then start the engine. This lets some oil circulate.
Turn off the engine and wait a couple minutes for the oil to drain back into the pan. Check the dip stick. Add any oil required to bring it up to full.
Reinstall the belly pan. Put the car back on the ground. Go for a test drive.




[…] Mazda3 2.3l Oil Change ? RevLimiter.net […]
I enjoyed reading your post above. I hope you keep your site running, mostly the sites I find and enjoy appear to run out of steam and then grind to a halt.Keep up the good work!
Thanks!
I’ve had my site running steadily since 1998. I’ve had lapses of interest, but I’ve kept the domain name active. It should be here for a few more years…
What a great resource!
Good article. I’ve favorited this page so I can follow your follow-ups. Thanks for taking the time to share this.
I just discovered your site on Yahoo. Fantastic article. Thanks for taking the energy to share this.
I just discovered your website on Bing. Good article. Thanks for taking the energy to share this.
Good article. I’ve favorited this blog so I can follow your follow-ups. Thanks for taking the time to share this.
I’m not understanding why more than one person posting an oil change guide takes the engine cover off. I didn’t need to. Access to both dipstick and filler cap are fine. I have a 2009 3s. Are they different?
I donno about others, but I’m a bit of a clean freak. I like to verify that no oil drips on the valve cover.
I also have a 2.3L Mazda 3. Have you considered the oil filter conversion kit? It allows us to use the same spin on filter that the 2.0L Mazda 3’s use. I find it alot more convenient than the cartridge factory setup.
I also pre filled the new oil filter with new oil. 🙂
Thanks for the torque settings.
Happy to help!
Great paintings! That is the kind of info that should be shared around the internet. Disgrace on Google for not positioning this publish upper! =)
Nice article. I found it after writing my own article doing the same thing this weekend! Anyway, nice pictures and thanks for sharing.
I had a little tip – cut the service hole in your belly pan a little larger. I did this to my Mazda3 on the first oil change and it’s saved me some totally-worth-it time.
Check it out here http://howtune.com/articles/102-changing-the-oil-on-a-mazda-3-2-3l
Okay. I feel dumb for never enlarging that hole. Great how-to you wrote!
I enjoyed your article, thanks so much for the torque specs