

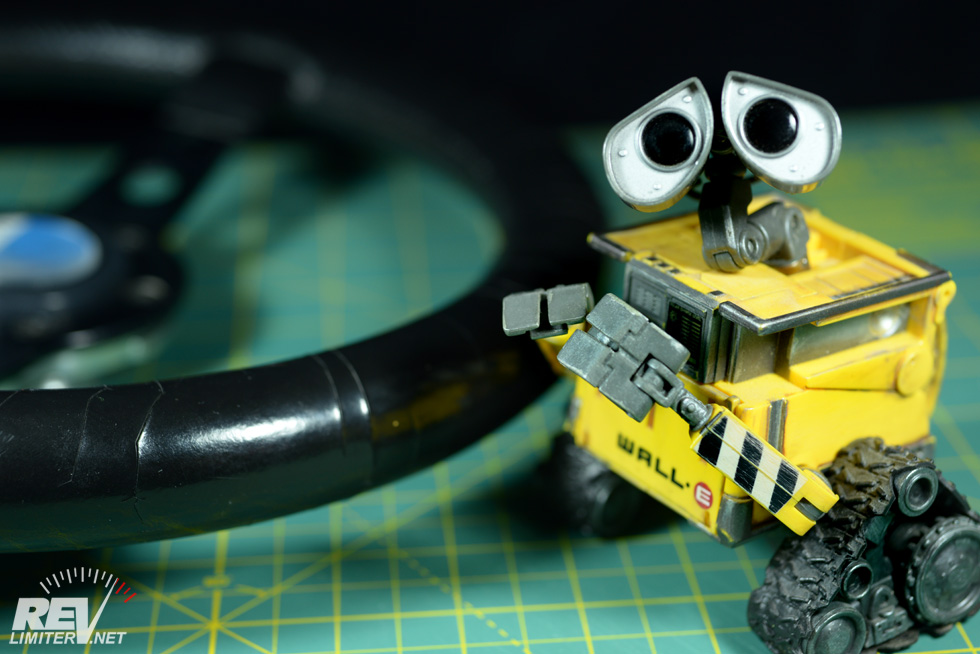
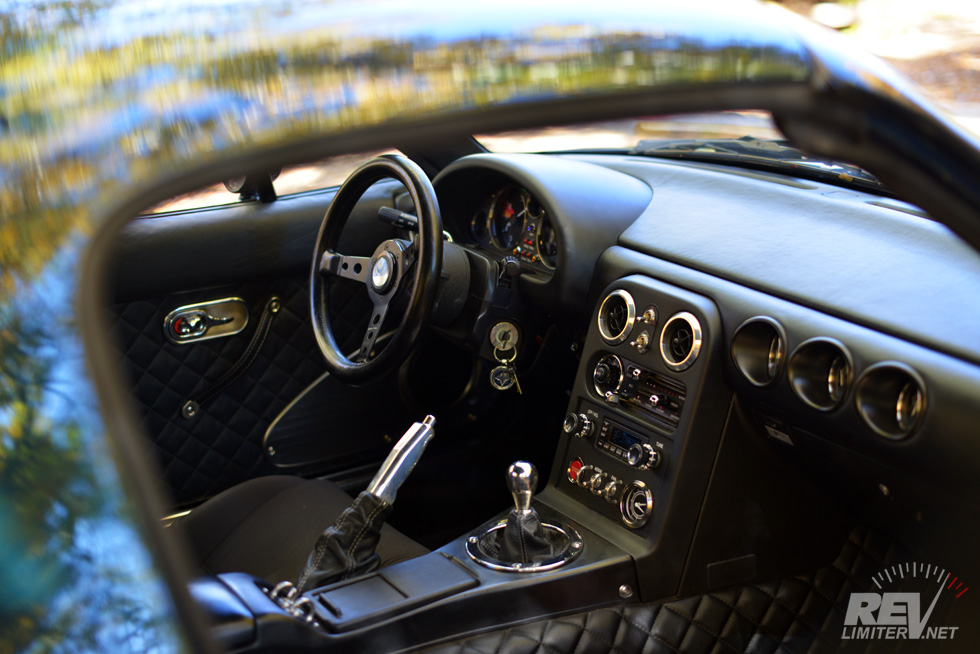
This wheel has seen a few things. As has the robot.
I recently added a new member to my steering wheel collection. Heck, it was the previous post in this blog. I feel a bit silly linking to it. But that’s what I mean by recent. Just a couple weekends ago, Sharka got this new/old Prototipo.
It’s a really wonderful wheel. I went into depth singing its praises in the last blog post. But it has quite a bit of wear. It is cracked and very glossy. But it is SO wonderful that I immediately started researching how to fix it.
I also enlisted WALL-E’s help.

The candy coating fell off here?
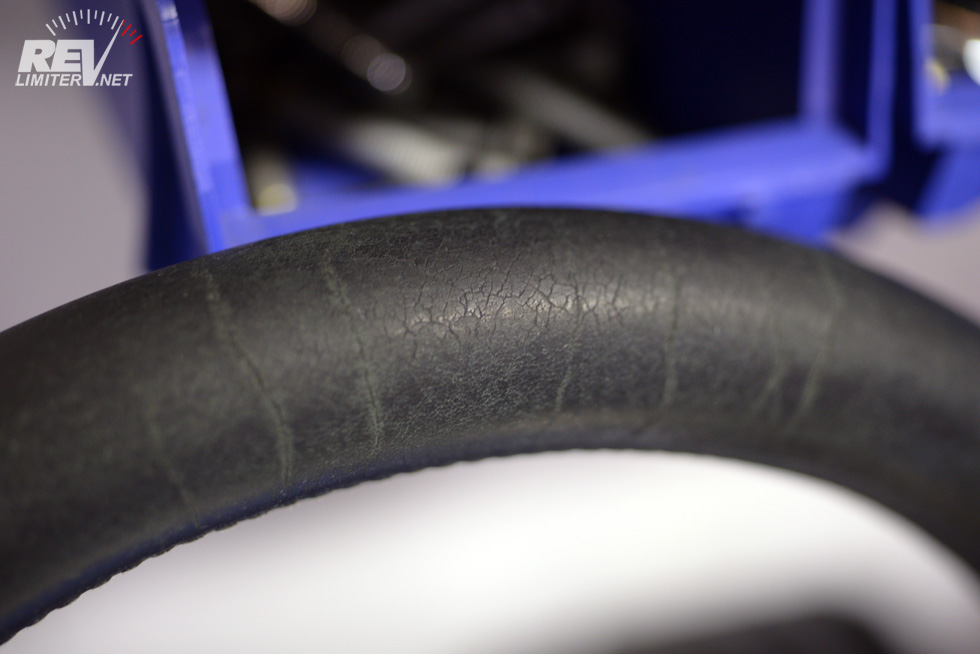
The problem was the hard outer shell. It completely covered the wheel. It had no grain, and there were a lot of cracks. Most steering wheels I’ve encountered aren’t so uniformly glossy. It almost seems like someone added this to “protect” the wheel.
This small area is what had me curious. It seemed like the glossy outer layer of leather (hence forth known as the candy coating) had come off and revealed something a little nicer below. Real leather with pours and grain and stuff.
WALL-E is worried. I am not.
More investigation seemed to show that the cracks didn’t go all the way through the leather. It was just the candy coat that was cracked. They look pretty crazy, but the cracks aren’t deep at all.
I started to wonder, could the candy coating be removed?
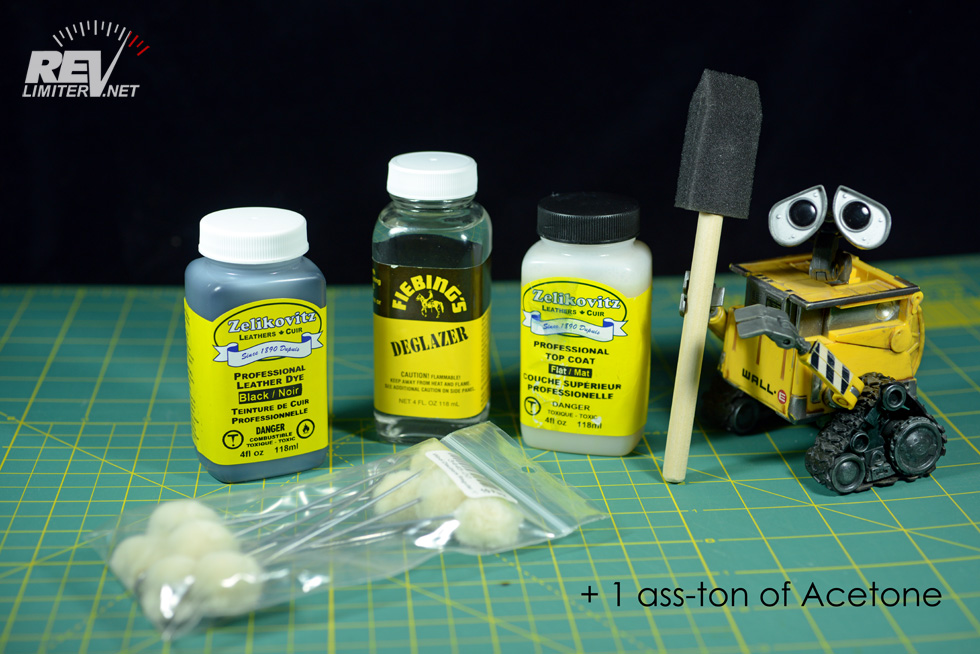
Tools for the job.
I’ve never restored a steering wheel before. The extent of my leather work involves Sharka’s doors and dash. But the internet is smarter than me. A couple evenings of research led me to a nice procedure for restoring a steering wheel. I followed it to the letter and will be showing you what I did below.
My tools:
Tandy Leather Fiebing’s Deglazer – This is what I used to strip the steering wheel. (Er… more on that later.) It removes old coating and dye and brings the leather back to “fresh”. Sorta. And it smells horrible. Do not apply in an enclosed room without a good organic filter mask. This was enough to do about 1/5 of the wheel.
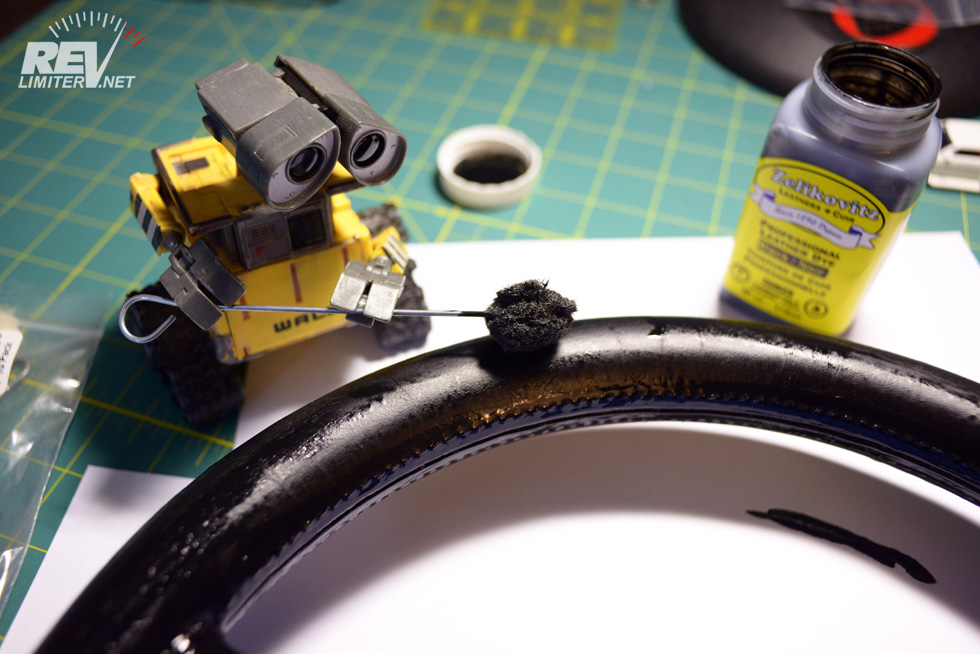
Zelikovitz black leather dye – To bring back the black once the wheel was stripped.
Zelikovitz matte top coat – To seal the dye and restore the original finish.
Wool Daubers – I bought a 10 pack. I have 8 left.
Foam applicator – they shipped this to me with the dye. Happy they did as it worked great. The daubers sucked.
Blue painter’s tape – To protect the metal parts.
ACETONE – The same thing as the deglazer. I used it to remove the coating from the wheel. It worked exactly the same as the Fiebing’s above. Very aggressive.
Disposable Gloves – I used about 20 pairs. Seriously.
Clothes you do not care about.
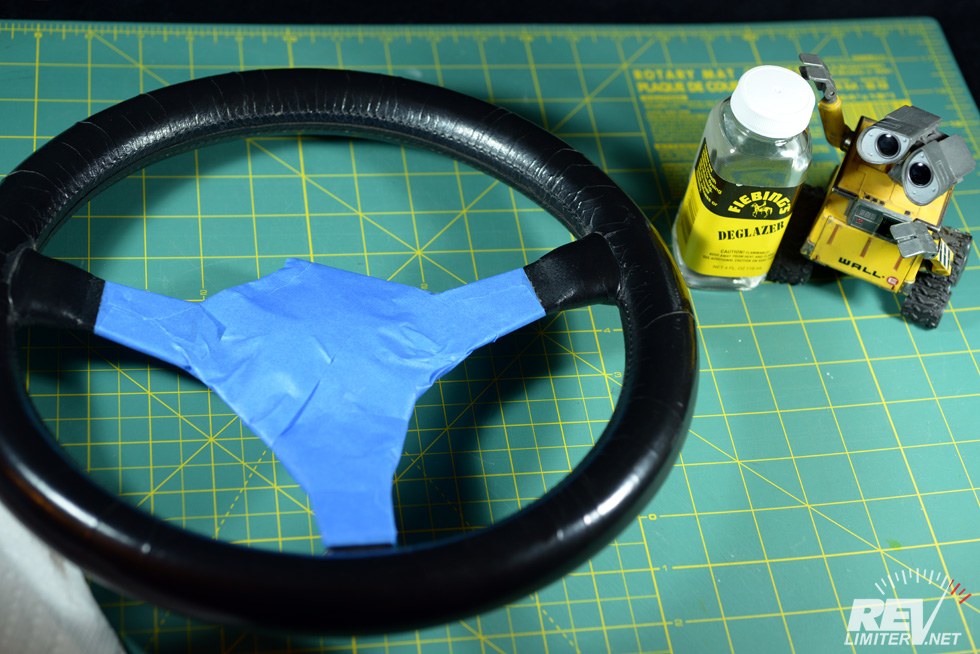
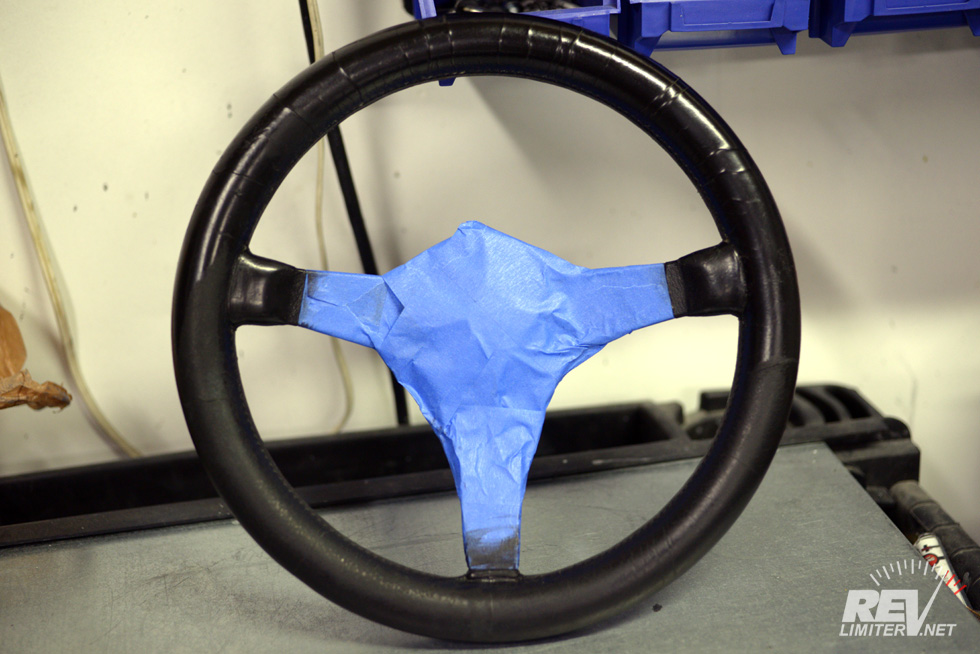
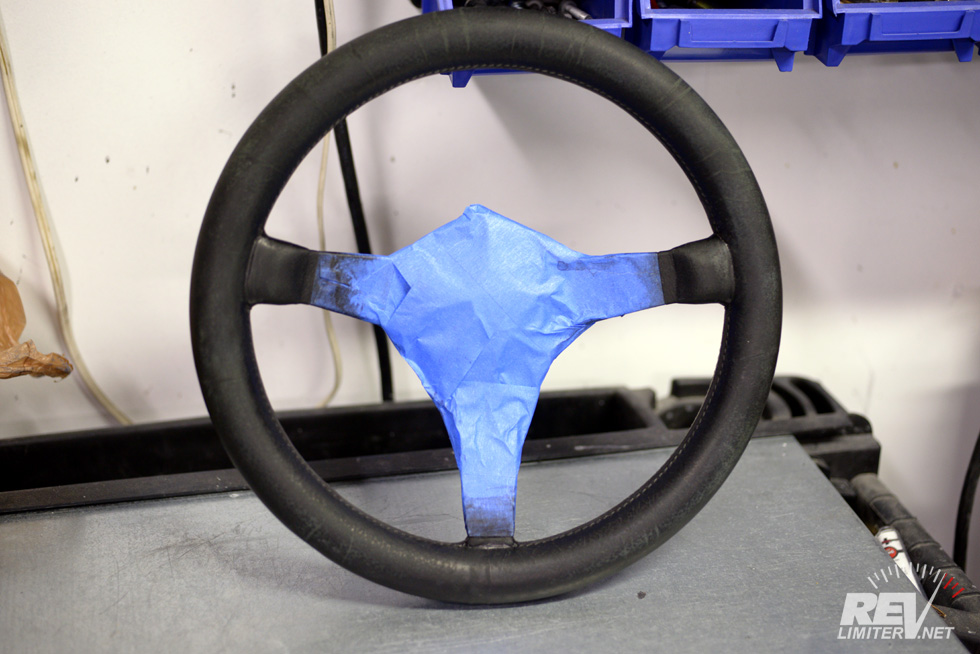
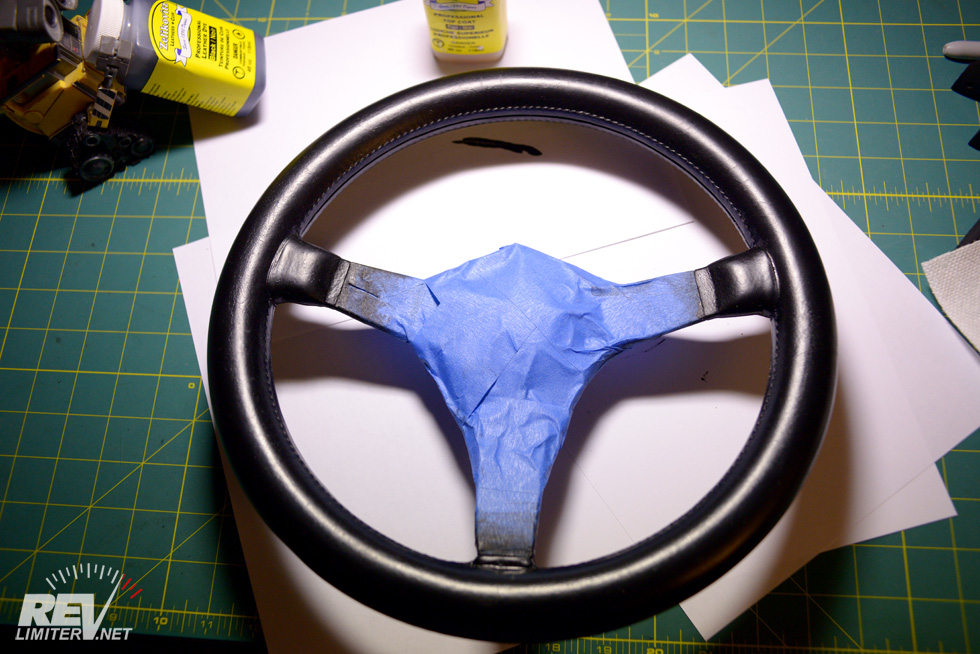
All taped up and ready to go.
I didn’t want anything changing the center spokes. They’re old, weathered, and perfect. Blue painter’s tape seemed like just the thing to protect the metal. I chose to not remove the horn button or quick release adapter. I just used about 5 layers of tape. I am happy to report that there were no problems and the tape protected perfectly.
Time to strip some leather.
Glove up.
Gloves are an important tool here, so glove up. Also suit DOWN. The dye will get everywhere. I let WALL-E skip the deglazing step. He would have been permanently blackened.
I used so many pairs of gloves, it wasn’t funny. I kept snagging a corner on the wheel stitching and tearing at the web of my thumb. But the acetone would slowly weaken the gloves anyway.
The deglazer and acetone smell horrible. I did this in my closed garage late at night while wearing an organic breathing mask. No problems. Without the mask, I would have likely passed out. ha!
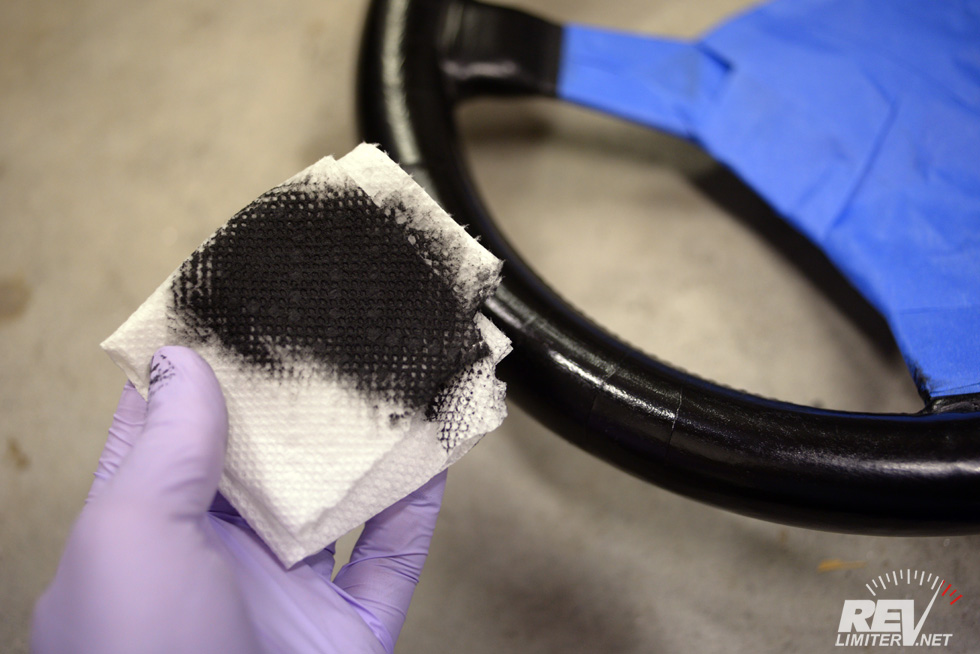
One wipe.
Deglazing took forever. It was 90% of the work on this whole project. I used the tiny bottle completely and hadn’t removed all of the coating from even 1/4 of the wheel. I remembered reading that acetone was a good deglazer, as was 90% rubbing alcohol and lemon juice. I have a lot of acetone on hand due to the gauge making process, so I used that.
Acetone and deglazer work exactly the same. They even smell the same. I suspect the Fiebing’s bottle just contained acetone.
The 90% rubbing alcohol was nice also. It strips dye, but is more gentle than the deglazer. Once I finished the wheel, I wiped the whole thing with rubbing alcohol for a few minutes. It seemed like the alcohol helped clean the leather and rinse off any acetone badness that remained.
Half stripped.
Completely stripped. Notice the missing cracks?
This literally took hours. About 3 hours in fact. The coating of dye and… whatever was just extremely thick on this wheel. Lots of rubbing and cleaning to remove it.
I don’t really have any tips for deglazing leather other than more works better. A paper towel with just a little acetone on it will not remove much dye. One completely soaked in acetone removes more dye. Don’t be afraid to scrub with those towels. You can’t hurt the leather beneath with this process.
Cracks sanded slightly.
The cracks along the top were the worst. The ones around the sides and bottom literally didn’t go all the way to the leather beneath. The ones on the top got just a small bit of sanding to level out the edges a bit. I used a fairly gentle 400 grit and buffed the cracks very softly.
Cracks sanded slightly.
Seeing the leather grain emerge from under that candy coating was fantastic. Gradual reassurance that I was doing things correctly and not actually destroying my wheel with acetone. Once the whole thing was stripped, I felt like I’d really accomplished something. Even in the grey, sorry-looking state, the wheel felt better. The leather under the candy coating was glove soft and wonderful.
Time for dye.
Dye complete!
After deglazing, I went back to my office and immediately started the dye process. I used the wool daubers as recommended by the internet. WALL-E helped make quick work of this.
Not much dye is needed. I did a single coat and then inspected the wheel closely and did spot applications on any missed sections. The leather is black and will always be black. I just stripped off a bit of the original dye. Not much extra was needed to bring the finish back.
A word on the wool daubers – they suck. I got a lot of little wool fibers embedded in the dye. My dauber pilled like cheap yarn. (My wife knits.) It wasn’t wonderful. Once it dried, I picked out the fibers with tweezers. So learn from this experience. Use some paper towels or foam to dye your leather. They’re much better choices than the wool.

Applying the top coat.
Buffing after the top coat dried.
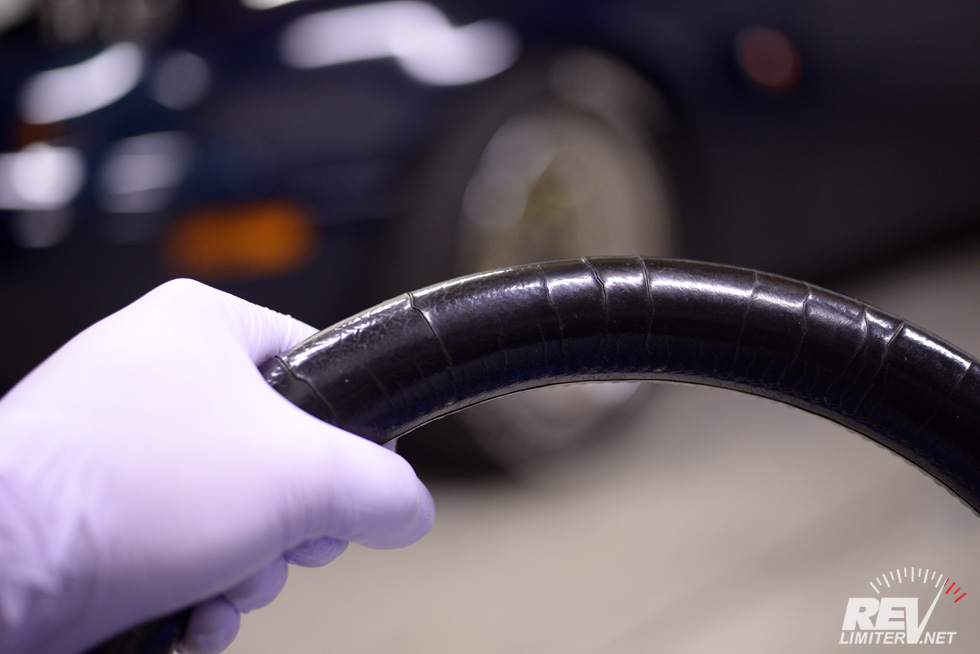
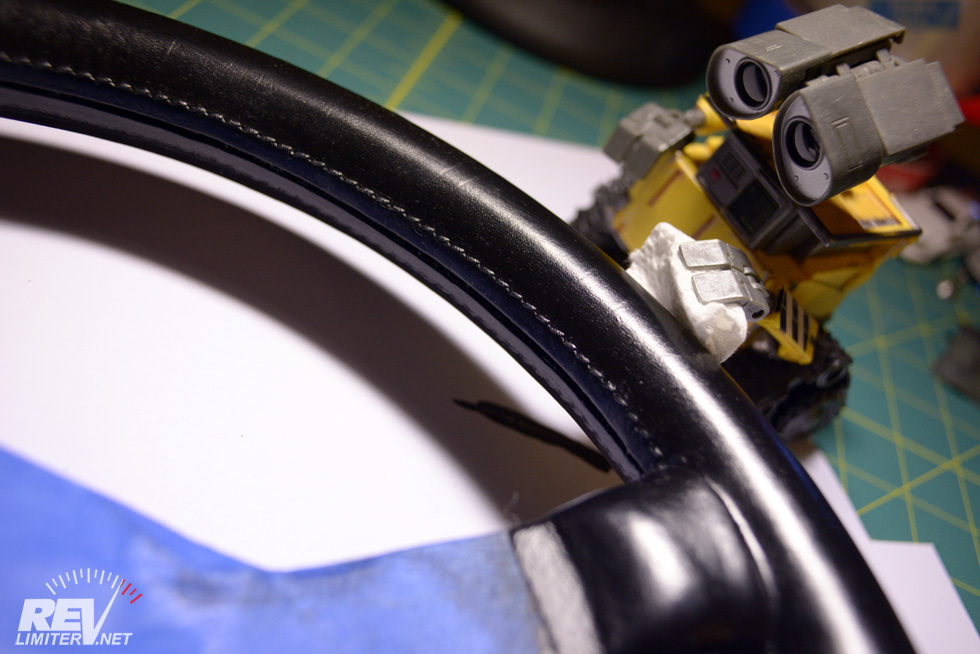
I let the dye dry overnight and did the top coat in the morning. Like the dye, not a lot of top coat is needed. I applied a single layer and let it dry. Then everything got buffed to a shine. And then I pulled off the tape and admired my fully restored 35 year old Prototipo.
A word on buffing. I didn’t use anything special. Paper towels and a horse hair brush that I use to clean the fabric soft top on Bucky. The matte finish from the top coat is VERY matte and looks quite odd. But just a little rubbing produces a natural looking shine.
I let the top coat “dry” for a few hours (it was dry within 30 minutes) before applying any leather conditioner. The leather sucked it up like a dry rag. It was thirsty after so many years under that candy coating.
35 years young.
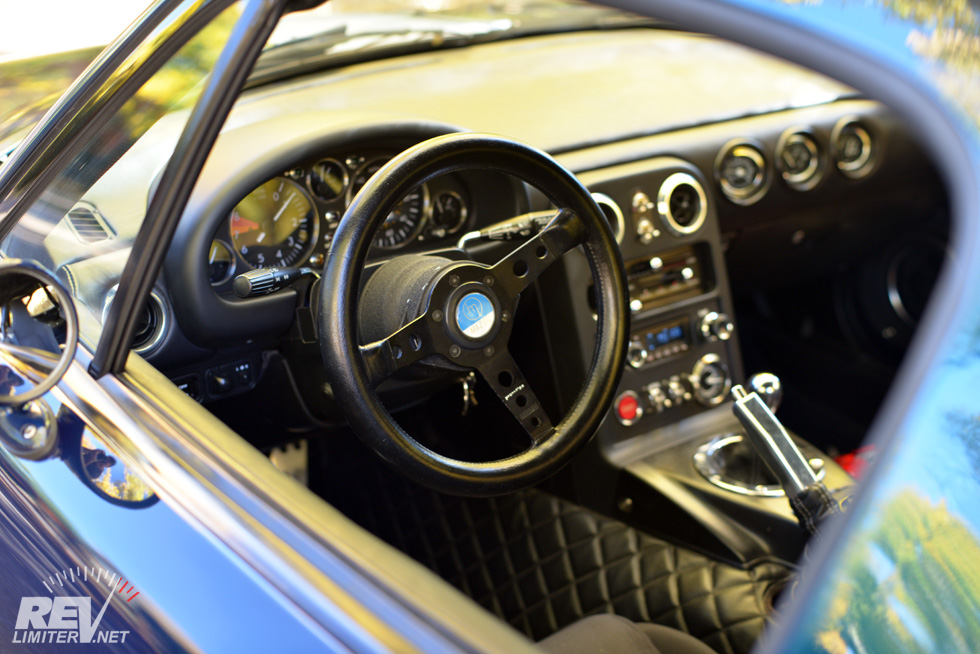
Refreshed and ready for another 35 years of service.
As good as the wheel was before, it is that much better now. The leather that Momo used in the 70s is second to none. It’s glove-soft and wonderful to hold. Stripping and re-dying it did not change the leather feel. This old Prototipo feels exactly like my perfect-condition Momo Master that’s a few years older. I was worried the dye might make it a bit rough. It did not.
Frankly, I can’t believe how well this restoration turned out. I had no prior experience doing this and the result was perfect. You really can accomplish a lot when you have the right tools.
So, if you need me, I’ll be out driving. Or maybe just sitting in the garage making vroom vroom noises.


I am wheely jealous (groan). My modern prototipo feels inadequate now, even though I have aged it by stripping the spokes. I will be monitoring ebay closely. . .
I bet you could take your current wheel to an upholstery shop and get it upgraded. Just the extra 1/4″ of thickness makes a world of difference. You could also get a nicer, softer leather than the stuff Momo is currently using. At least my modern Prototipo uses rough stuff.
[…] Re: Nardi S-Limited Steering Wheel Restoration Suggestions https://revlimiter.net/blog/2013/10/m…o-restoration/ […]
Haha, shouldn’t you be charging for that kind of kndo?ewgel!
m0st l!kely.
That’s an excellent article. Thanks for the share
Hey Adam… What size is this wheel?
330?
This one is 310mm. Pretty uncommon, but not horribly rare. 320mm are the most common small size. I’ve been looking for a 330 or 340, but haven’t found one for sale in the past year.
Thanks for the write-up. I used this to refurbish my jdm version 7 sti nardi wheel and it came out amazing! Your process is very well described and it helped being able to see what they product should look like after each step. Thanks again!
just picked up a ferrari logo momo cavellino thats seen better days, pretty bad cracking on top/left from, presumably, sitting in the sun. might try this method after some more research to be sure. sanding leather just seems odd to me.
I found your blog post almost at random but found it very informative. So much so that I decided to give it a go on a recently acquired Momo GT wheel and got some good results even though it felt very daunting to be taking layers of coating and dye off the leather. I’ve tried it more recently on my Momo Peterson wheel and also got some very good results. Acetone is horrible stuff, but very effective!
As I wanted to avoid dying the stitching I masked it off with tape and I found that once the acrylic top coat was applied there was a hard line when the masking tape was removed. I let it all dry properly and then gave it a light rub with 3000 grit polishing paper (used by jewelers) to blend the edges in. Worked out well. Thanks for publishing the guide.