
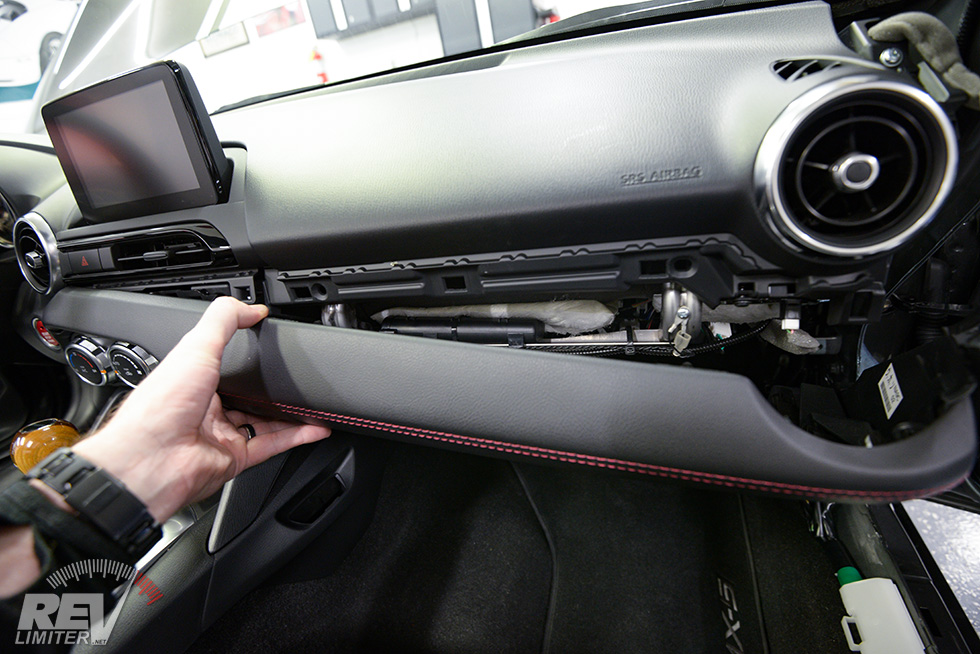
Removing the lower PASSENGER dash?
The ND gauges are a huge pain to get in and out. The actual gauge install is super simple – maybe the easiest out of any Miata. But getting to the actual gauge pod? You have to peel away most of the passenger side of the interior.
The PASSENGER side!
I took 42 photos of the install process. About 30 are of the interior removal.
Here’s how to never do that again.
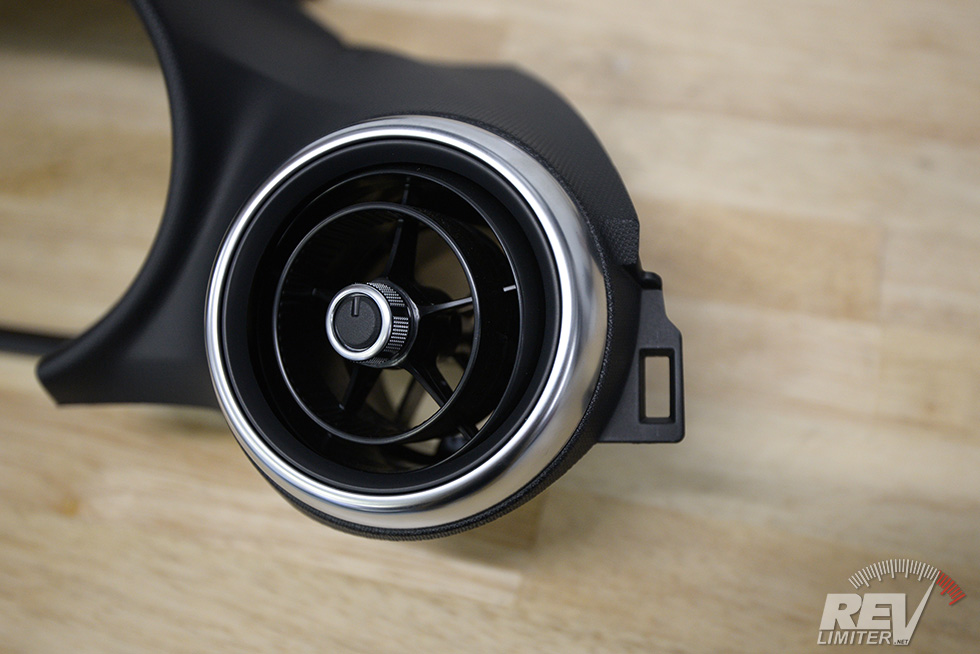
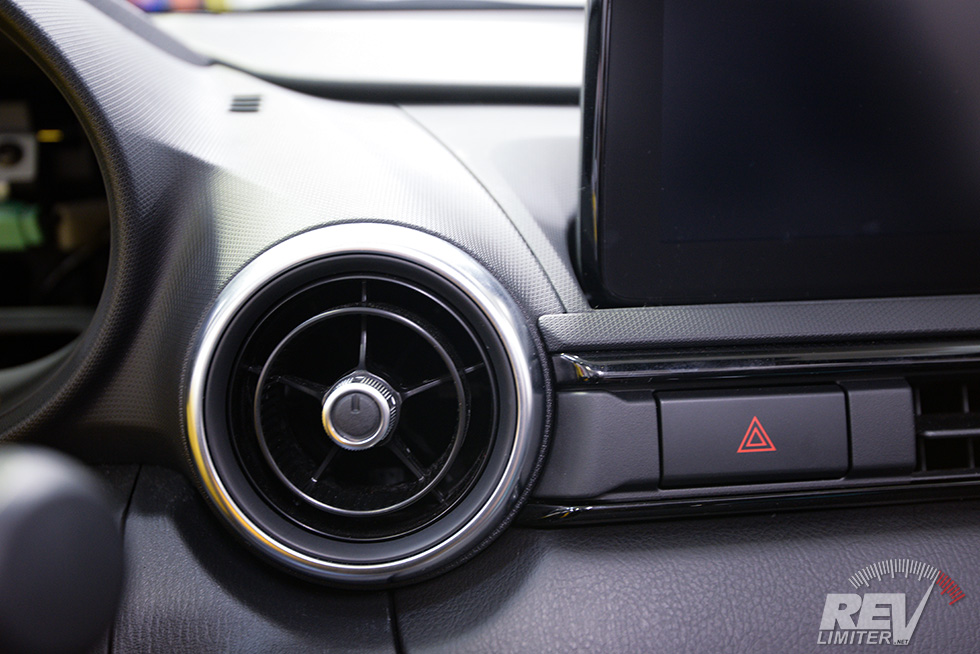
This tab is the culprit.
The whole reason to peel off the passenger side of the cluster is to get the tab pictured above accessible. This tab requires the hazard panel to be removed. Which requires the lower dash to be removed. Which requires the A pillar trim to be removed. Which requires the foot well panel to be removed. Which requires the door sill scuff plate to be removed.
If it wasn’t for this tab, it would be literally 5 minutes to swap gauge faces on the ND. I know this because it now takes me about 5 minutes.
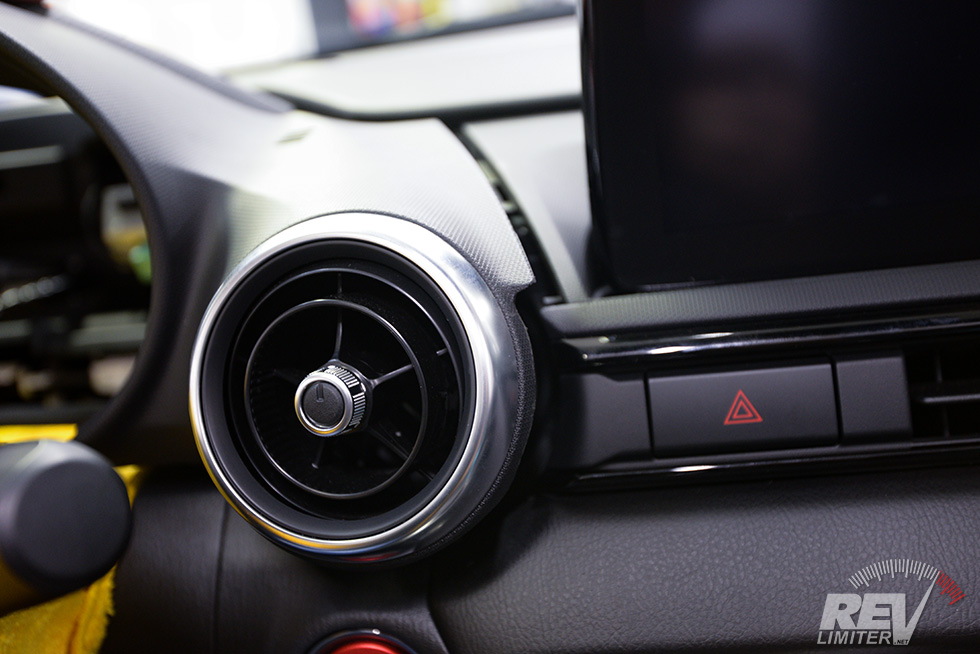
All we need to do is remove this tab.
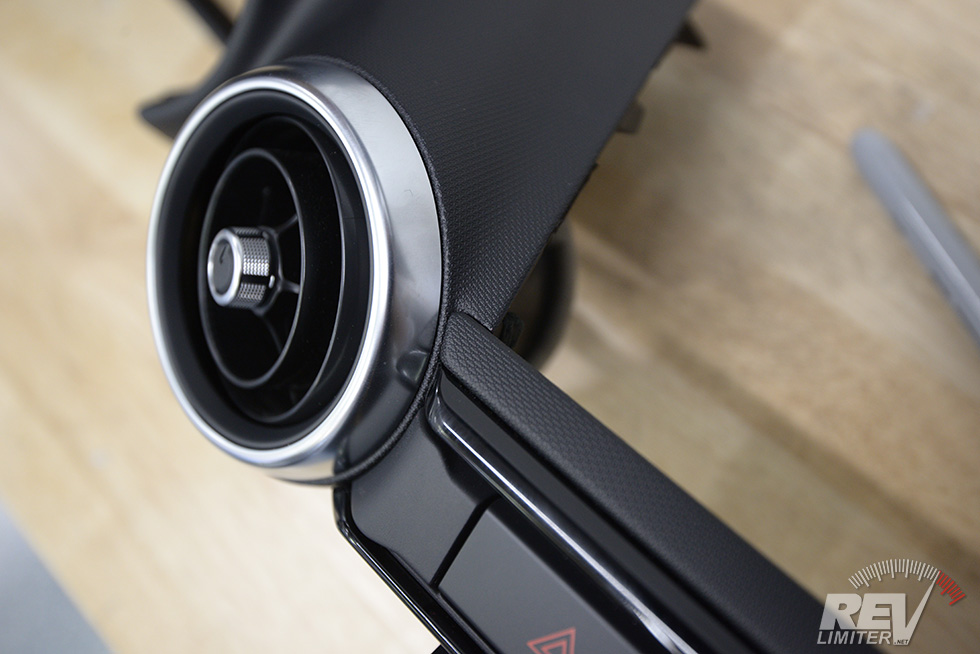
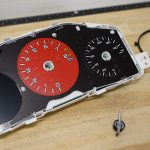
Gauge hood and hazard panel together.
When installing gauges for the first time, these two panels will need to both be removed from the car. That means you can easily move them to your workbench and snap them back together to see how they work together.
You can see exactly what bits of the gauge hood are covered by the hazard panel. It’s really not much. With the help of a Sharpie marker, sketch out the areas that need to be removed on the back side of that gauge hood. It’s just the tab, a bit of the forward-facing edge, and the edge around the vent.
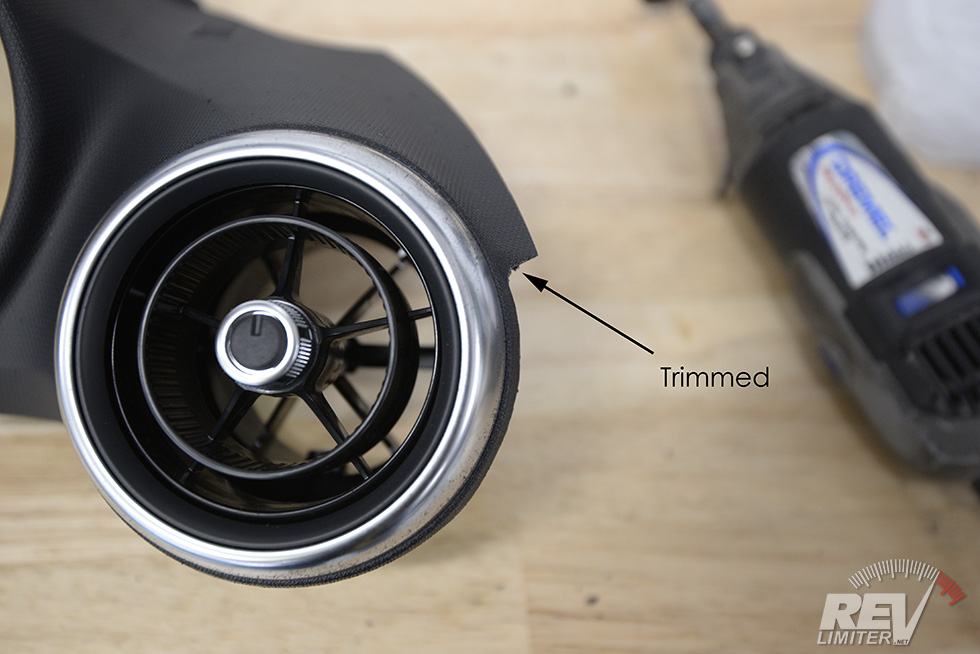
The trimmed version.

From the side.
This is the gauge hood after modification. I used a Dremel sanding drum to do 100% of this. About five minutes of careful sanding and comparison was all that was needed.
Gauge hood and hazard panel together.
A gentle tug on the gauge hood pops it free.
You can re-install the hazard panel into the car at any time. With the rest of the interior removed it just pops in and out. So do that, then take your modified gauge hood to the car as well and try to install it. After test fitting and re-sanding a few times, you’ll get a smooth edge on your gauge hood.
As you can see in the photos above, the front edge of the hazard panel still overlaps the hood slightly. This is good. This keeps things from rattling or showing a gap between the panels.
When you pull the gauge hood off (a gentle tug from the back edge gets it free), it will just slide around the edge of the hazard switch. It’s almost magical. And a smooth sanding job on the back side of the gauge hood will keep sharp edges from damaging that hazard panel.
And that’s it. One tab removed saves MILES of wear and tear on your other parts. The hood on my own ND has been modified like this for most of its life and I’ve not had any problems. If I need to change it back, these gauge hoods can be found on ebay for about $75 shipped.
I hope this helps some folks out!


Recently I saw your post “Gauge face install” I’m plannig to replace all the cluster by a full TFT Screen because I have in mind to use a Holley Terminator ECU for a V8 swap, the miata ND ECU is conected to a CAN Gateway and this module is linked to OEM Chevy ECU for the V8 so the signals in both ECU’s are coherent thanks to this gateway module so the gauges, buttons and functions works perfectly fine but for an upgrade the chevy ECU is useless so thats why the ECU replacement by Holley but ovbiously this change is going to shut down the fucntions of the gateway module, so, it’s easier and cheaper use only one ECU directly commanded by this display… So! XD… do you have the measurements of the cluster like height, width and depth? I cannot do the measurement ‘cuz my car is right now in the workshop.
Thank you in advance
Bests