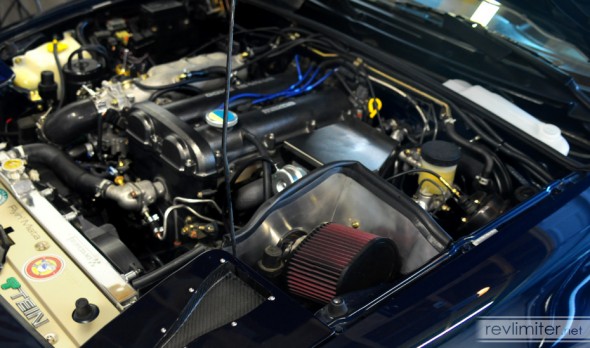
Space under the Miata hood can be pretty hard to come by. When you start adding forced induction parts like turbos and intercoolers, space under the hood goes away rather quickly. It seems like there’s always some new part (catch can, wideband controller, etc) wanting to use the space of some unloved stock piece. And that stock washer fluid bottle uses a LOT of space.
The star of this blog post aims to take care of that problem.
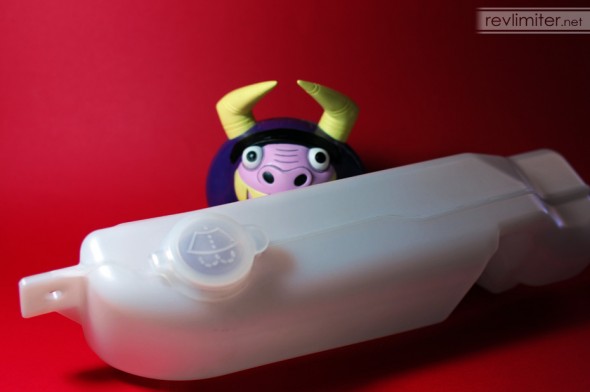
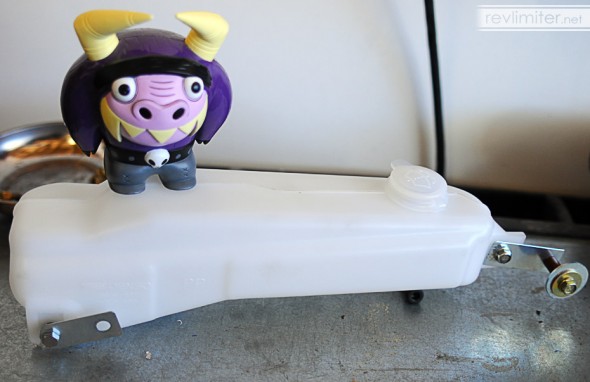
This little washer bottle comes from a Suzuki Cappuccino. It is re-branded as a Nopro washer bottle and sold for right-hand-drive Roadsters in Japan and other places with the wheel on the starboard side. I think Nopro includes some hardware to make it easy to mount on RHD Miatas, but I’m not totally sure. I do know they charge a lot for this little bottle. I also know their mounting hardware wouldn’t be very helpful for a left-hand-drive car. So, I cut out the middle man and got an OEM Suzuki bottle.
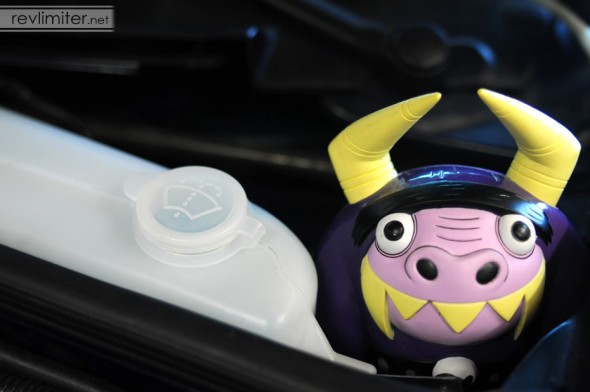
Oh yeah. This is Eddie. He’s also known as Eduardo. This curious little guy may or may not be a 7-foot-tall imaginary monster. Imaginary or not, he wanted to help out with my adorable Cappuccino washer bottle install. Who am I to say no?
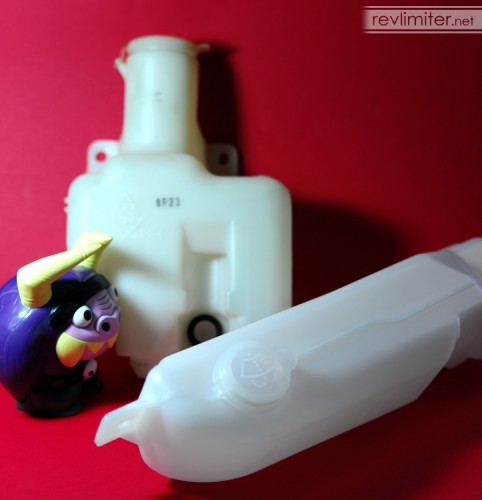
That part number, by the way, is 38450-80F00. And it might not be able to be ordered from a US-based Suzuki parts counter. But that’s why we have the internet and overnight parts from Japan.
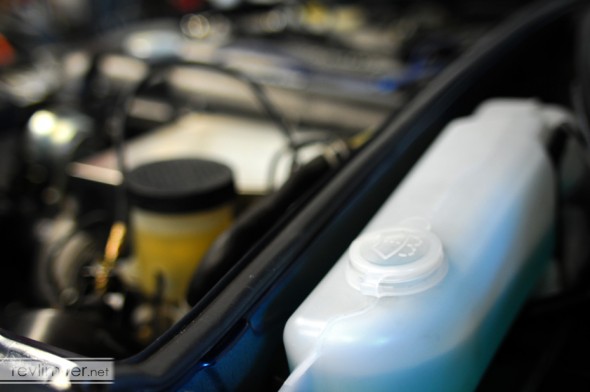
Despite the different shapes, these two bottles have a very similar fluid volume. My full Mazda bottle worth of fluid was transferred to the Suzuki bottle with a little bit of room to spare.
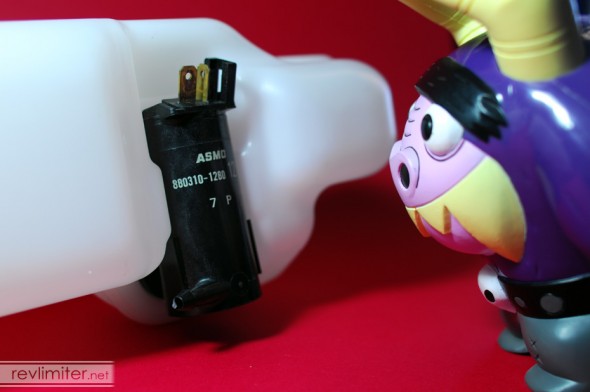
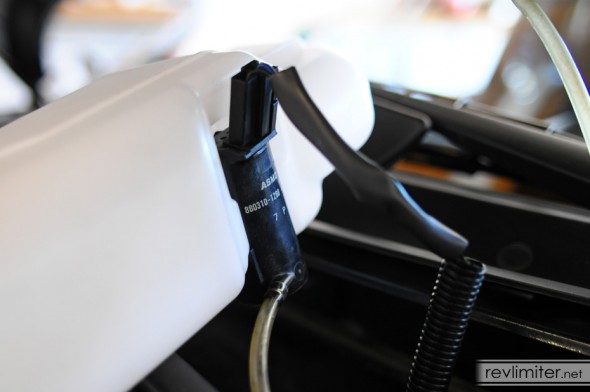
The stock washer pump from your Miata/MX-5/Roadster fits perfectly in the Cappuccino bottle. It snaps in and everything. There’s even a little slot for the electrical connection.
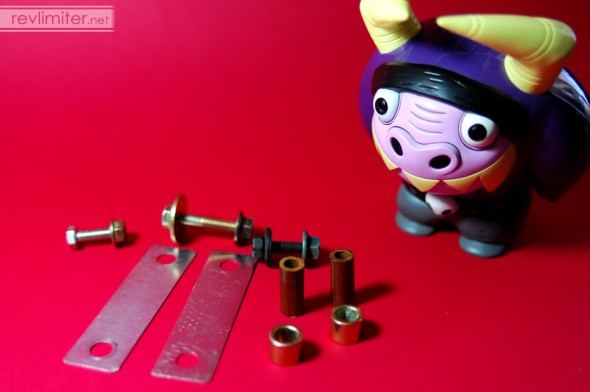
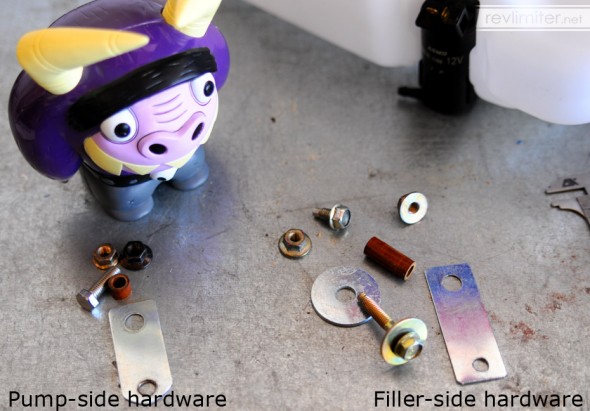
This photo shows my guess at what sort of hardware I might need to mount the bottle. It was pretty close to what I actually ended up using. All of this just came out of my parts bins in my garage, so I can’t supply a list of what you need from the hardware store. But I do have a list of my final hardware used below.
The little metal brackets came from my Hella Supertone horns. The bolts came from the dead 97 body. And the little spacers came from the abandoned AT&SF Railyard here in Albuquerque.
No drilling required!
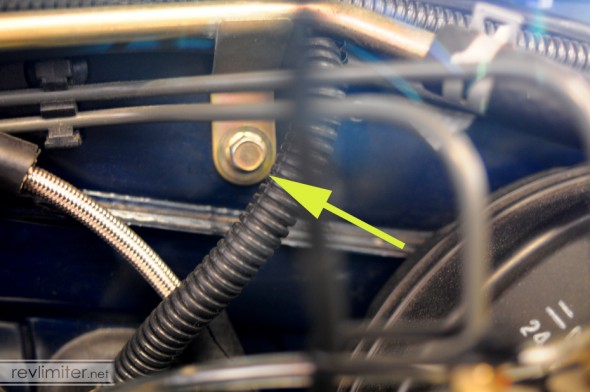
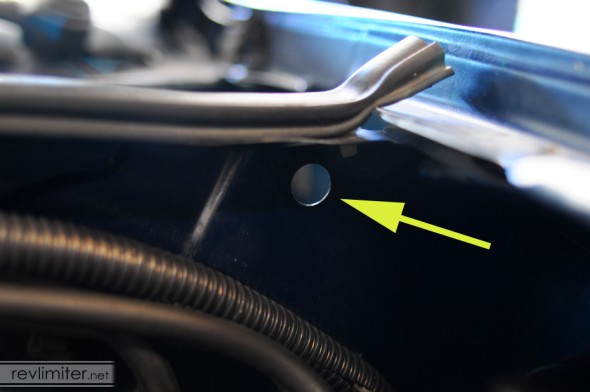
That’s right. No drilling. Mazda put two holes in the firewall in almost exactly the locations we need to make this Suzuki bottle fit. You just have to find them. One has a bolt through it and the other is a hole way at the corner of the firewall.
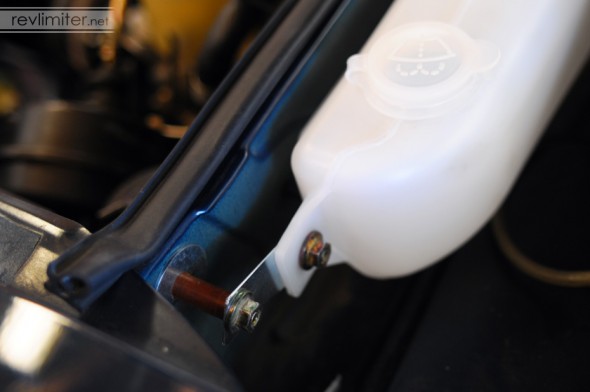
You’ll remove the bolt above and replace it with a just-slightly longer one. Thread pitch is m6x1.0. Mine extends 7mm beyond the firewall. It’s the only bolt that really goes through and into the cowl area, so you’ll not have too difficult a time finding it.
This is the other area on the firewall you’ll need to locate. This small hole lets RHD cars pass washer fluid through the firewall. You’ll use it for a similar purpose.
Hardware and Mounting
Here’s what I ended up with.
Pump-side hardware:
- A 35mm bracket, measured center-to-center of both holes.
- One spacer cut down to 8mm thick (mine is brown).
- One 20mm long bolt and matching nut. Thread pitch is unimportant since it goes through the bottle.
- One M6x1.0 bolt to replace the stock one going through the firewall. Mine extends 7mm.
Filler-side hardware:
- A 45mm bracket, measured on the center of each drilled hole.
- One 24mm spacer.
- One 35mm long bolt and matching nut. This goes through the firewall.
- A fender washer to fit that 35mm bolt.
- A short bolt and matching nut to attach the 45mm bracket to the washer bottle.
There’s really a lot of room for adjustment. I made my brackets as long as I did in an effort to make the bottle lay as flat as possible. Moving the whole bottle toward the center of the car gave me a little more room under the fluid pump.
The only real requirement with mounting this bottle is to have some sort of small bracket on the far outboard (filler) side. If you try to put a bolt straight through the firewall and mount the bottle, it will hit the hood. You need a short bracket to space the whole bottle down a ways. And then you’ll need a short bracket to let the other side (the pump side) connect to that long bolt sticking through the firewall.
Let me say that again. Connect the pump before mounting the bottle! It is nearly impossible to reach the pump after mounting the bottle. So do it while you can.
You also need to extend the washer pump wiring to the driver’s side. It’s not much work. Just an extra 4′ of wire spliced in. I ran mine along the top of the firewall where some sensor wires were already running.
Finally, you need to reverse your washer fluid lines. On LHD cars, they all go toward the passenger side. You’ll now need to send them to the driver side.
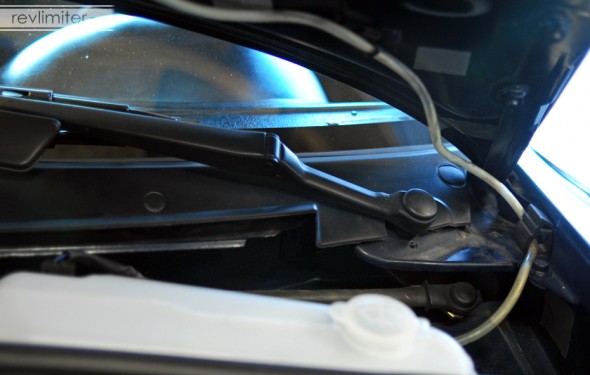
You can see how I routed my fluid hose. It goes down the side of the hood and into the bump rubber on the corner. I had my 97’s hose routed like this for 8 years due to some missing OEM hardware and never had any kinks.
NB Installation
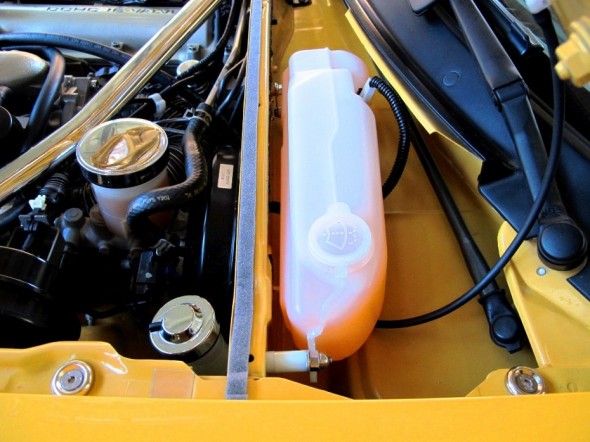
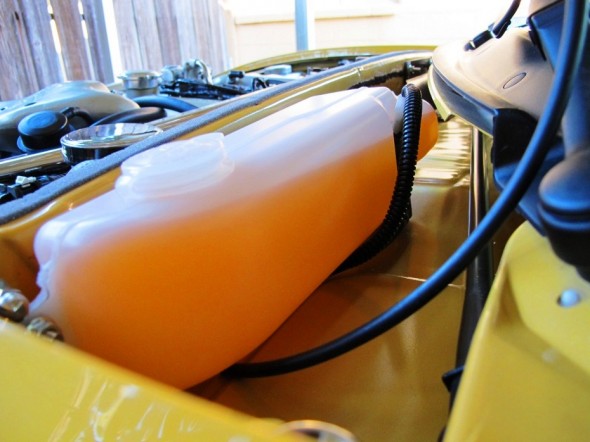
And here’s how the bottle looks mounted in an NB! Very similar. You can see there’s a slight tilt to the bottle, but it’s not that bad. It still holds a lot of fluid. More than I’d use in several years.
Incidentally, this whole installation method comes from the owner of the yellow 2002 pictured above. I’m doing nothing but riding coat tails with this particular blog entry. Thanks for sharing your install and your pix, Alex!
That’s pretty much it. The real trick to this whole install is measuring and modifying your mounting hardware. Installing it into the car only takes a few minutes. I’ve had mine in and out a half dozen times getting it just right.
And, as promised, there was a monster at the end of this post.

