
Ultimate car detailing!
I receive this same question quite often, “How do I get red needles for my gauges?” And about a paragraph of text explains the process quite well. It’s really not very hard. But after typing out the same thing for the 50th time, I decided I could do better. So here ya go! How to paint gauge needles. It’s not tricky, but it is a bit tedious.
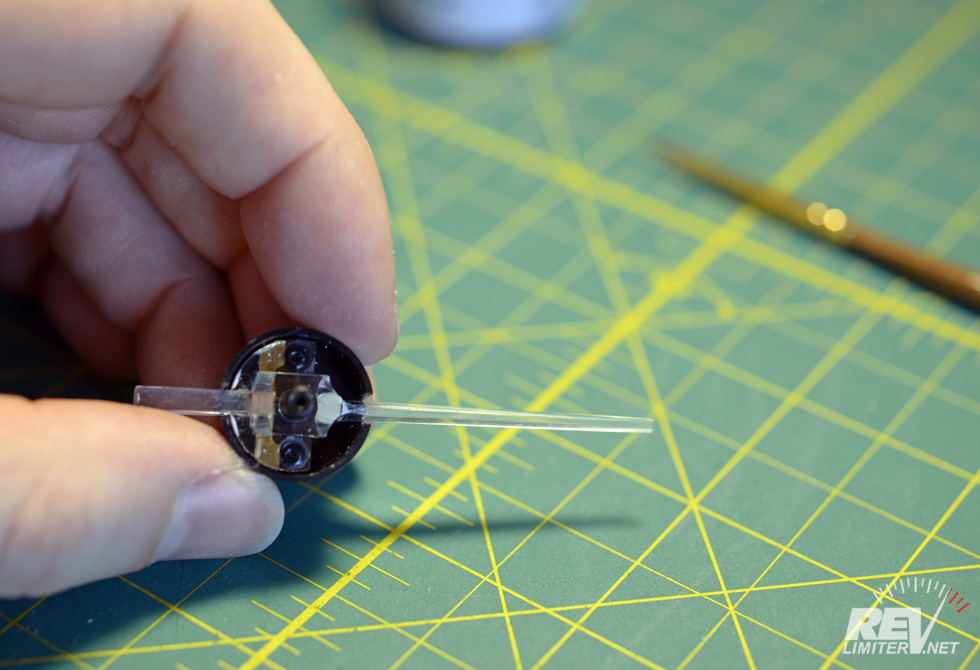
Remove the White Paint

I scrape it off with an X-acto knife.
Yeah. That’s right. I’m advising you to take a knife to your delicate needles. Really, it’s quite safe. Just scrape very carefully. Use the edge of the blade rather than the point. Do not gouge the plastic. If you make a gouge, you will need to sand it out with some 800-1000 grit sandpaper.
For the blade, I like a #2 straight edge blade. It’s long and sharp. Perfect for removing paint. You can usually find X-acto knives near the models in your local hobby store.

Remove ALL of the white paint. Even the stuff under the black center.
Everything has to go. All traces of white must be removed. You will be able to see the white paint under the needle center. It’s funny how the angles work.
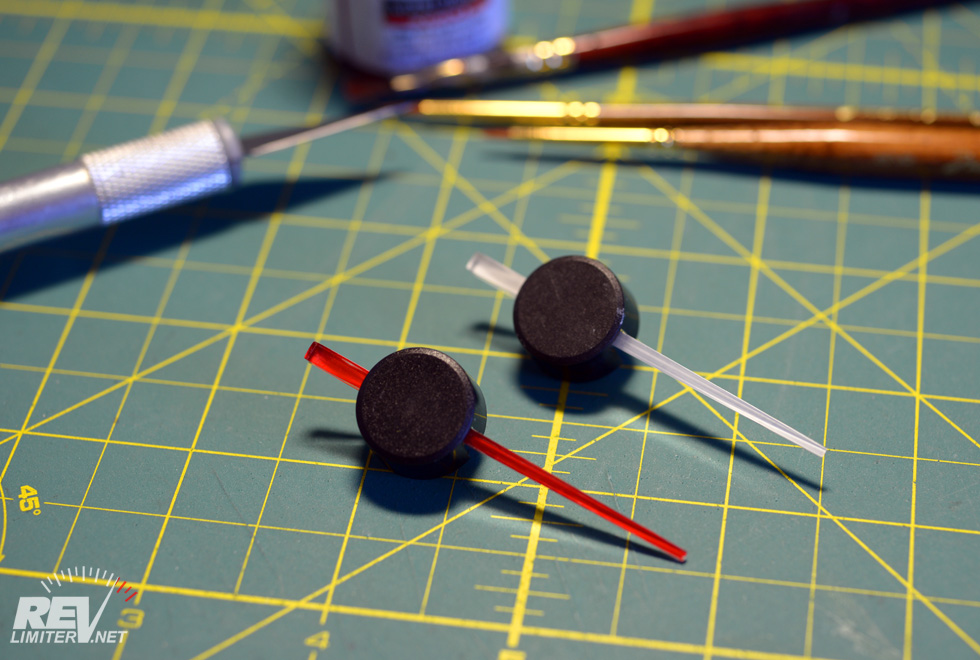
One transparent needle. Hardly any effort!
Not too bad eh? A needle can be done in about 5 minutes. Just scrape softly. Nothing to it. Now repeat for the other 4 needles.
Painting the Needles
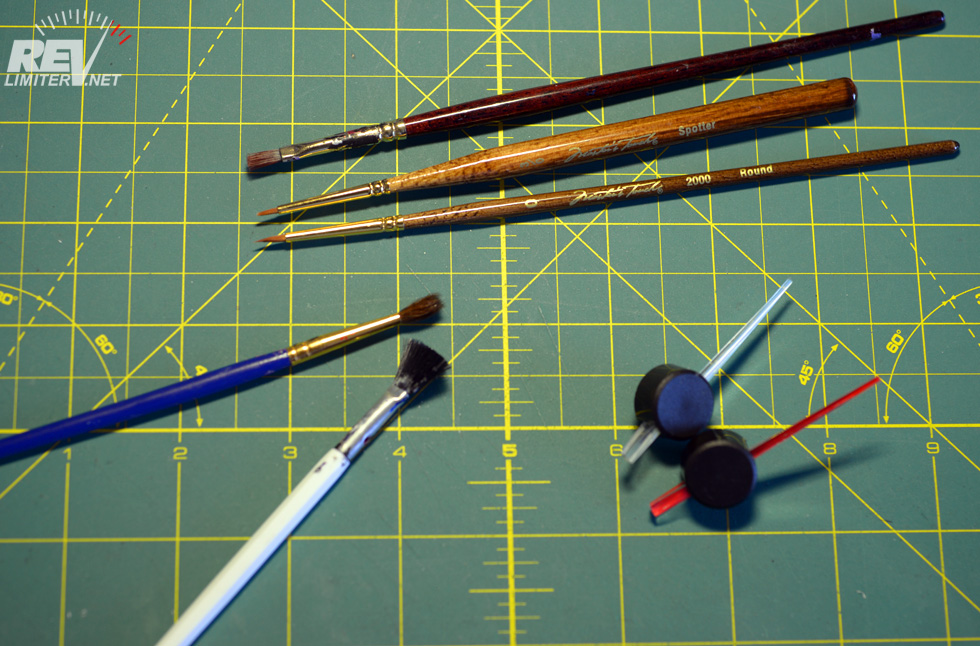
Art supplies.
Supplies you will need:
- Model paint.
- A fine art brush.
Treat yourself. Spend $10 on this project. You’re going to be looking at these needles for a long time, possibly. You want to do it right. Don’t settle for the old and crusty model paint in your drawer. Also, you deserve better than one of those horrible white-handled Testors brushes. A good brush and fresh paint will make this a 30 minute project. A poor brush will make this a 4 hour pain-fest.
Good brushes can be found in the art section in your local hobby store. This is usually a few aisles over from where they keep the model paint. The one I used for this tutorial is a 3/0 spotter. It is fine, but not too pointy. Just perfect for this project.
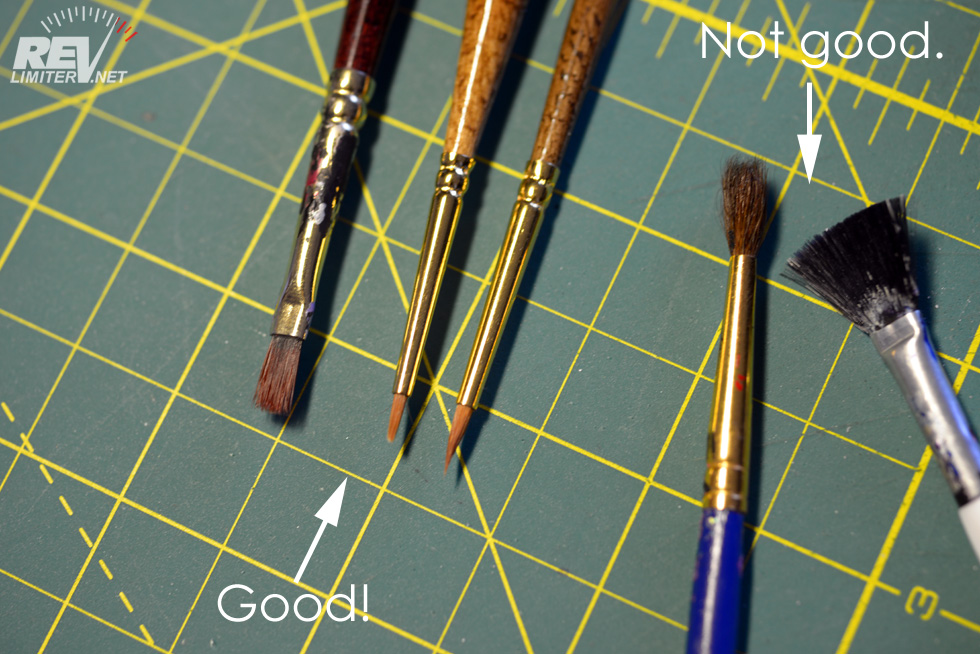
Use good art brushes. Leave the crappy ones in a drawer.
This is the difference between a good brush and a poor one. The ones on the top are good art brushes and cost about $3-5 each. The wide one is about 5 years old. It still paints a fine line and isn’t shedding. The ones on the bottom are not good brushes. They cost about $2-3 each.

Testors Model Master Acryl in Guard Red. My favorite.
This stuff is easy to find, works well on most plastics, and covers well. And the red color is just about perfect. A bottle should be under $2. And you can wash acrylic out your brush in the sink. I sometimes use rubbing alcohol to get brushes completely clean.
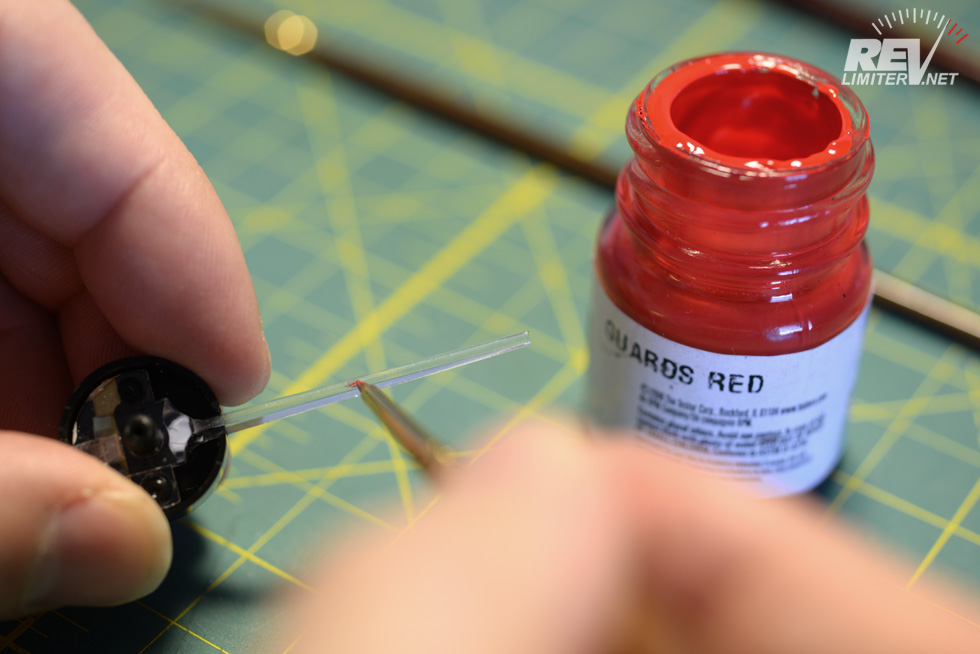
And so begins the delicate painting process.
Go slow. Don’t glob the paint on. But at the same time, don’t paint too thin a coat. You want 2-3 fairly thick coats. That way it will look opaque when viewed from the front.
While painting, keep checking your work from the front. Pay close attention to the edges. If you make a mistake, you can wipe the paint off before it dries and start again.
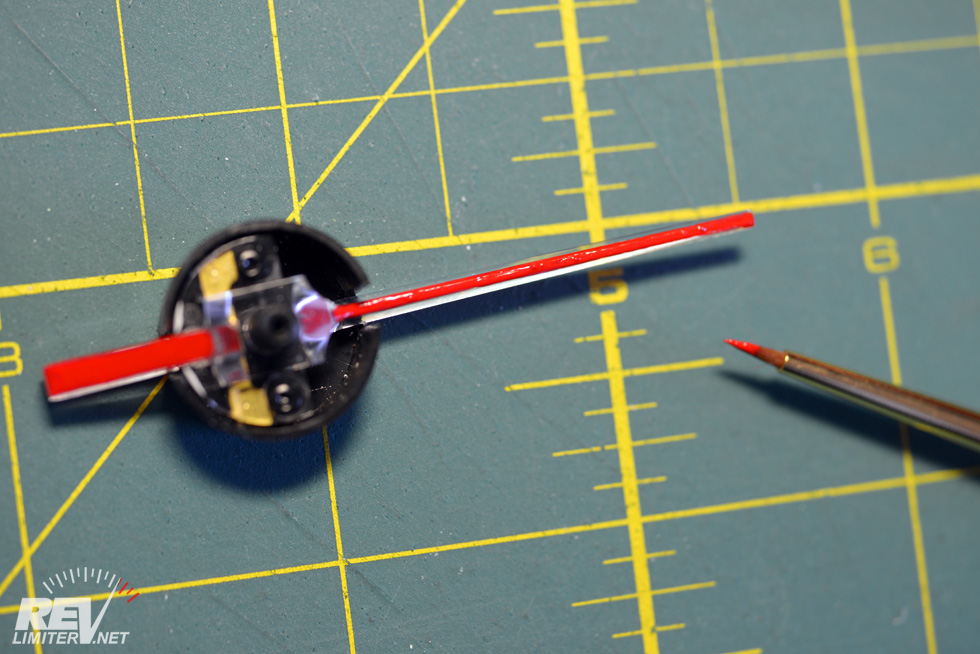
First coat complete.
There’s one coat. Not too thick, not gloppy, and not thin. From the front, there are some thin spots visible. They will be taken care of by a 2nd coat of paint. And once that 2nd coat is dry, you can fix any small imperfections in the edges.
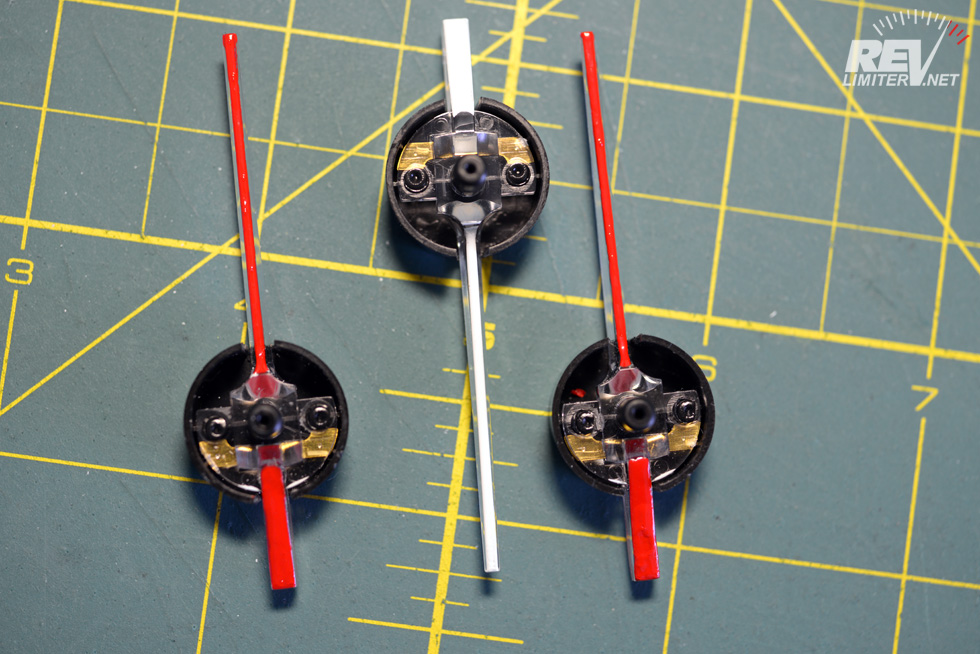
2 coats of paint on each one. Nice and even.

Smooth and even. That’s what you’re shooting for.
Ta-da! Nothing to it. Really, this is a 30 minute job. It might take a bit longer due to paint drying time, but it shouldn’t be that much effort. Not a tricky job at all. Just a little careful work and you too can have red gauge needles.
Needles in Action
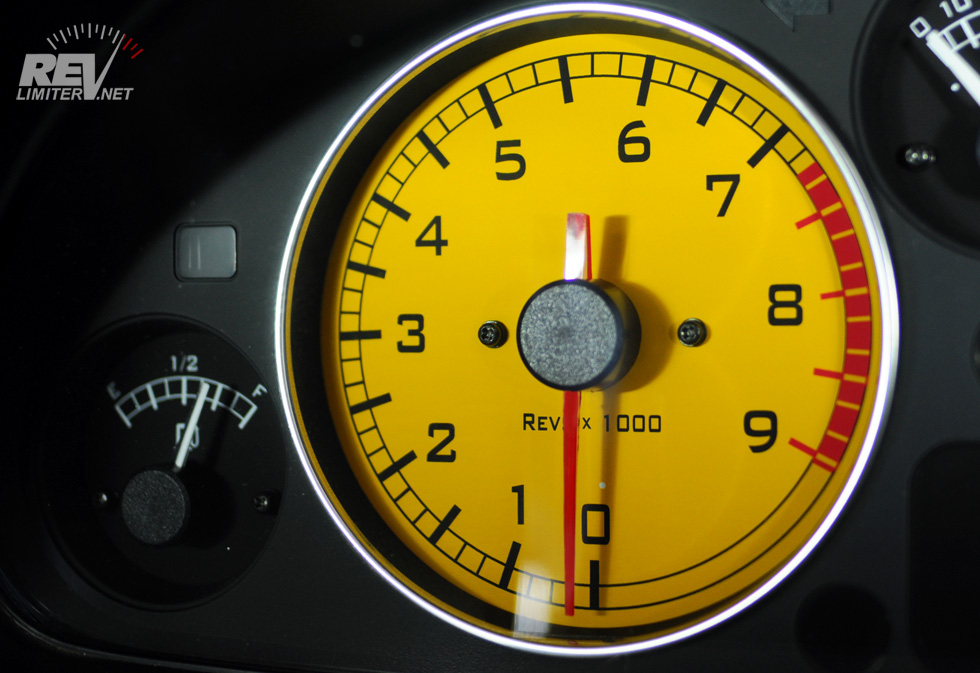
Can you imagine this with a white needle?
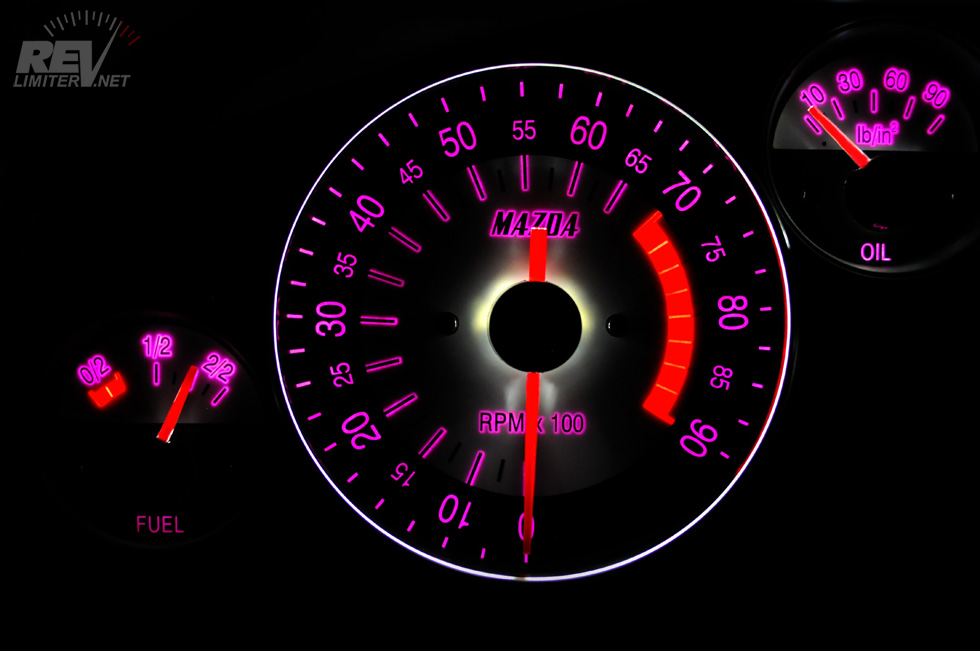
Purple lighting, white LEDs, and red needles.
If you get stuck or have any questions about the process, just leave a comment below. I’ll try to help in any way I can.