
Your shopping list:
- 1 baggy of NU-Foam or similar high density foam padding. You'll need a 11" x 5" pad to cover the armrest.
- 1 spare armrest / center console lid (optional).
- 2 square feet of leather in your choice of color. I'd recommend the light to medium weight (2 to 3 ounce).
- A staple gun loaded with 8mm+ staples.
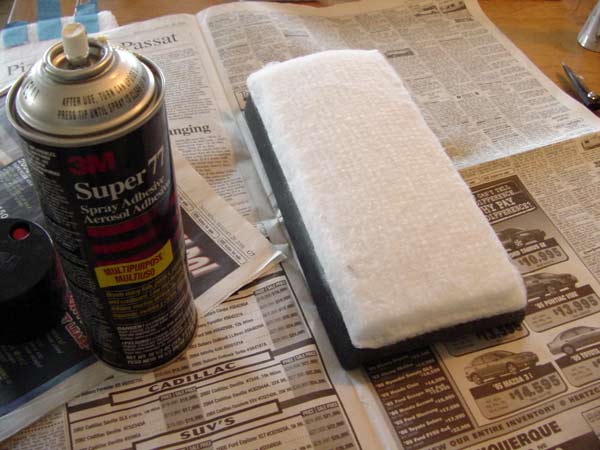
- 1 spray can of 3M Super77 spray adhesive.
- Newspapers, tape measures, a screwdriver for prying staples.
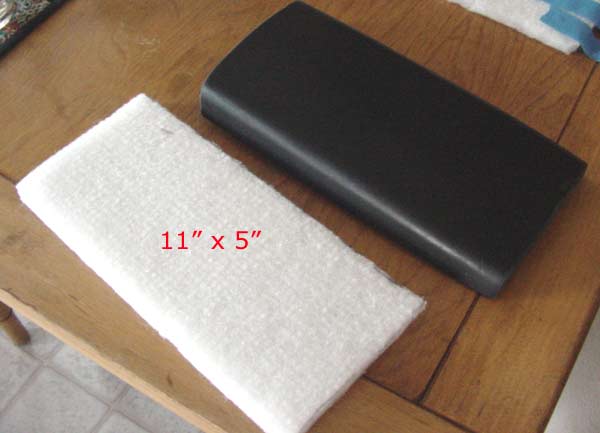
Step 1: Cut your padding to fit.
As you can see from the picture, you need to cut it to about 11" x 5". I had plenty of foam, so I cut several pads and used the best fitting one in the end. I suppose you could cut the leather to fit in this step too. I managed to not photograph as much of the leather work as I did the padding. My 2 square feet of leather came from an ebay seller by the name of "Dangerous Threads" who I highly recommend. You'll need about a 15 " x 9" rectangle of leather, but I'd lay the lid over the leather and make sure that measurement is enough before actually cutting.
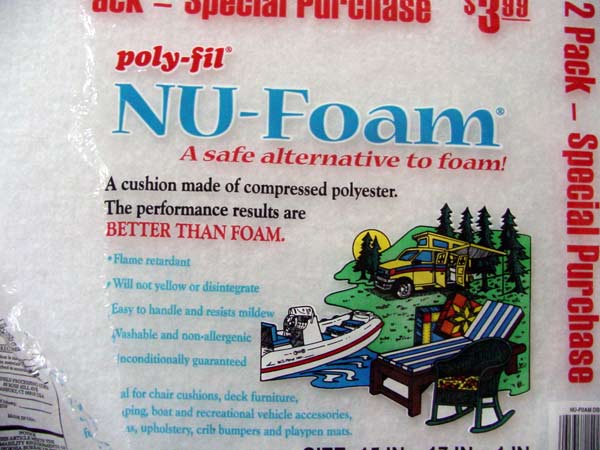
NU-Foam - great padding for this particular task.
I stumbled across this type of foam in a local craft store (Joanne Fabrics). It's surprisingly strong while remaining soft, flame retardant, and best of all, it separates easily.
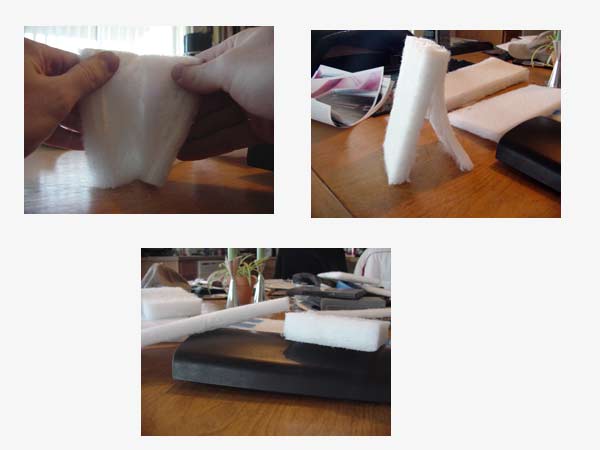
Step 2: Separate the 1" thick padding into something thinner.
This is why you should try to find NU-foam padding. 1" is a little too thick for padding on the armrest, so I wanted to cut it in half. This NU-foam stuff separates evenly with very little effort. I made my padding about 2/3" thick.
Step 3: Round the leading edges.
I just cut a diagonal angle along each edge and rounded the corners. This allows the leather to make a little more pleasing shape over the armrest than if the padding was left square shaped. And as you can see, I just taped the padding in place to do this.
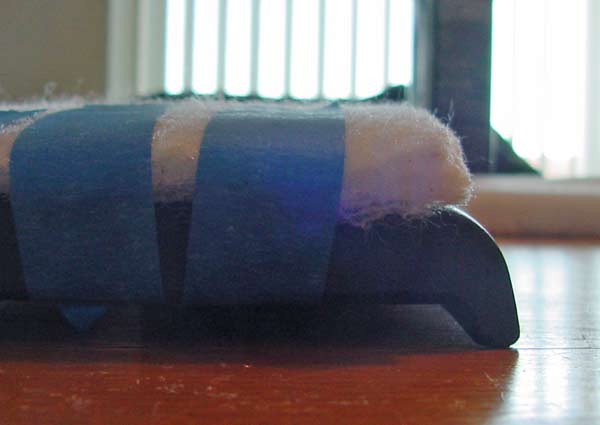
Step 4: Spray glue the padding to the cover.
You've got pretty much just one shot at getting the padding lined up with the top of the cover once the Super77 spray adhesive has been applied. Fly it over the cover very slowly and carefully, and start with one corner. You can kinda see how the padding conforms to the rounded top of the armrest.
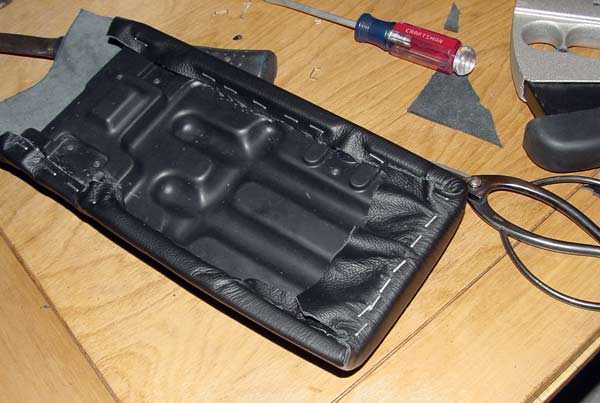
Steps 5-8: Cut the leather, staple an edge, and start stretching.
Sorry for the lack of pictures here, but you can kinda see what's going on. Cut the 2' x 1' piece of leather that you purchased to fit the armrest. As previously mentioned, you'll end up with about a 15" x 9" piece of leather. Then staple one edge to the bottom of the lid. Then start stretching like you've never stretched before. I stapled one of the long sides first, then the 2nd long side. In retrospect, it would have been easier to staple the front side (a short side) first and then do the longer sides and the back. The shot above shows the two long sides with the excess leather already trimmed off. Spray adhesive helps hold the leather that couple of seconds you need to get the staple gun into position to tack it down.
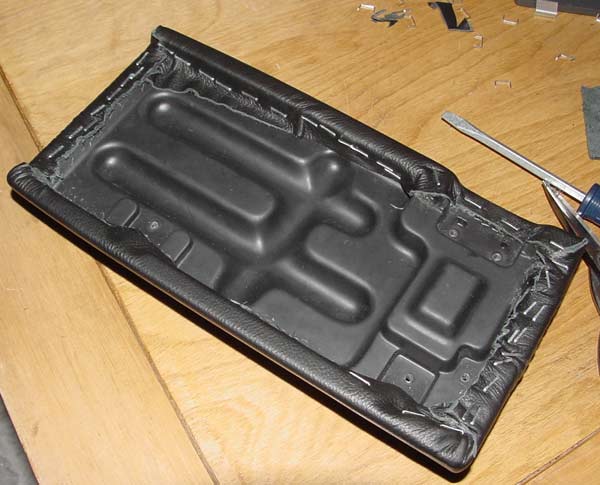
Step 9: Trim all excess leather.
Once you've got everything stapled in place as well as you like, trim off all the excess leather. The corners are the most problematic areas. I cut them as flat as I could and left them. Leather doesn't fray. We'll see how well it holds up over the next few years.
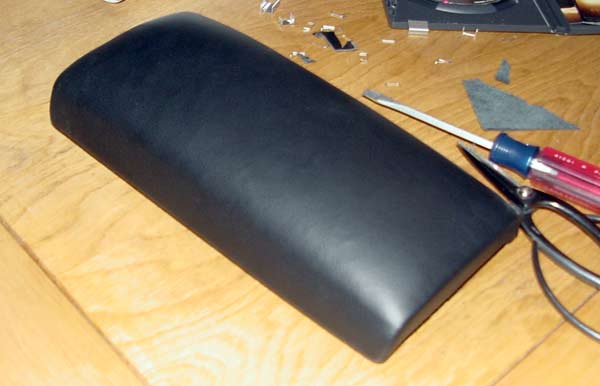
Front edge of the armrest
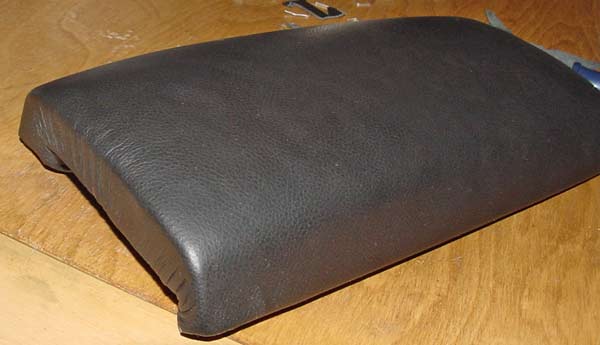
You can see the armrest completed and the leather all cut and stretched here. It's impressive how well leather stretches. You want it to stretch as much as possible to keep the front and back sides from rubbing too much on the console once the armrest is reinstalled.
Back edge of the armrest.
You can see a little wrinkling from the stretching here, but it's a bit more flat than it appears in the photo. The lid has no problem opening or closing. Notice how smoothly the long edges blend while the short edges have a quick transition.
Step 10: Install armrest, admire work.
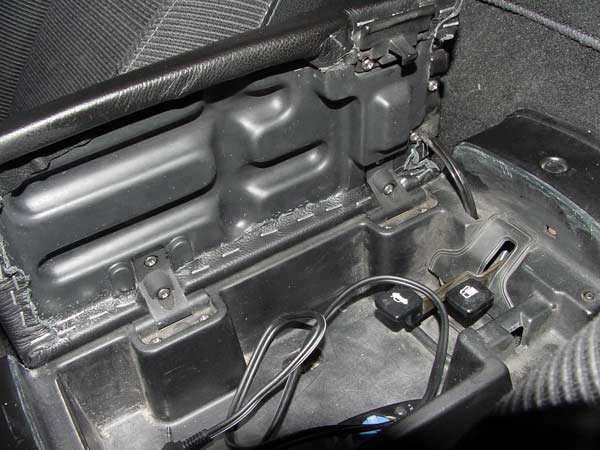
All of the screws should go in through any leather that might be covering the factory holes, as long as you didn't go too crazy with the staples around these spots. I thought this shot showed some of the staple work pretty well and might be helpful to others.
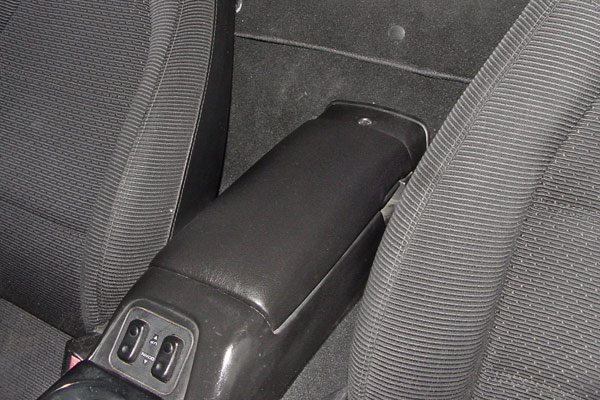
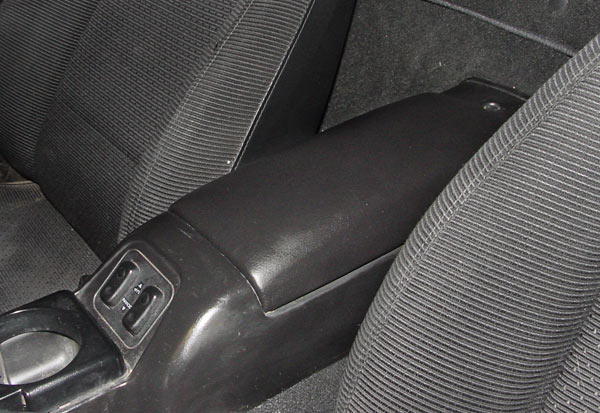
Installed padded leather armrest
You can see how nicely the armrest blends into the console. It looks like it belongs, not like an obvious aftermarket stick-on pad, like so many vendors sell.
No more sore elbow.
It was quite easy to do this little mod. I've spent more time typing this webpage than I did stapling and stretching leather. This was cheap too, with a total outlay of $15 including leather, padding, and staples. Cheap, looks nice, easy to do: the trifecta of the perfect DIY Miata modification.
Site Navigation
Latest Blog Posts
CarbonMiata Vent Window Install/Review
Posted on Mon, 30 Jan 2023 01:47:44 +0000
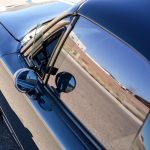 After waiting 23 years, there's finally a pretty vent window kit on the market for the NA/NB Miata. Unfortunately, it doesn't actually work well.
Read more...
Period-Correct 90s Rear Speakers
Posted on Mon, 11 Oct 2021 02:12:26 +0000
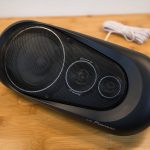 Sharka's rear package tray now holds more than just a rollbar. A set of 90s speakers is the next upgrade for the little blue and white boi.
Read more...
GV Tail Light Upgrade
Posted on Tue, 28 Sep 2021 02:05:06 +0000
 TLDR; LEDs are brighter, who knew?
Read more...
Mona Visits Joshua Tree
Posted on Sat, 26 Jun 2021 03:21:12 +0000
 Mona checks out the curious multi-armed residents of Joshua Tree National Park
Read more...
KINOD 15
Posted on Sun, 20 Jun 2021 22:49:33 +0000
 Mona and I made the pilgrimage to SoCal for the 15th Anniversary KINOD Event.
Read more...

Products sold on this site are for Off-road and Competition use only. This website intended solely to provide general guidance on matters of interest for the personal use of the Reader of this Page, who accepts full responsibility for its use. All products as well as information provided "as is," with no guarantee of completeness, accuracy, or timeliness, and without warranty of any kind, express or implied, including, but not limited to, the warranties of performance, merchantability, and fitness for a particular purpose.